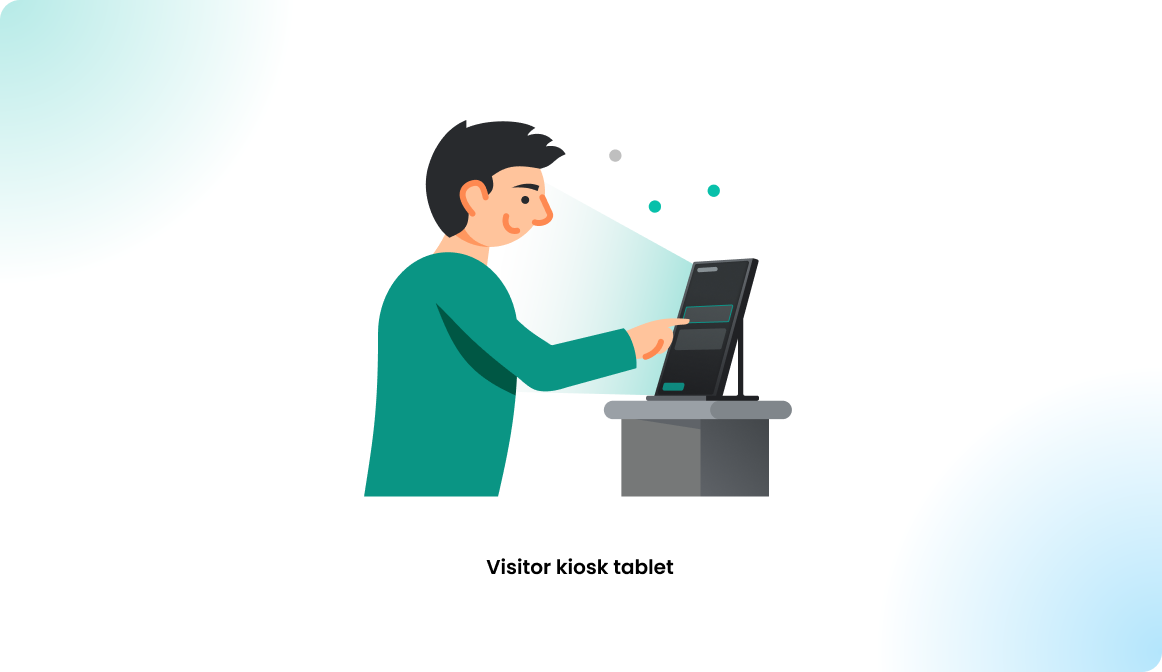
Visitor Kiosk Tablet
Overview
The visitor kiosk devices can be used as an extension for the visitor management module. The invited visitor can complete the visitor profile verification process on the display when arriving in the office. Make the visitor verification process faster and more user-friendly by using the visitor kiosk display.
How to use the visitor kiosk display?
The following processes can be covered using the display for new visitors:
- Visitor verification: with invitation code
- Visitor verification: using email address
- Visitor verification: without invitation
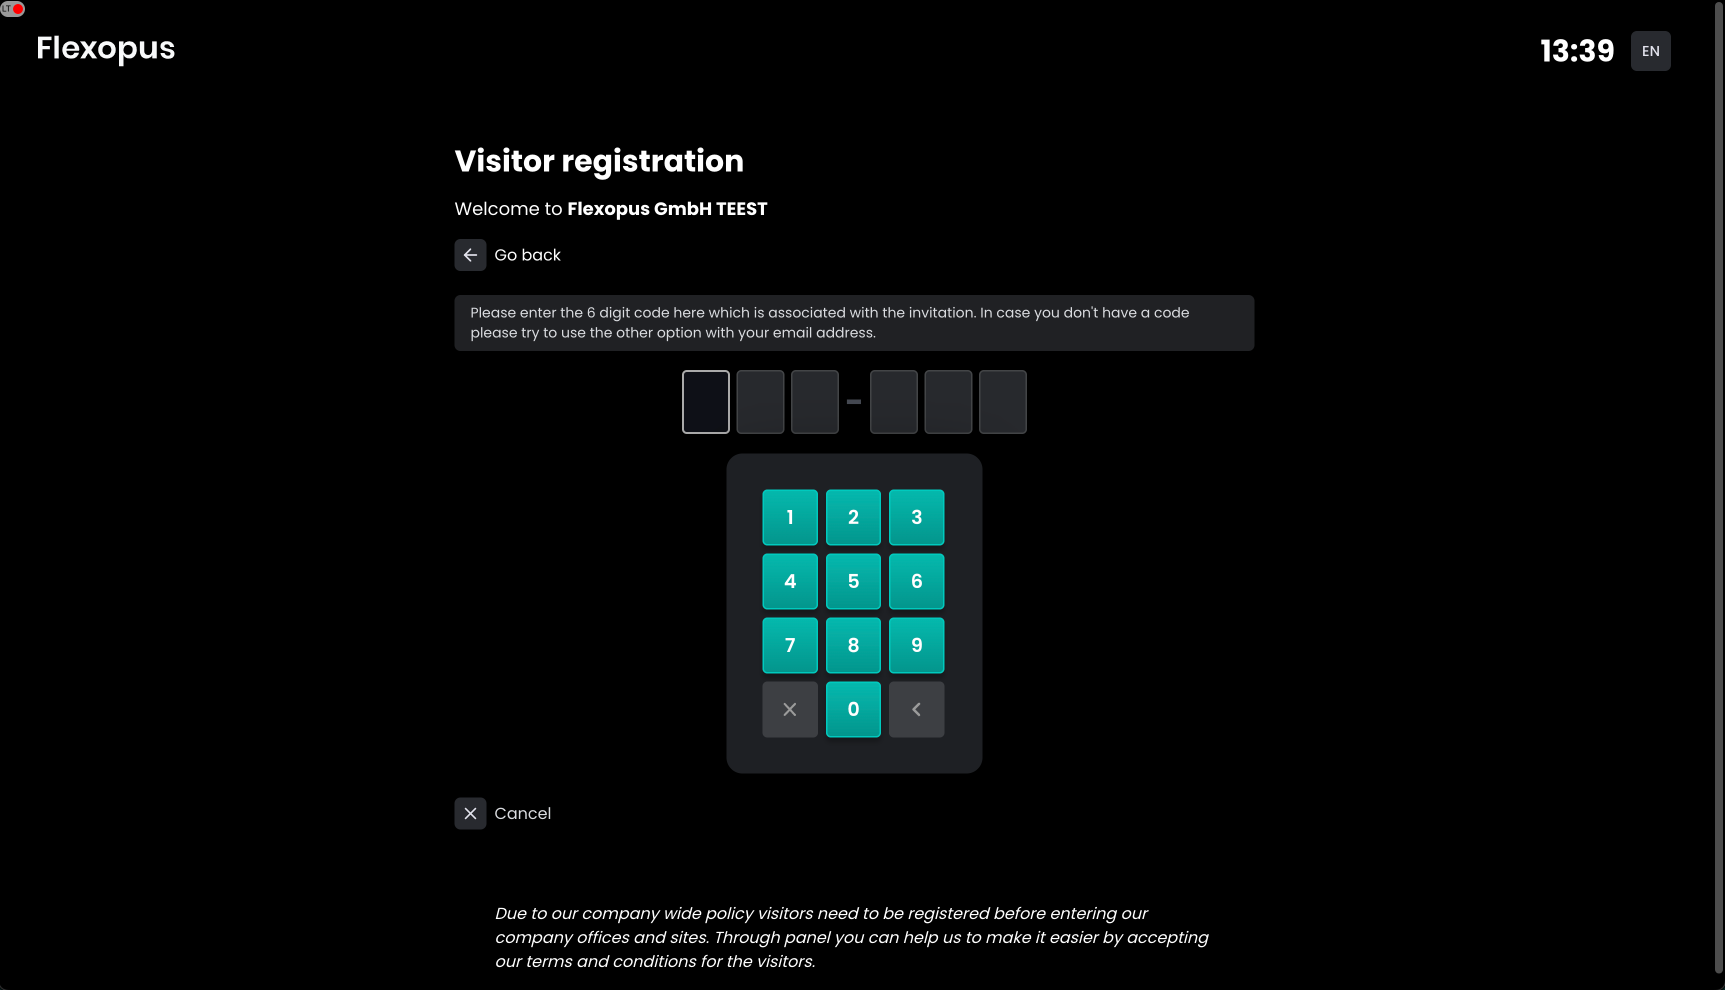
Visitor verification: with invitation code
In case the host created an invitation for the visitor before the first visit. A 6-digit code is generated for the invitation, which is displayed on multiple places during the visitor invitation process and can be entered on the visitor display:

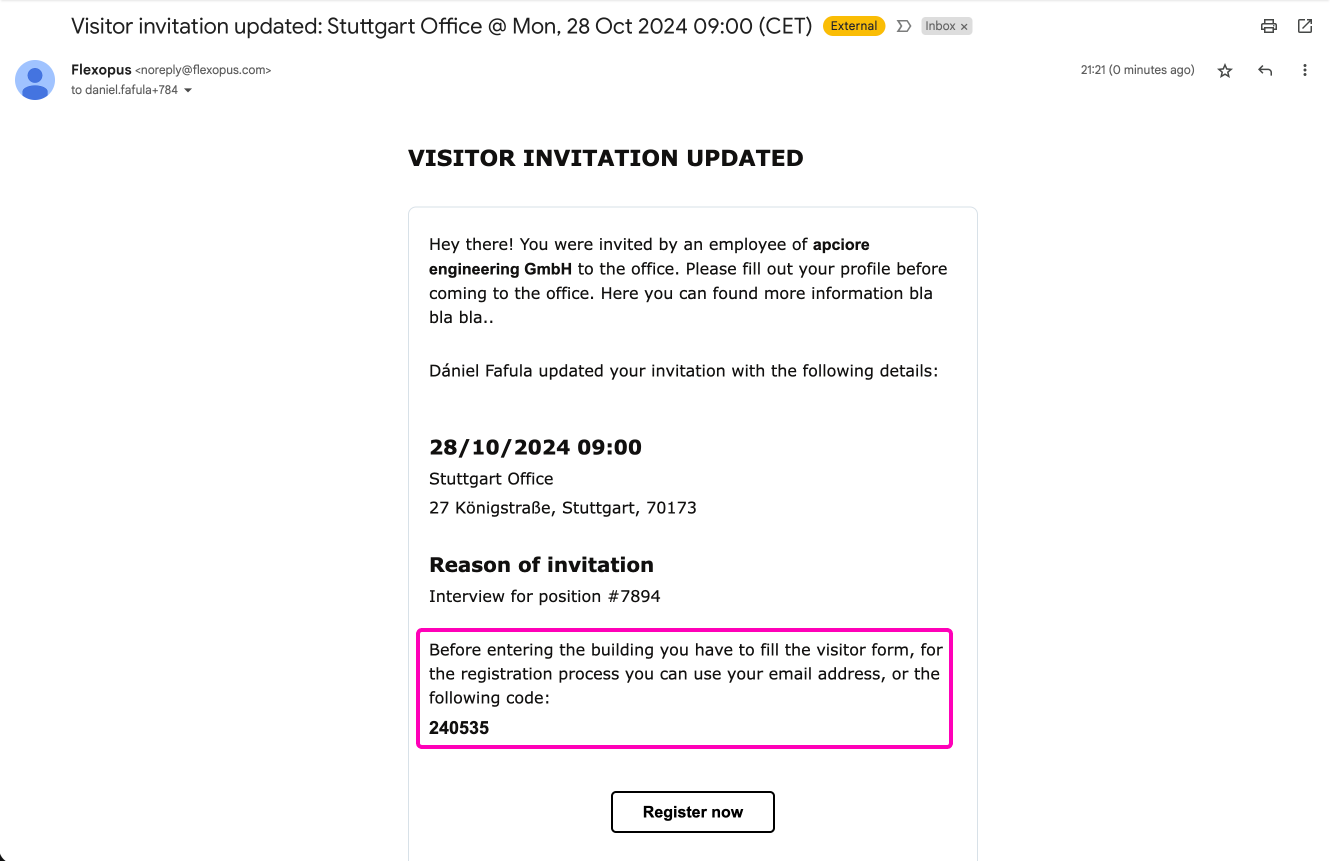
Invitation email
The visitor can see the 6-digit code in the invitation email.
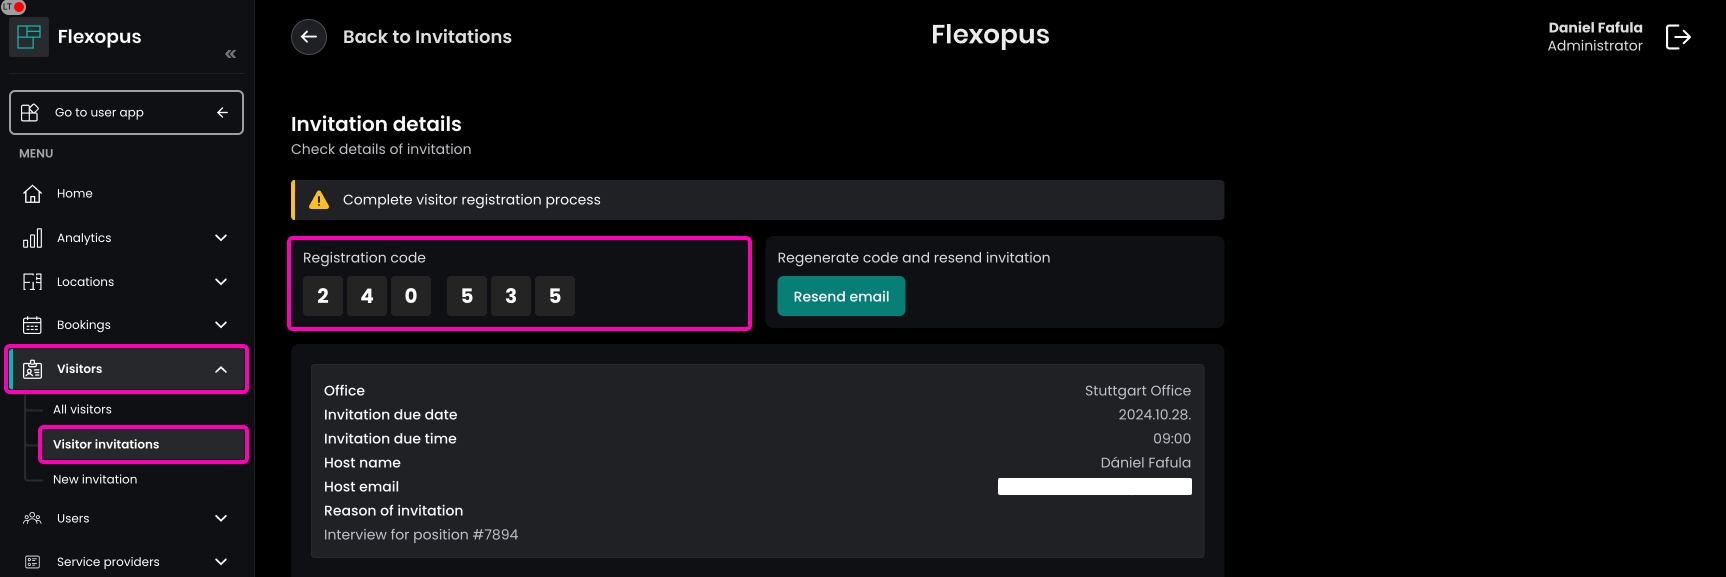
Admin dashboard: visitor invitation details
The administrator can see the 6-digit code in the invitation details in the admin dashboard.
(optional) User app: visitor invitation details
Depending on the visitor privacy settings applied by the Flexopus administrators, the host can see the 6-digit code for the invitation as well.
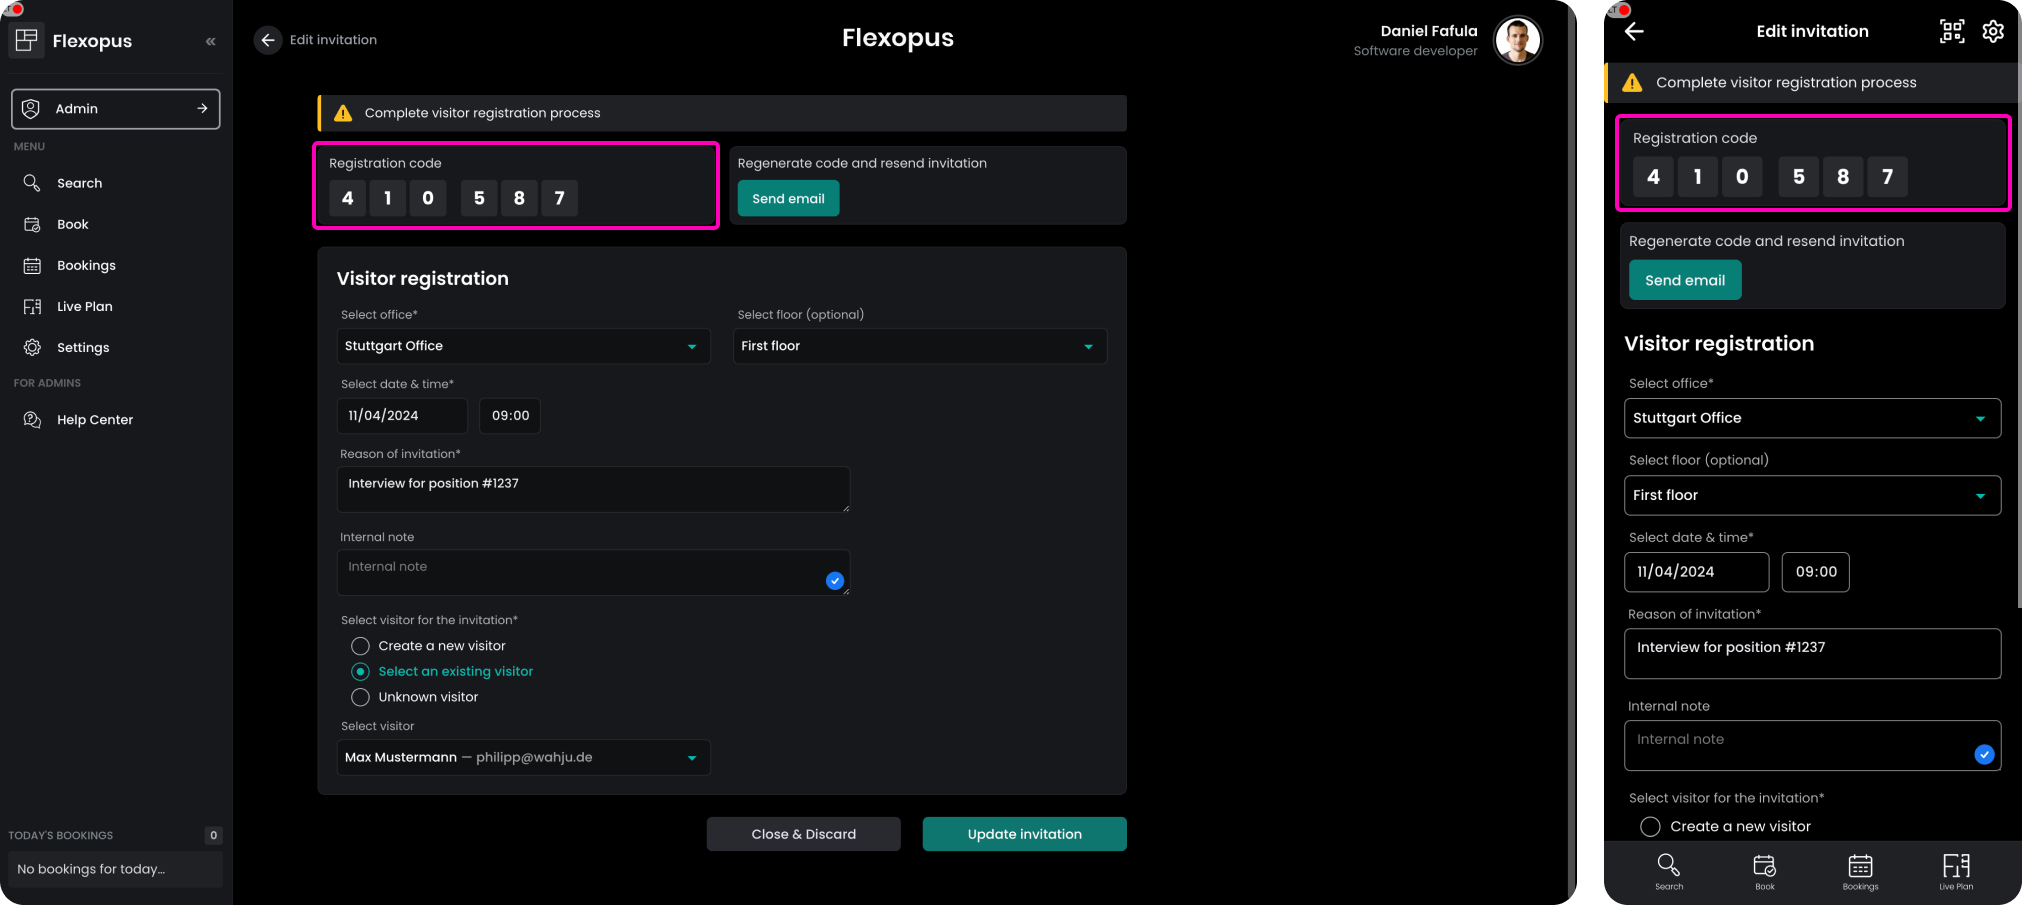
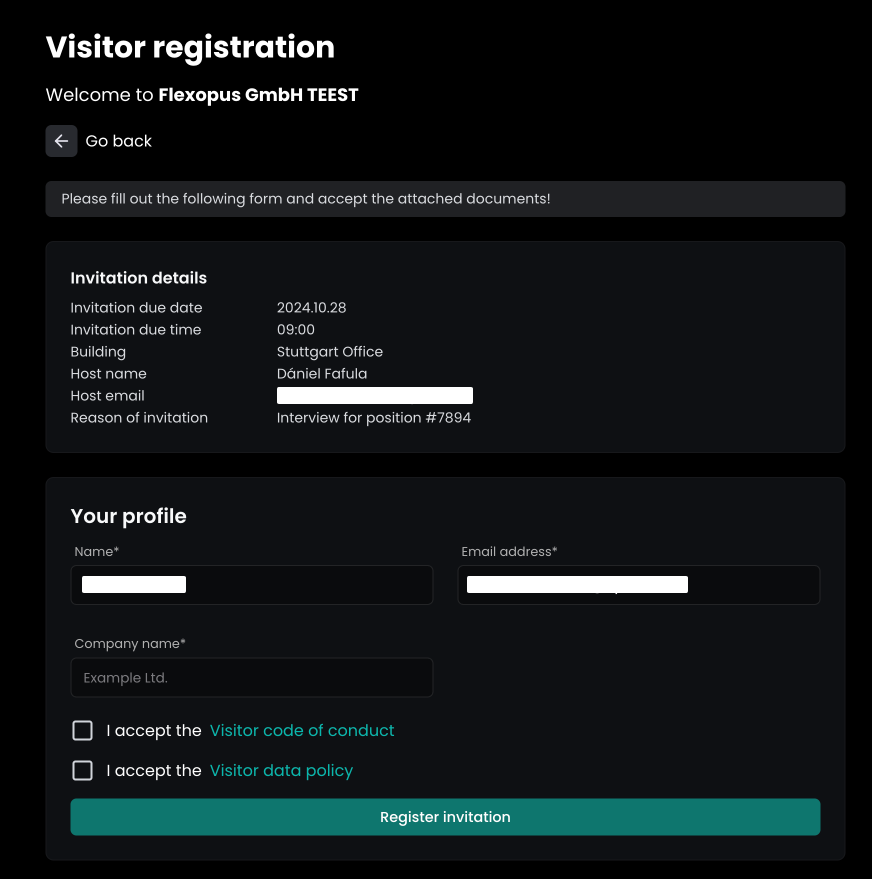
The invitation code can be used on the visitor kiosk display to complete the visitor verification process on site once the visitor arrived in the office. Take the visitor's tablet as a host, enter the invitation code, and hand over the tablet to the visitor. The tablet will show the following information:
- The first section shows the invitation details.
- The section shows the attributes that need to be filled out.
- The third section shows the documents that need to be accepted.
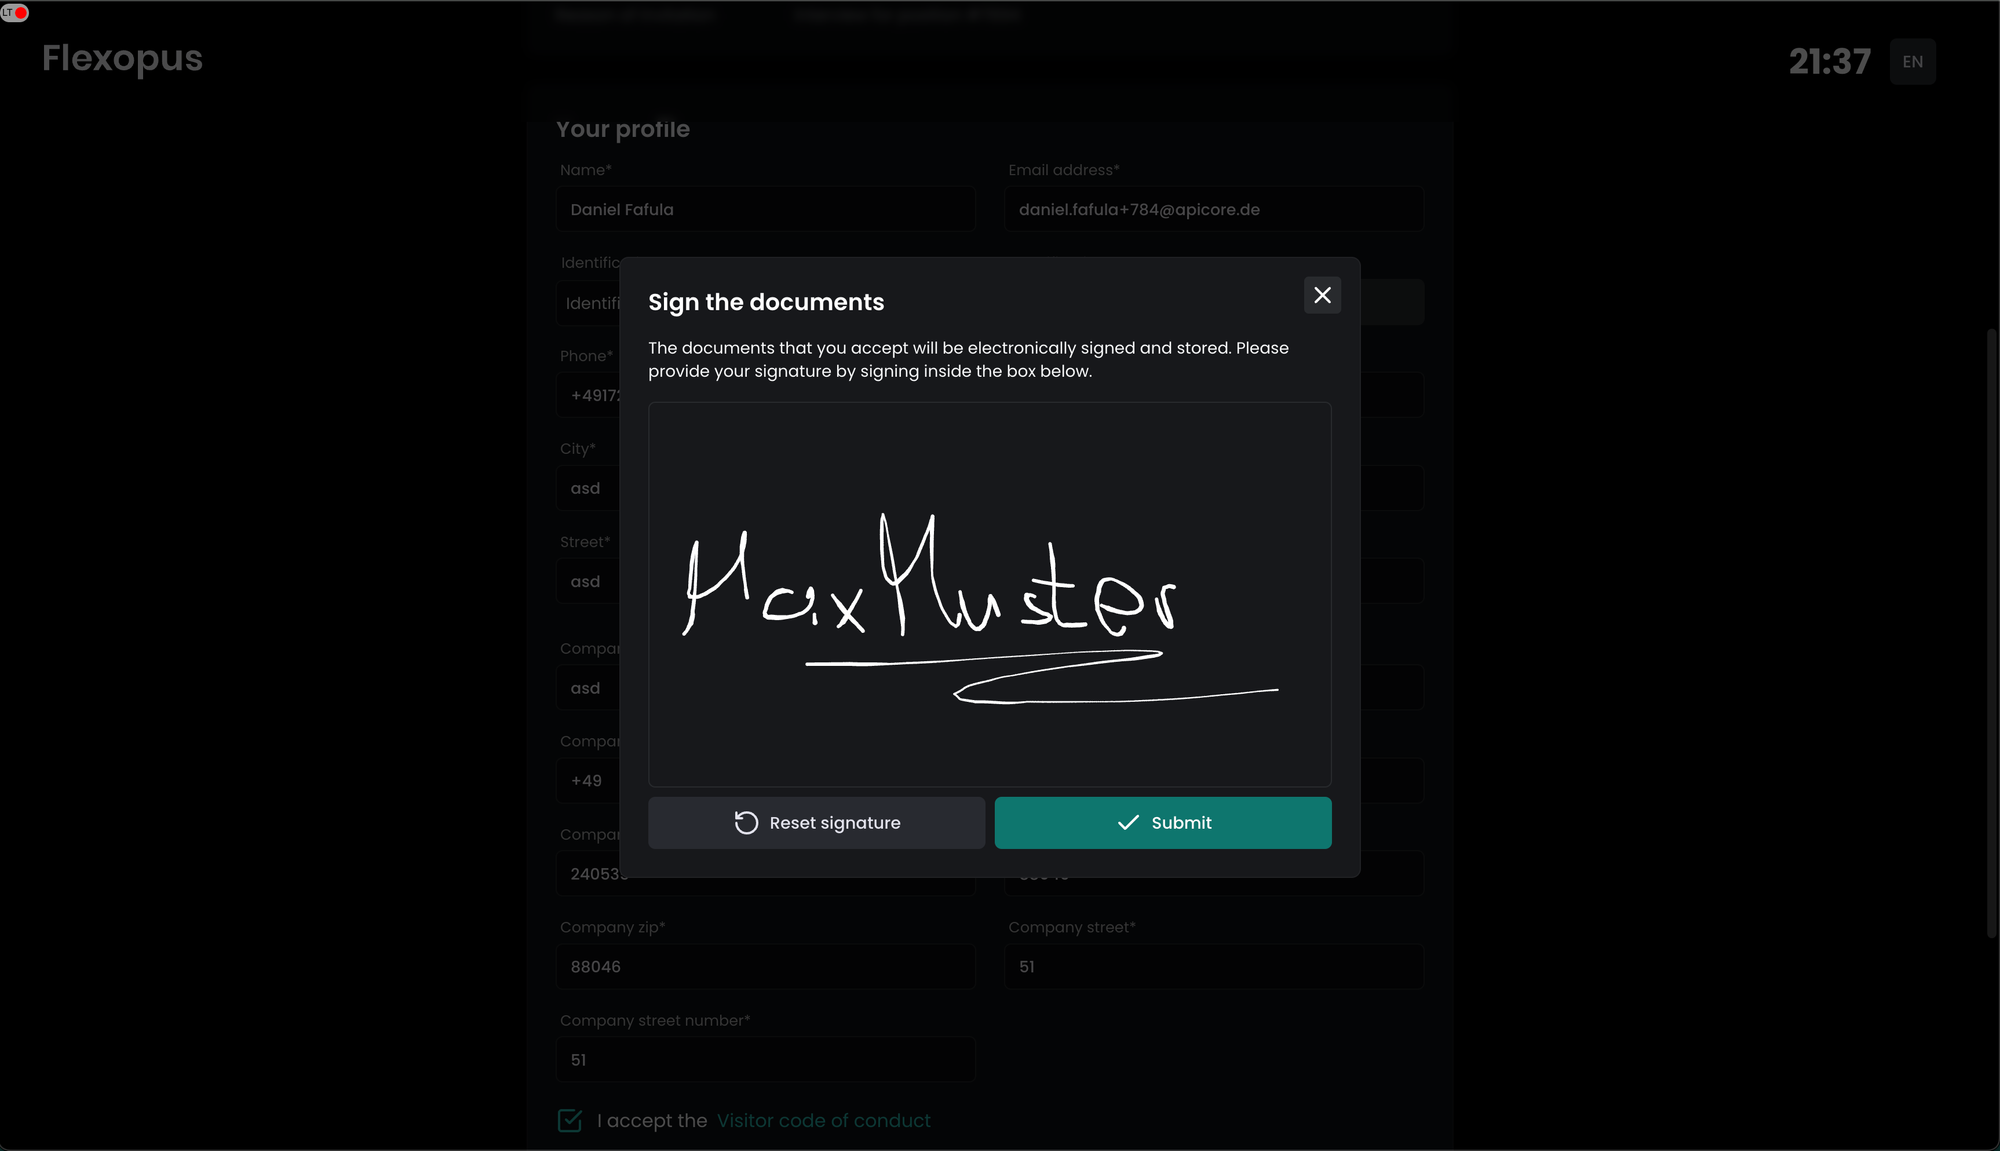
Optionally, a signature can be requested from the visitors, which will be copied to the last page of the required documents:
Visitor verification: using email address
The visitor verification process can also be started by entering the visitor's email address on the display. In this case, the system will check if a visitor with the provided email address has an invitation for the day or not.
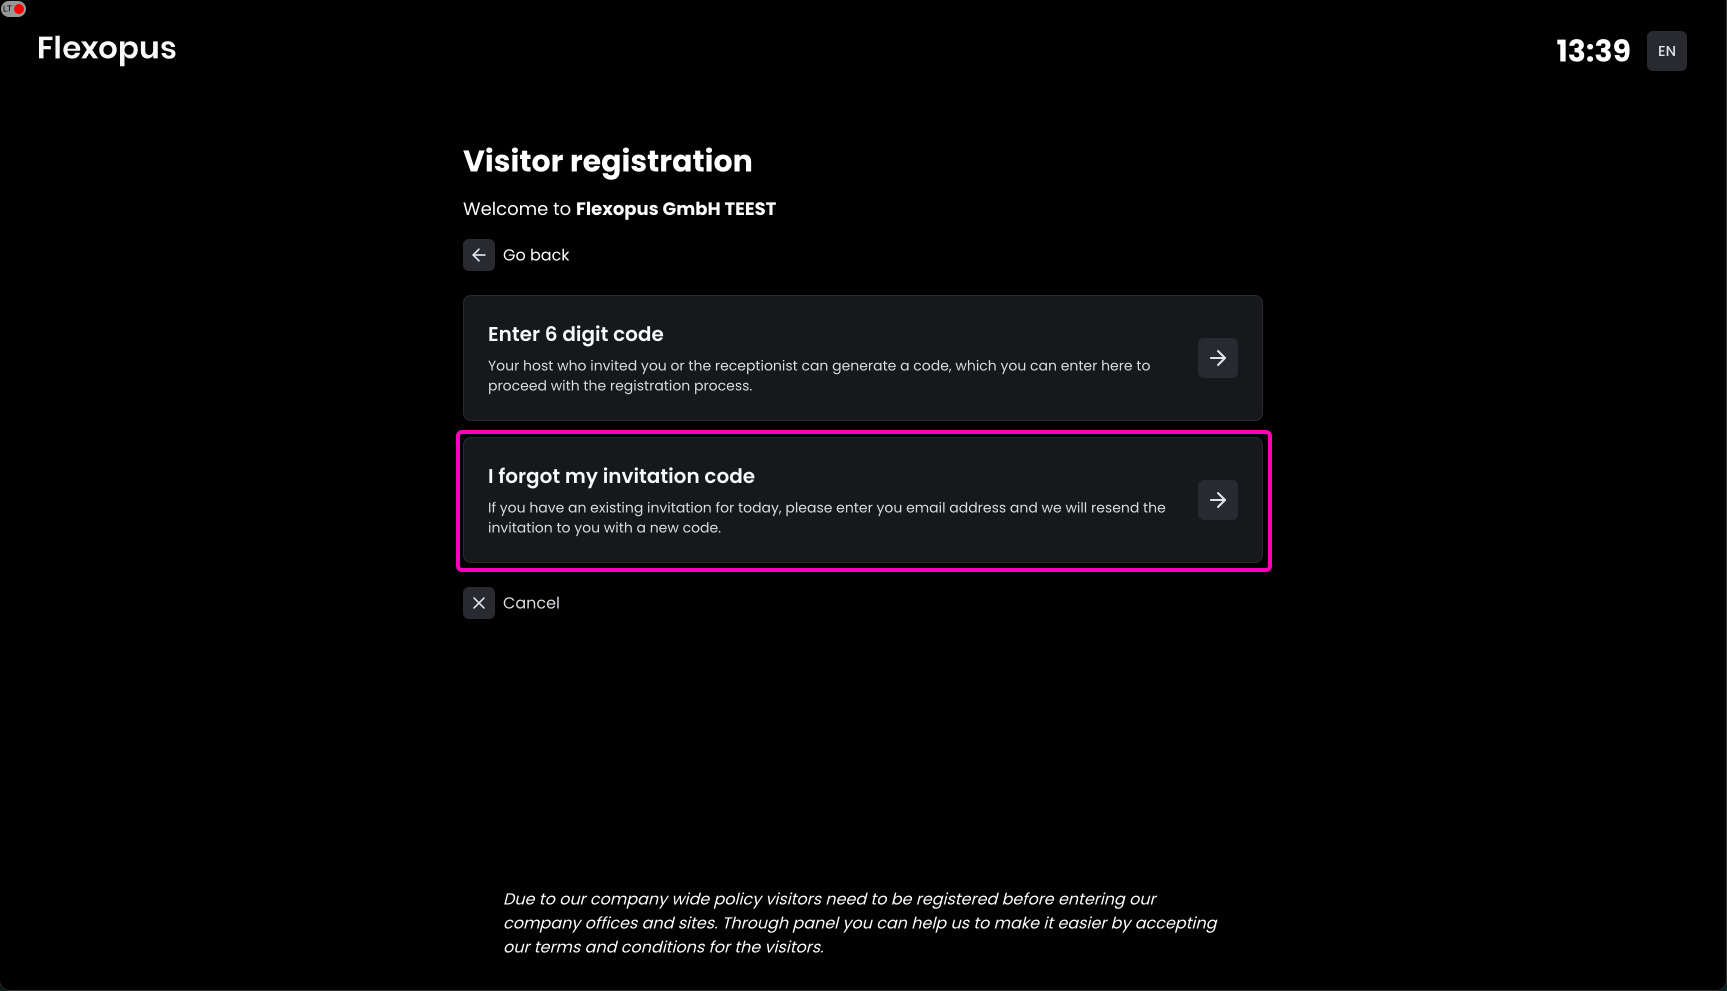
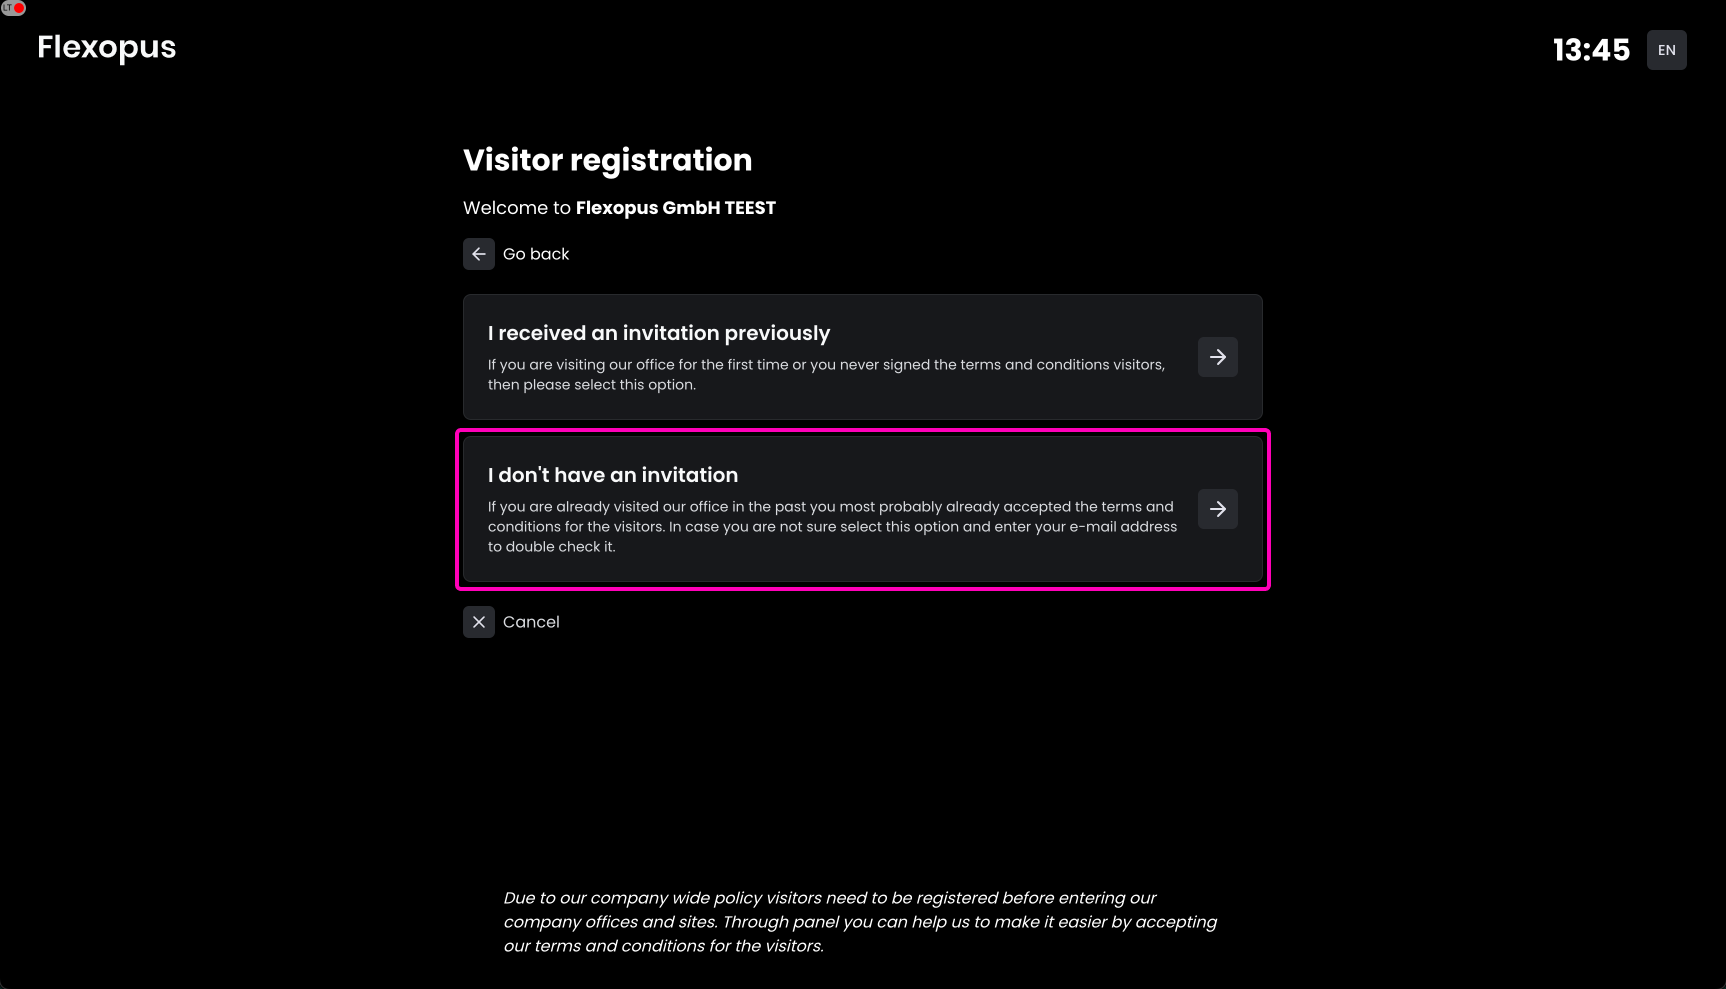
Visitor verification: without invitation
In case a visitor has no invitation, the visitor can still start the verification process for their visitor profile to get it verified, which could be used by a host later to create an invitation. This means that the verification can be done by any potential visitor.
Once the verification is done, a host can create an invitation for the verified visitor profile.
Limitation for normal users:
If a visitor isn’t visible to the host due to privacy settings, the host should create a new invitation using the visitor's email address. The system will recognize any existing visitor with that email and link the verified visitor profile to the invitation. This preregistration simplifies the process, allowing the host to easily log the visit later, as the visitor's verification is already complete.
Configuration manual
To configure a visitor kiosk display, you need to be an administrator in Flexopus and the kiosk display has to be activated in the visitor management settings ??Dashboard > Settings > Visitor Management

STEP 0 - Hardware requirements
You can basically use any browser capable device for the visitor kiosk configuration. The only real requirement is to have a modern browser capable device. It can be any iOS, Windows or Android tablet.
Recommendation
Still, if you're flexible, and you are planning to order something, we would recommend buying an Apple iPad Air 11". There are two minor reasons for it:
- Nice quality with an integrated pencil for digital signature and to keep the tablet cleaner: https://www.apple.com/de/apple-pencil/
- It's easy to put the display into a kiosk mode, by enabling the kiosk mode in the settings and pressing the on/off button 3 times.
- There is a wide variety of clean looking protection cases or stands for the iPads, which will be needed, just in case it drops on the floor during the check in.
However, you can use or purchase any other tablet as well, since the listed reasons for our recommendations can be fulfilled with many other devices.
STEP 1 - Install Flexopus
The preferred way to install the application on a tablet is to download it from the Google Play Store or Apple App Store.
For iOS devices:
Install Flexopus from the Apple App Store and make sure that the automated update of the application is enabled.
For Android Devices
Install Flexopus from the Google Play Store and make sure that the automated update of the application is enabled.

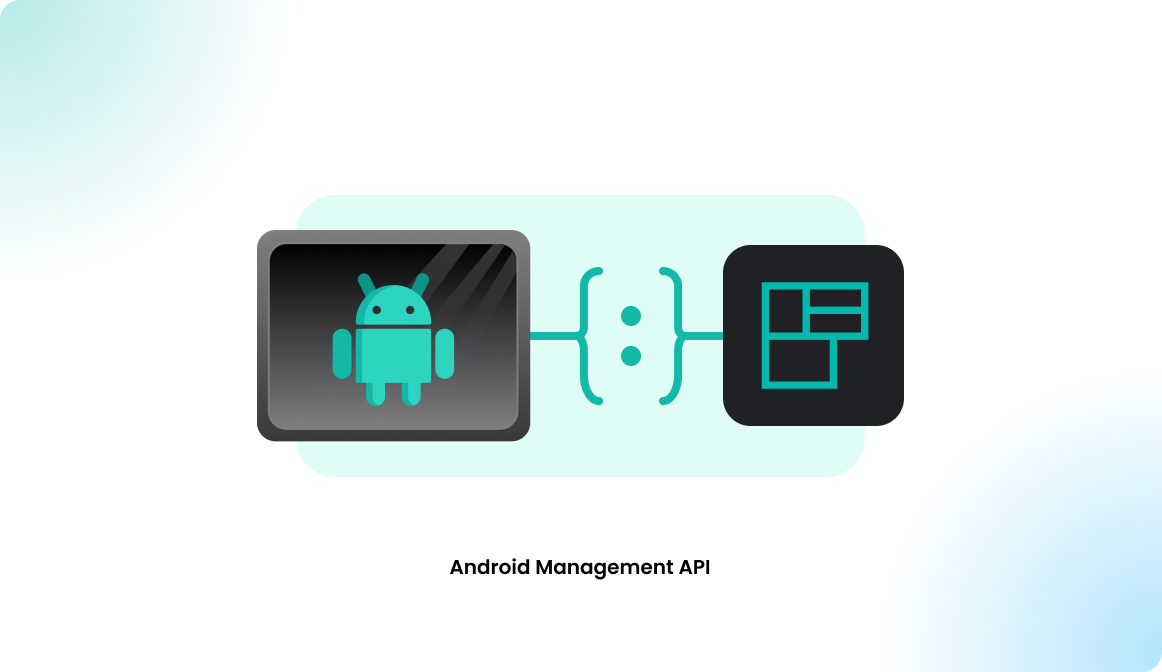
Alternatively, you can install the application on a managed Android device following the instruction manual here, however this is a more advanced installation way and may be overengineered for a simple visitor kiosk display:
STEP 2 - Create display configuration
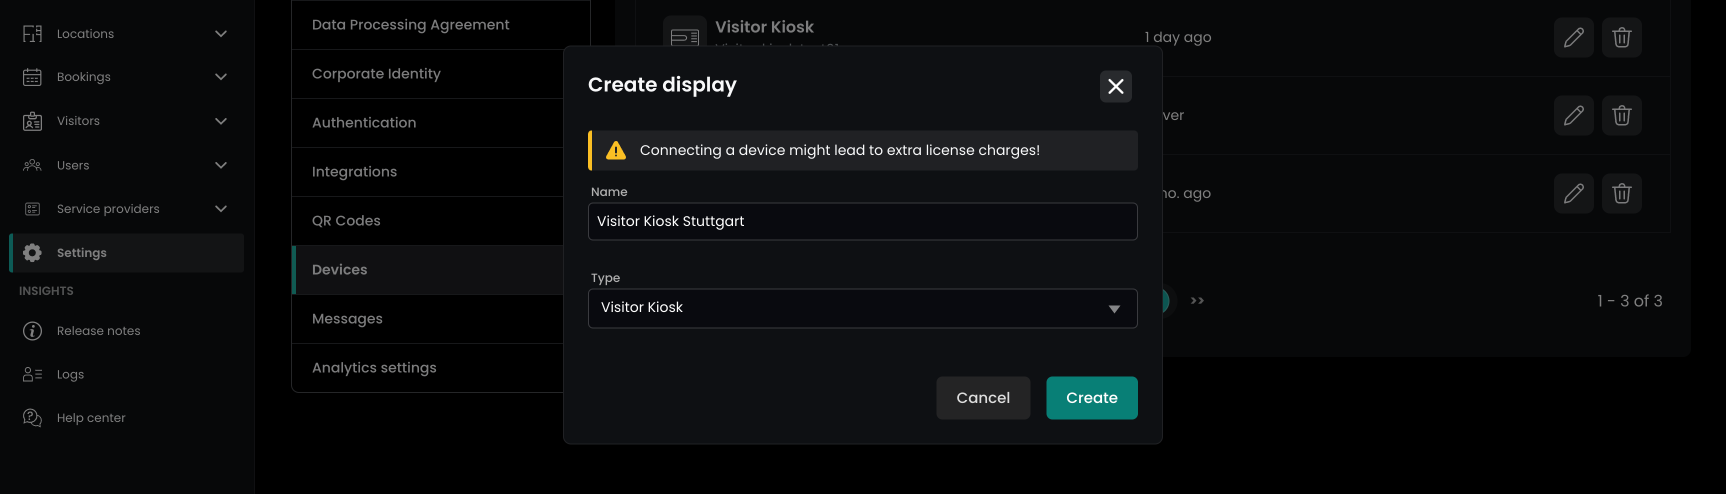
Open Flexopus on your PC and navigate as administrator to Dashboard > Settings > Devices and create a new device
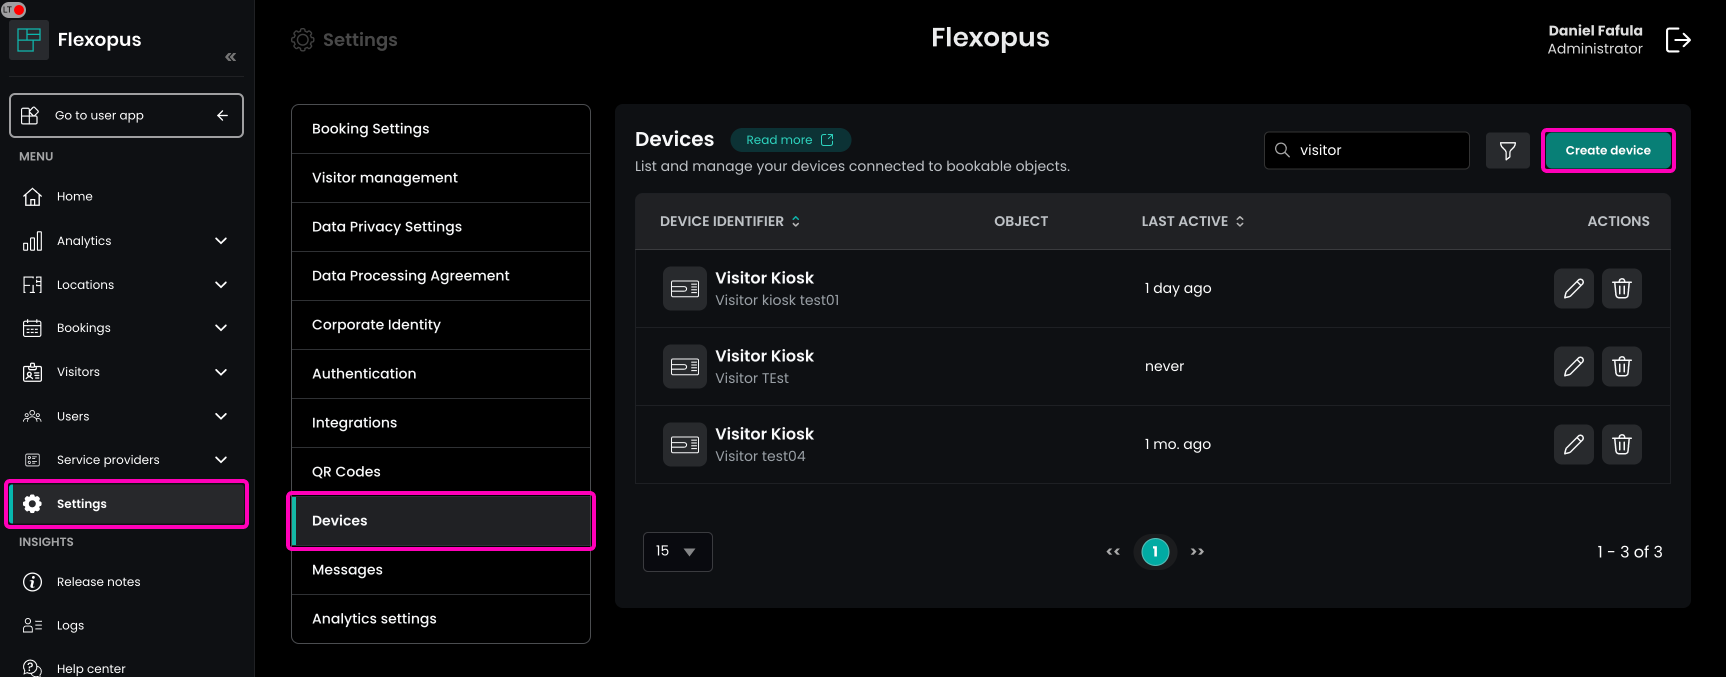
Add a name for the device and select the display type visitor kiosk.
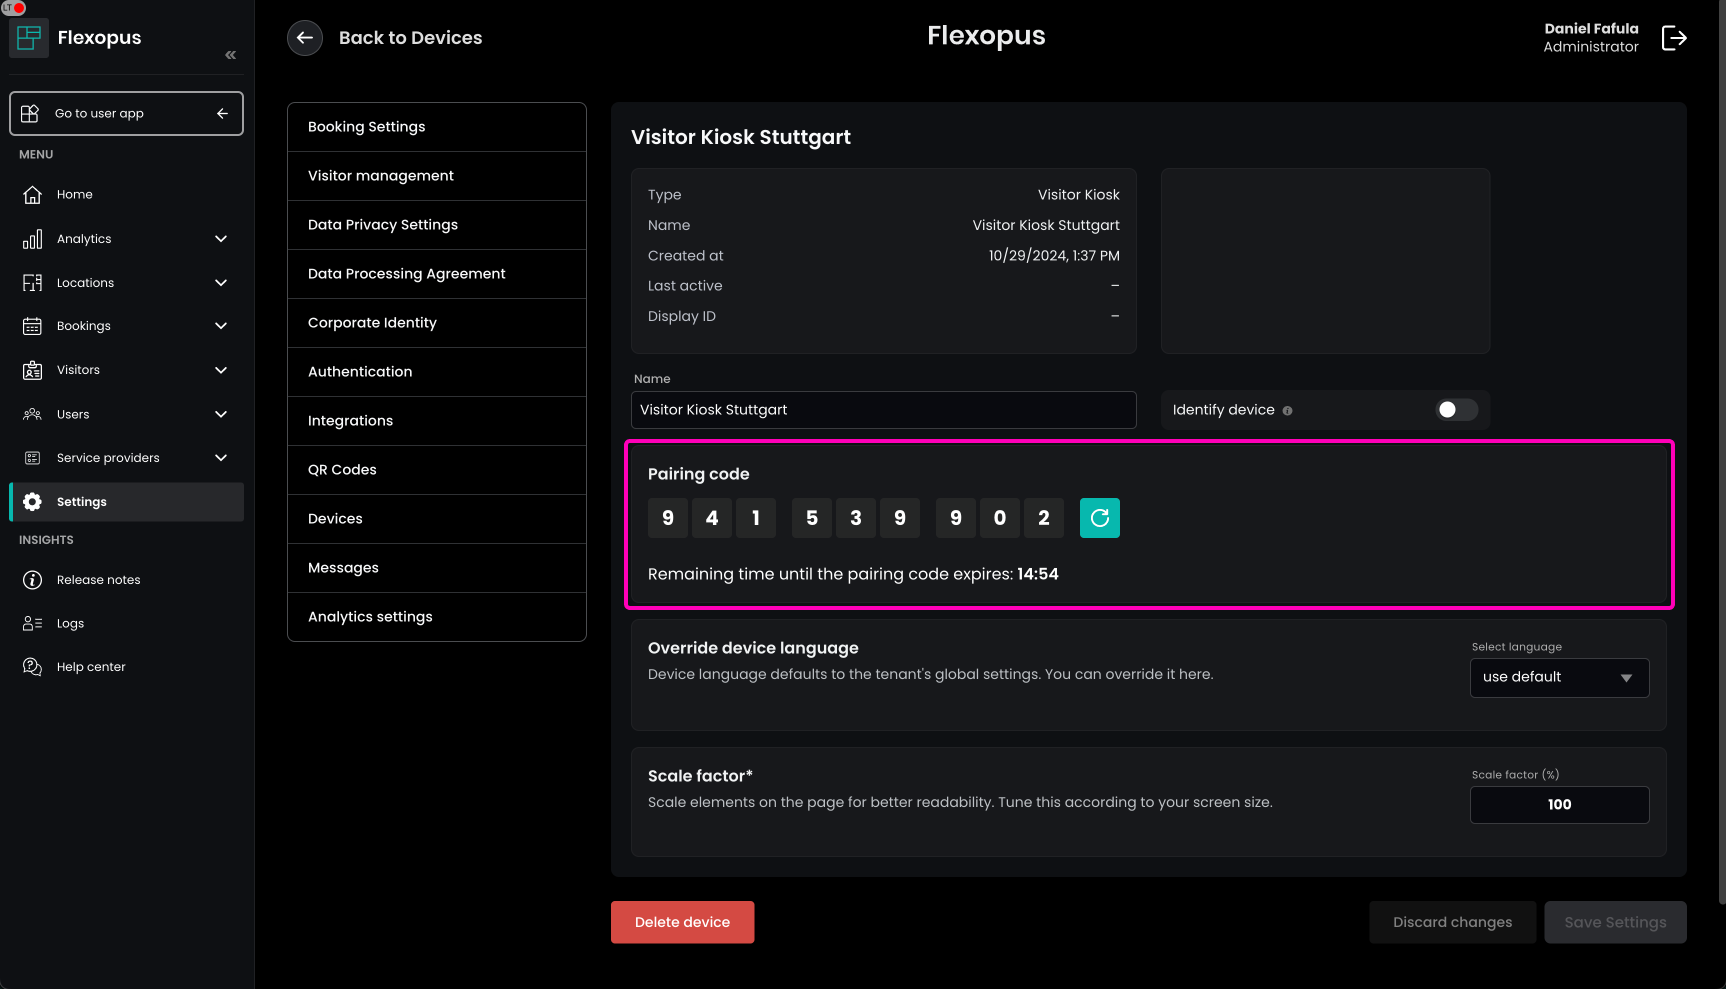
STEP 3 - Connect the display
Once you created the display configuration, you need to connect the configuration with the display. You can do this by generating a pairing code:
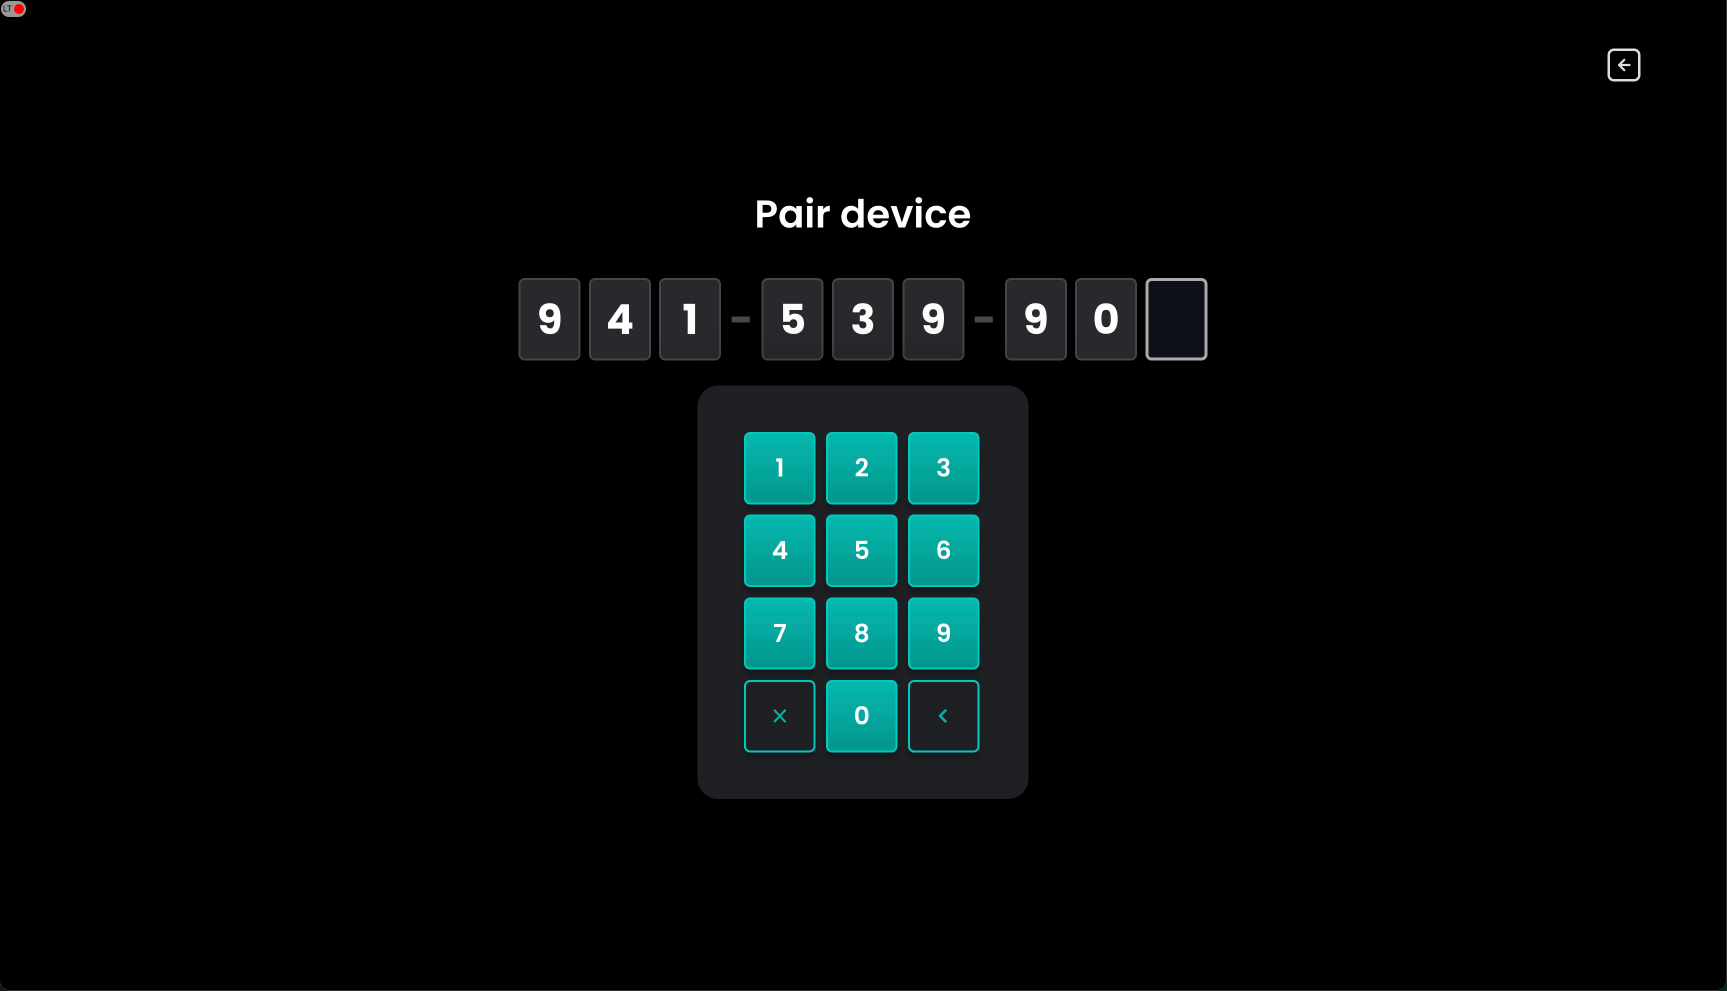
The pairing code can be entered on the display. Simply click on the Pair as display button on the login page.

Enter the generated code on the pairing screen:
Pairing and configuration finished. Don't forget to put the kiosk display into a kiosk mode and protect it with a case.