Flexopus Management Portal
In this article you find a step-by-step guide how to register your organization in the Flexopus Management Portal, how to set up a 30-day demo application and how to book your desired subscription plan.
Registering an organization
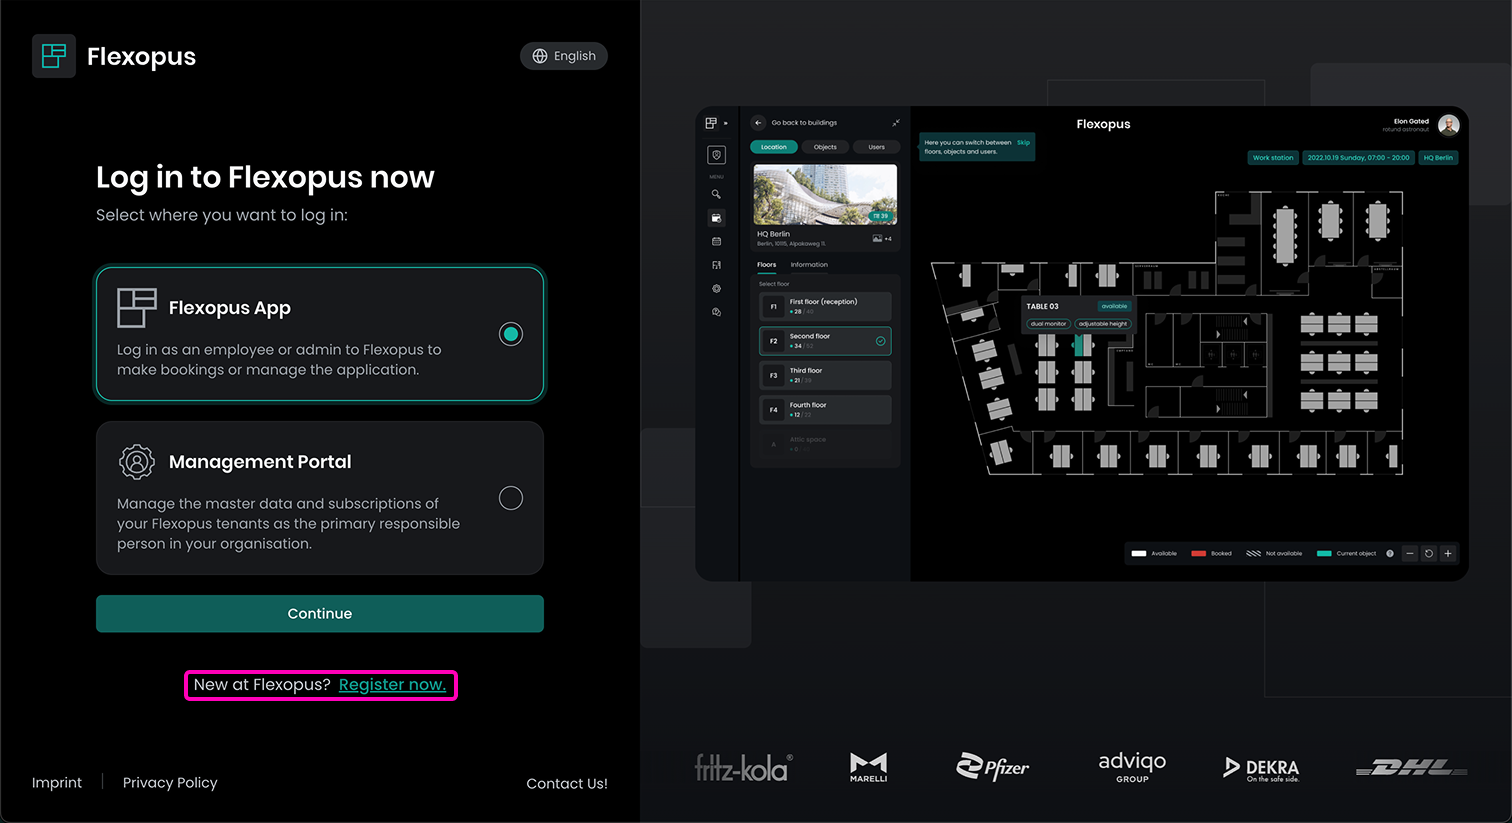
To register your organization in the Flexopus Management Portal, please visit https://portal.flexopus.com/. If you already have an active Flexopus application or subscription, you can log in to your tenant or to your Management Portal. In this case, we register a new organization by clicking on Register now.
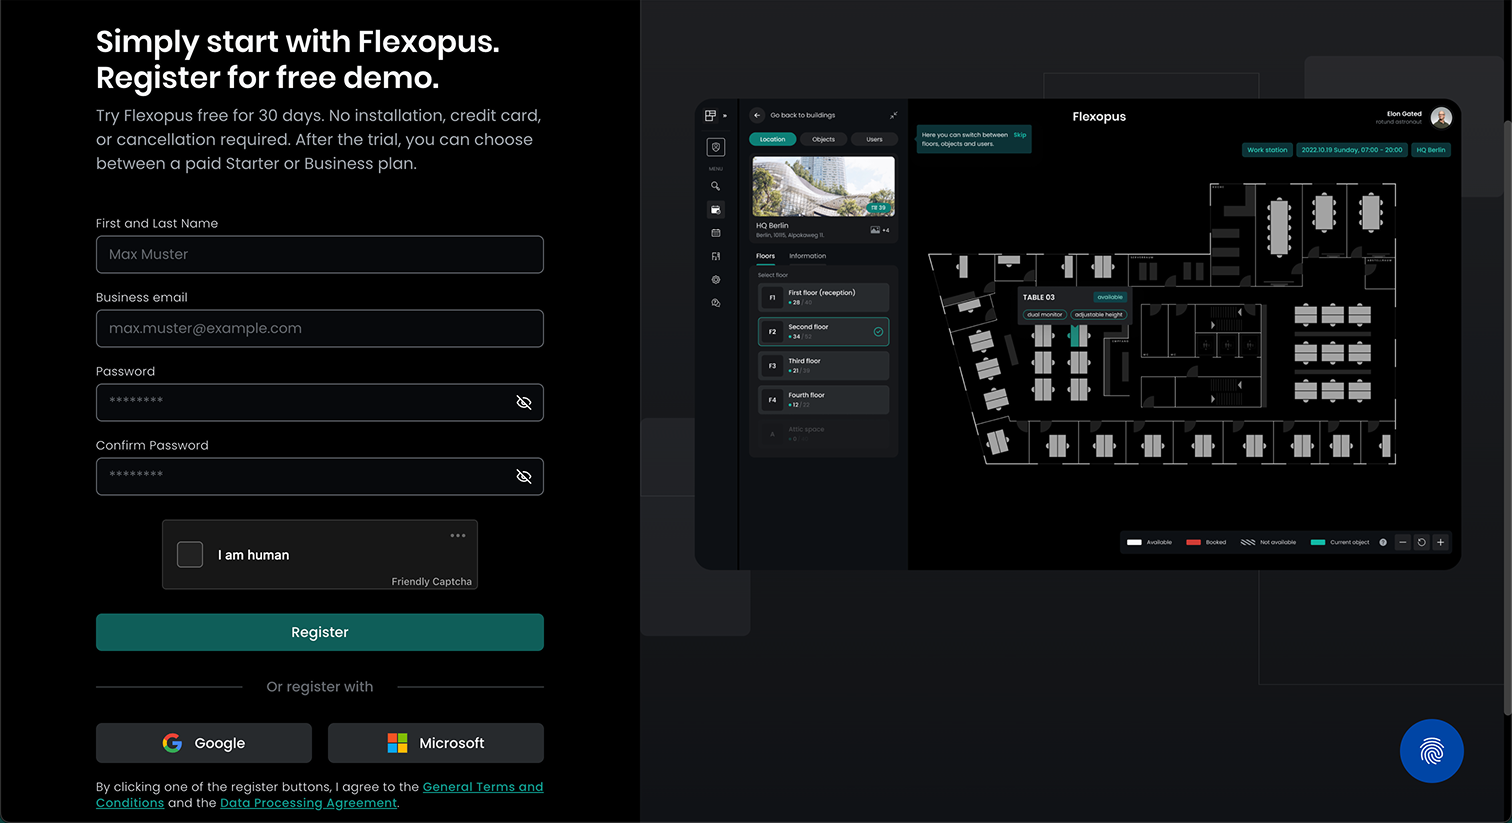
You are now asked to fill in your personal details.
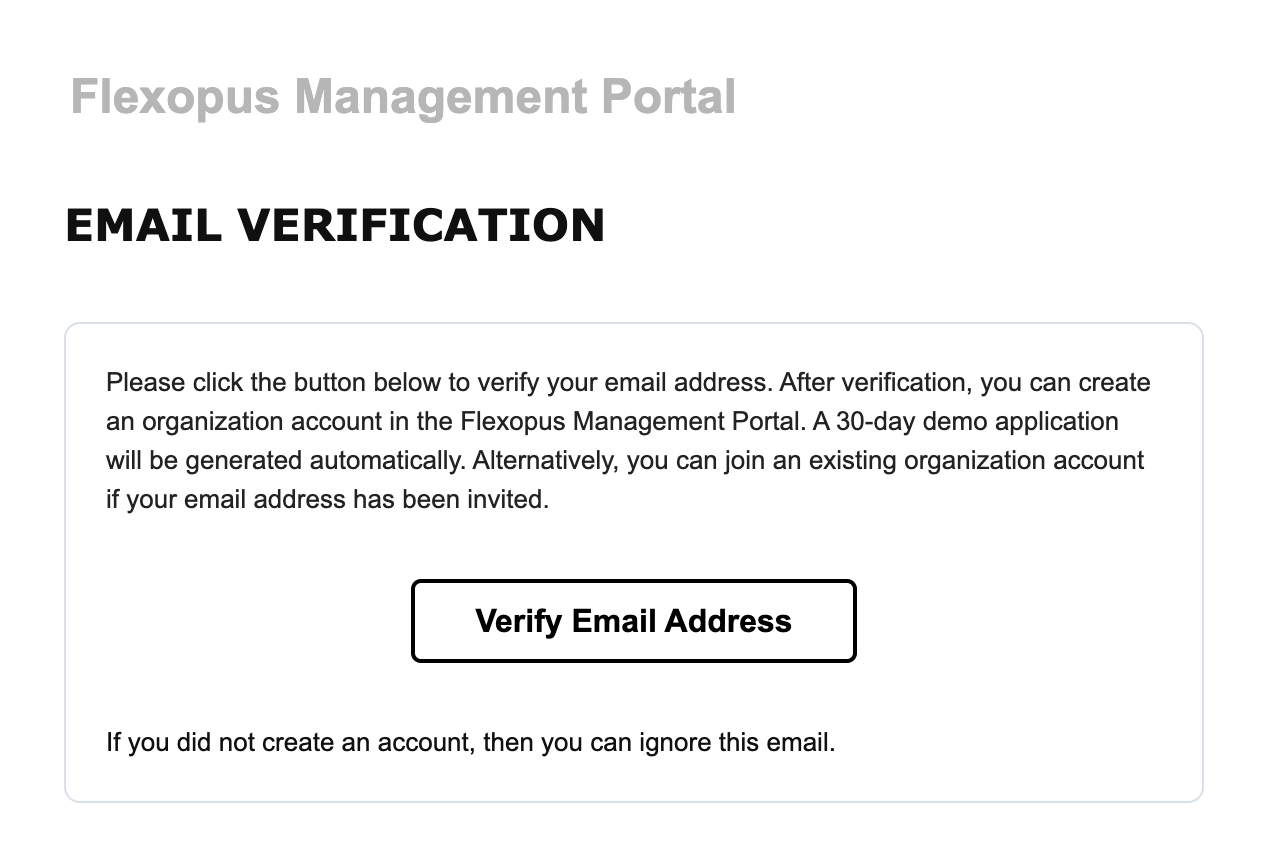
After registering, you'll receive an email asking you to verify your email address.
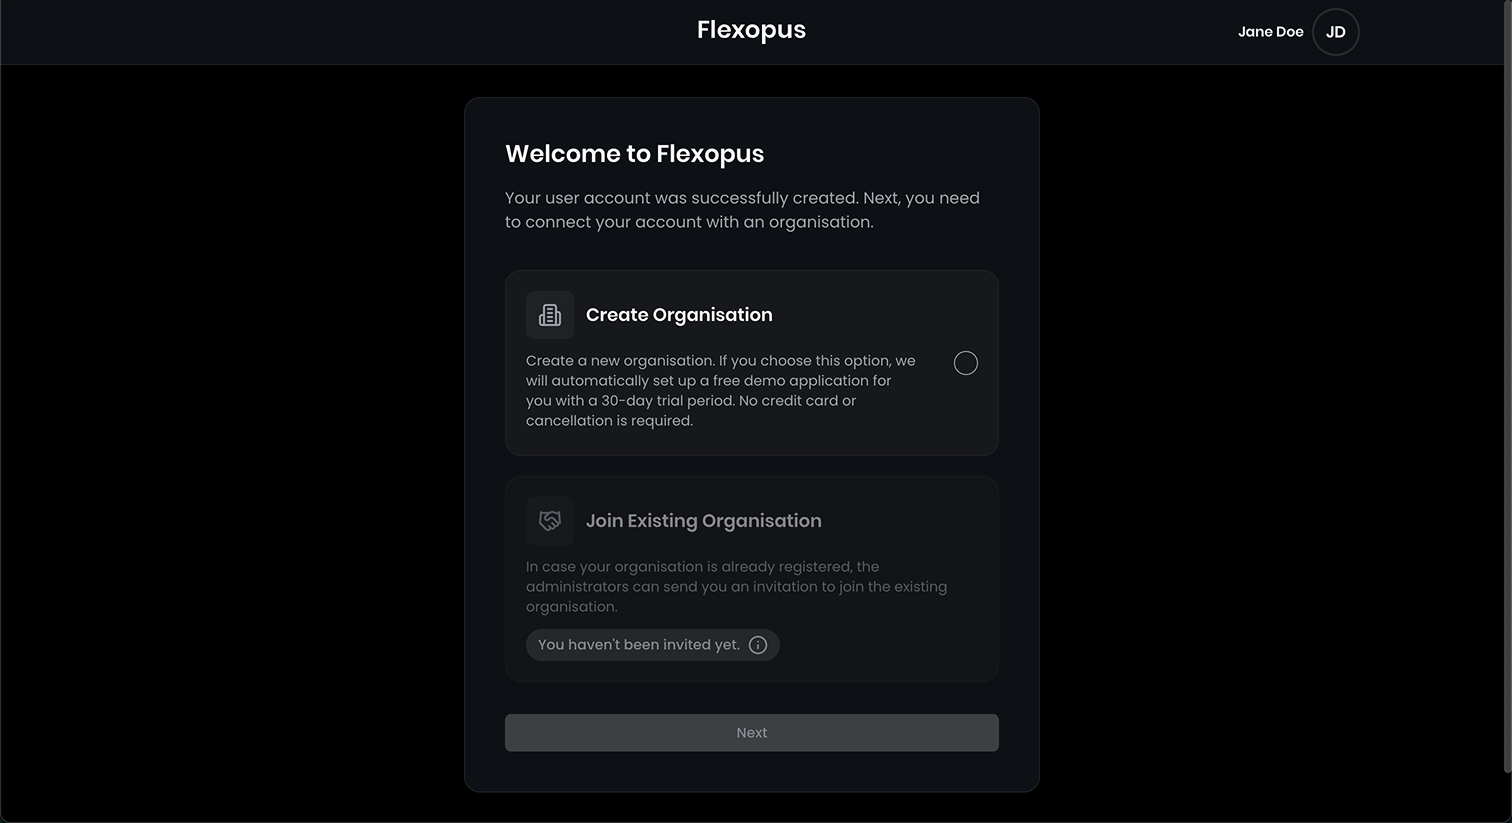
Once you did that, you are navigated to the Flexopus Management Portal where you can now create a new organization. This will also create a 30-day demo application, or you can enter an existing organization if your email address had been invited. In our case, we create a new organization.
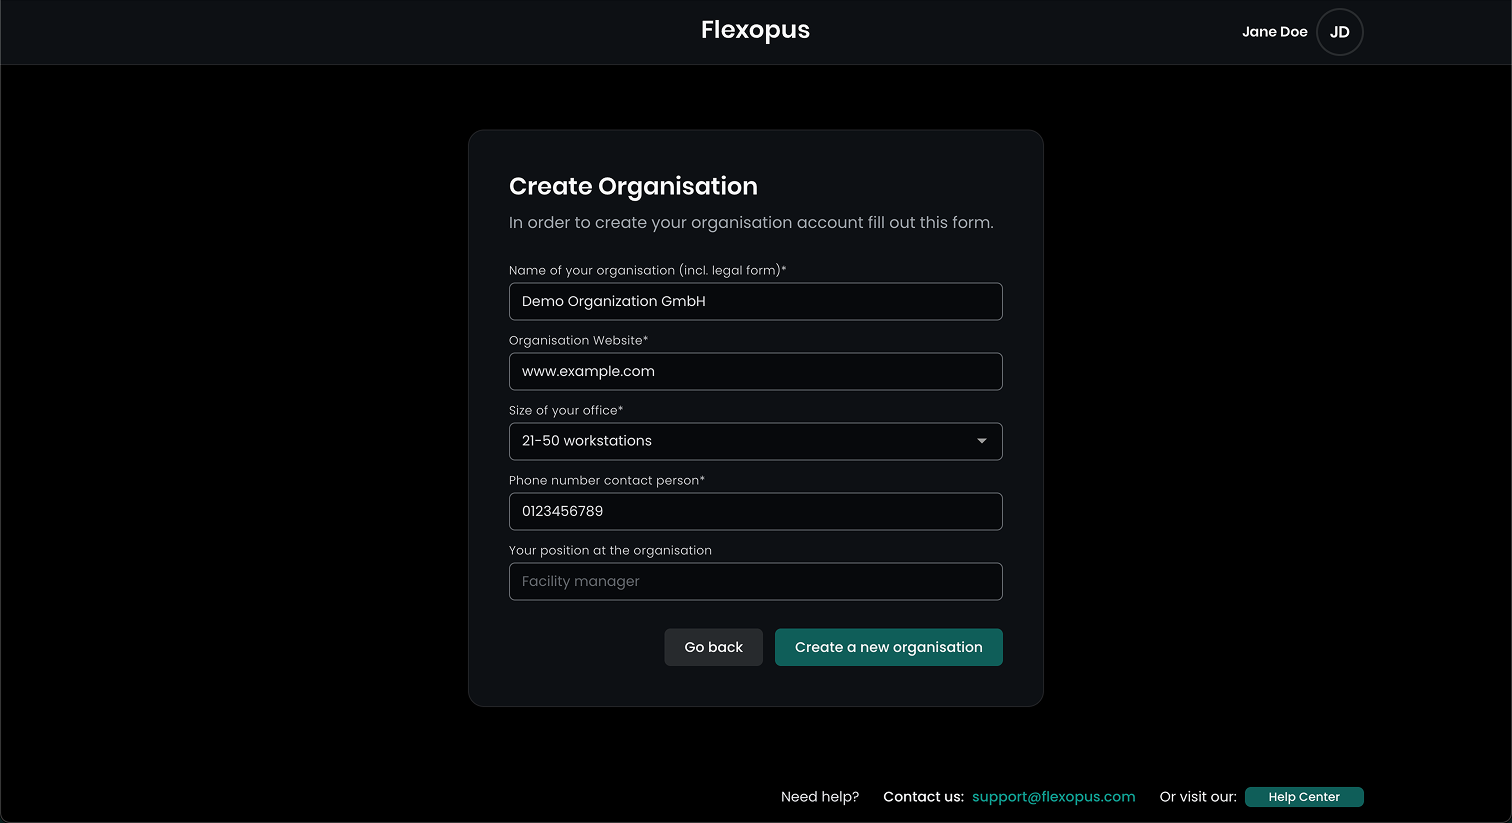
Fill in your company details and click on Create a new organization.
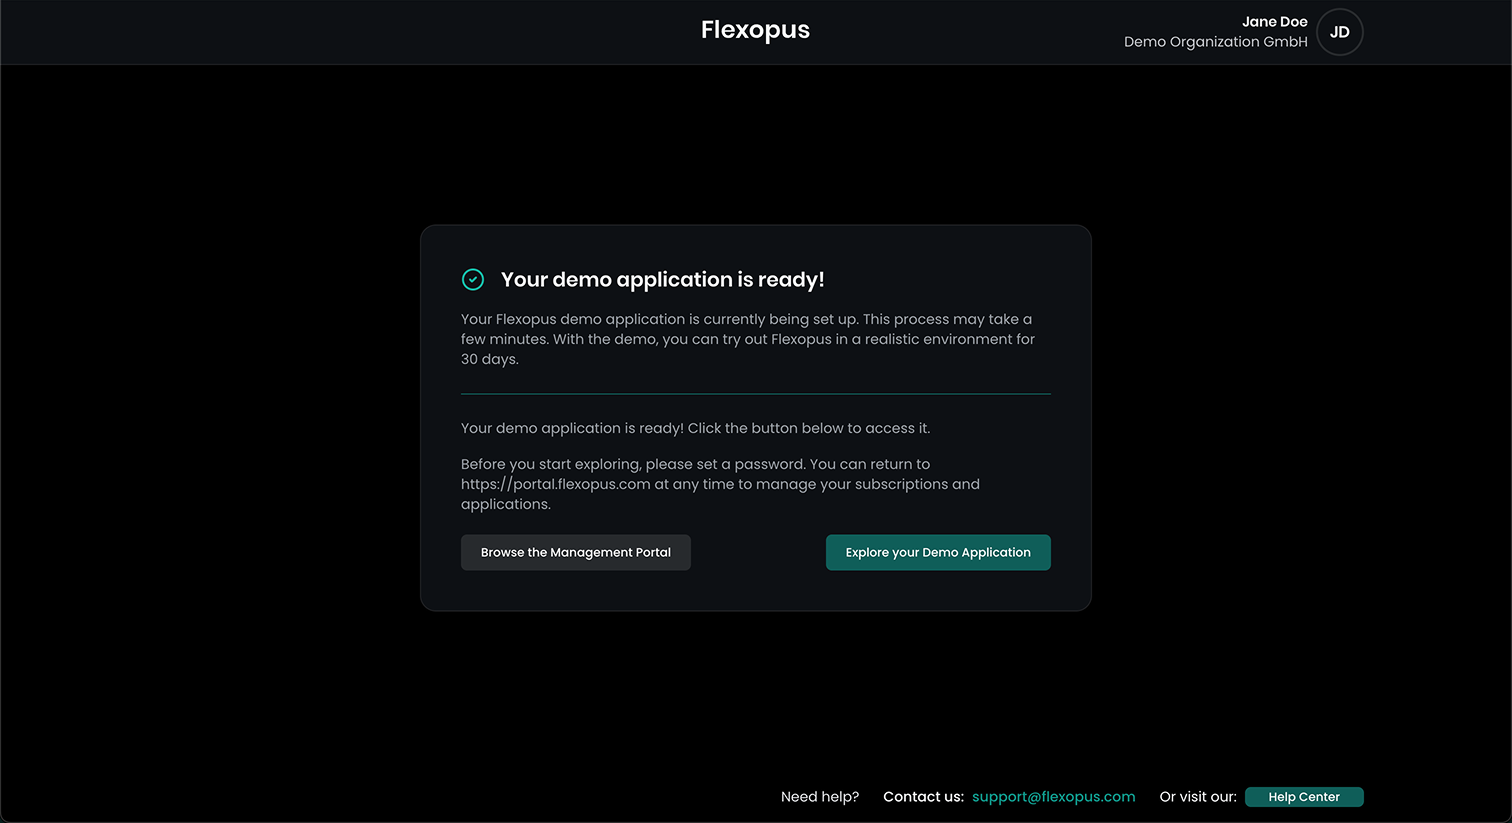
This process may take a few seconds. You now have the option to immediately enter the demo application or browse the Management Portal where you can manage your subscription plans and payment methods, book further services or manage multiple Flexopus applications if you have more than one.
30-day demo application
To start off with your 30-day demo application, you'll receive two emails in the background after successfully creating your organization.
1) Flexopus Application Created: This email informs you about the successfully created demo application and contains a direct link to that application. However it is useful to follow the instructions in the second mail you received.
2) Welcome to Flexopus: This email contains important information for a quick and easy start with Flexopus. You get helpful links to videos and help center articles and information about how to reach us if you have any questions. You are also asked to set a new password for your demo application.
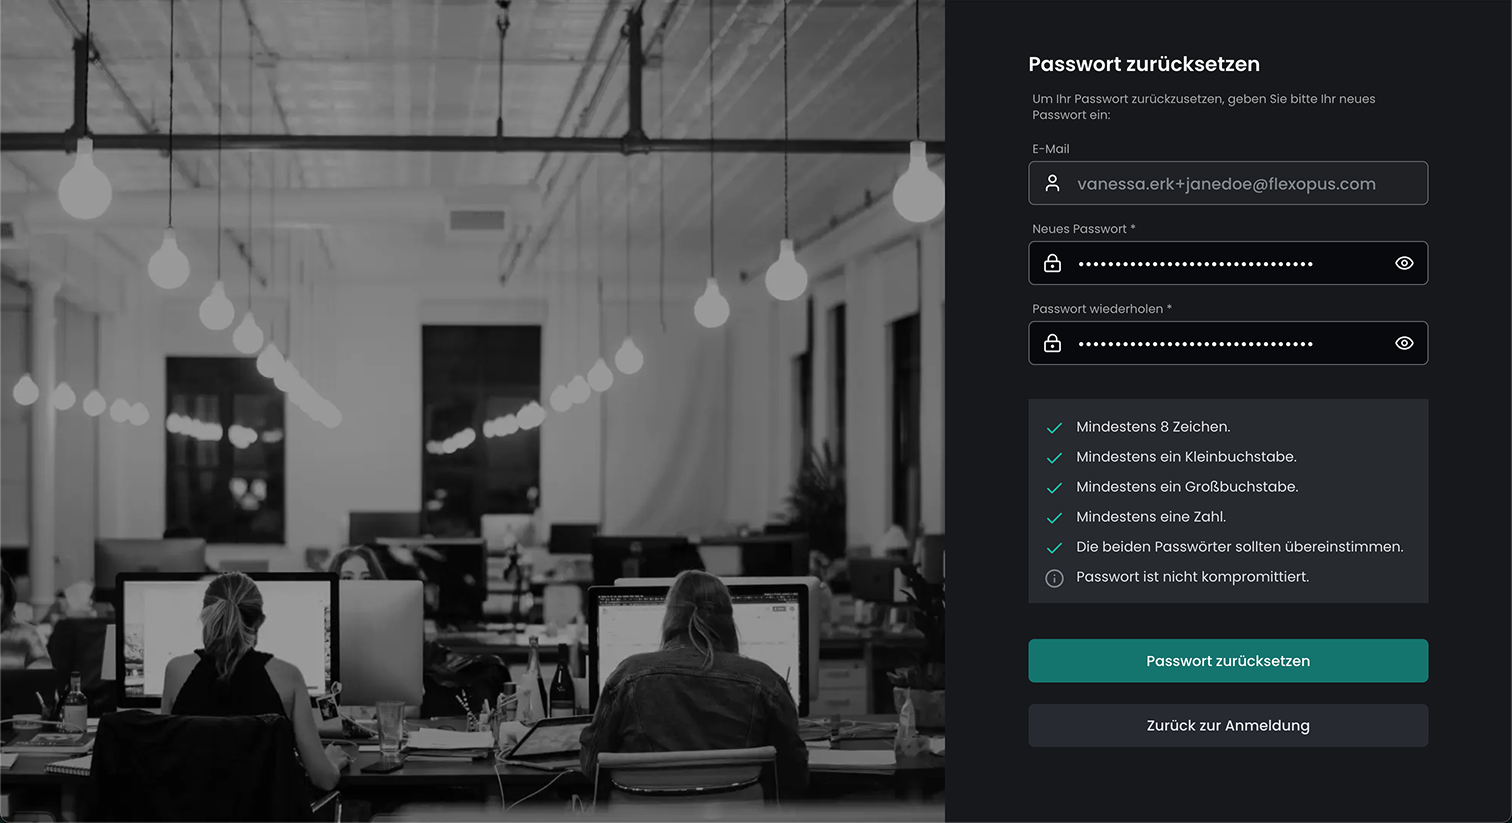
After having set your new password, you can enter your demo application and a guided tour starts to show you the most essential areas in Flexopus.
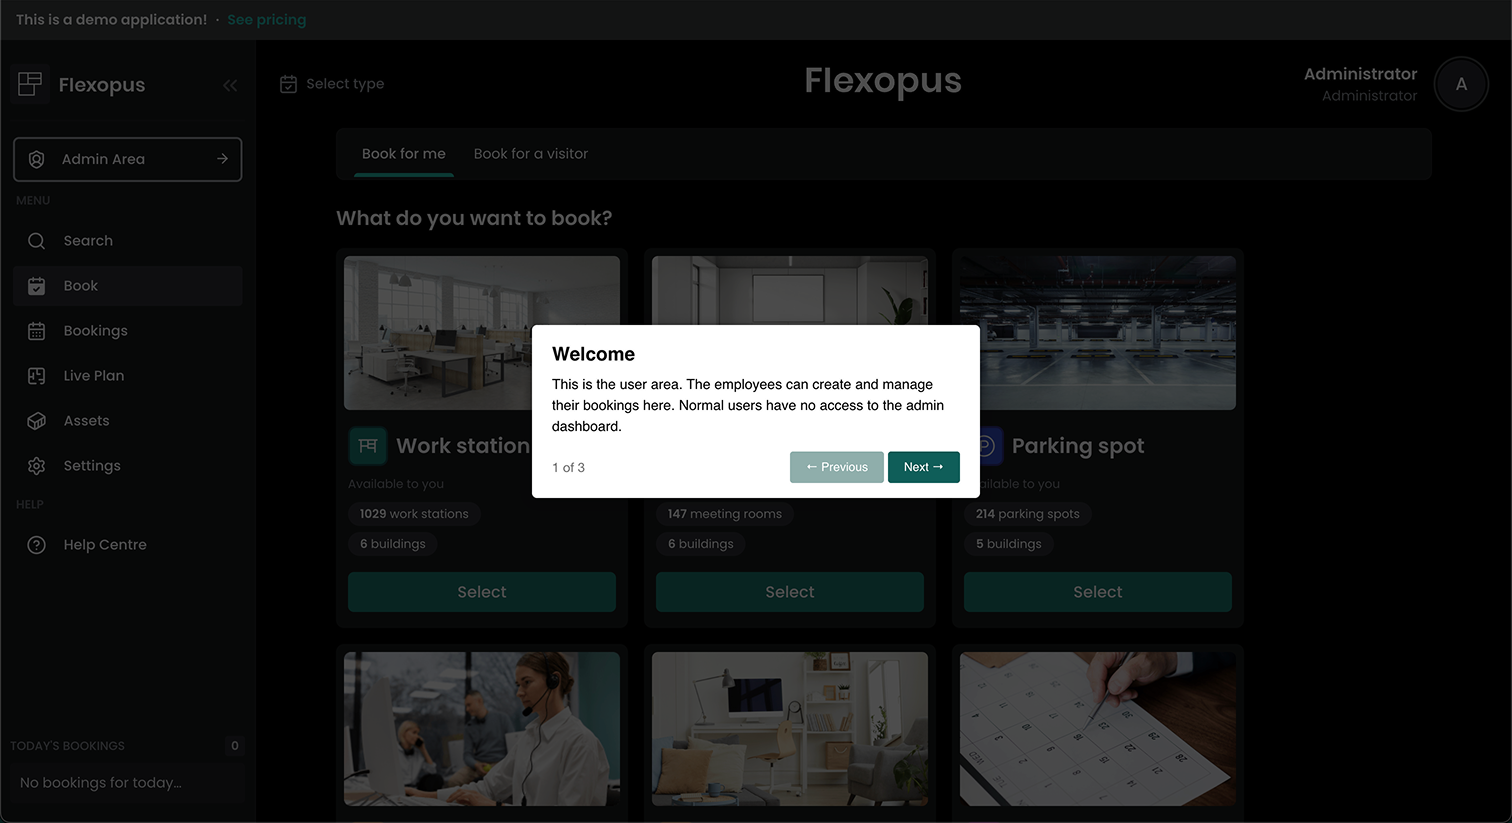
The demo application already contains exemplary buildings, floor plans, users, service providers, visitors, and assets. This way, you can immediately test every aspect of Flexopus with authentic data and use cases.
A good starting point for your first experiences in Flexopus is our first-steps article that is linked in the "Welcome" mail. You can also find it here:
Management Portal
In the Management Portal that you can open via https://portal.flexopus.com/ you can manage your Flexopus applications and your organization details like address and payment methods.
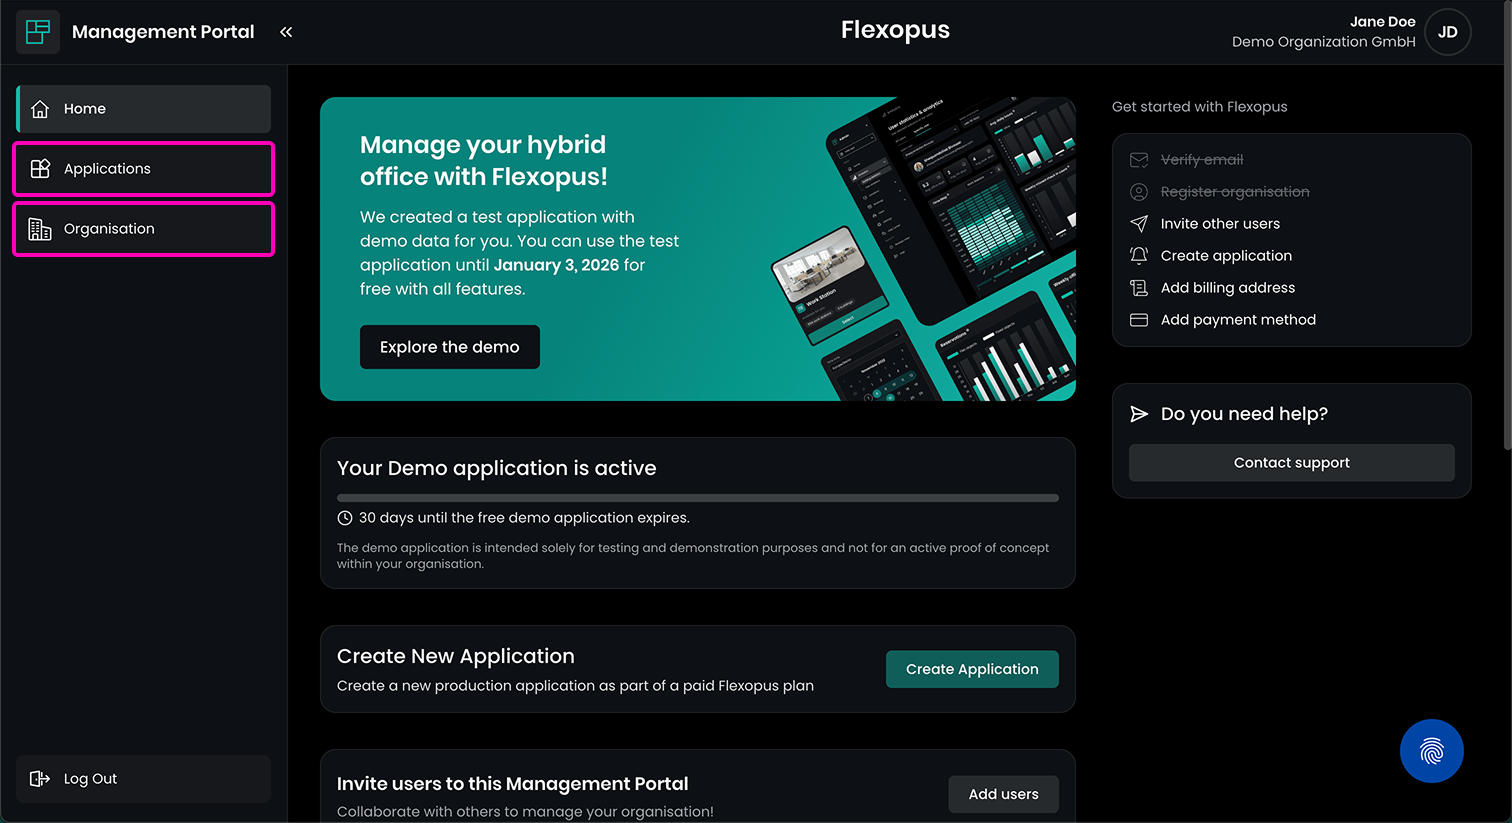
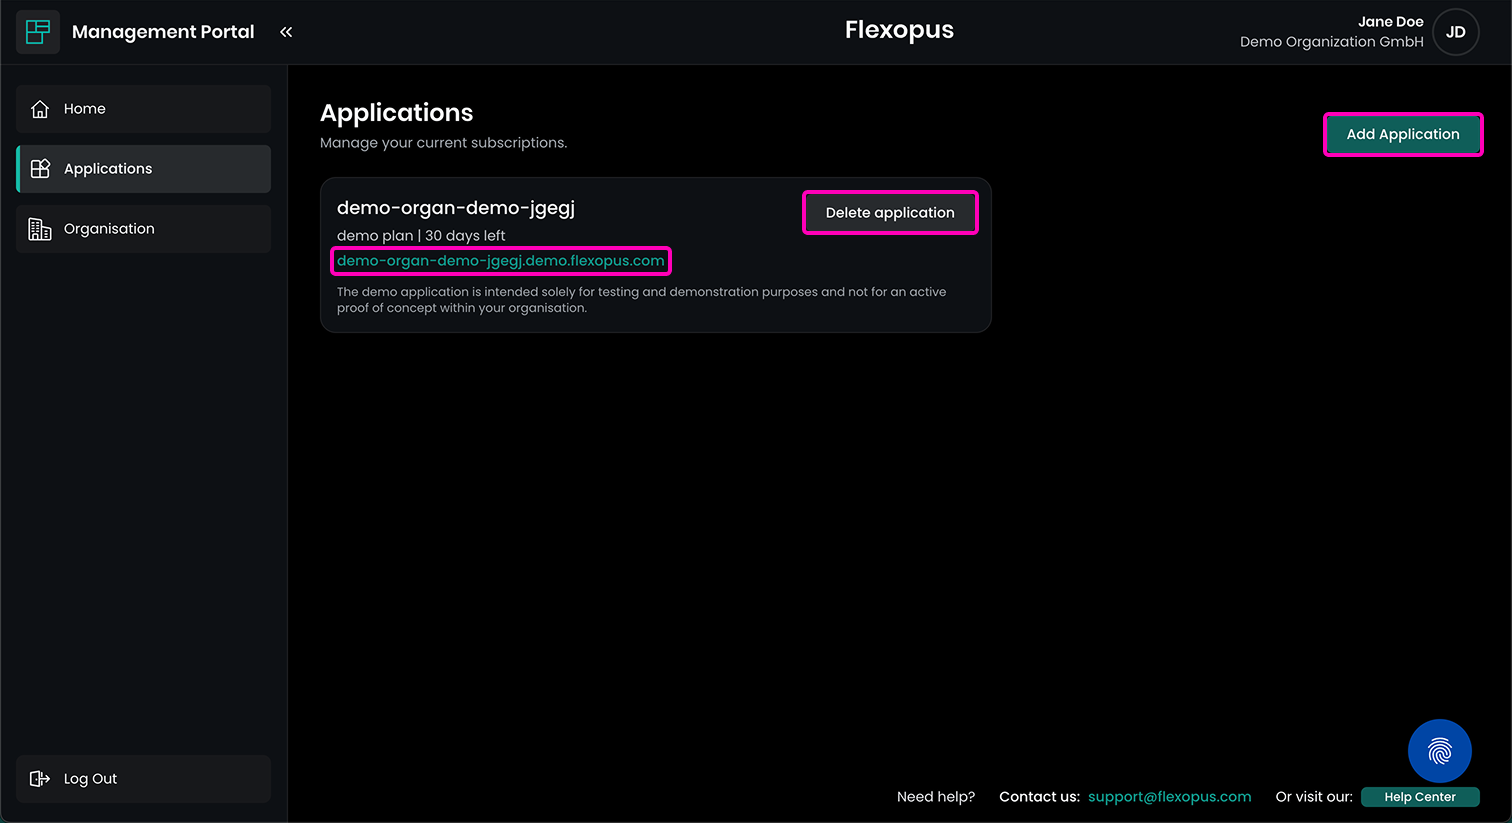
Applications
In the applications overview you find a list of all your active Flexopus applications. If you just registered in the Management Portal you only see the demo application here. You have the option to open the demo application using the direct link or deleting the demo application by clicking on Delete application. If you have an active subscription-based application you have the option Manage applicationinstead of directly deleting it. If you were satisfied with your 30-day trial, you can immediately create a full subscription-based application by clicking on Add application. You can also add multiple indepent applications if you, for example, are managing multiple subsidiaries.
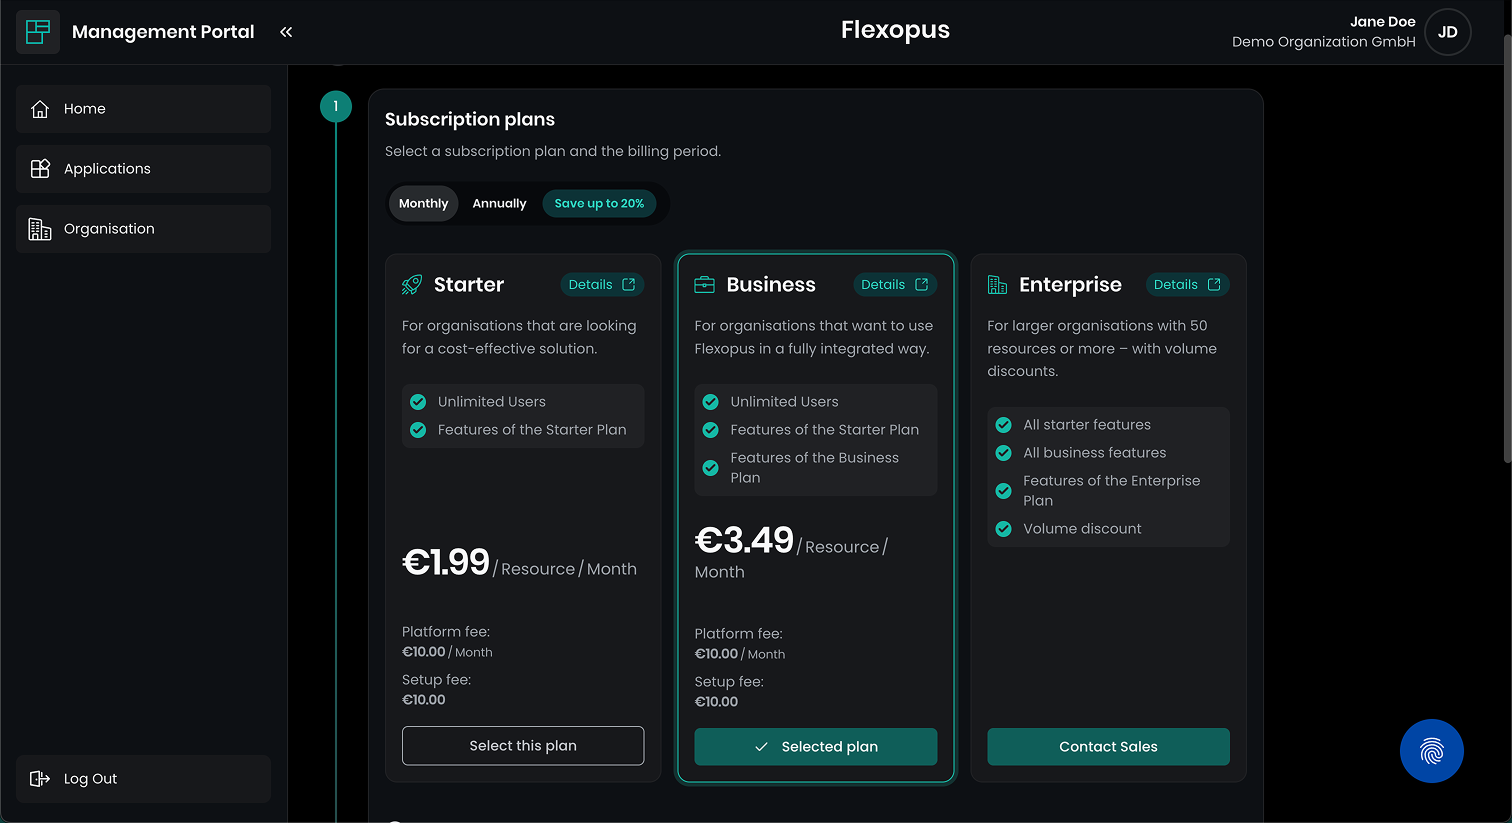
Start a subscription
1) Choose your subscription plan
If you add an application, you can in the first step decide for a subscription plan. Here you can find an overview of all the plans we offer:
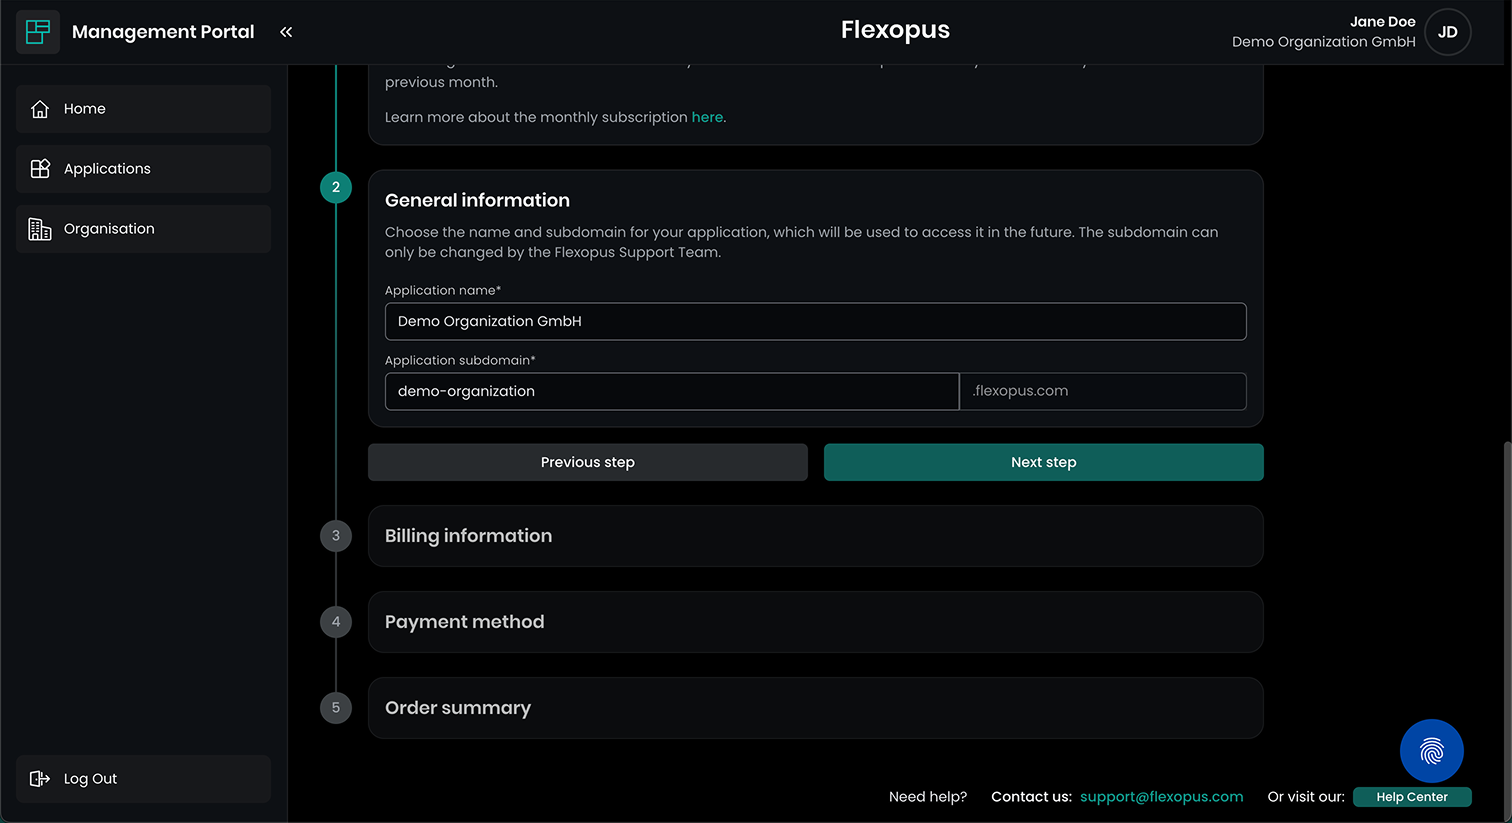
2) Define your desired subdomain
In the second step, you need to choose your desired domain name. This will be the address the users will enter to their web browser to access the organization's individual Flexopus application.
3) Fill in your billing information
In the third step you need to fill in your billing address. This billing information contains the organization name, the address, and if exisiting the organization tax number.

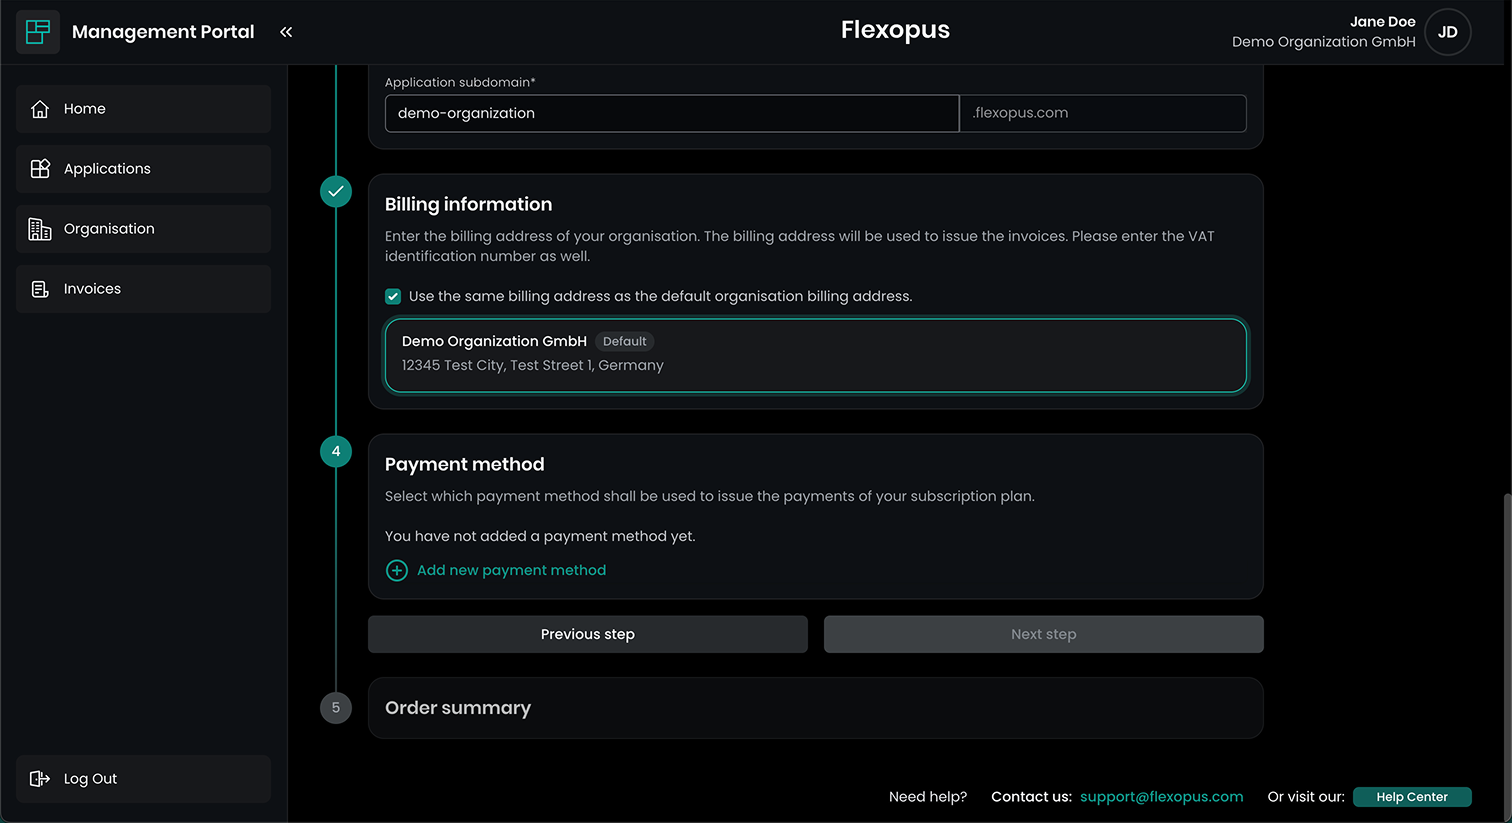
4) Add a payment method
Last but not least, you need to add a payment method. This can either be a credit card or a SEPA Direct Debit. We automatically collect the fees using the payment method you have provided, in accordance with the defined cycle - monthly or yearly.
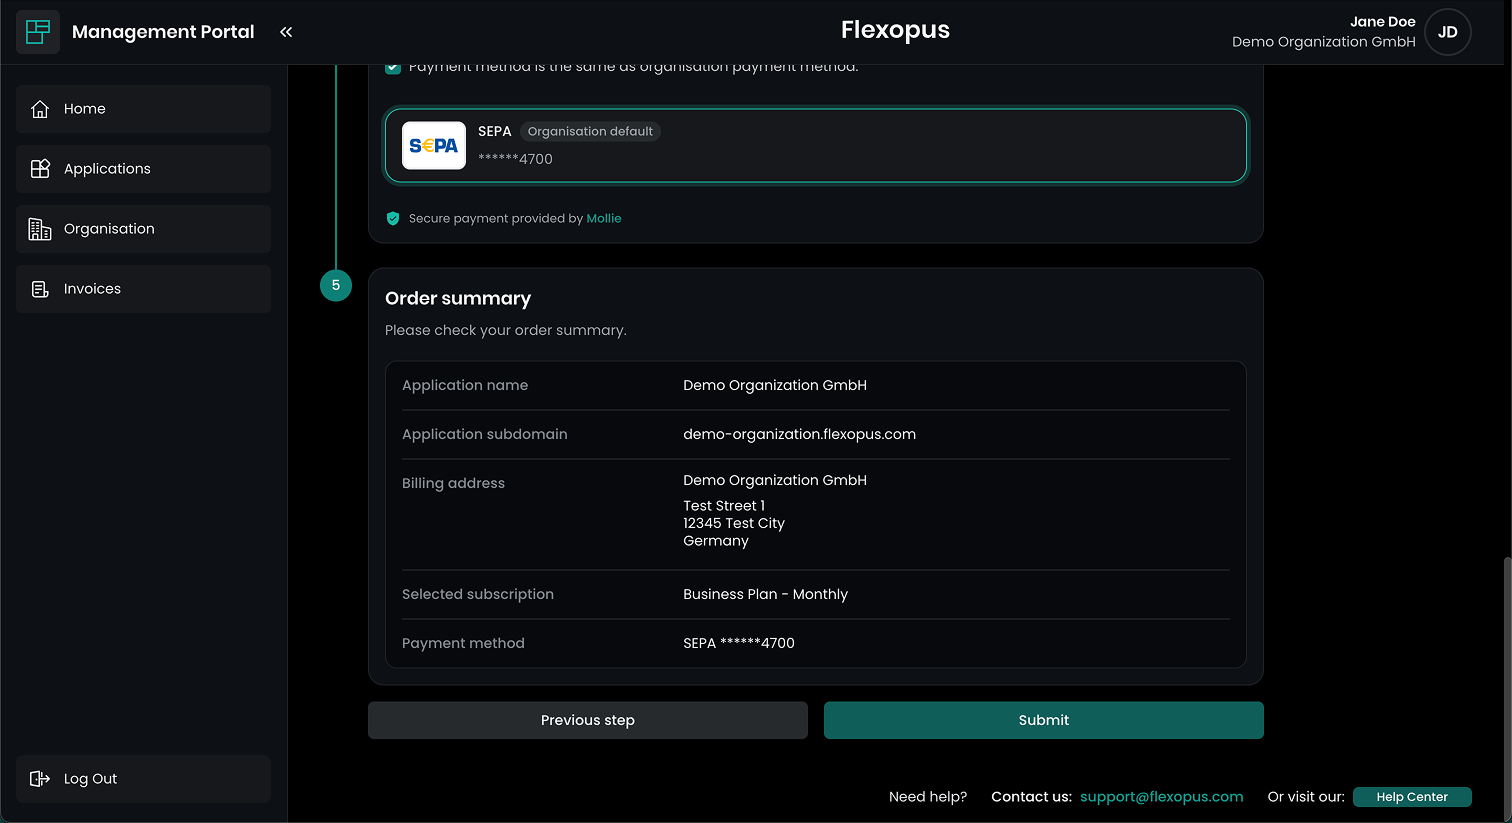
5) Order summary
In the final step, you see a summary of your entered information and the selected plan and can finalize your order by clicking on Submit.
Congratulations! You have now successfully completed a Flexopus subscription plan and can start setting up your application and managing your office in a smart and flexible way.
Manage your subscription
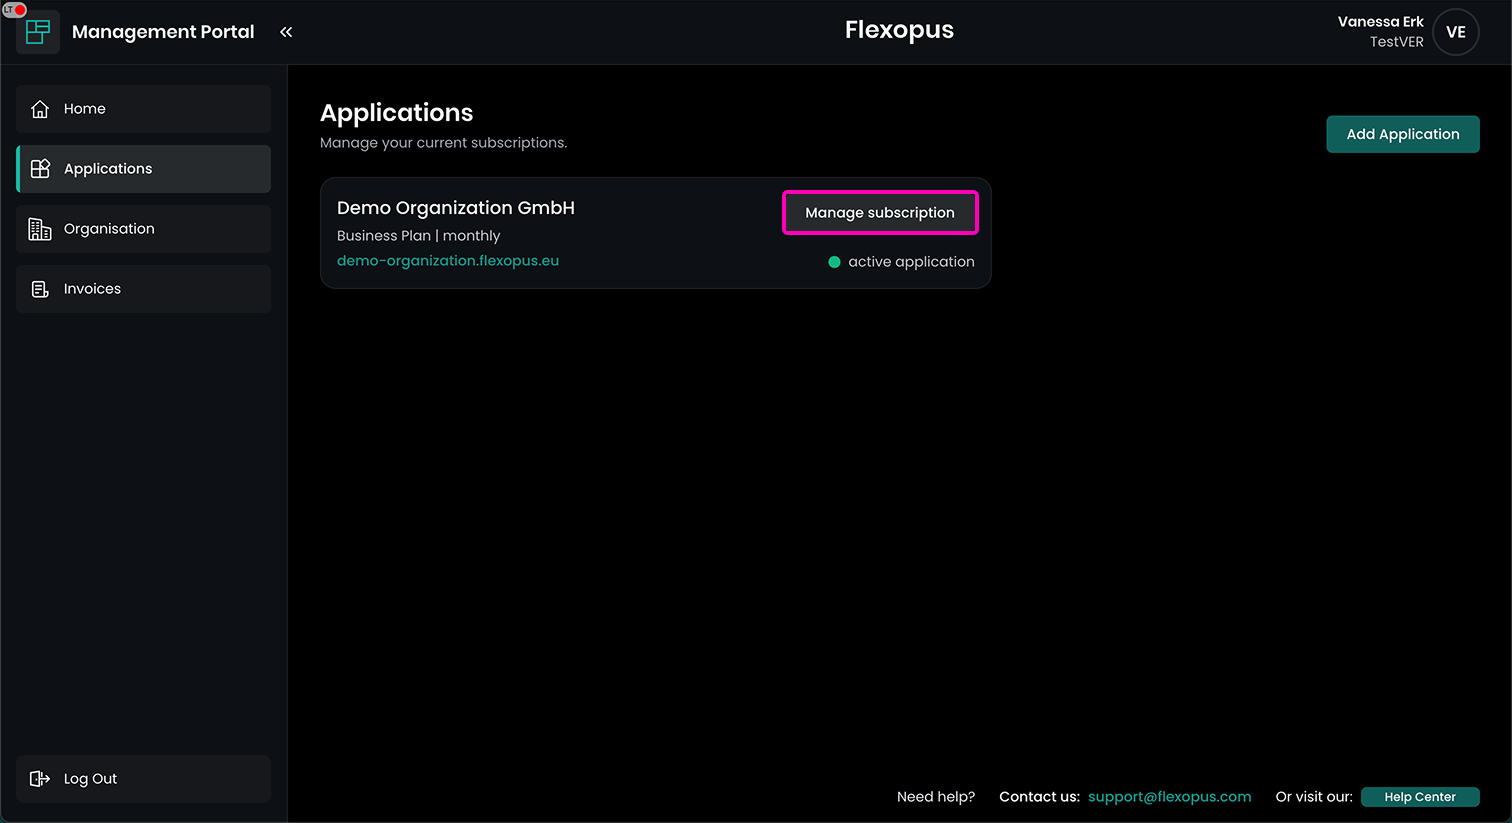
In your applications overview you now find your newly created application. By clicking on Manage subscription you are navigated to an overview of your current subscription with lots of options like requesting subscription changes, cancelling your subscription, booking additional services, downloading invoices and many more.
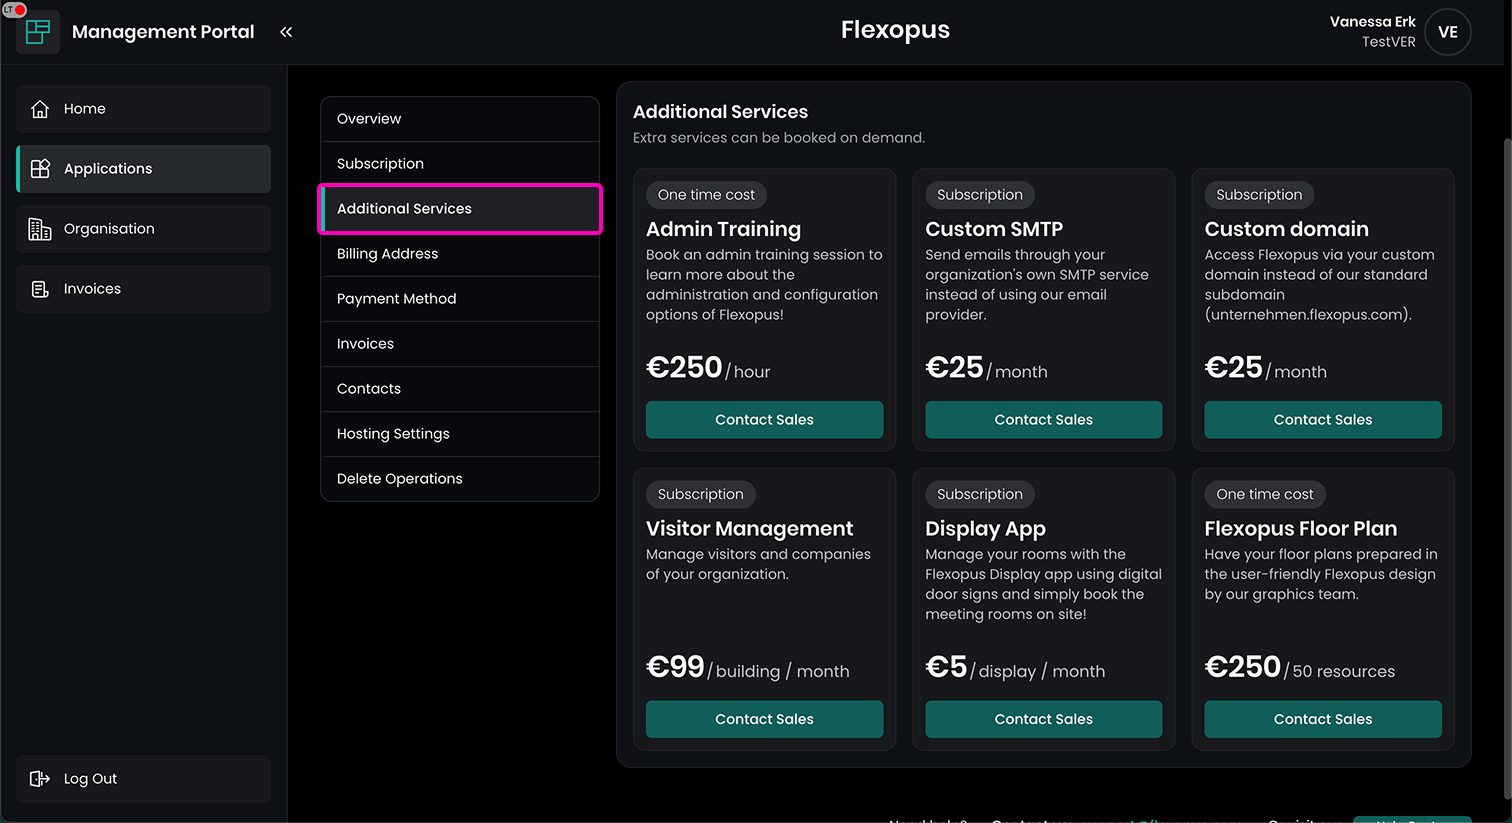
Additional Services
Under “Additional Services,” you can book individual additional services. These include, for example, our professionally prepared Flexopus floor plans, display extensions, or additional products such as our visitor management system for digital visitor administration. You can easily contact our Sales team by clicking on Contact sales and request that position. We will then get back to you as soon as possible and assist you with your request.