Meeting Room Board
Introduction
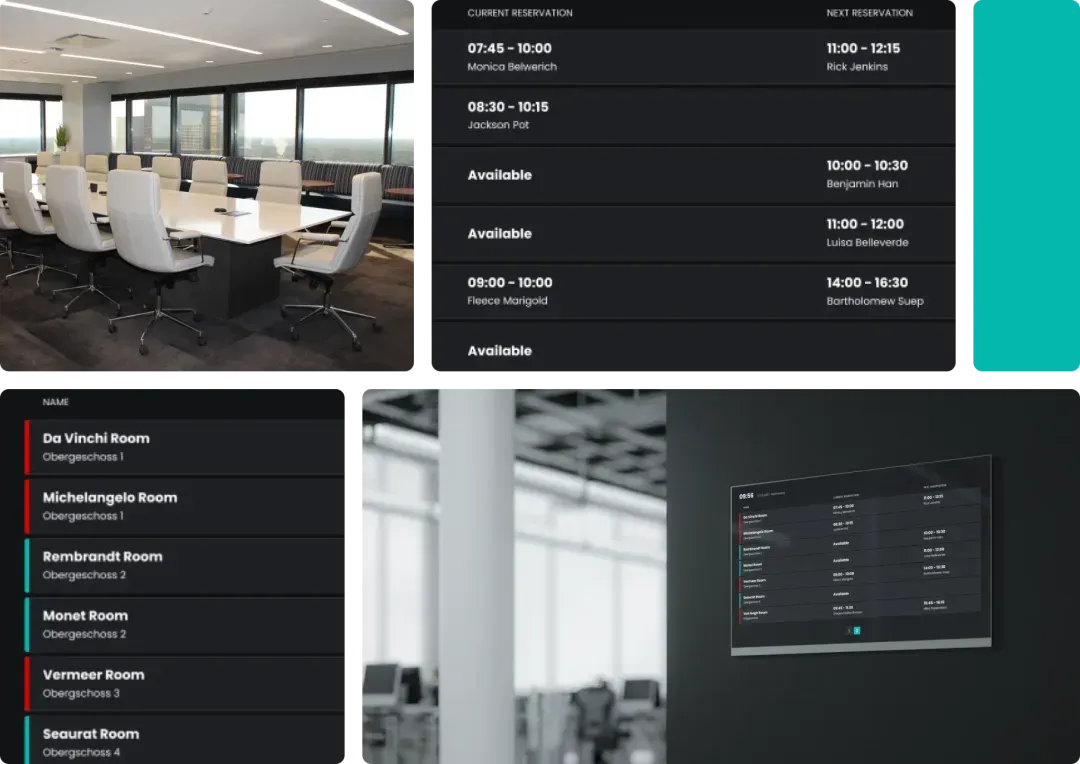
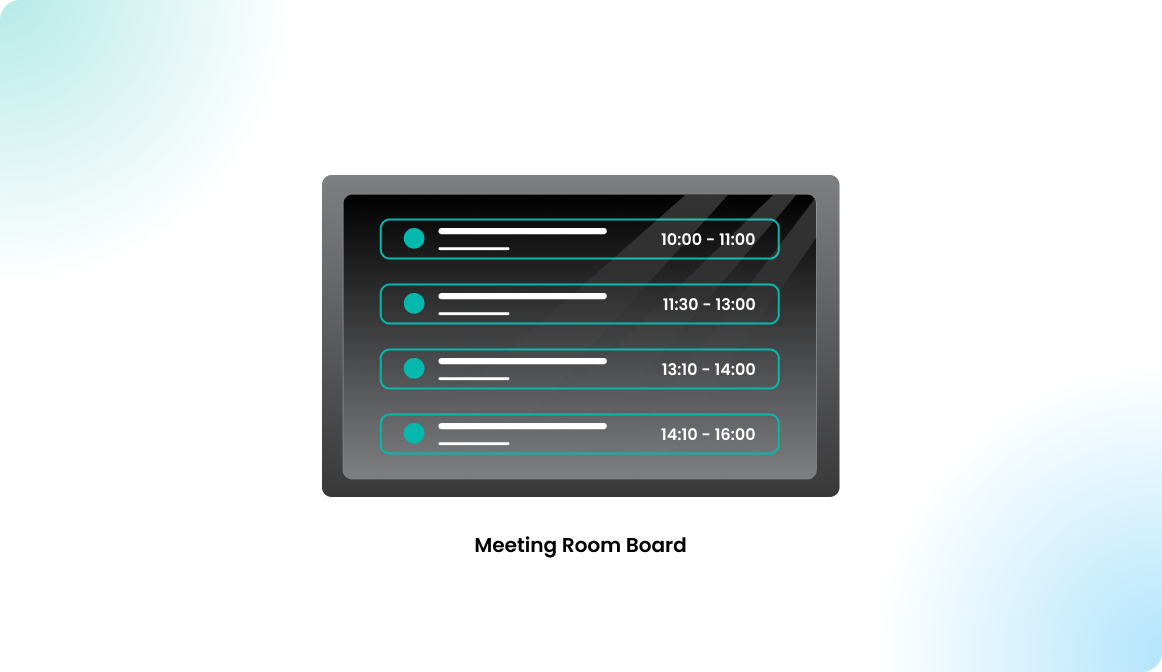
The Meeting Room Board displays in Flexopus allow you to pair any screen to display the real-time occupancy of a selected list of resources. While its most common use case is as a large informational screen showing the availability of meeting rooms within a building, this flexible module can also be used to monitor the status of various other resources such as desks, parking spaces, or any resource you choose to track. The Meeting Room Board displays provide a clear and convenient overview, helping to optimize space usage and enhance workplace efficiency.
Connect a device
Preliminary - Run Flexopus on the device
To pair a device as a display, ensure that Flexopus is installed and running on the device. Refer to the Pairing an Android Display article for installation methods for Android devices. While Flexopus displays are tested and supported only on devices listed in Supported hardware for display devices, other Android devices may also work, even though support is not provided for them. Additionally, you can try using other platforms, as long as they can access Flexopus through a web browser.
This guide assumes that your device is already running Flexopus in device mode, with the Pairing Code screen displayed as the starting page.
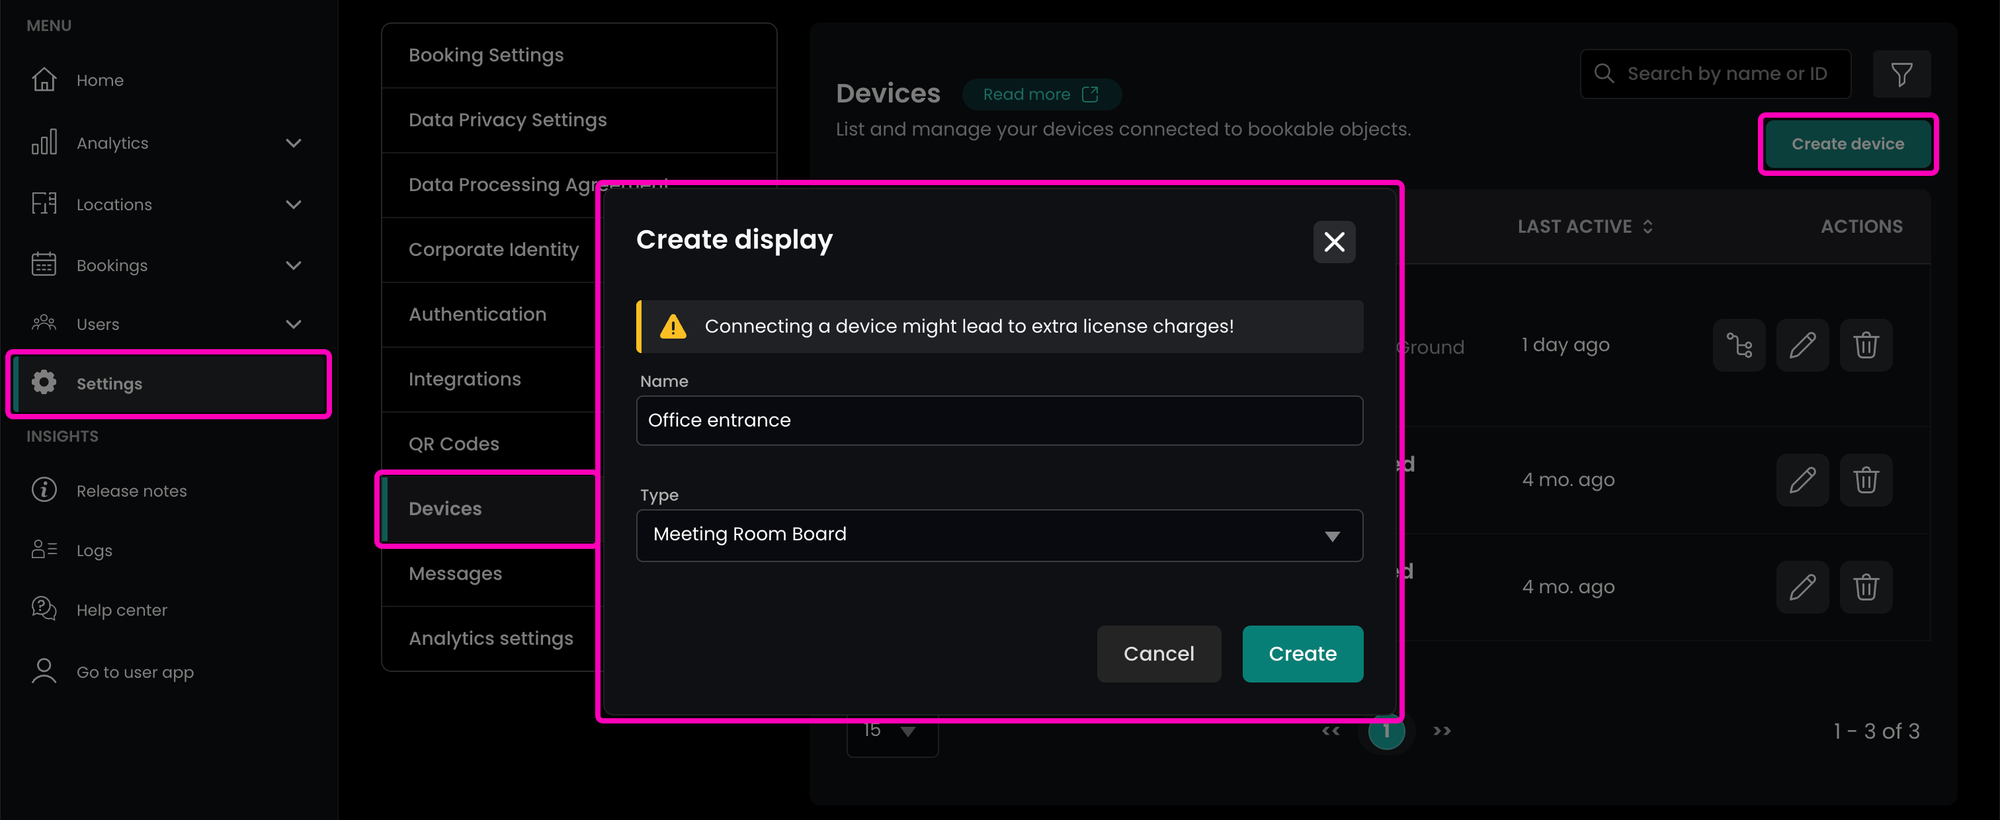
Step 1 - Create a device
To connect a device as a Meeting Room Board display, you must create a corresponding device entry in the Flexopus app. To do so, open the Administrator Dashboard, and navigate to the Settings > Devices page. Click Create device in the top right corner, then in the opening dialog give it a name and select the Meeting Room Board type.
Step 2 - Generate pairing code
Once the device is created, you will be navigated to the device edit page. Here you will have to generate a pairing code
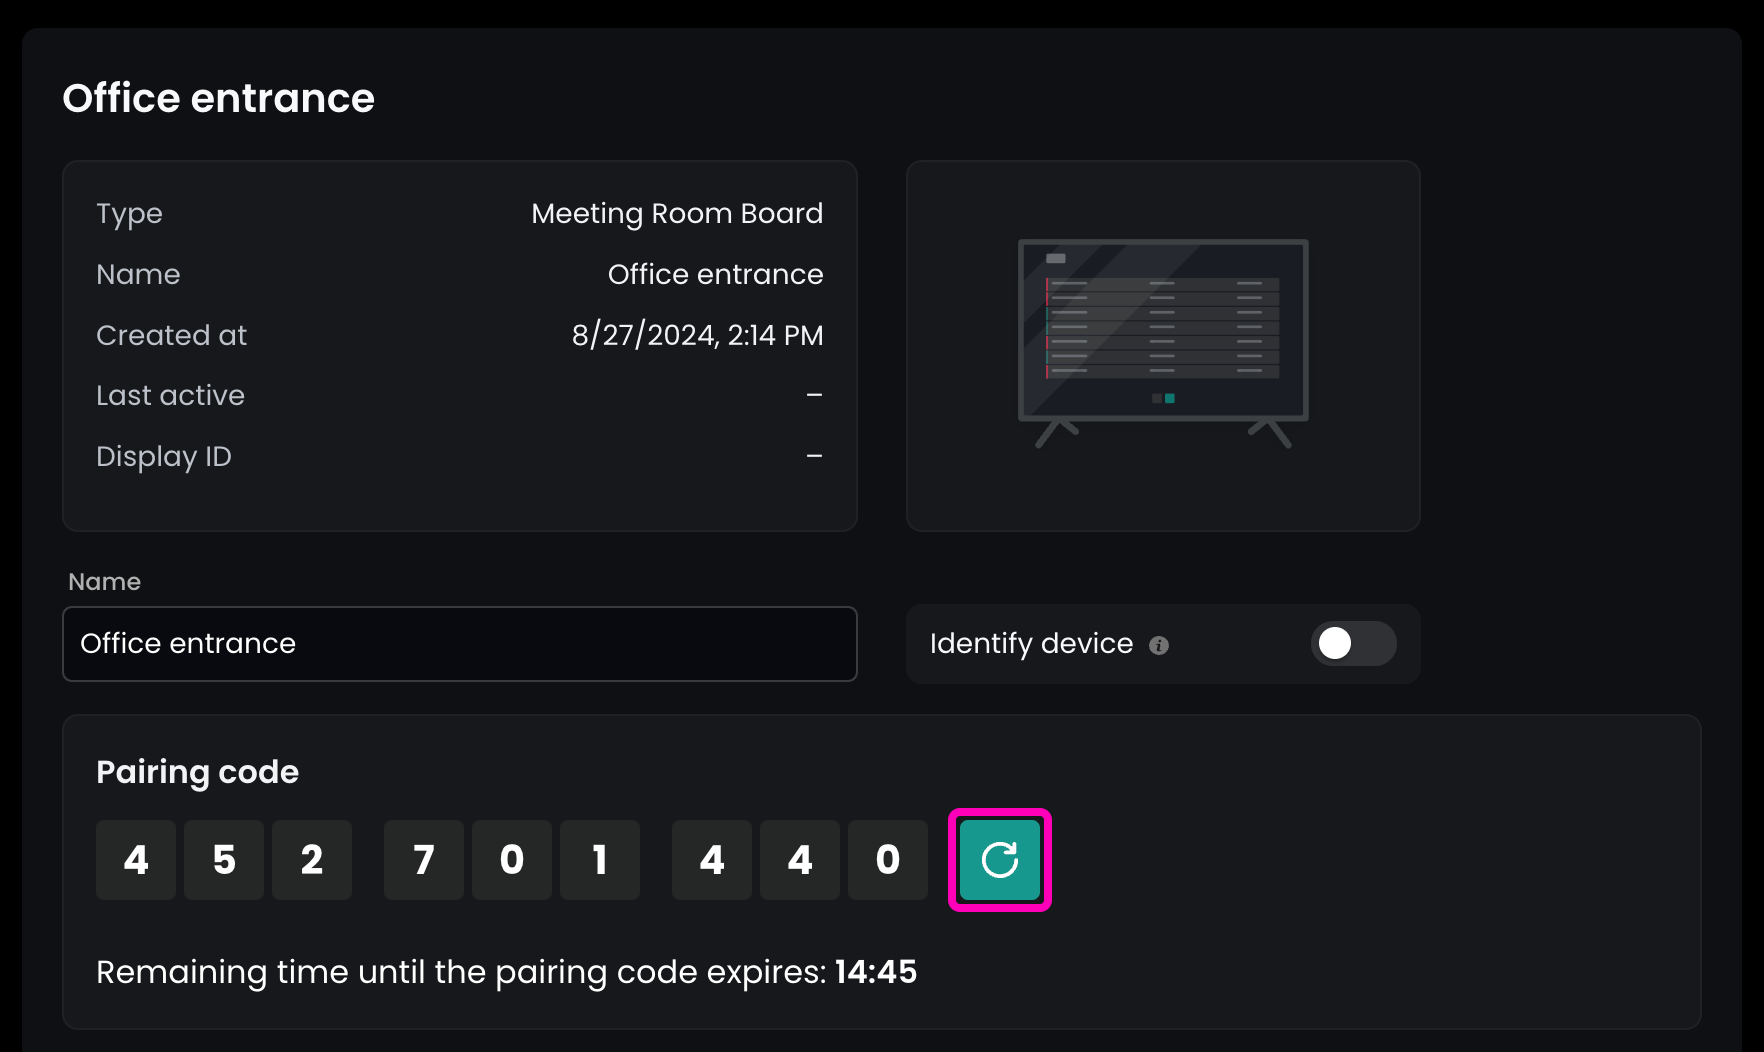
If you have already paired a device, pairing another will disconnect the previously paired device. To have more devices display the same content, you have to start over from Step 1 with each device.
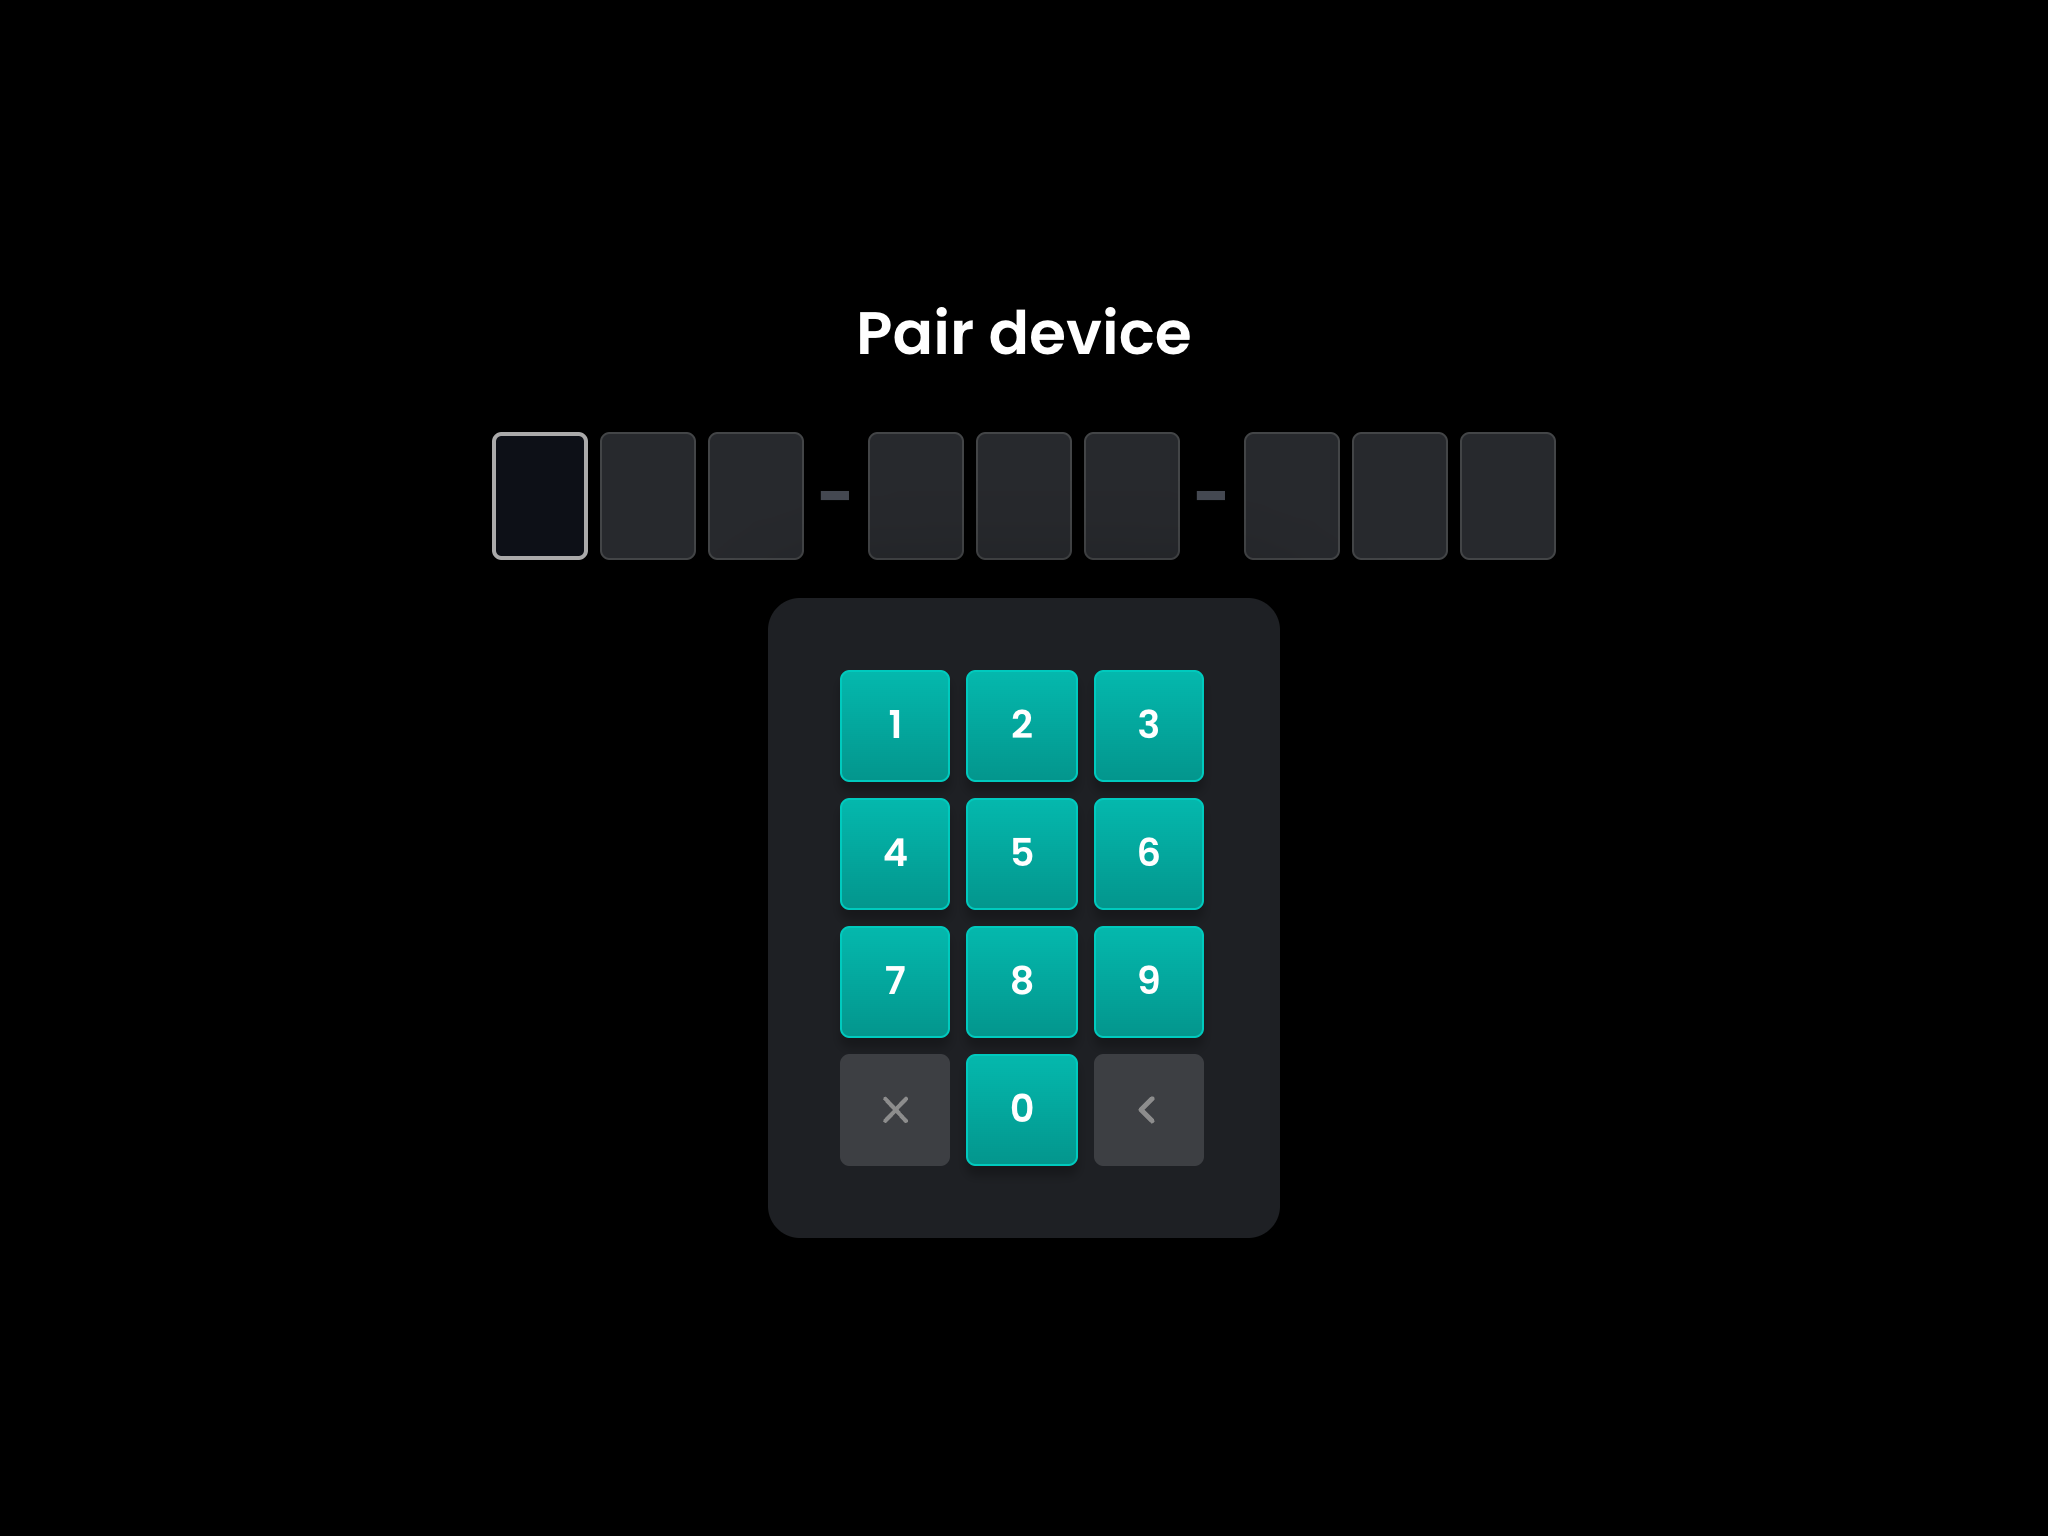
Step 3 - Enter the pairing code
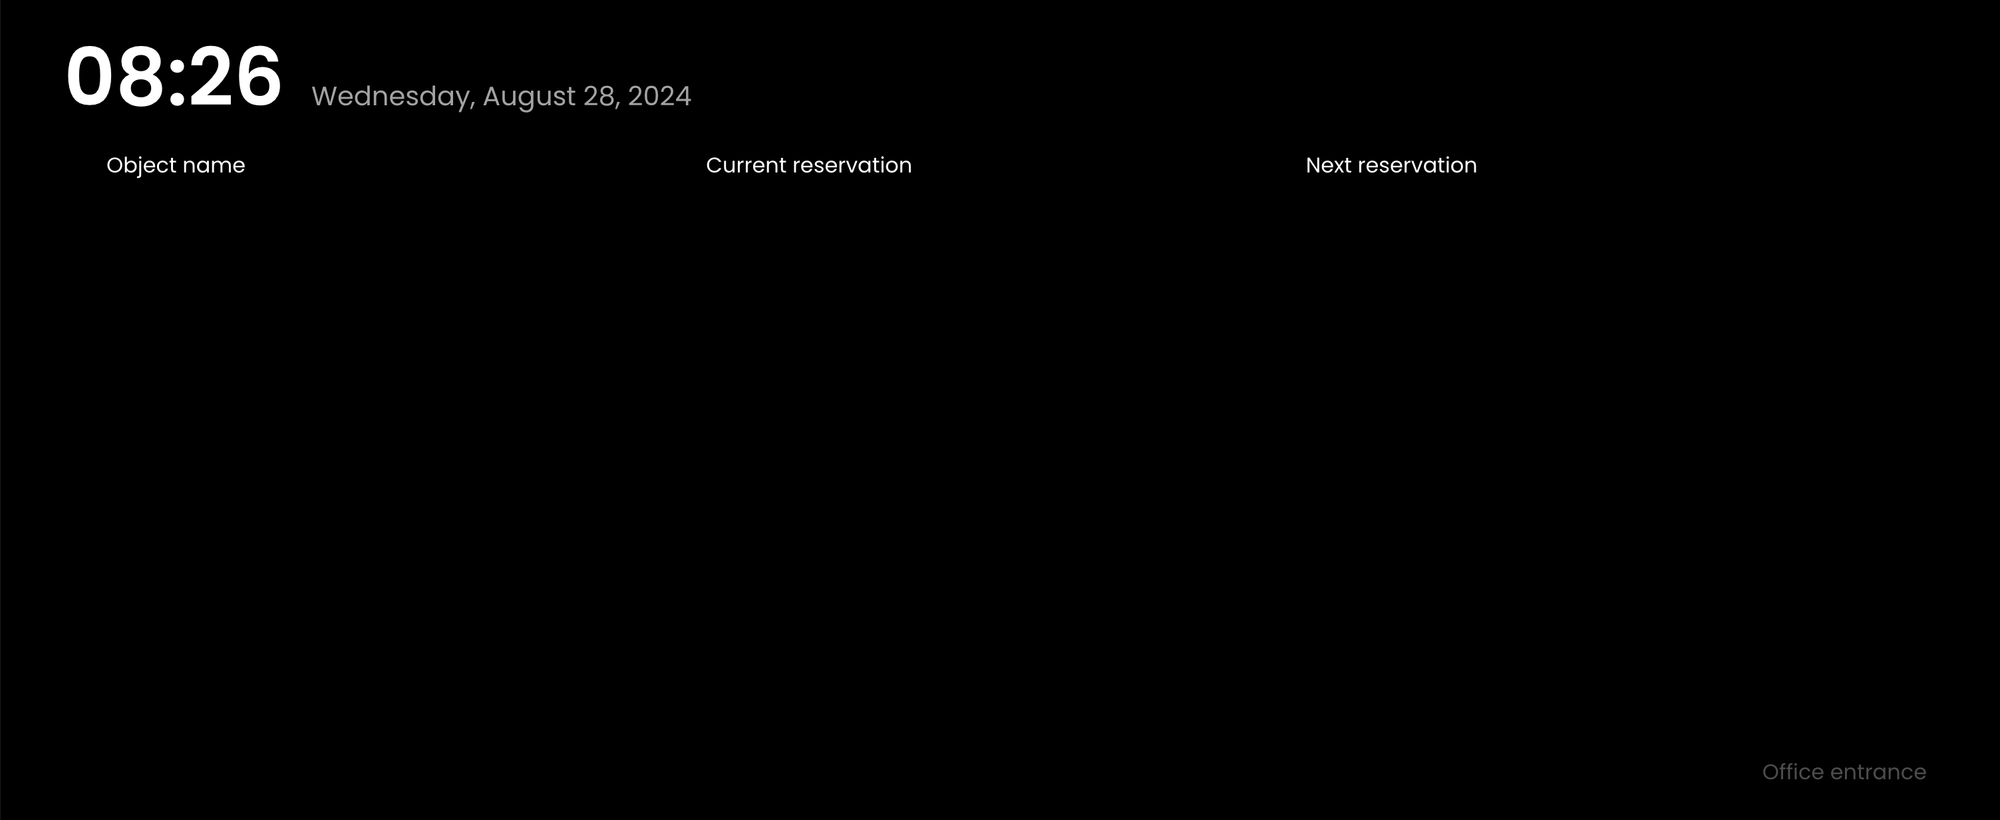
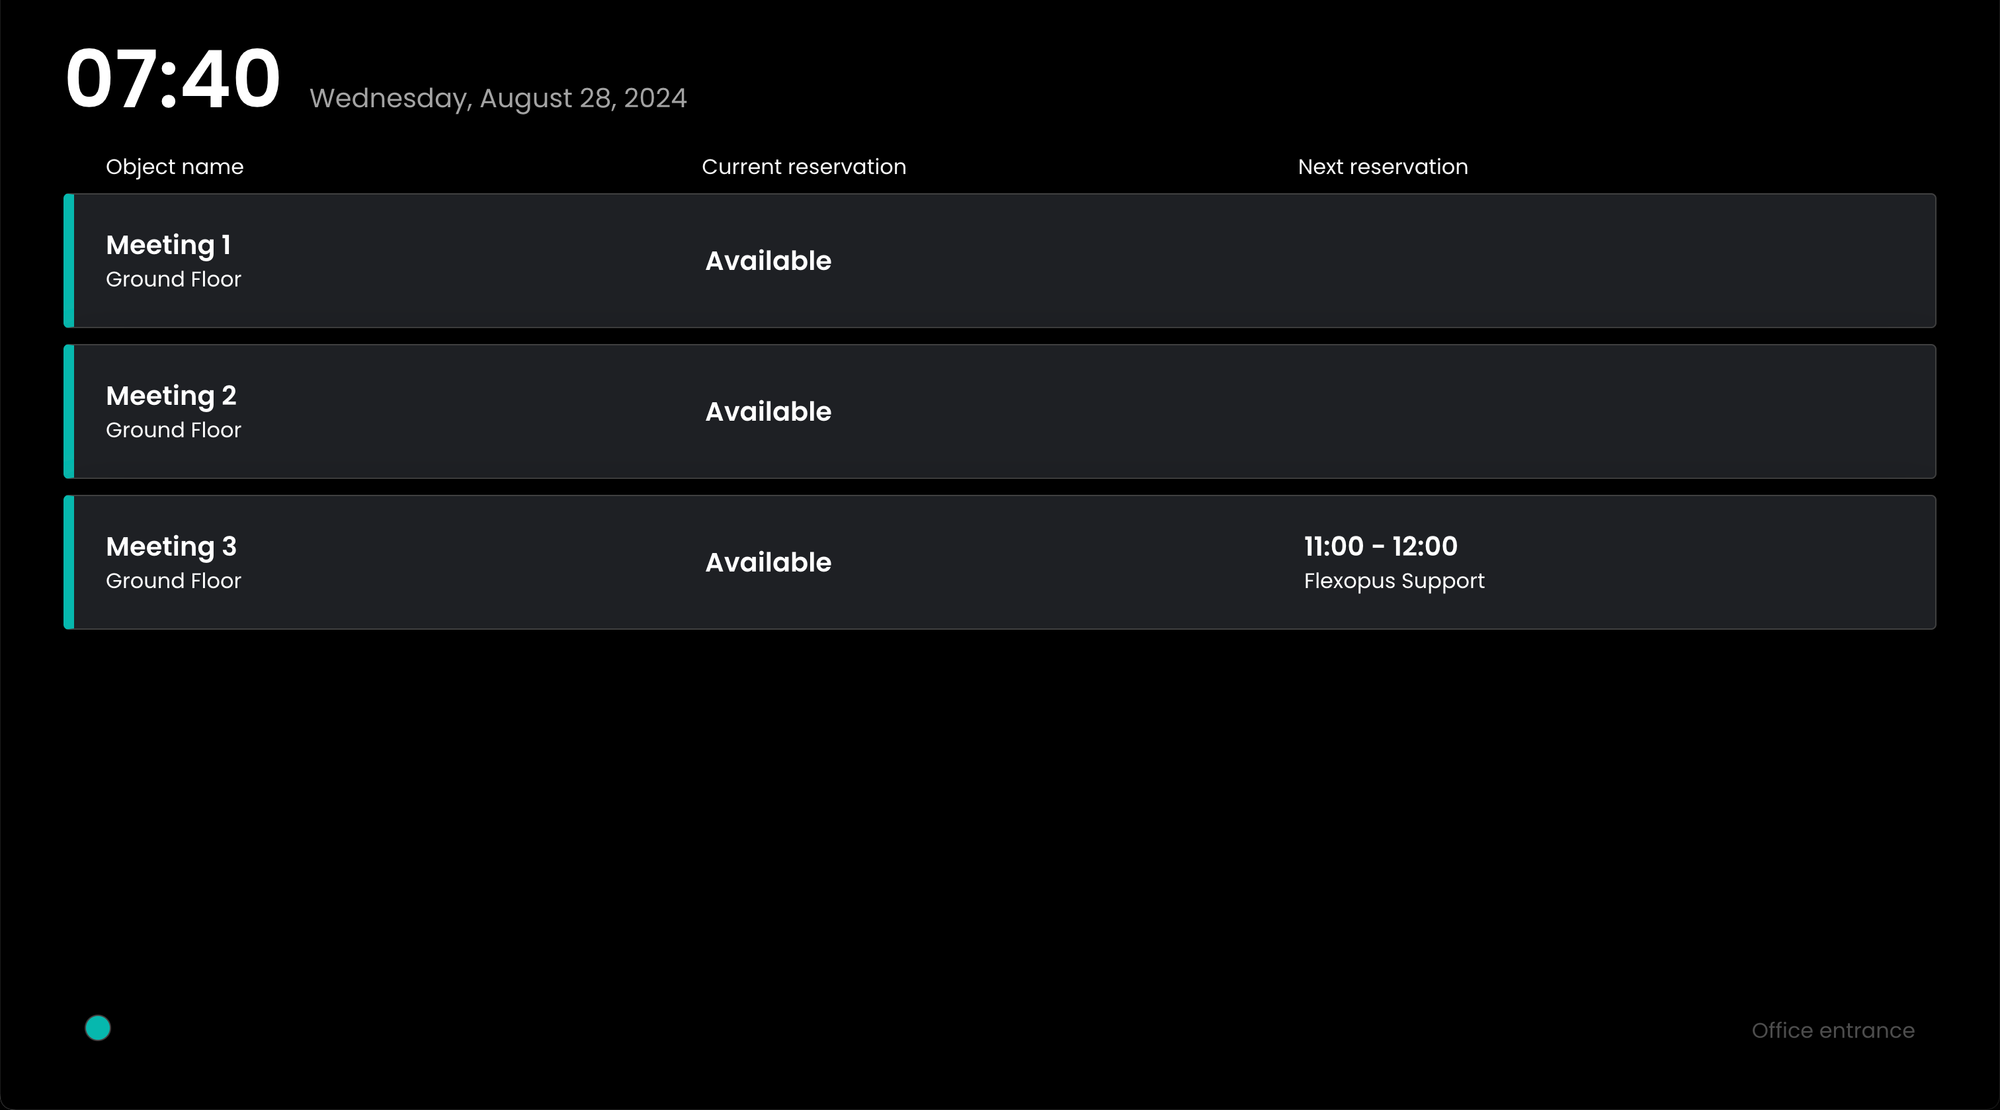
Head to your device, and enter the generated pairing code using the pin pad. Once you enter all the digits, it will validate the code, pair the device, and navigate to the Meeting Room Board home screen. The screen will be empty at first.
Configure the display
Add resources
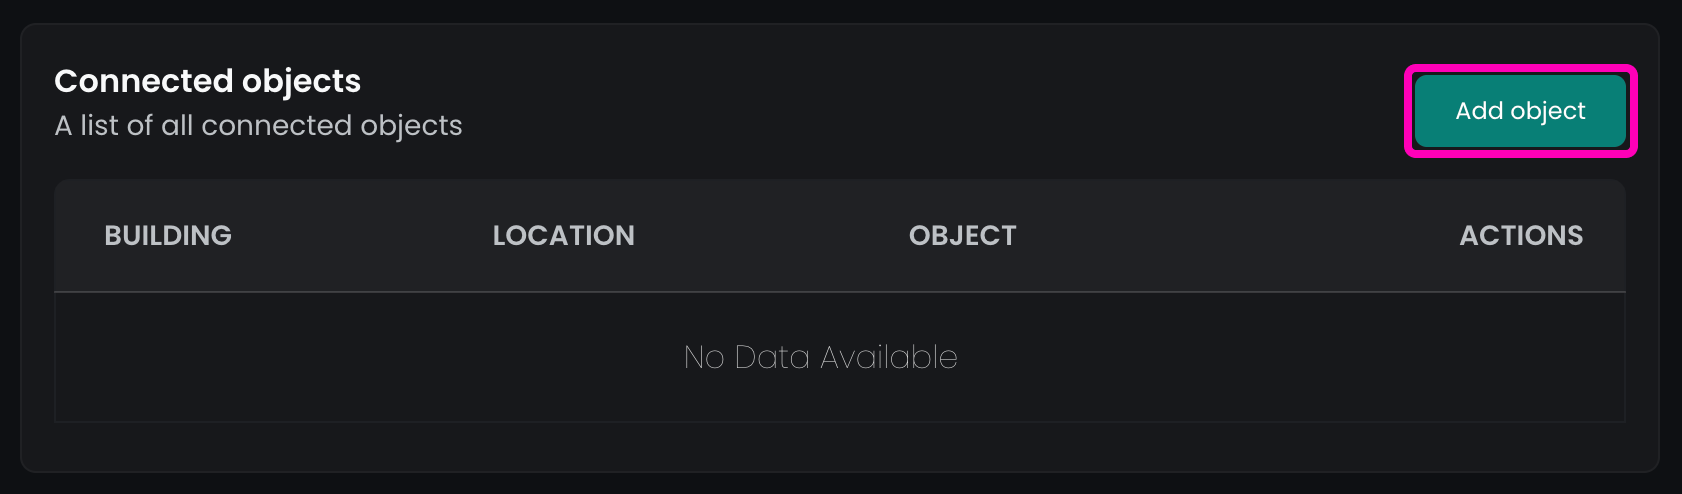
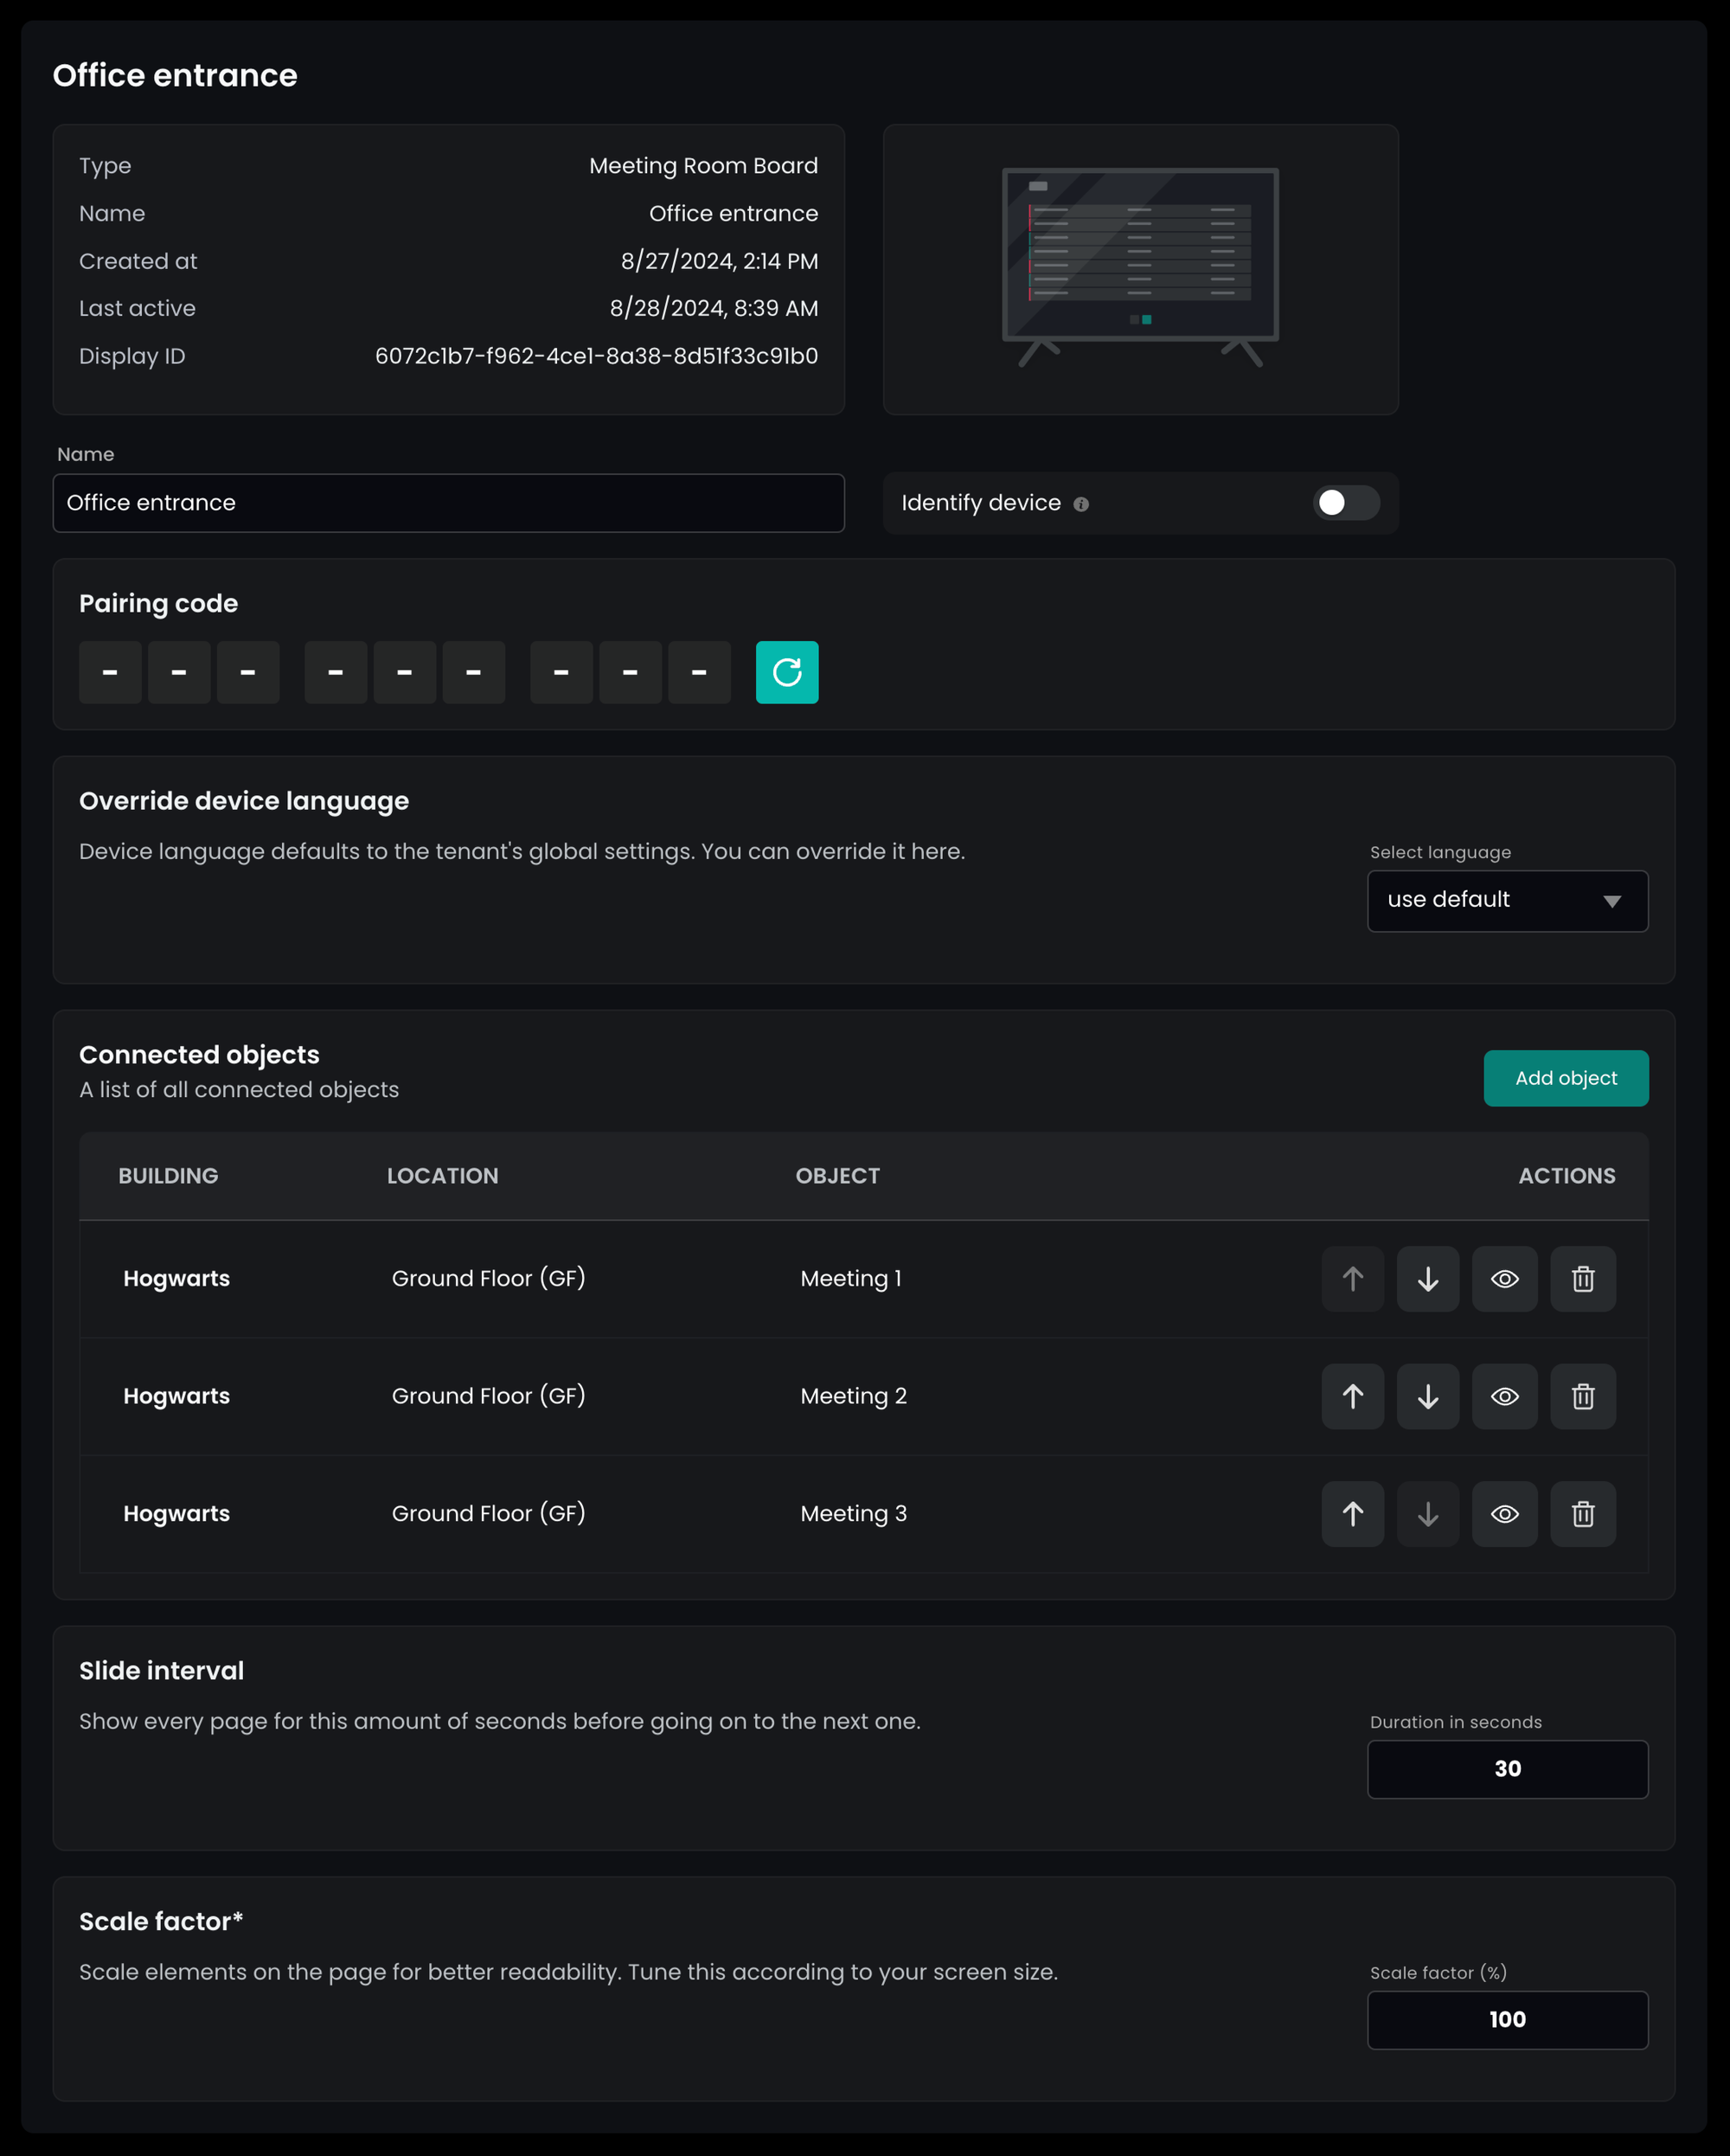
The most important step in configuring the display is the resource selection. In the device edit page, locate the Connected objects section, and click Add object.
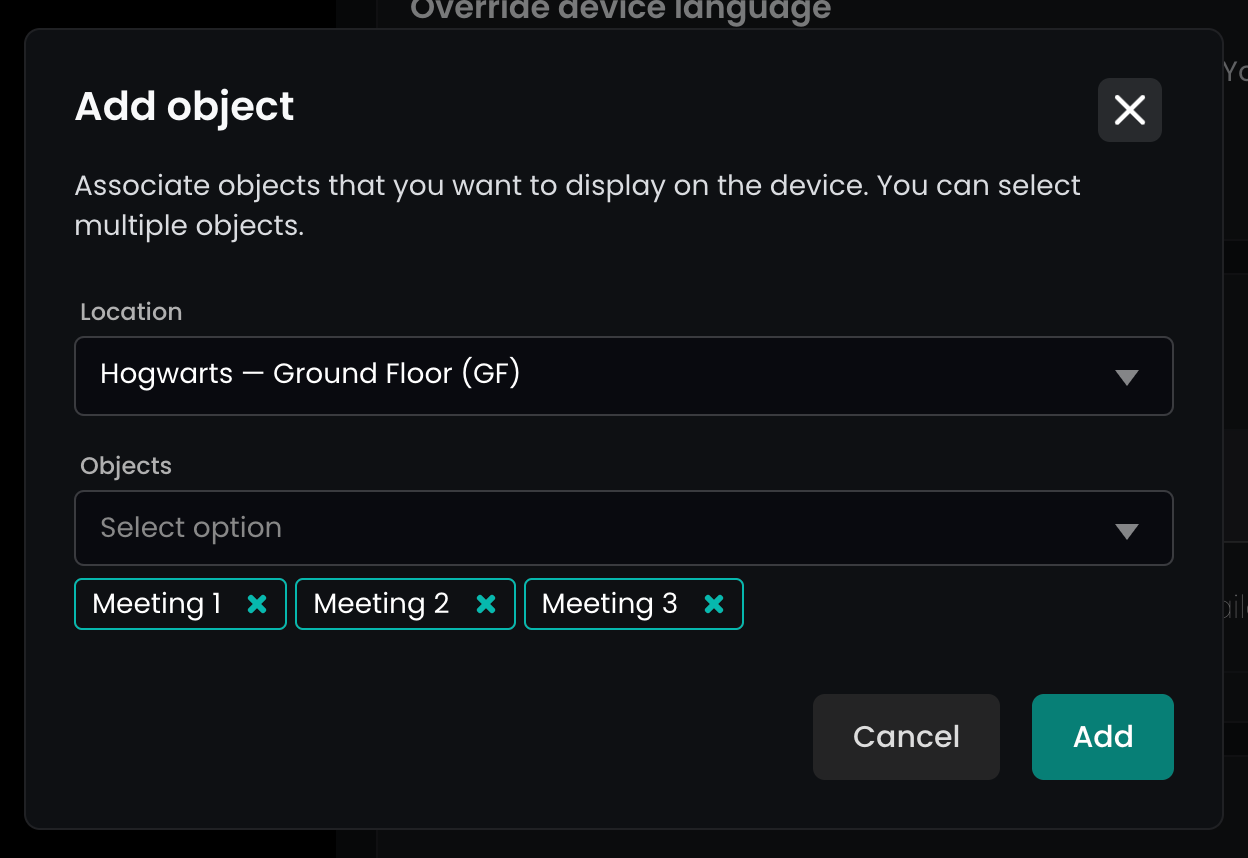
In the dialog, select the floorplan and the resources that you want to display, then click on Add. You can select multiple resources, and not just meeting rooms. To add resources from different floors, you have to repeat the process.
Once you added all your resources, click on Save Settings, and wait for the display to sync them. It may take up to a minute for the objects to appear.
Other settings
On the device edit page, you can configure further options, such as:
- Rename the device, this will show up in the management list, and on the display as well
- Identify device: a marking will appear on the device screen to help you identify which device you are modifying. Don't forget to turn identification off once you are done.
- Pair display: if your device loses connection, or you want to replace the hardware, you can keep the existing configuration and generate another pairing code. Keep in mind that if you have already paired a device, pairing another will disconnect the previously paired device.
- Change language: devices will use the default language of your application, you can override this to any supported language
- Slide interval: resources will appear paginated if they don't fit on the screen, you can define the time each page is shown for
- Scale factor: depending on your device's size and screen resolution, you may have to adjust the page scaling factor to make every element readable
Save settings to apply any changes.