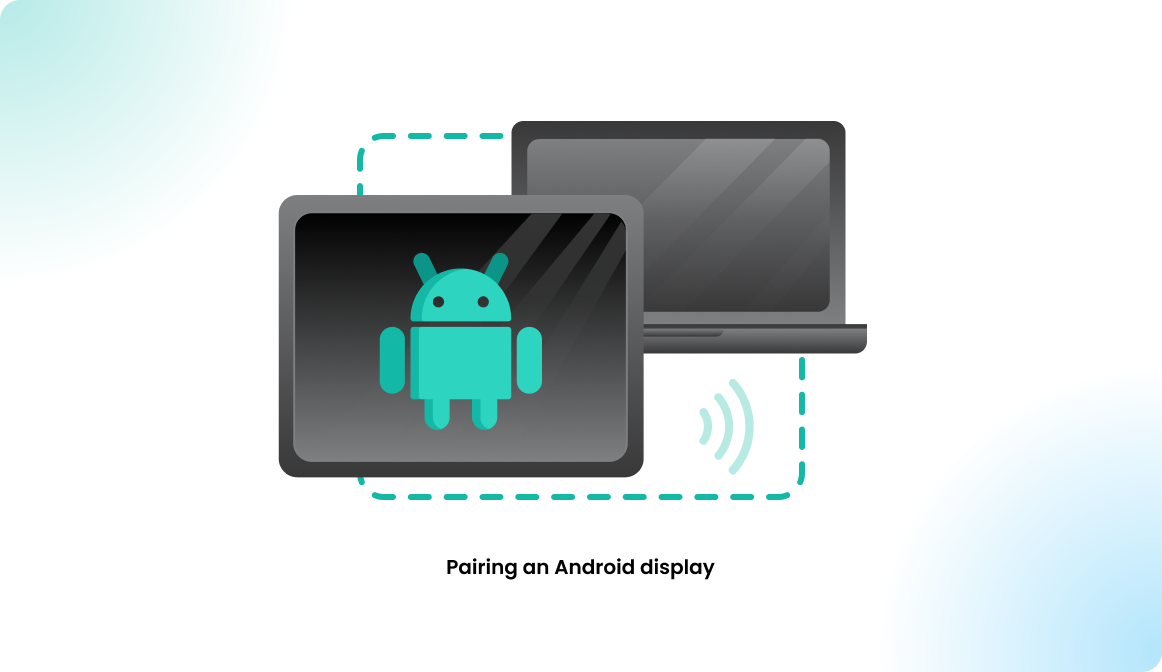
Pairing an Android Display
The Flexopus Device Connect app
The Flexopus Device Connect app is an Android application available for download on Google Play. Once installed on any Android device, the app will automatically launch and navigate directly to the device pairing screen. From there, simply enter the provided pairing code to establish a persistent connection with Flexopus. This app simplifies the setup process, allowing you to quickly pair your device as a display and maintain a reliable connection with the Flexopus system.

When using supported hardware, the Flexopus Device Connect app unlocks additional features like LED status indicators, motion detection, RFID readers, and more. These advanced functionalities are only available when pairing displays through the Flexopus Device Connect app, ensuring seamless integration and enhanced performance for your Flexopus displays. Keep this in mind when selecting hardware and setting up your displays to take full advantage of these extra capabilities.
Read Supported hardware for display devices for more info.
Pairing with a web browser
You can also pair your device as a Flexopus display using any browser or browser-based application, such as Fully Kiosk Browser. To access the pairing screen, simply set the following URL as the starting page in your browser:
https://devices.flexopus.com/device/pairThis option allows flexibility in the types of devices you can use as displays. However, please note that while this method works for basic functionality, some advanced features exclusive to the Flexopus Device Connect app, such as LED indicators and motion detection, will not be available.
Once you have successfully paired your device, the access credentials will be stored in your browser's cache. This means that if your device reboots or the browser application crashes, you can simply navigate back to the pairing URL, and your connection will automatically be restored without needing to re-enter the pairing code. However, if the browser's cache is cleared, the stored credentials will be lost, and you'll need to repeat the pairing process to re-establish the connection. To avoid interruptions, ensure that your browser's cache remains intact for a seamless experience.
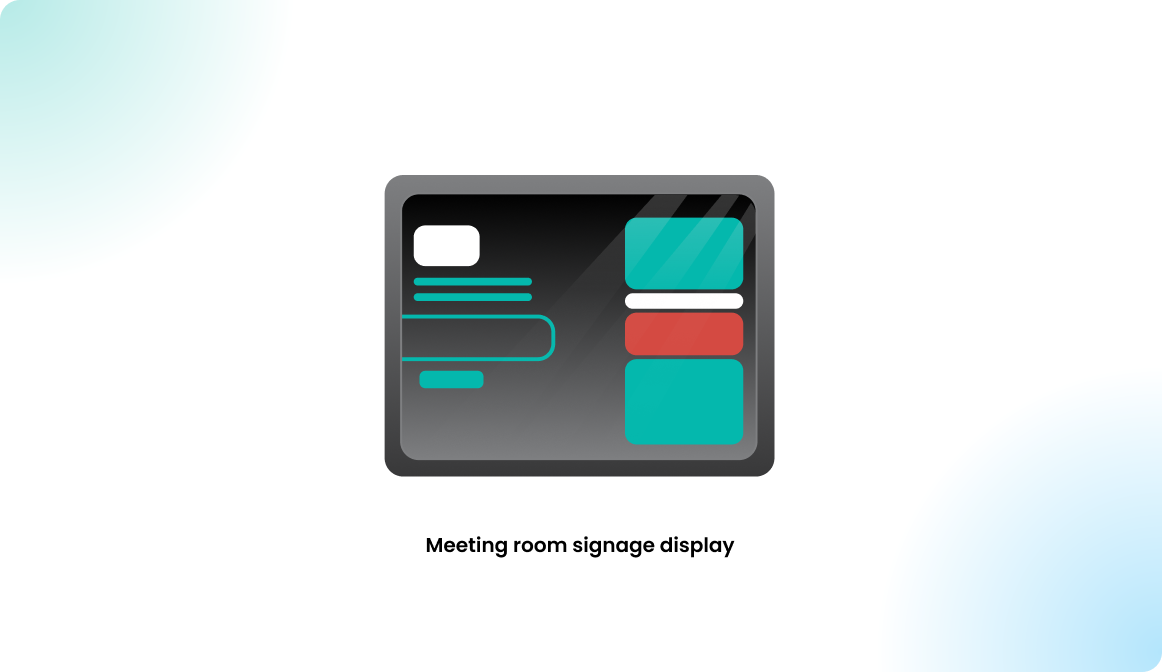
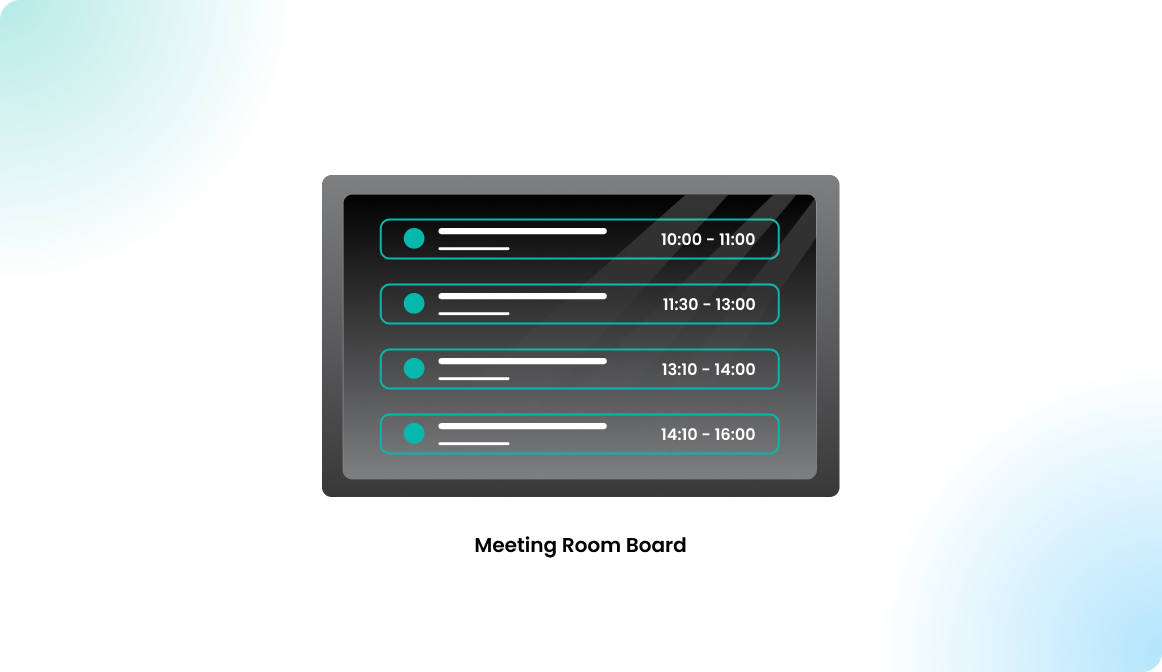
Pairing a device
Different device types have different pairing methods. Once you have the pairing screen ready, you can follow the instructions below to pair your display.