Google SAML2 SSO
Introduction
Connect Flexopus with your Google Workspace Directory (formerly known as Google G-Suite) via a SAML2 Single Sign On integration. With the integration, you can manage which Google Workspace users should have access to Flexopus and force them to use their Google credentials for the login. Based on a SAML2 Setting in Flexopus you can let the user profiles be created after the first successful SAML2 SSO login attempt to avoid a manual user creation process at Flexopus.
Setup Instruction Manual
Follow the step by step introduction manual to configure the integration. The manual also includes best practices and solutions for some commonly made errors during the configuration. Still, if you need help with the setup, feel free to reach out to our support team via support@flexopus.com.
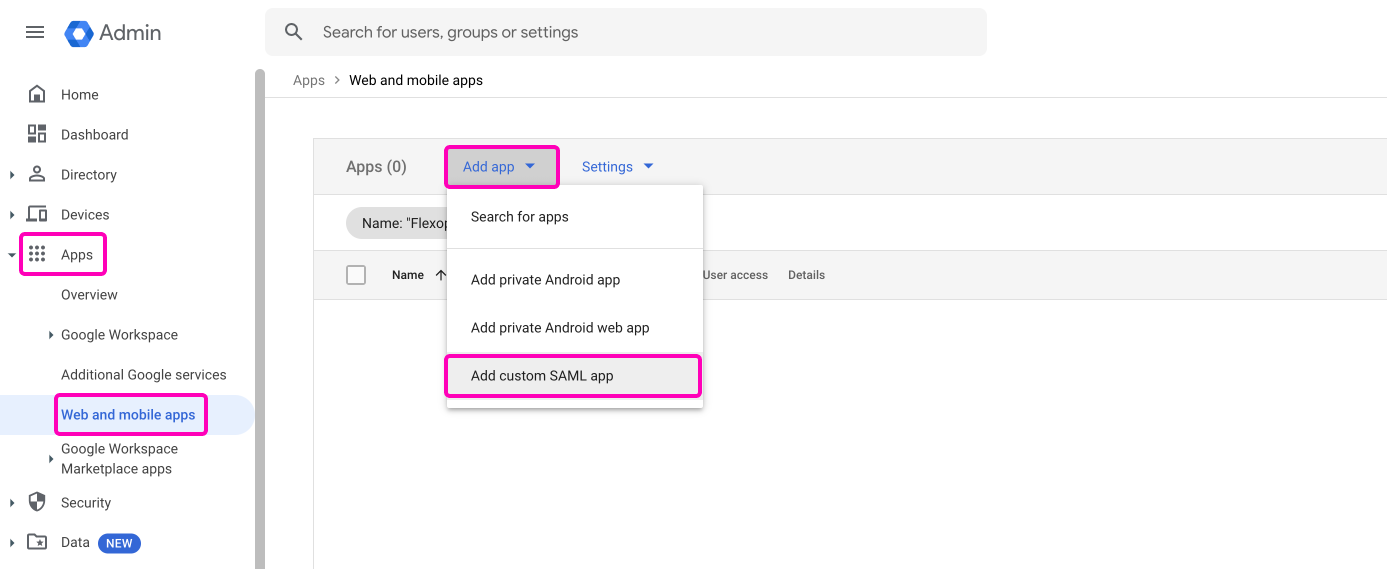
STEP 1 - Create custom SAML app
Open the Google Workspace Admin Console and select Apps > Mobile and Web Apps (or use this link). Select the option Add app > add custom SAML app.
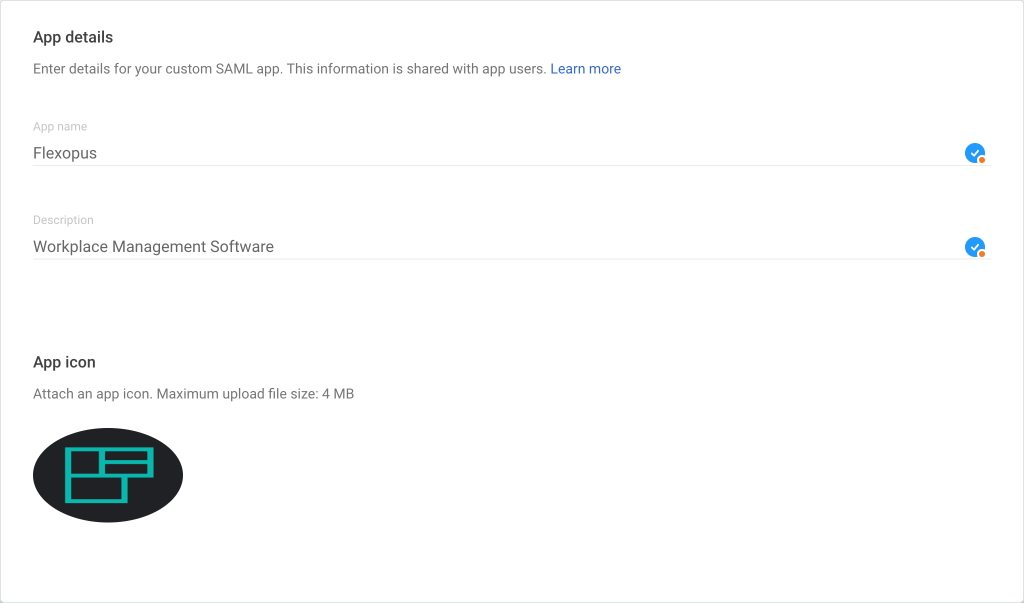
Enter the App-Details
App-Name: Flexopus SSO
Description: Workplace Management Software
You can download an app icon here or navigate to our website and download the logo pack here:
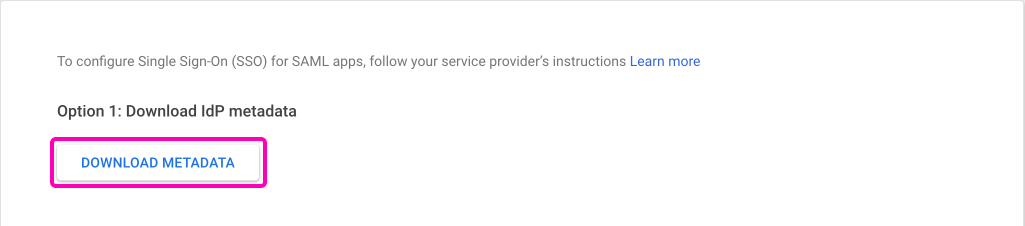
- Click on Option 1 to download the metadata file by selecting the
Download Metadatabutton. - After downloading the file, upload it in Flexopus.
- Click Continue to proceed with the setup process.
- Navigate in Flexopus as an administrator to
Dashboard > Settings > Authentication. - Click on the
Add providerbutton. - Select the
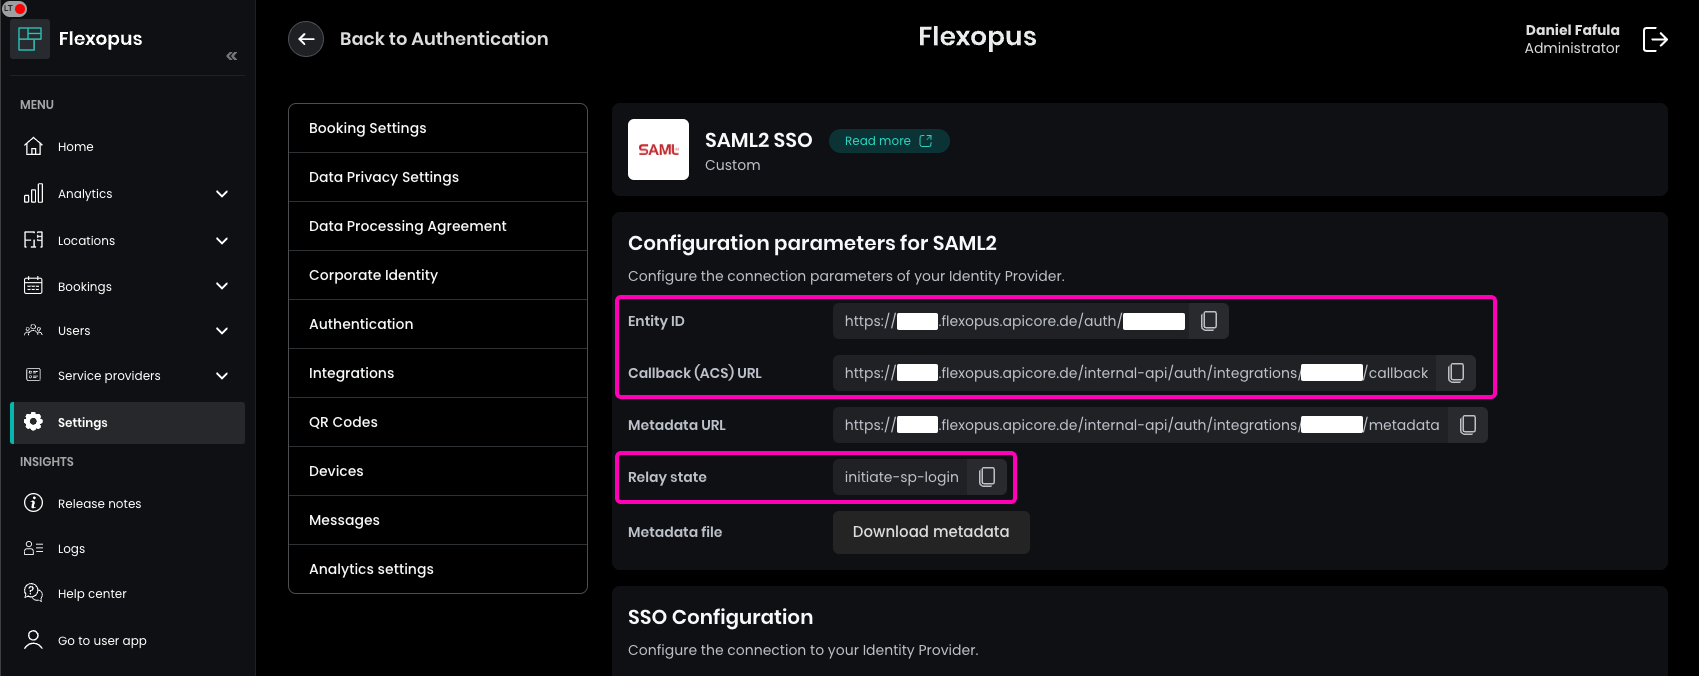
SAML2 SSOoption. - Retrieve the
ACS URL,Entity ID, andStart URLfrom this section. - Enter these configuration parameters on the corresponding page for your setup.

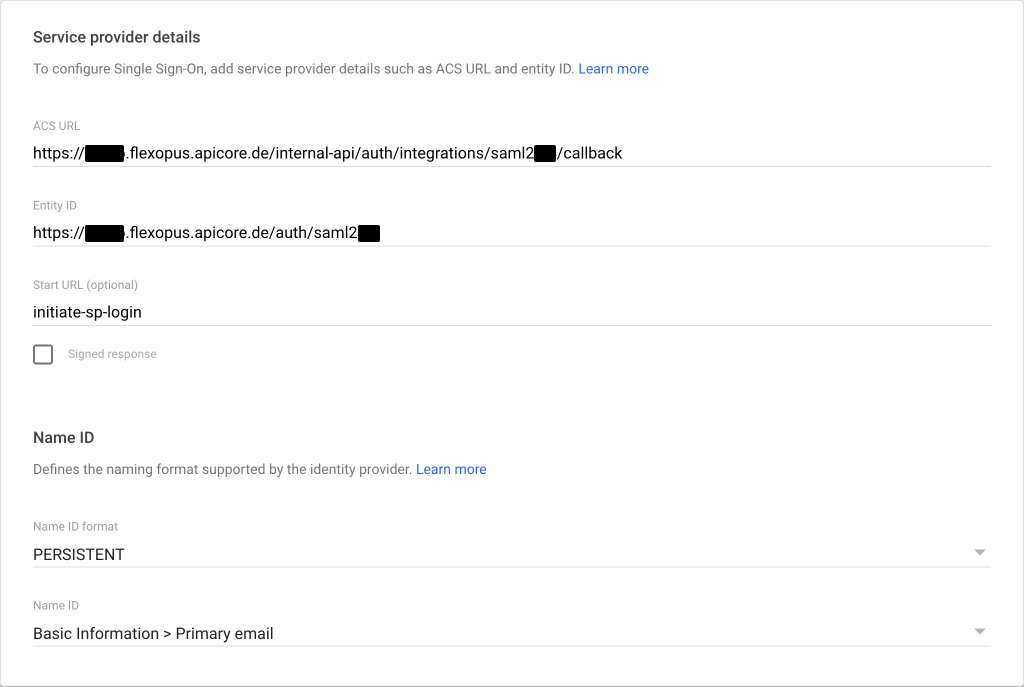
- Copy the URLs from Flexopus to your Google configuration:Entity ID = Entity IDCallback (ACS) URL = ACS URLRelay state = Start URL (optional)
- Leave the signed response = deactivated! (The responses are still sent signed, but only the assertion. This corresponds to the software standard.)
- Name ID format = PERSISTENT
- Name ID = Information > Primary email
- Click
Continueand return to Flexopus to complete the configuration.
STEP 2 - Configure Flexopus
- In Flexopus, navigate to
Dashboard > Settings > Authentication. - Select the created
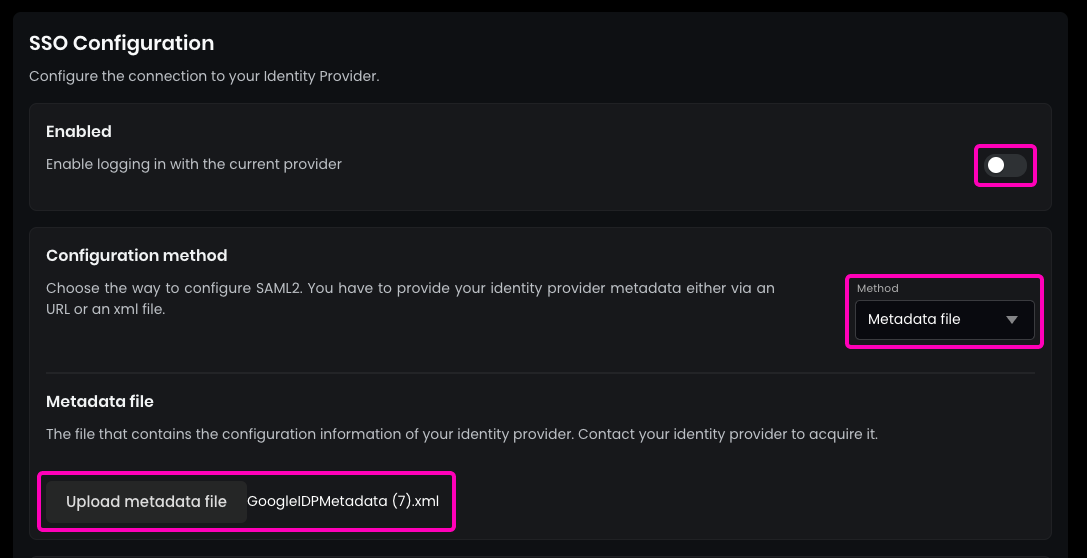
SAML2 Provider. - Enable the
SAML2 SSO. - Choose the
Metadata fileoption instead of theMetadata URLfor the configuration. - Upload the downloaded
Metadata Filefrom Google.
- Enter the name of the
SAML2 Loginbutton to be displayed on the login page. Recommended:SSO Login. - (Optional) Enable the synchronization of the fields configured in the
SAML2 settingssuch asjob titleordepartment.
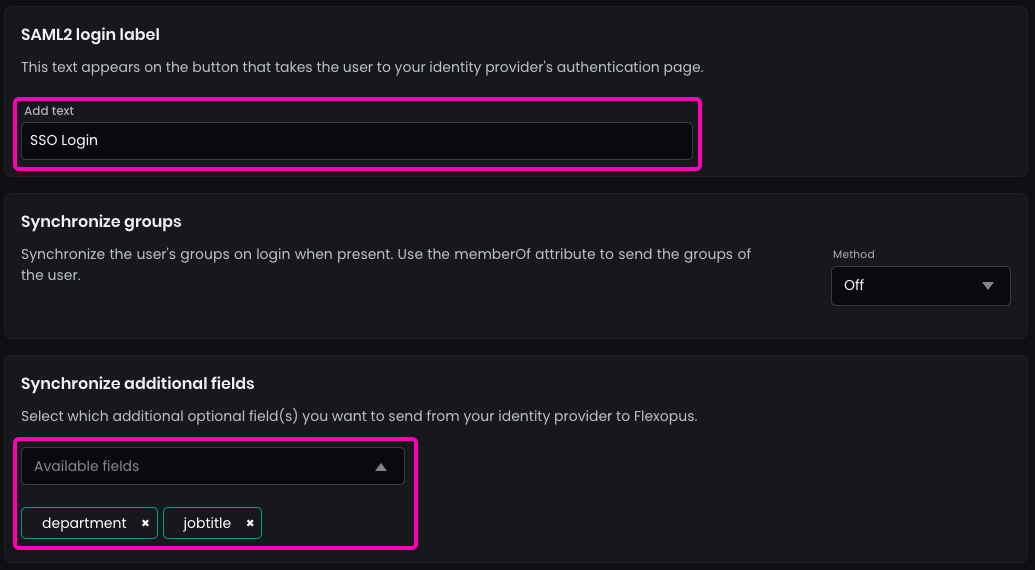
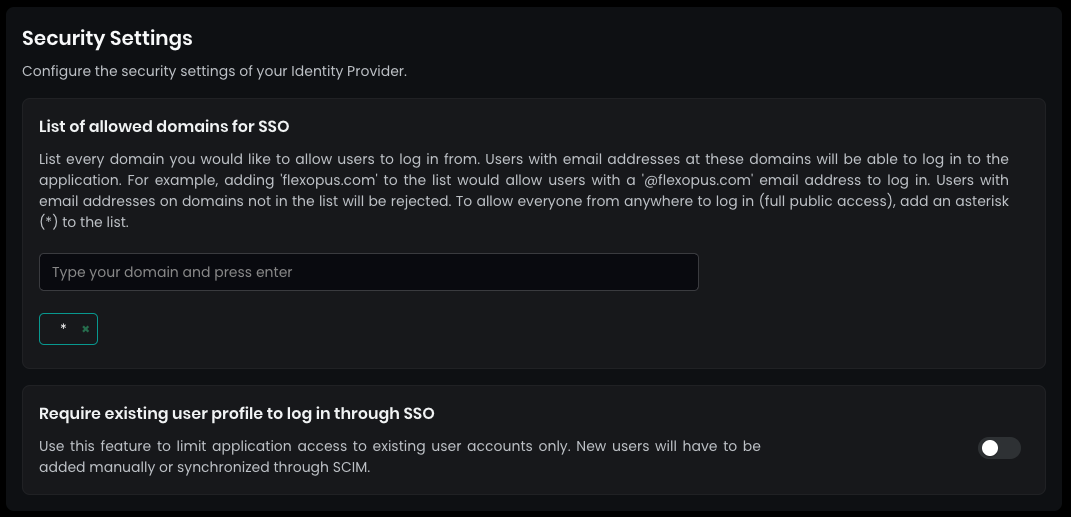
- In
security settings, set theallowed domains for SSOto*(star) and pressENTERto allow all users configured in your Google directory to log in. - By default, SAML2 SSO users are registered automatically after their first login attempt, so you don’t need to create user profiles manually. You can disable this setting if needed, though it’s generally not recommended.
Save your settings in the bottom.
You can find a SAML2 Extension in the bottom to synchronize the avatar via the Management API. That will be configured in a later step.
STEP 3 - Attribute mapping
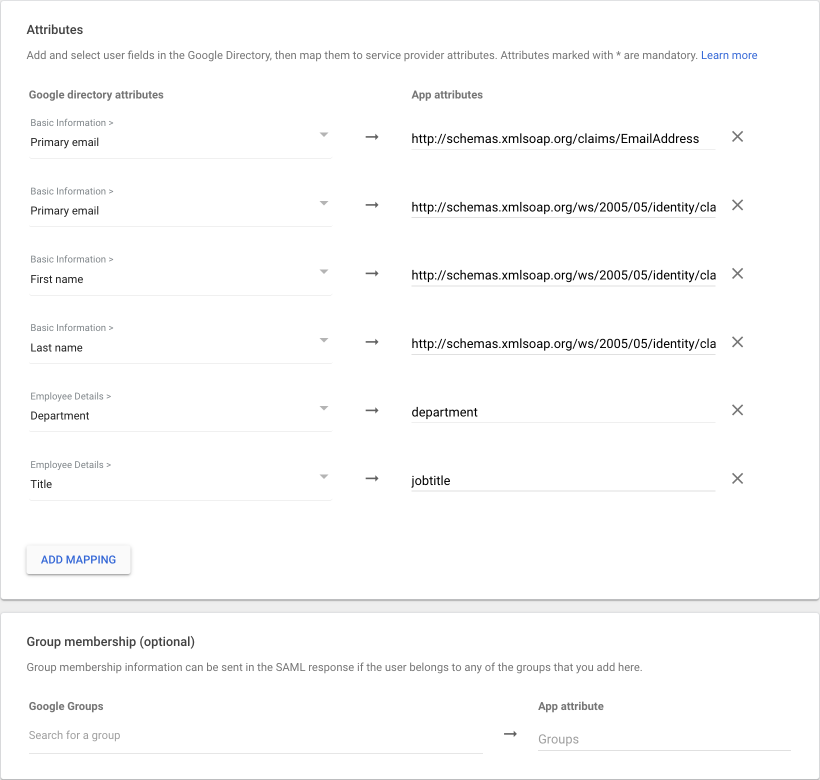
Go back to your Google configurations and continue with the step attributes. Set the attributes as listed below.
| Google directory attributes | App attributes | Note |
|---|---|---|
| Primary email | http://schemas.xmlsoap.org/claims/EmailAddress | required |
| Primary email | http://schemas.xmlsoap.org/ws/2005/05/identity/claims/upn | required |
| First name | http://schemas.xmlsoap.org/ws/2005/05/identity/claims/givenname | required |
| Last name | http://schemas.xmlsoap.org/ws/2005/05/identity/claims/surname | required |
| Department | department | optional |
| Title | jobtitle | optional |
1. Accept the issue and use the primary email as the identifier.
2. Maintain a custom UPN field for users that remains unique over time.
For a long-term solution, option two is recommended if feasible. This challenge isn't unique to Flexopus.
You can leave the group membership empty. For the Google Group synchronization, we have a more professional way implemented through the Google Management API. For more information, visit the article once you finished this setup.
Click Finish
STEP 4 - Configure who can log in
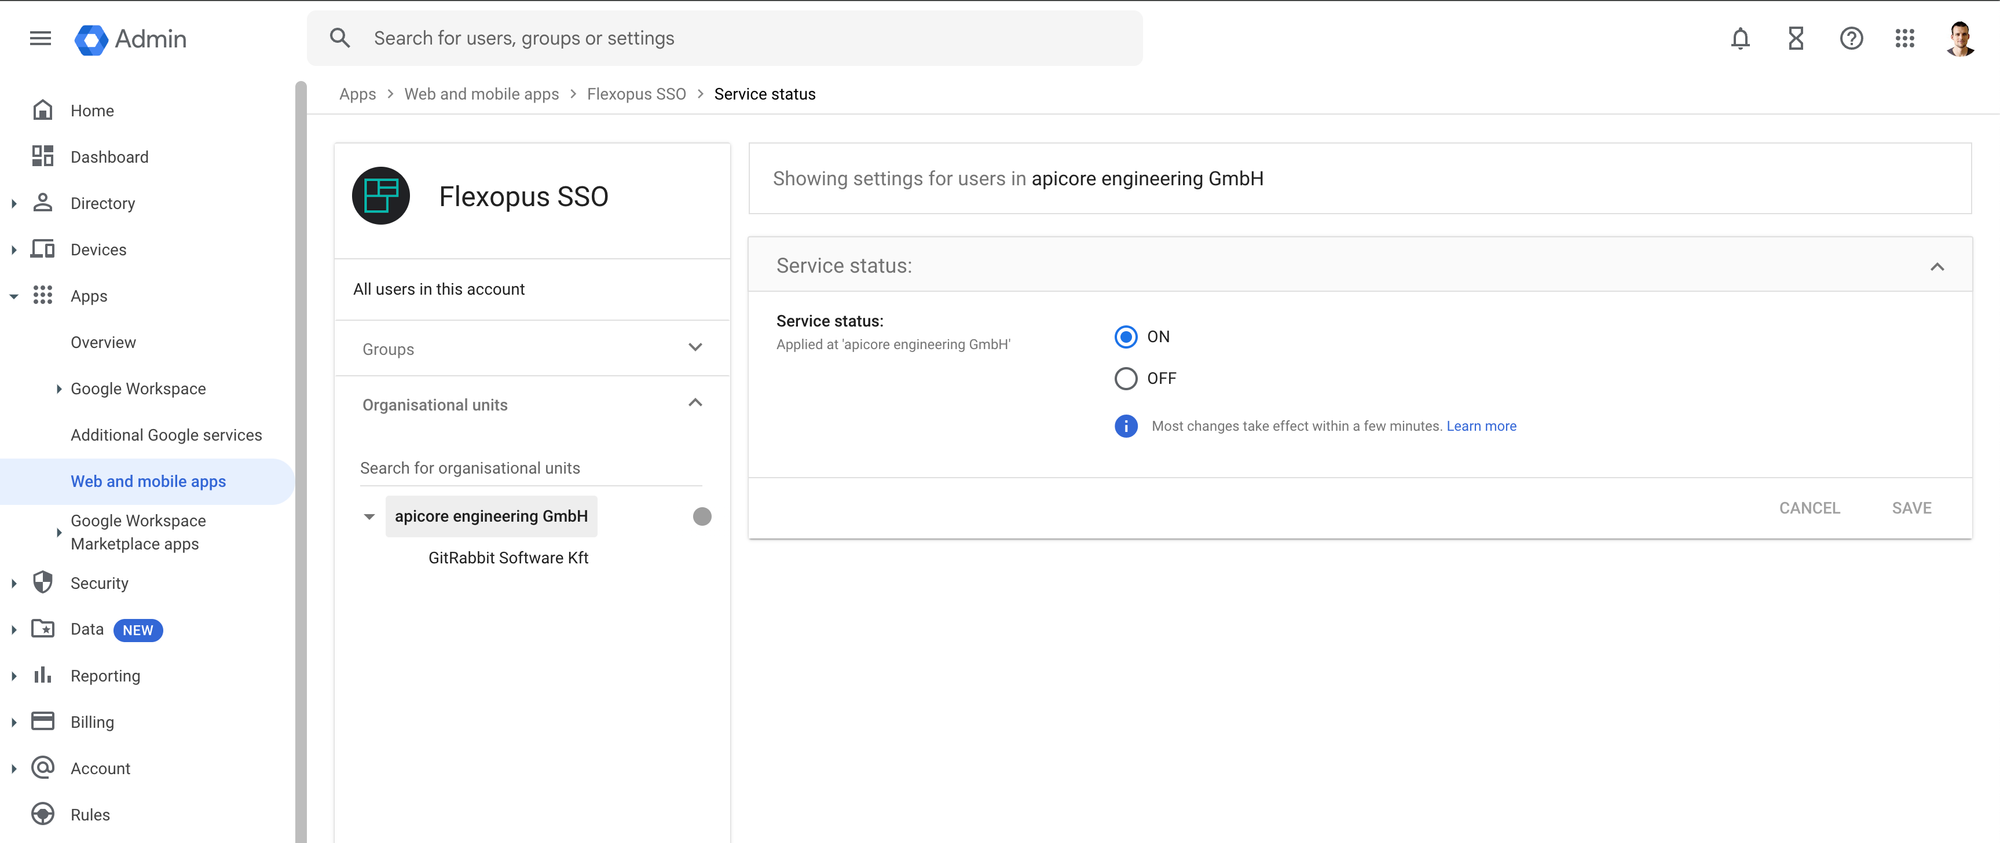
To avoid login errors when accessing Flexopus, configure login permissions in your Google Workspace directory. Go to the User Access tab and specify which users are allowed or restricted from logging in.
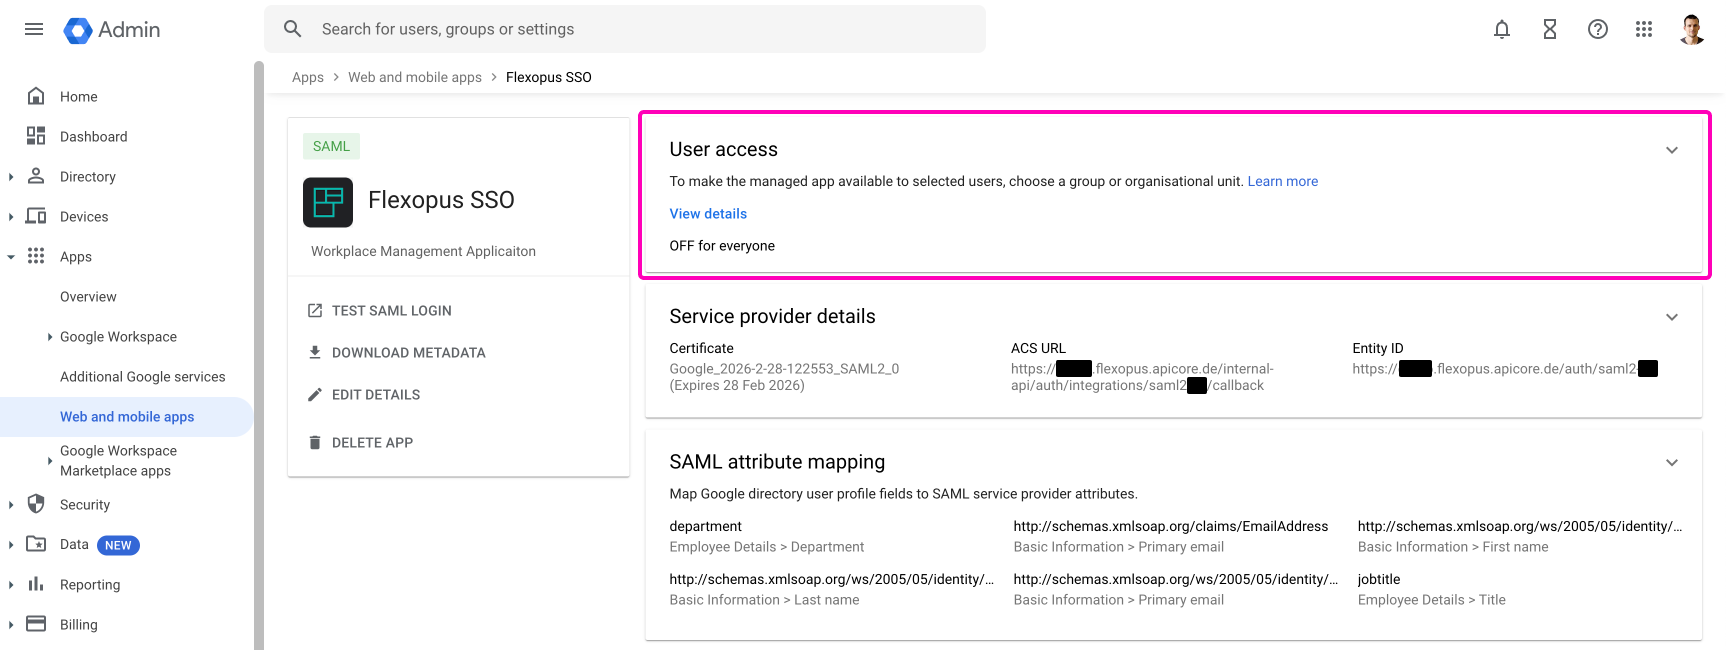
Open the settings and decide which organizational unit or group can log in into the application. It's recommended enabling the login for the whole organization in case you don't have any reasonable limitations in place. In this case, you don't need to maintain the user's access for the login and you can reduce the number of possible support cases regarding the login configuration.
STEP 5 - Test the configuration
Open Flexopus in a new incognito window and test the login. You should be able to log in with an existing or a new user, depending on how you configured the access rights in your Google Workspace Directory and Flexopus.
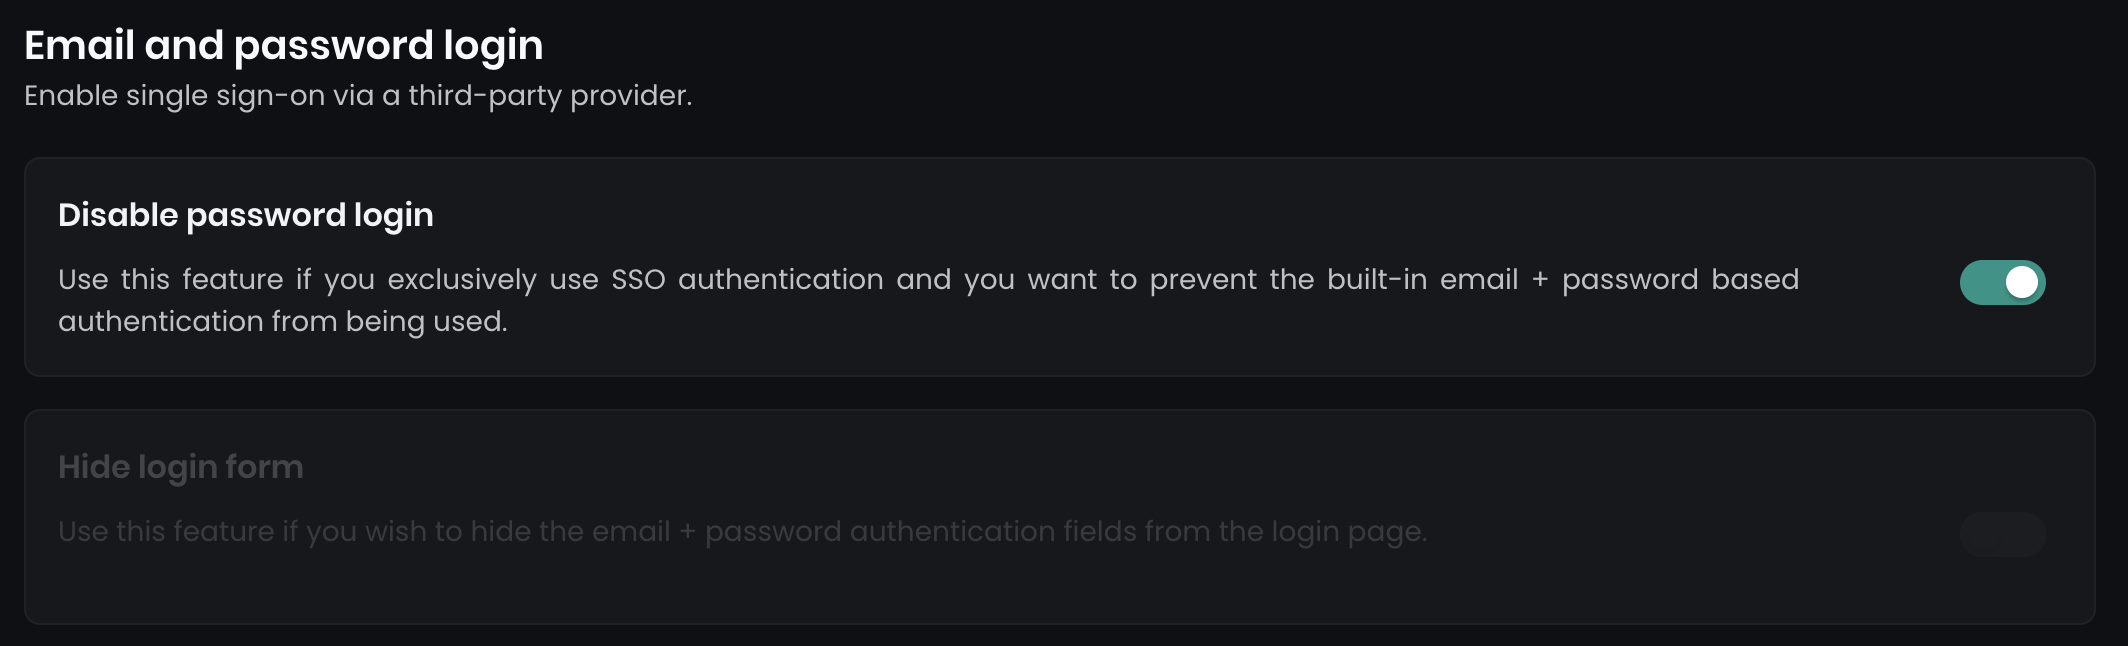
After configuring SAML2 SSO, you can enforce Single Sign-On by disabling email and password login:
- Disable password login: This option removes all email and password login forms.
- Hide login form: This hides the login form on the main page, though a secondary login form remains accessible at
../dashboard/auth/loginfor backup admin use.
Navigate to Dashboard > Settings > Authentication to access these options.
Trouble Shooting / FAQ
Duplicate user was created!
This can happen if the UPN changed over the time. Contact us for support: support@flexopus.com
One user can log in in the user profiles of others!
This can happen if you mixed up the UPNs of the users in your Google Workspace Directory over the time. Contact us for support: support@flexopus.com