Slack Integration with Zapier
With the help of Zapier, you can integrate Flexopus into Slack to receive booking confirmations and booking summaries.
If you want to get automatic booking summaries for the next day or booking confirmations in Slack, you can set this up using our Zapier templates.
We have created different templates in Zapier for you. These templates are both free and paid. Some are paid because they are too complex for the free version. The paid templates need a Zapier Premium subscription. However, you can test these templates for free for 2 weeks during Zapier's trial period (as of June 2024 - for more information, visit: https://zapier.com/page/welcome-start/).
Template: Booking Summary
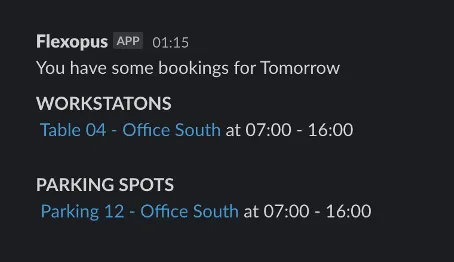
One of the templates we created is the Booking Summary.
This template allows you to receive an automated summary of your bookings for each day as a Slack message.
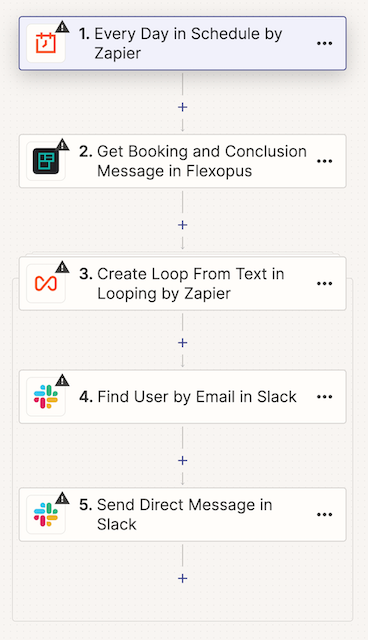
Instruction manual
In the first step, Every Day in Schedule by Zapier, you can define when these messages should be sent. Under the Trigger tab, you can set:
- The time when the message should be sent
- If you want, you can also set it not to send messages on weekends
Next, click on Sign In in the Account tab to link your Flexopus instance with Zapier. Here, enter your domain and API key. Zapier will then test the connection and confirm success with a green checkmark.
In the third step, you don't need to change anything.
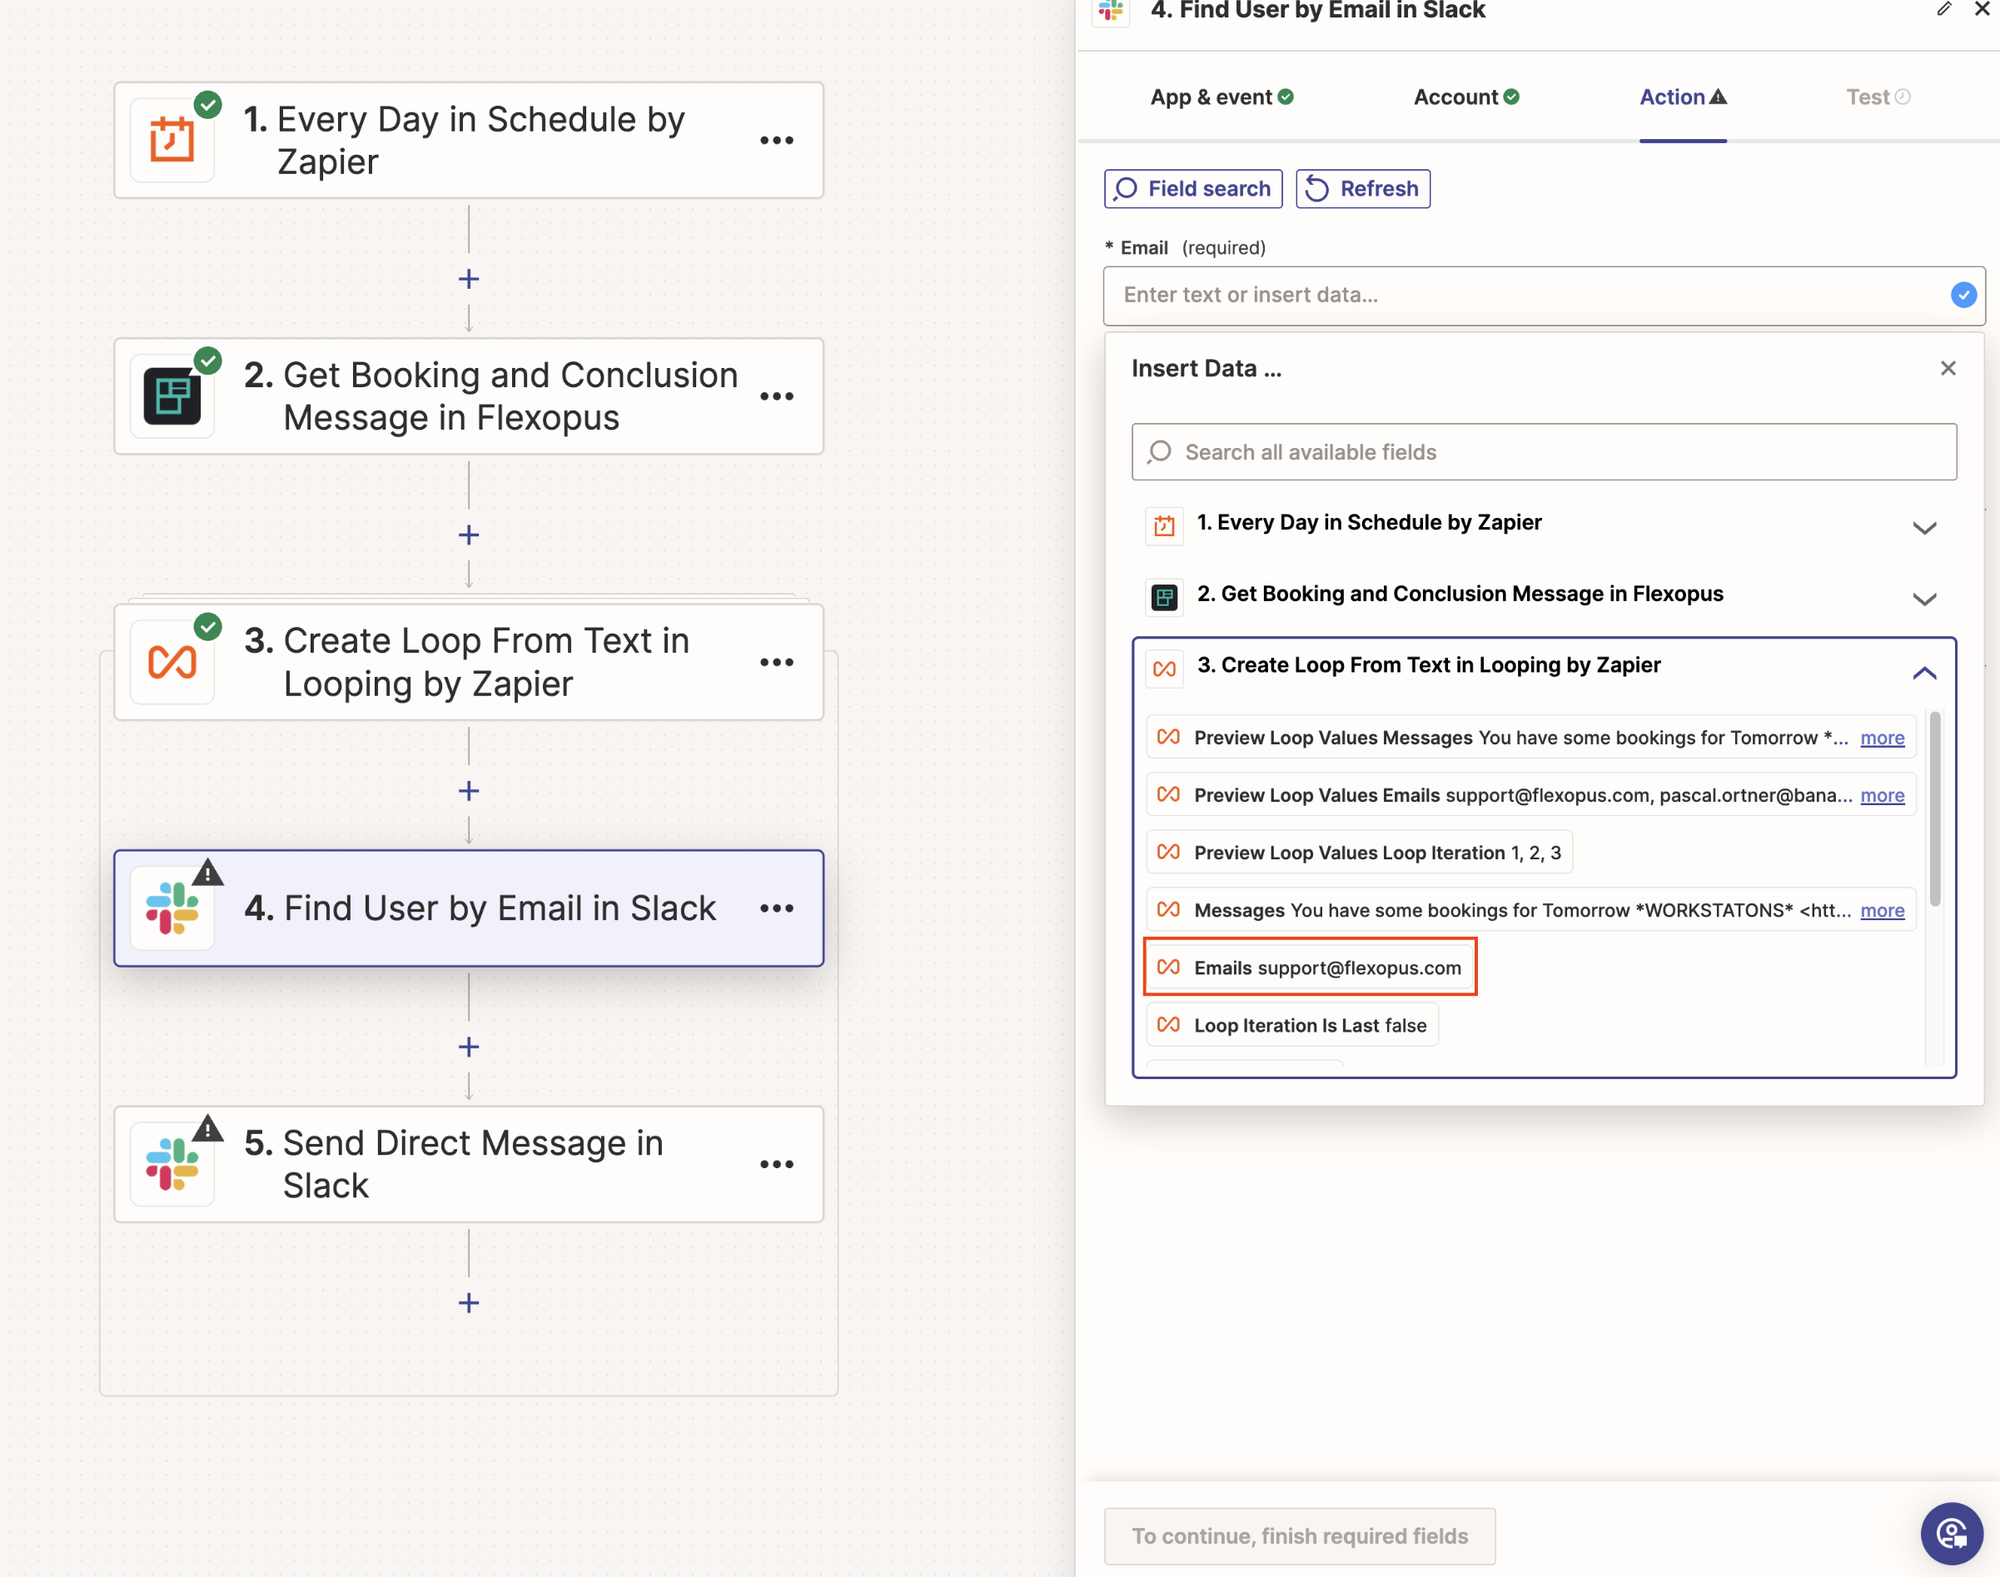
In the fourth step, Find User by Email in Slack, you need to adjust the variable:
- Delete the variable in
Email - Then choose the variable
Emailsfrom the loop in step 3
In the fifth and final step:
- Simply select the account you used before. It will be automatically carried over.
- In the
Actionstab, underMessages, choose theMessagesvariable from the loop.
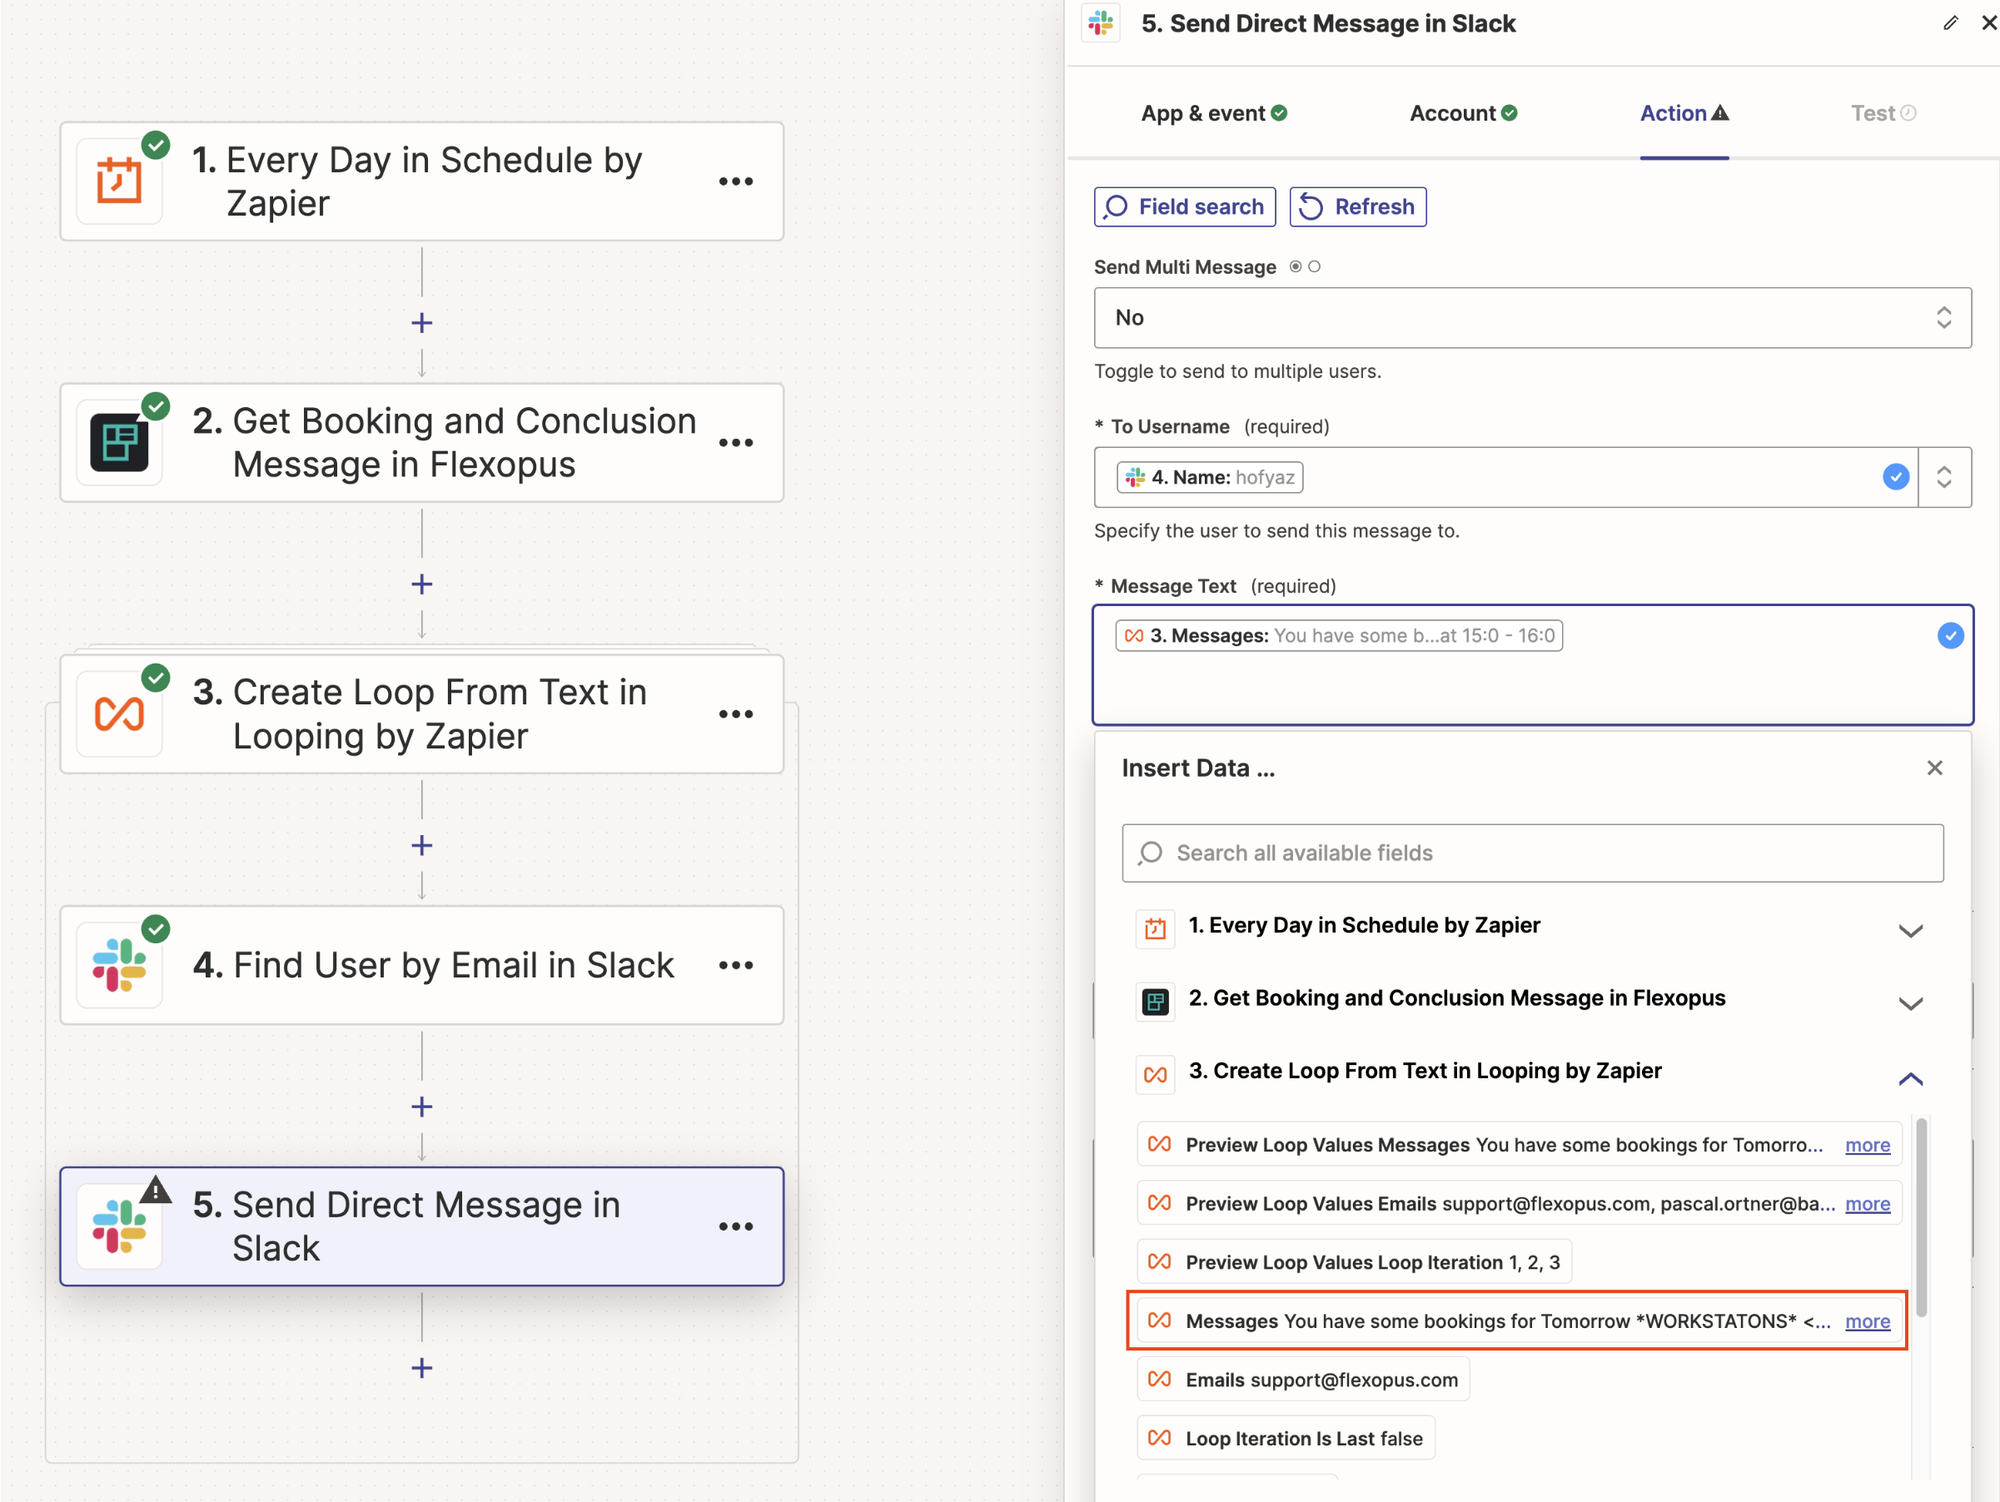
You can keep the remaining settings at their default.
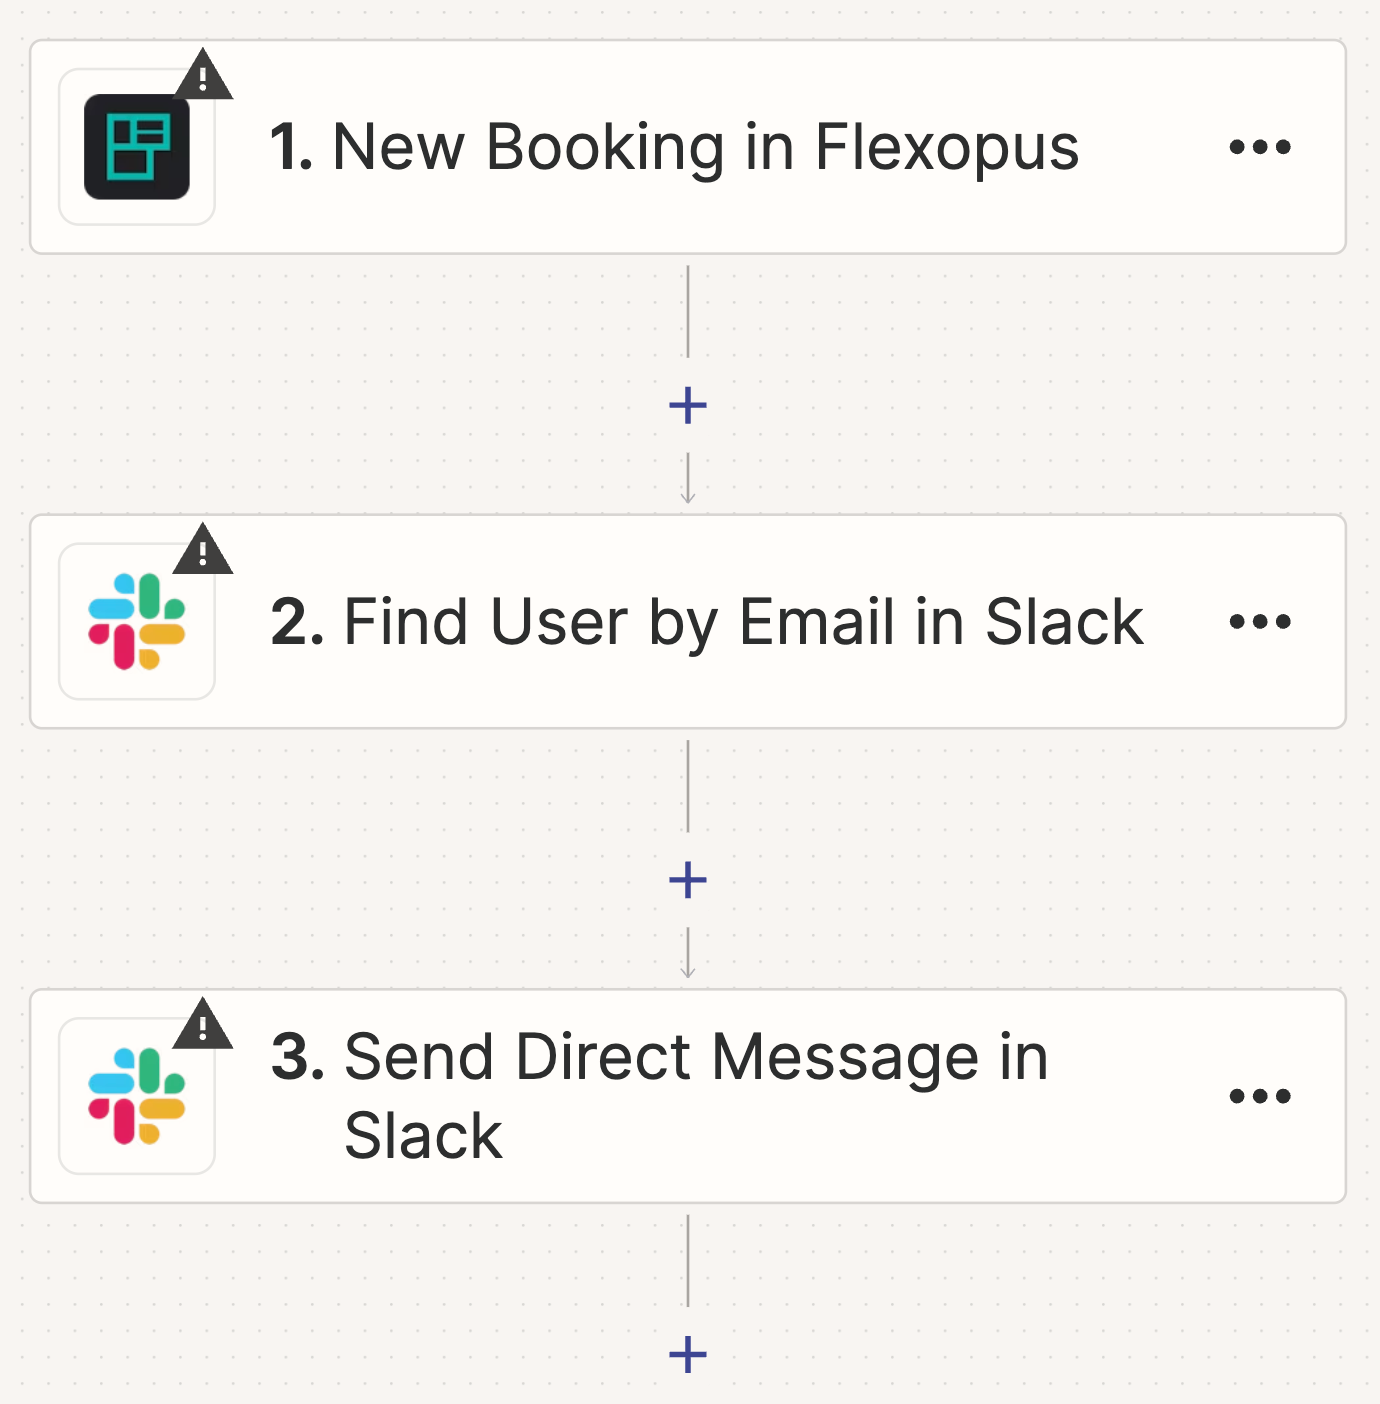
Template: Booking Confirmation
Another template we offer is the Booking Confirmation. With this template, you get a confirmation as a private Slack message after a successful booking. This works for bookings made within the next 7 days at most.

Instruction manual
In the first step, click on Sign In in the Account tab to link your Flexopus instance with Zapier. Now enter your domain and your API key. Zapier will now test the connection and confirm success with a green tick.
Skip test.Zapier will then automatically take you to the next step if you click on Continue at the bottom right.
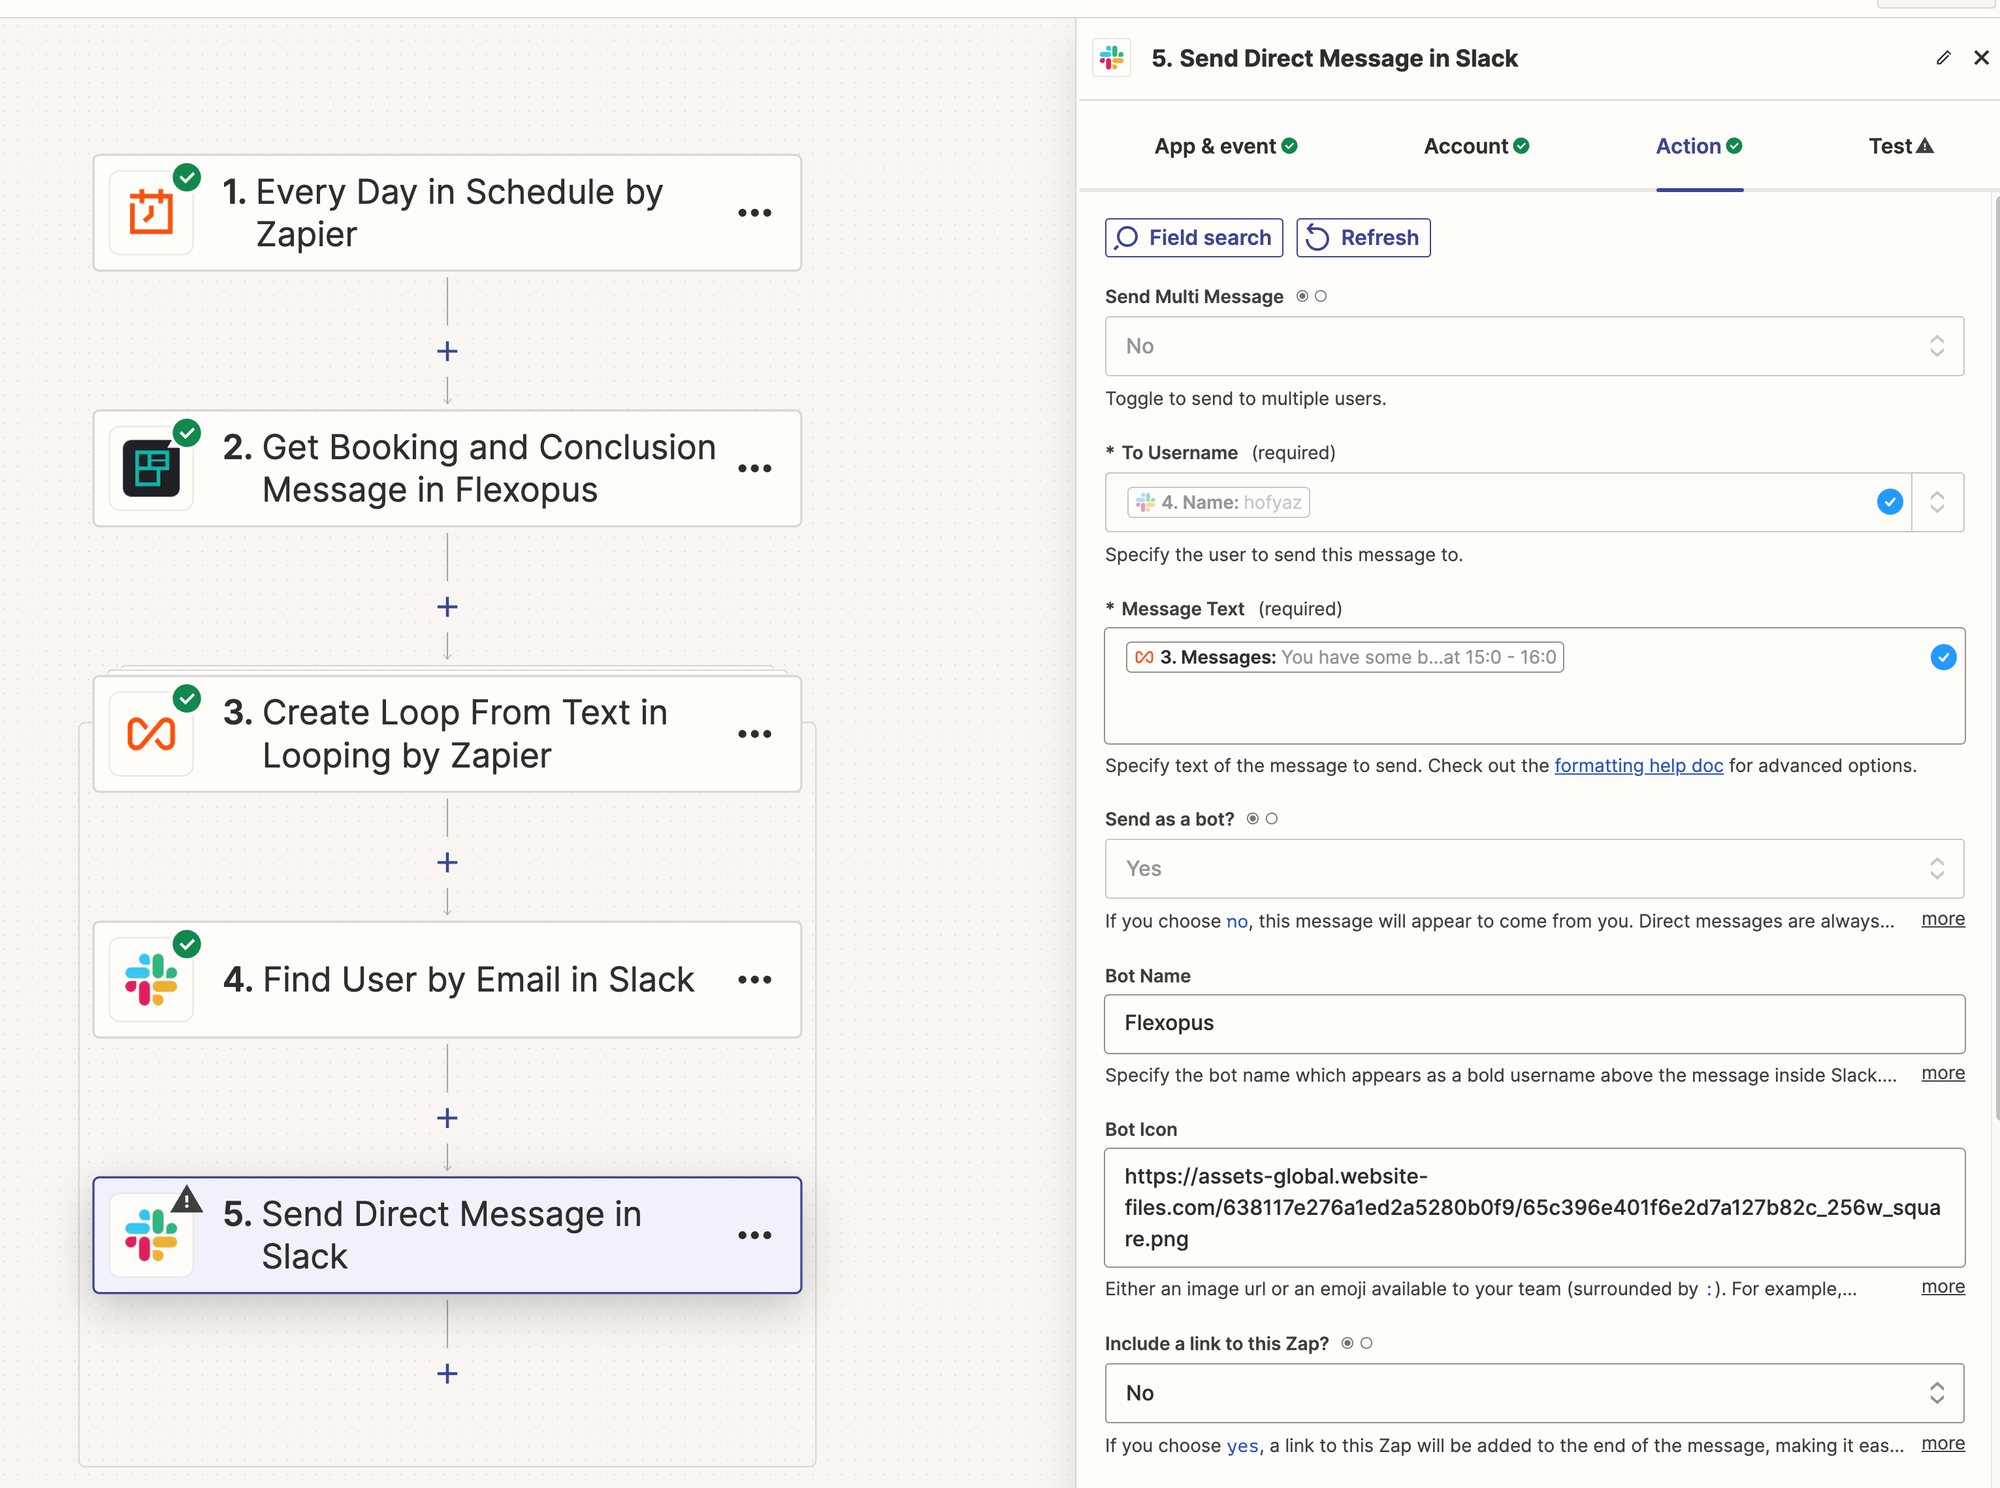
In the following action Send Direct Message in Slack, set the Bot Icon with the following URL under the Action tab: https://assets-global.website-files.com/638117e276a1ed2a5280b0f9/65c396e401f6e2d7a127b82c_256w_square.png
We also recommend setting Include a link to this Zap? to No. This prevents every message from containing a link to this Zapier template.
Template: public booking confirmation (free of charge)
This is a free Zapier template. This template allows you to send booking confirmations to a Slack channel.
Instruction manual
Next, click on Sign In in the Account tab to link your Flexopus instance with Zapier. Here, enter your domain and API key. Zapier will then test the connection and confirm success with a green checkmark.
You can configure the next step as you like. If you want to see which desks are booked for today, every day:
- Go to the
Triggertab - Enter
0in the input field
This will make the message post in the channel at 1 AM. You can enter up to 6 in this field. Which leads to a message being sent for every booking in the period.
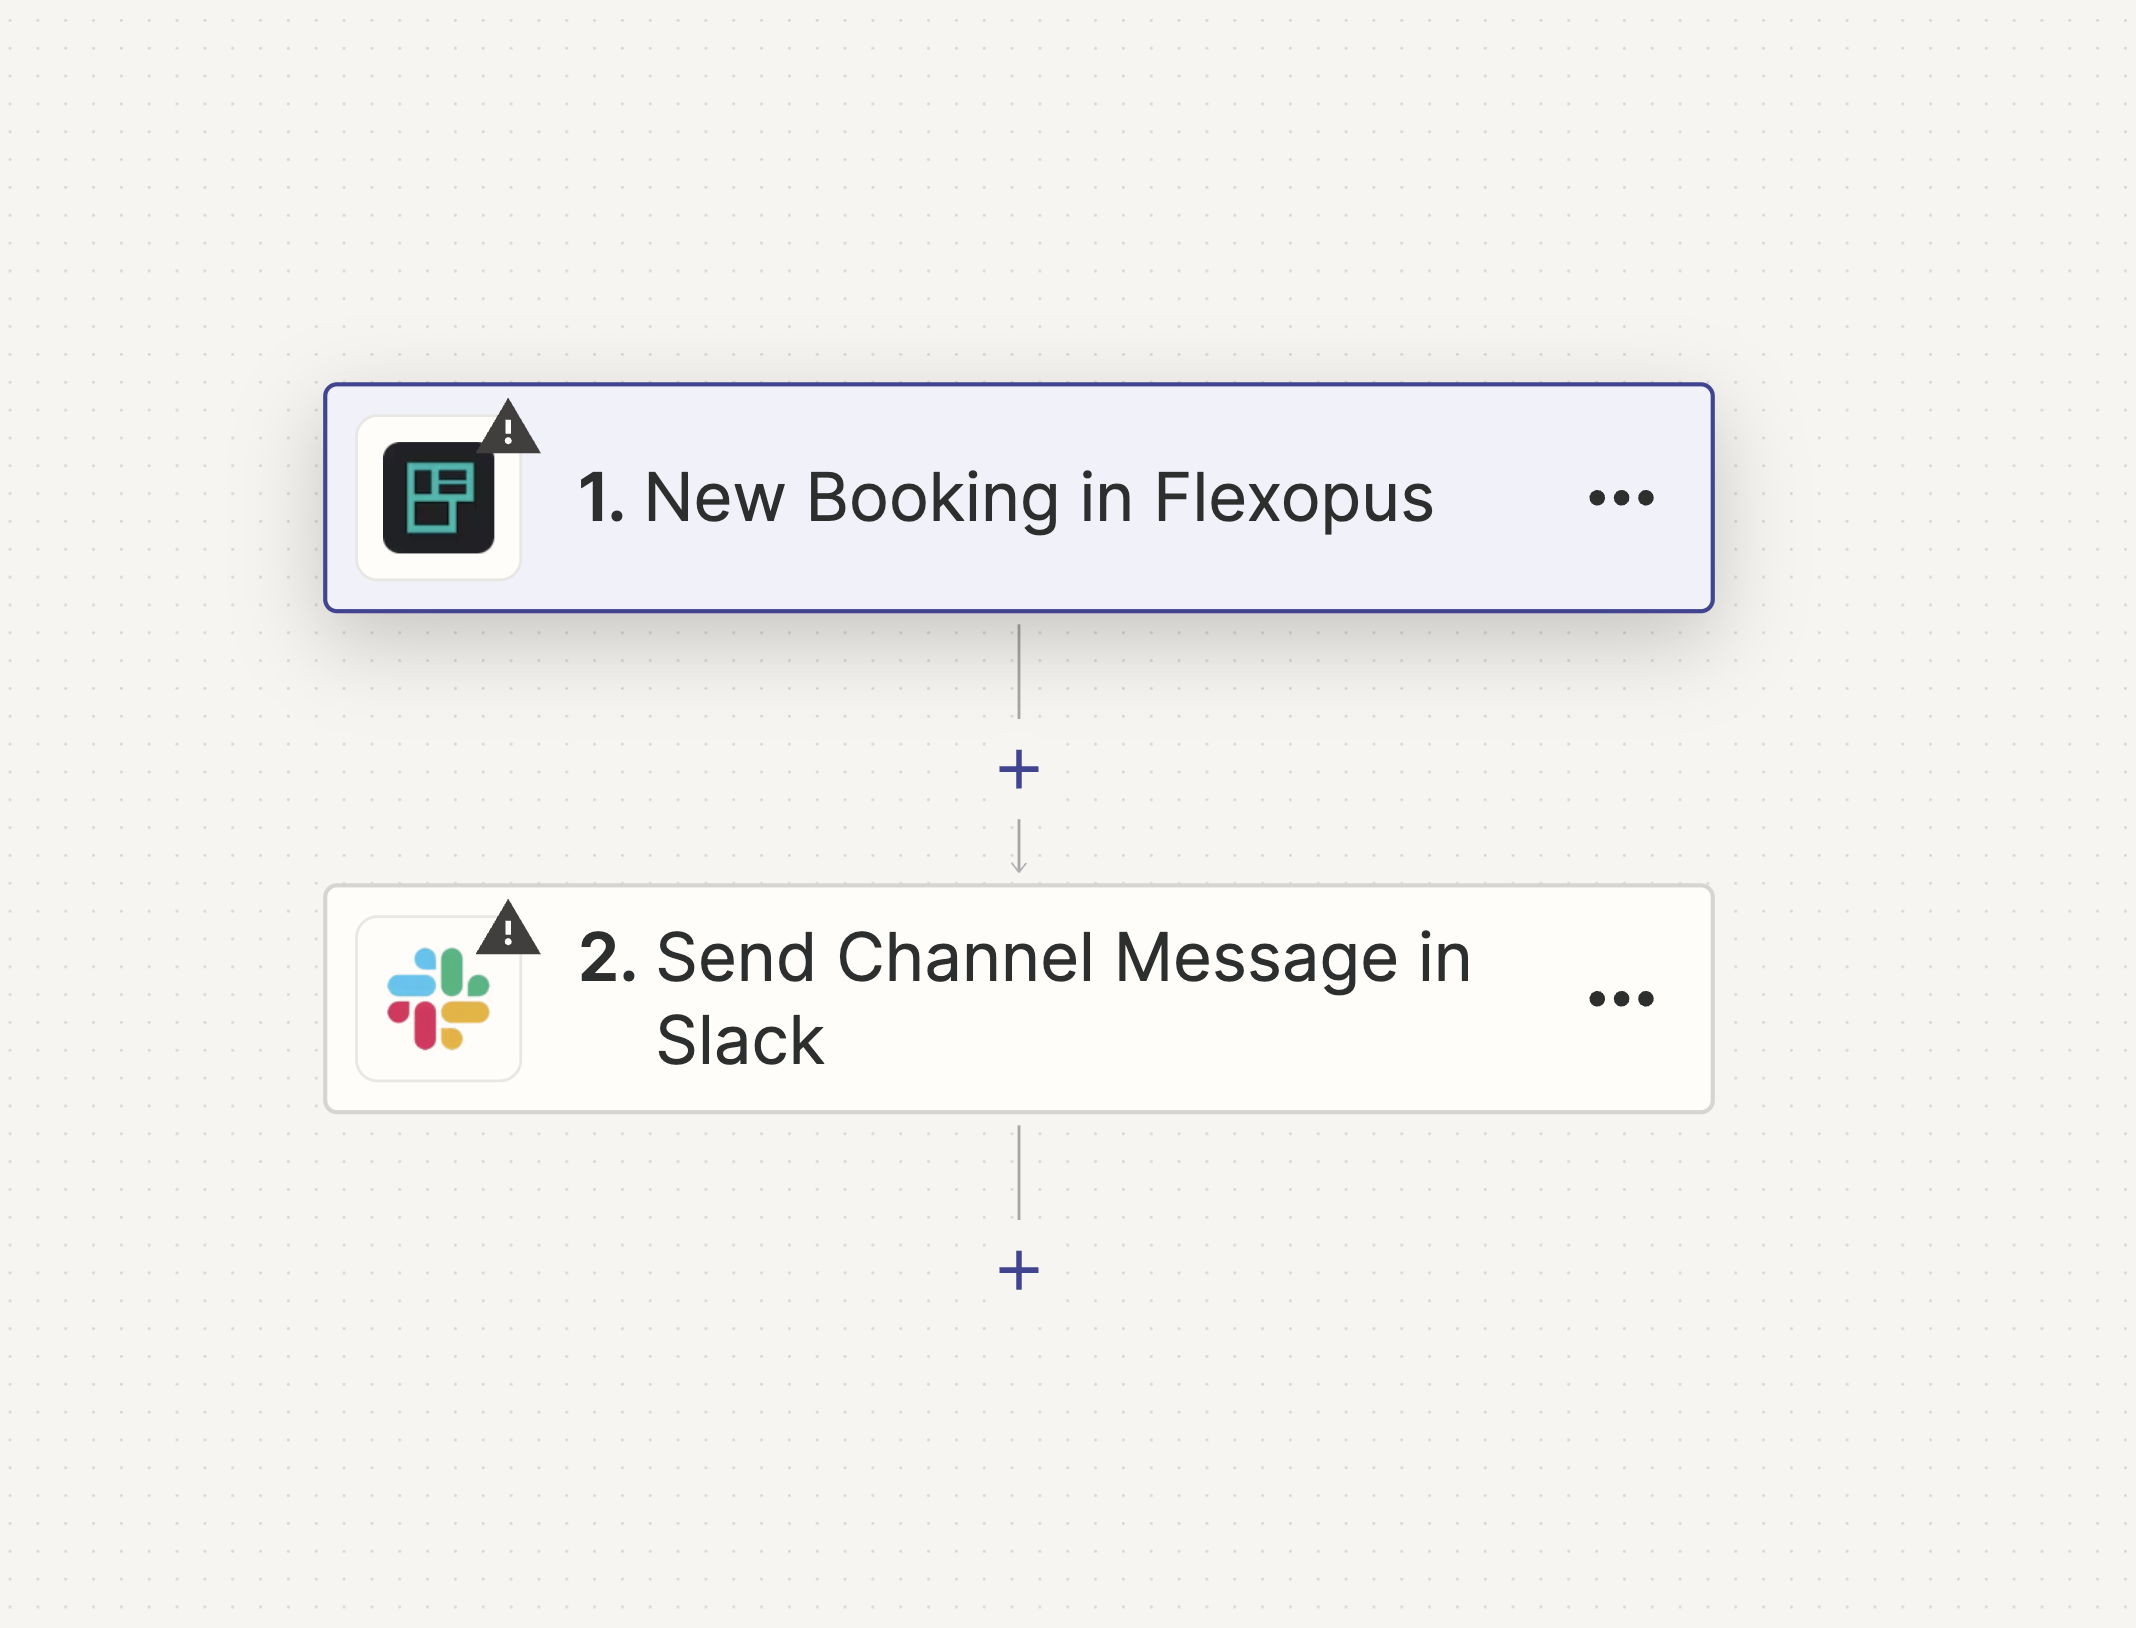
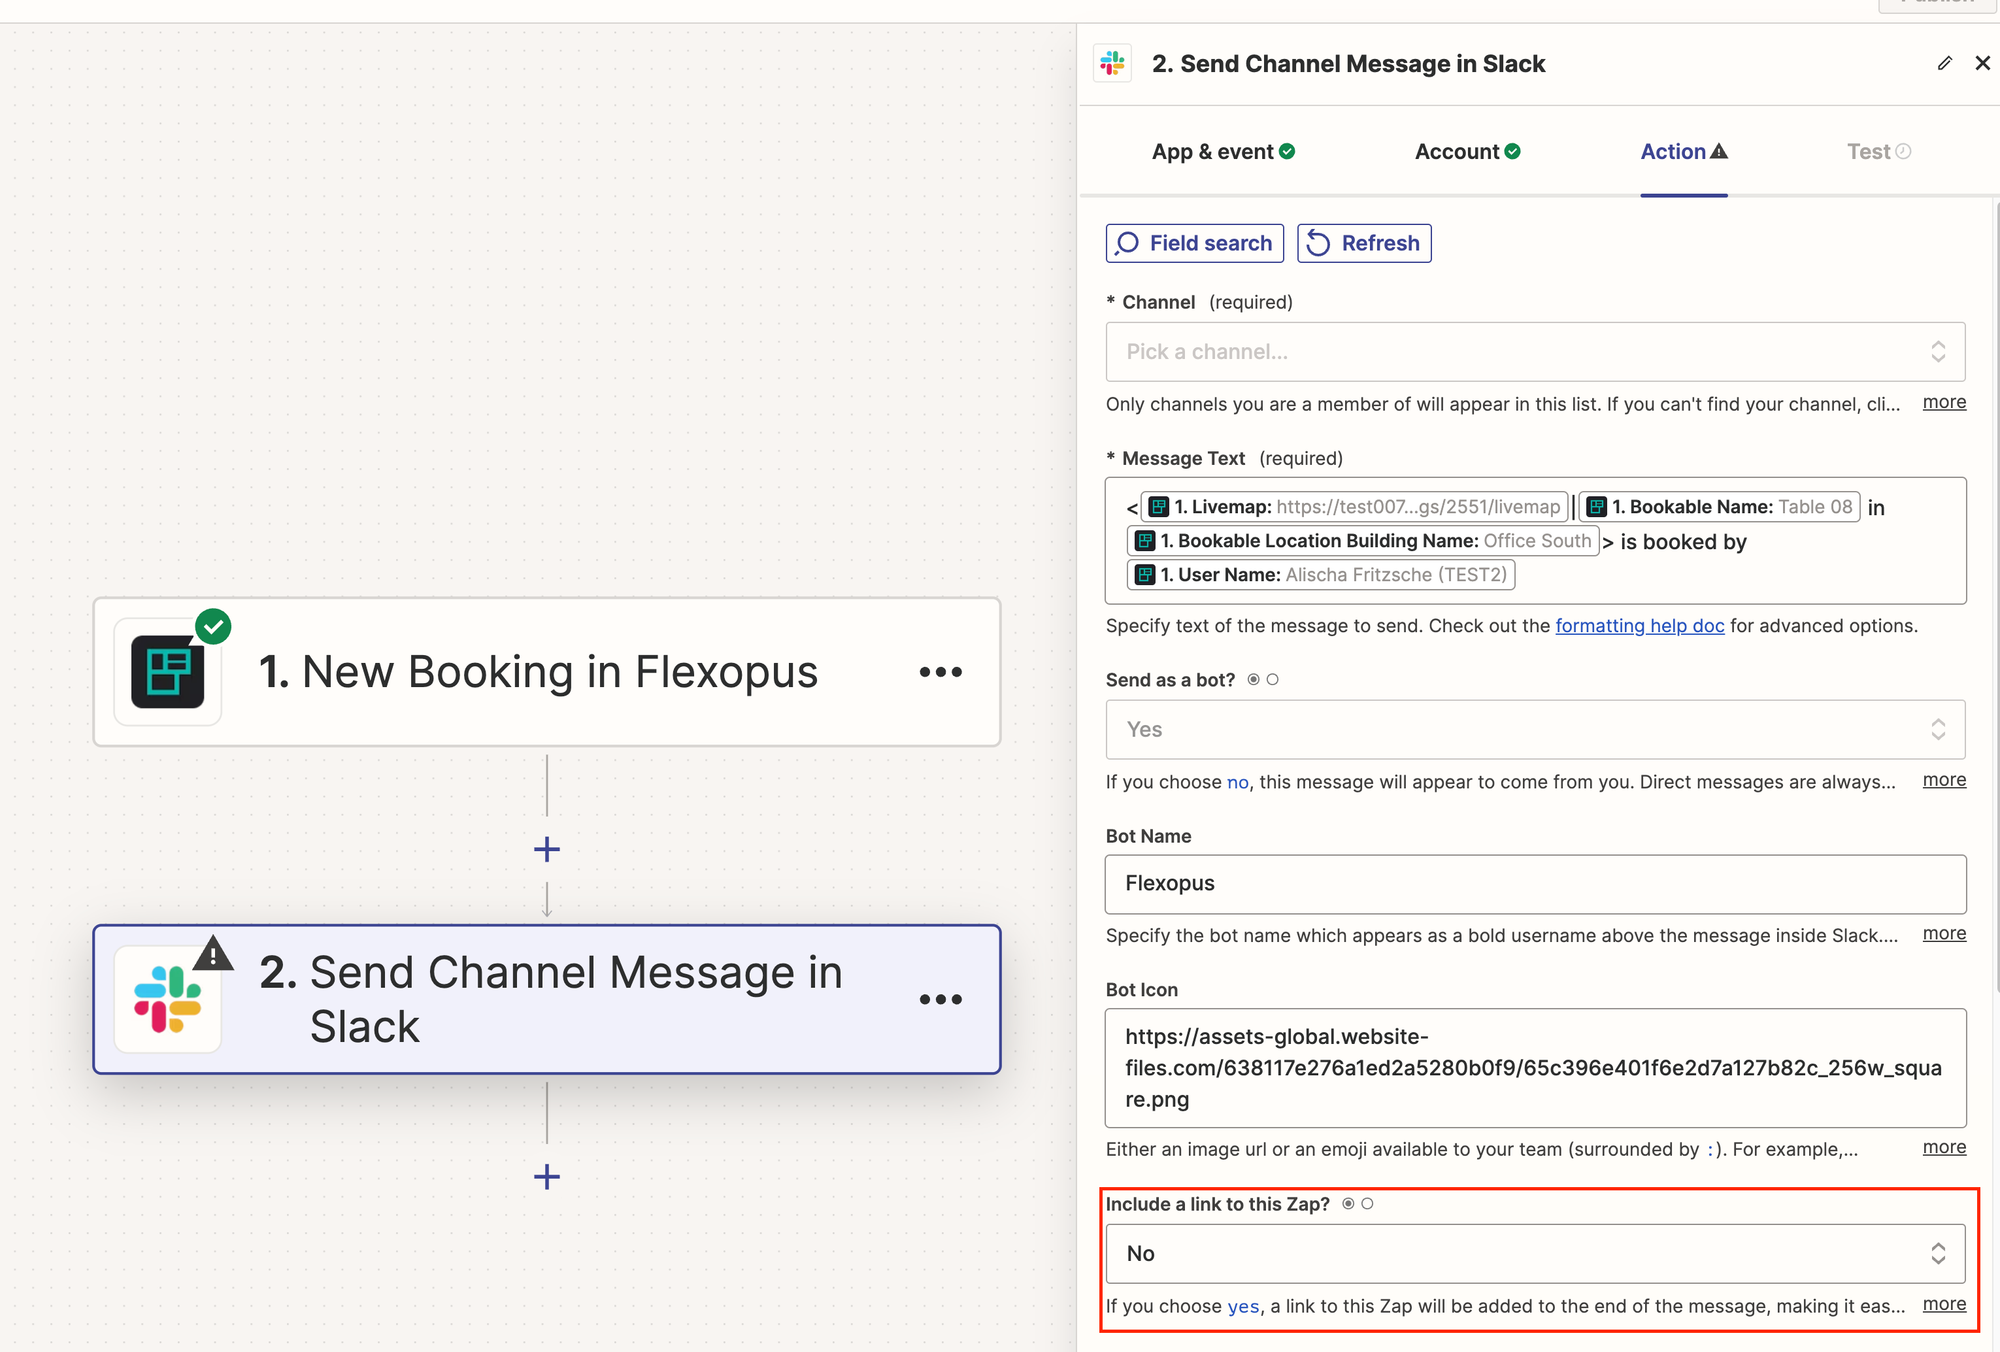
In the last step, Send Channel Message in Slack:
- Log in with your Slack account
- In the
Triggertab, choose the channel where you want to send the message - You can keep the default message or change it yourself
We recommend the following article for help with customizing the message.
We also recommend setting Include a link to this Zap? to No. This prevents every message from containing a link to this Zapier template.
If you now click on the Continue button, this should become a Publish button. If this is the case, the setup has been successfully completed.