Synchronize Additional User Attributes (SCIM or SAML2)
It is possible to synchronize additional user attributes into Flexopus via SCIM or SAML2. These attributes then appear in the user exports and the REST API responses.
Flexopus supports up to ten additional attributes synchronized from external sources. They are called extensionAttribute1, extensionAttribute2, …, extensionAttribute10 in Flexopus.
Setting up additional attributes via SCIM
Synchronizing additional attributes using SCIM requires no further actions in Flexopus other than having a working SCIM setup.
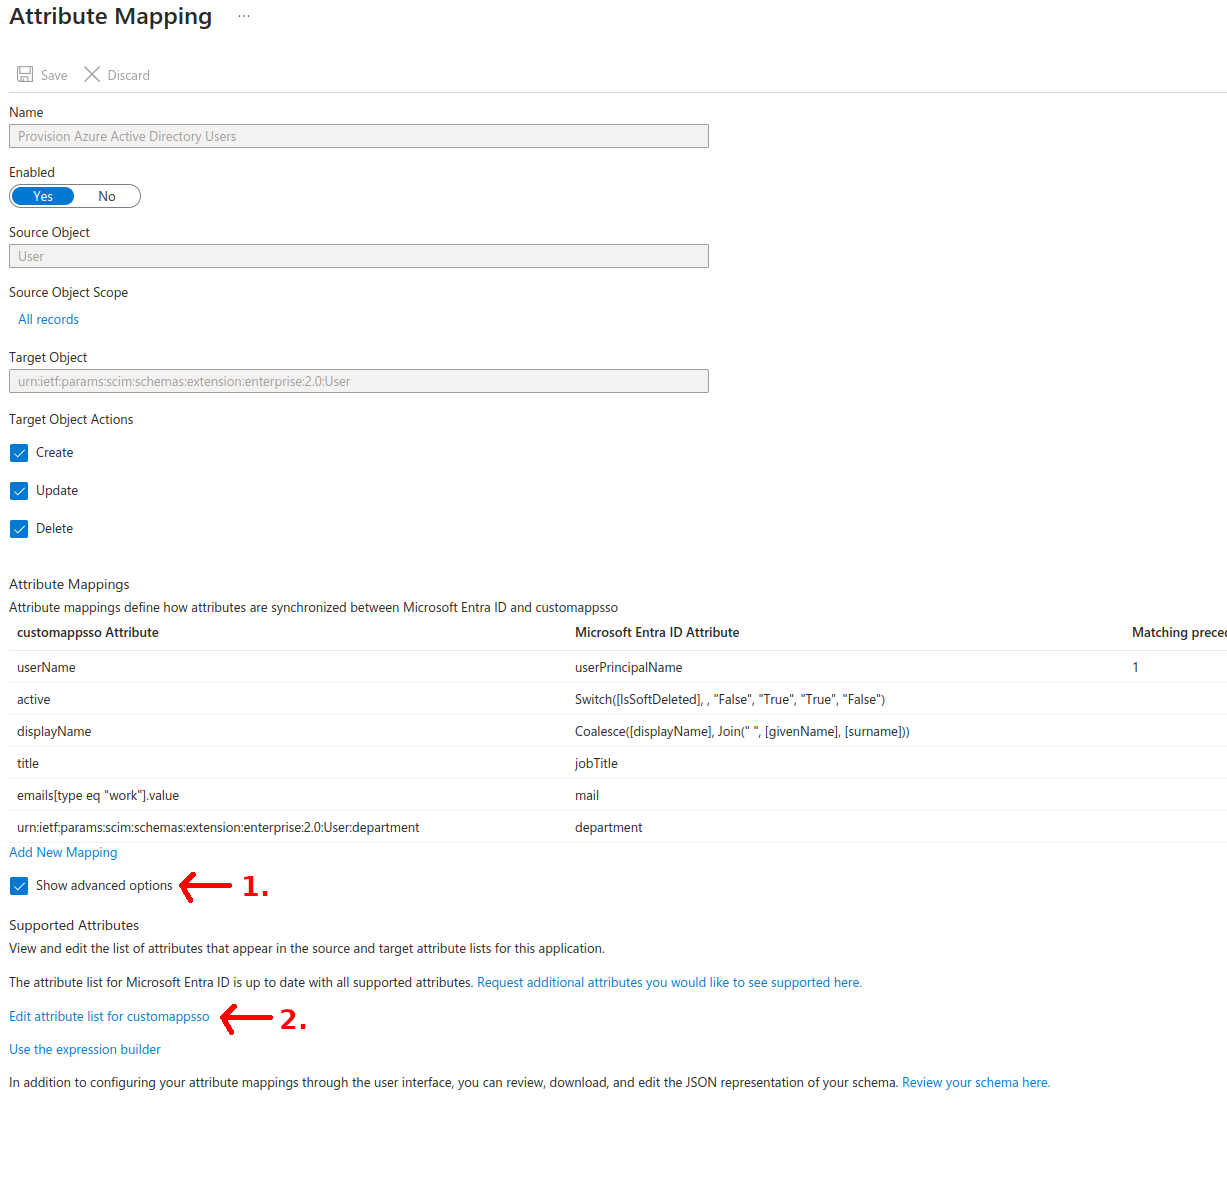
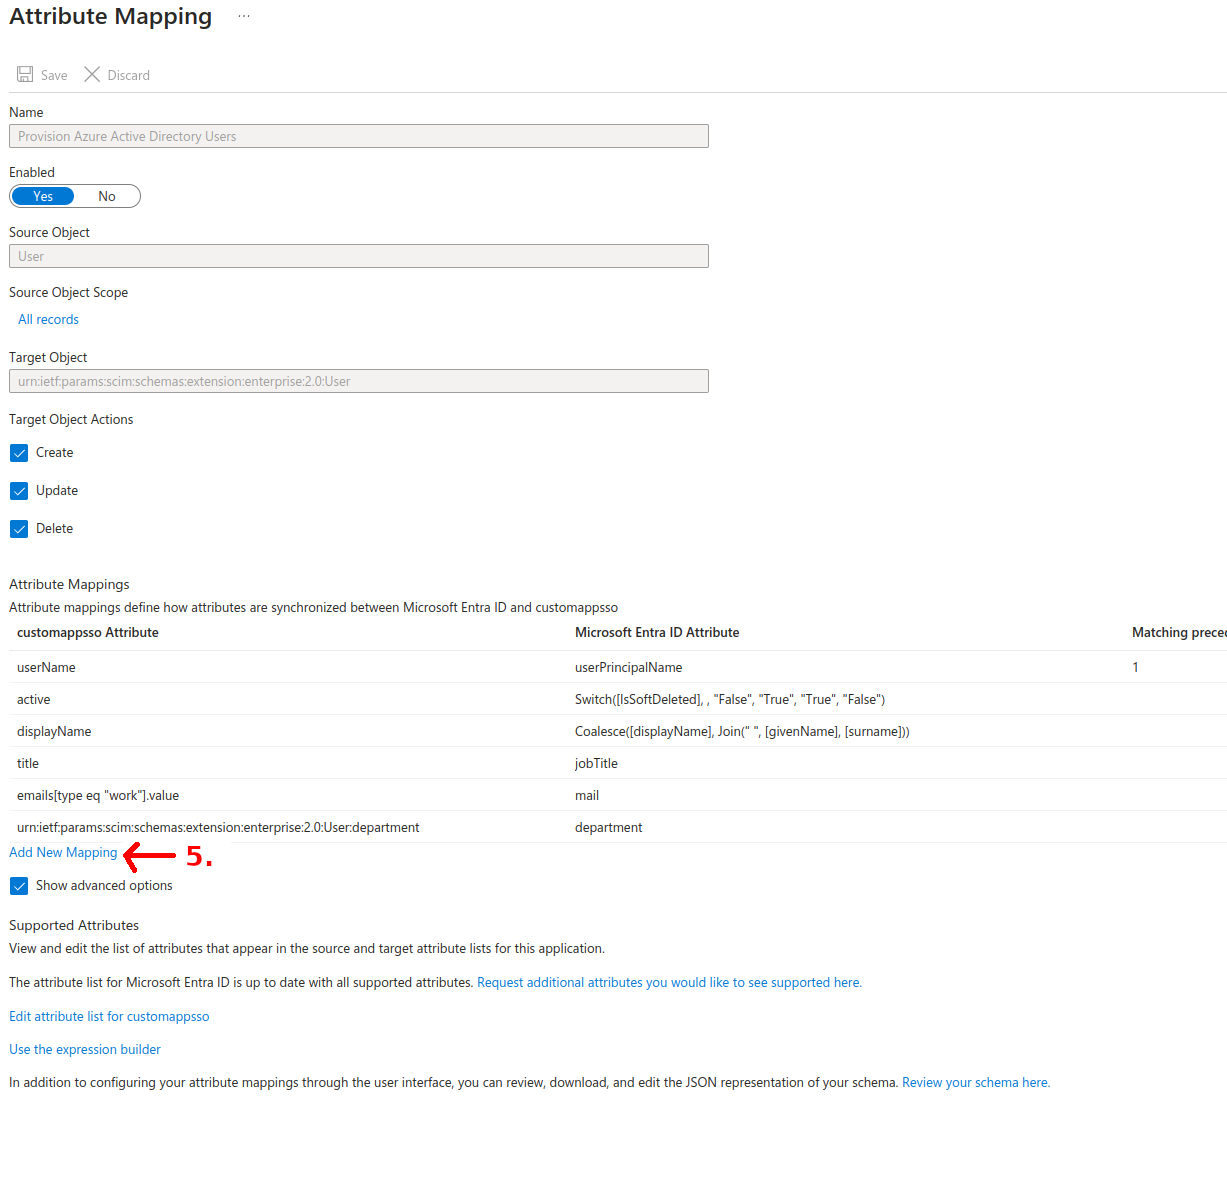
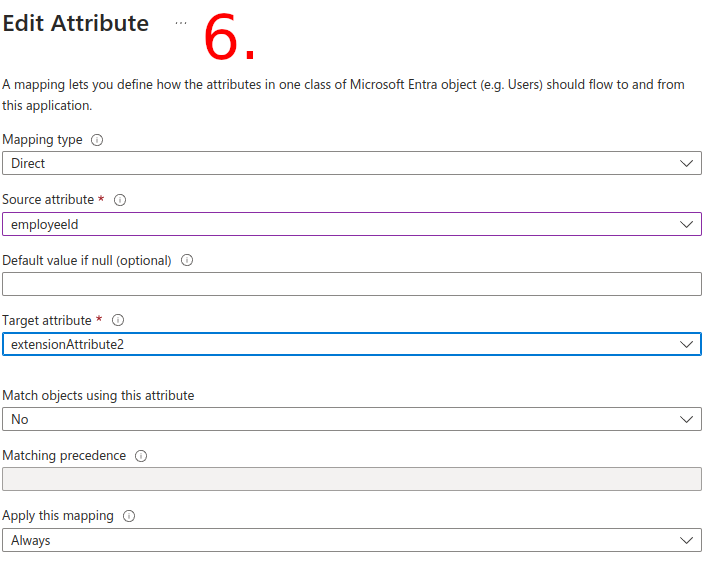
On the SCIM server side, you have to add additional attribute mappings to the SCIM connection. The following four screenshots with six steps guide you through creating a mapping like this in Microsoft Entra (formerly Azure). The example uses extensionAttribute2 for demonstration purposes, but you can use any of the ten supported attributes. The example shows the steps for Microsoft Entra, but creating a mapping should be similar in most SCIM server implementations.

Setting up additional attributes via SAML2
To enable synchronization of additional attributes in Flexopus via SAML2:
- Navigate to
Dashboard > Settings > Authentication. - Edit the selected SAML2 authentication method.
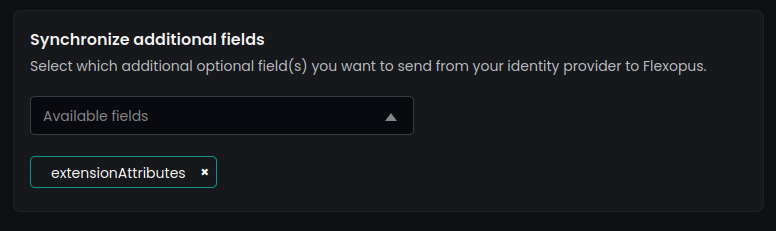
- Locate the section
Synchronize additional fields. - Select
extensionAttributesfrom the drop-down menu. - Save your settings at the bottom of the page.
This will activate the synchronization of extensionAttributes for the configured SAML2 method.
To synchronize additional claims for attributes in Flexopus using SAML2 with Microsoft Entra, follow these steps:
- Access Microsoft Entra: Open the SAML2 Single Sign-on settings for Flexopus in your Microsoft Entra portal.
- Navigate to Attributes & Claims: In the SAML configuration, locate the
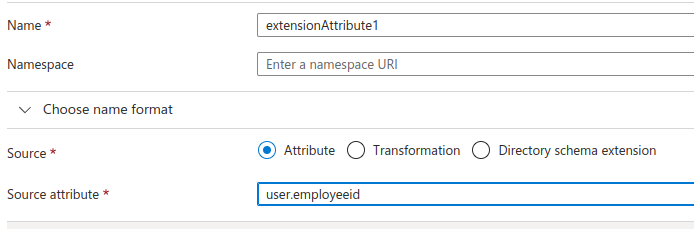
Attributes & Claimssection and click on the Edit button. - Add a New Claim:
- Click Add a new claim.
- Set the Claim name to match the attribute name in Flexopus, e.g.,
extensionAttribute1. - Configure the Source attribute as desired (e.g.,
user.employeeidto map toextensionAttribute1).
- Save the new claim to enable synchronization.
Repeat this process for any of the ten supported attribute names in Flexopus.

After saving this, the new attributes should synchronize to Flexopus for users that log in, when they log in. Remember, SAML2 synchronizes only at the moment of the login.