Desk Booking Displays
Introduction
Flexopus can be connected with ePaper displays to show the current reservation status of the desk onsite.
Desk Booking Devices
The following hardware components are supported and can be ordered through the Flexopus B2B Partner shop:
- ePaper Gateway
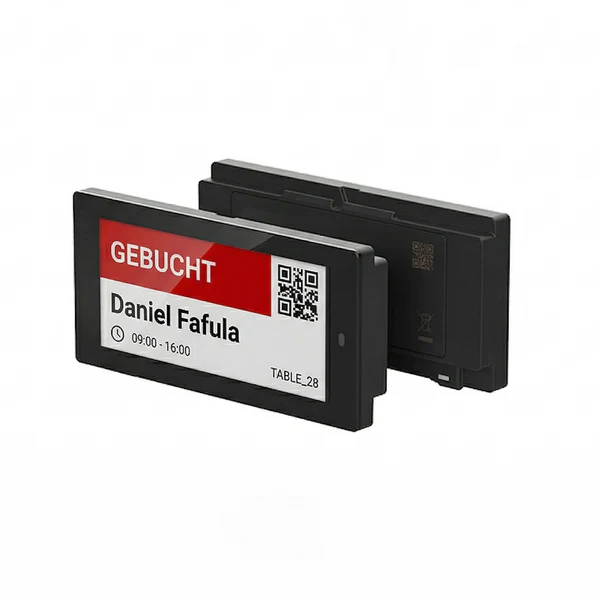
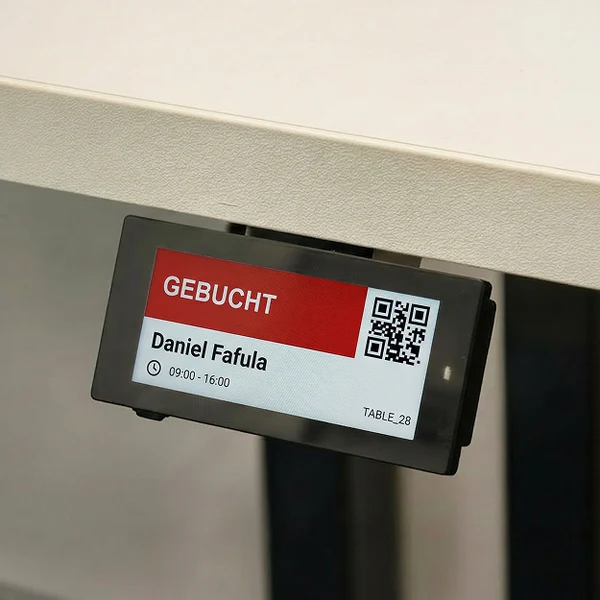
- 2,9" ePaper desk booking display | BLACK
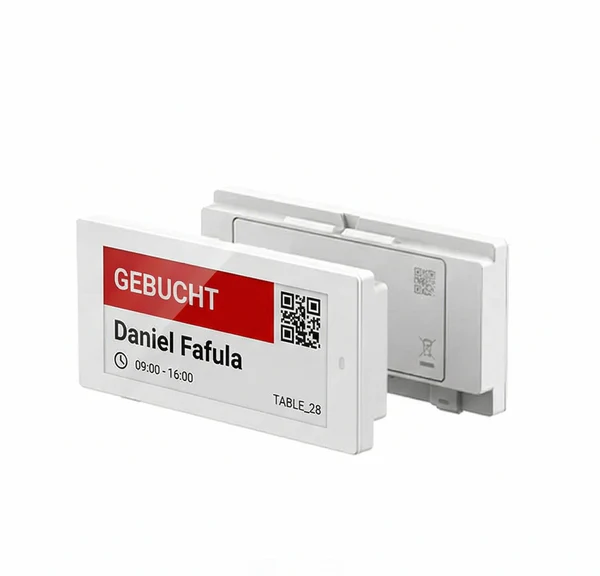
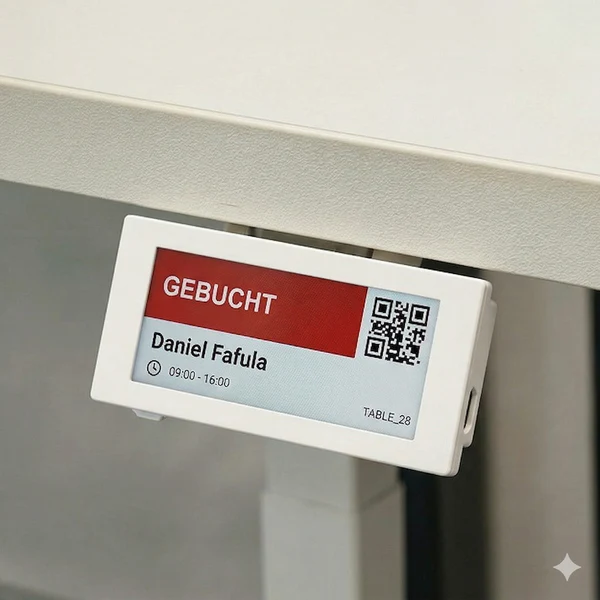
- 2,9" ePaper desk booking display | WHITE
- 2,9" desk display holder | BLACK
- 2,9" desk display holder | WHITE
Desk device booking features:
- Multicolor reservations status
The black, white, red, and yellow colors are indicating the reservation status of the desks. - Book a desk in advance.
The booking will be displayed on the display. - QR code ad-hoc booking.
Scan the QR code and book the desk now. - NFC ad-hoc booking.
Hold your phone to the display and book the desk now. - See who booked the desk
The display shows who booked the desk. - Check-in with the displays
The display indicates with a yellow color, if the booking is pending. Scan the QR code to check in.
Advantages of the ePaper solution:
- No cable required at the desk
The displays have replaceable batteries and are connected directly with the Gateway. - The network is not overloaded
Only the gateway needs to be connected with the WiFi; this way, you are not overloading your WiFi network with end devices. - Long battery time
The ePaper displays consuming electricity only when changing the screen content. This way the desk displays can hold up to 3-5 years. - Affordable display price
The ePaper displays are not expensive. In case of any damage, they can be replaced for a low cost.
Disadvantages of the ePaper solution:
- Not a touch display
The displays are not supporting touch features. You can interract with the QR code or NFC. - Slower refresh time
After a booking via Flexopus, the displays are updating usually within 20 seconds.
Configuration manual
Learn how to configure the displays and the gateway.
STEP 0 - Enable the module
To configure the devices, you need to request the Flexopus support team (support@flexopus.com) to enable the module for you. You can find the configuration options here: Admin Dashbard > Global Settings > Integrations > ePaper Integrations
STEP 1 - Add the gateway
You can find a serial number under the gateway. Take that number and add it manually to the gateway list in Flexopus.
The initial connection may take up to 20 minutes. You can refresh the list with the refresh button. The gateway will change the state from DISCONNECTED to NOT READY and then to CONNECTED.
STEP 2 - Add the displays
The displays are showing by default a number on the screen. Take that number and enter it in Flexopus. You can select the desk for the connection. The reservation status of the desk will be displayed on the display.
You can connect multiple displays for the same desk as well. If you have smaller offices, then it's recommended to place one display at the entrance of the office and one at the desk.
The displays are by default in a very low-power IDLE mode, and they need time to realize that there is an active gateway nearby. Therefore, this initial connection can also take up to 20 minutes. The connection happened automatically; I guess the display ID is listed in Flexopus and the gateway is in an available radius.
STEP 3 - Mount the gateway and the displays
The gateway has a 25-meter BLE radius. Indoors, it can be lower. Place the gateway in a way that it can cover as many displays as possible. In case the range is not enough, you can connect more gateways. The displays will connect with the nearest available gateway. This way you don't need to assign the displays to gateways.
The BLE connection allows for low-power consumption on the devices. Maintaining another communication type, such as a WiFi connection, would consume much more power, and the battery time would be much lower. The BLE connection is considered more like a passive communication type.
You can also mount the desk devices at the doors or desks.
Diagnostics / Debugging
The following features are implemented:
- See the battery level of the dispalys in Flexopus.
- See the connection status and last seen date of the devices in Flexopus.
- (Coming Soon) The button on the displays is supposed to switch a screen and show the config details of the screen, like the
id,connected table,battery,gateway, etc. This feature is currently under development.