Check-in Feature
Overview
By enabling the check-in module, you can enforce users to confirm their bookings within a given grace period. Bookings without a confirmed check-in will be deleted automatically. The resource will be free to book by the other users. Before the booking starts, the user is able to check in to the booking using the Flexopus application.
How to check-in?
The check-in button gets active in the check-in grace period. The following options are provided to make a check-in:
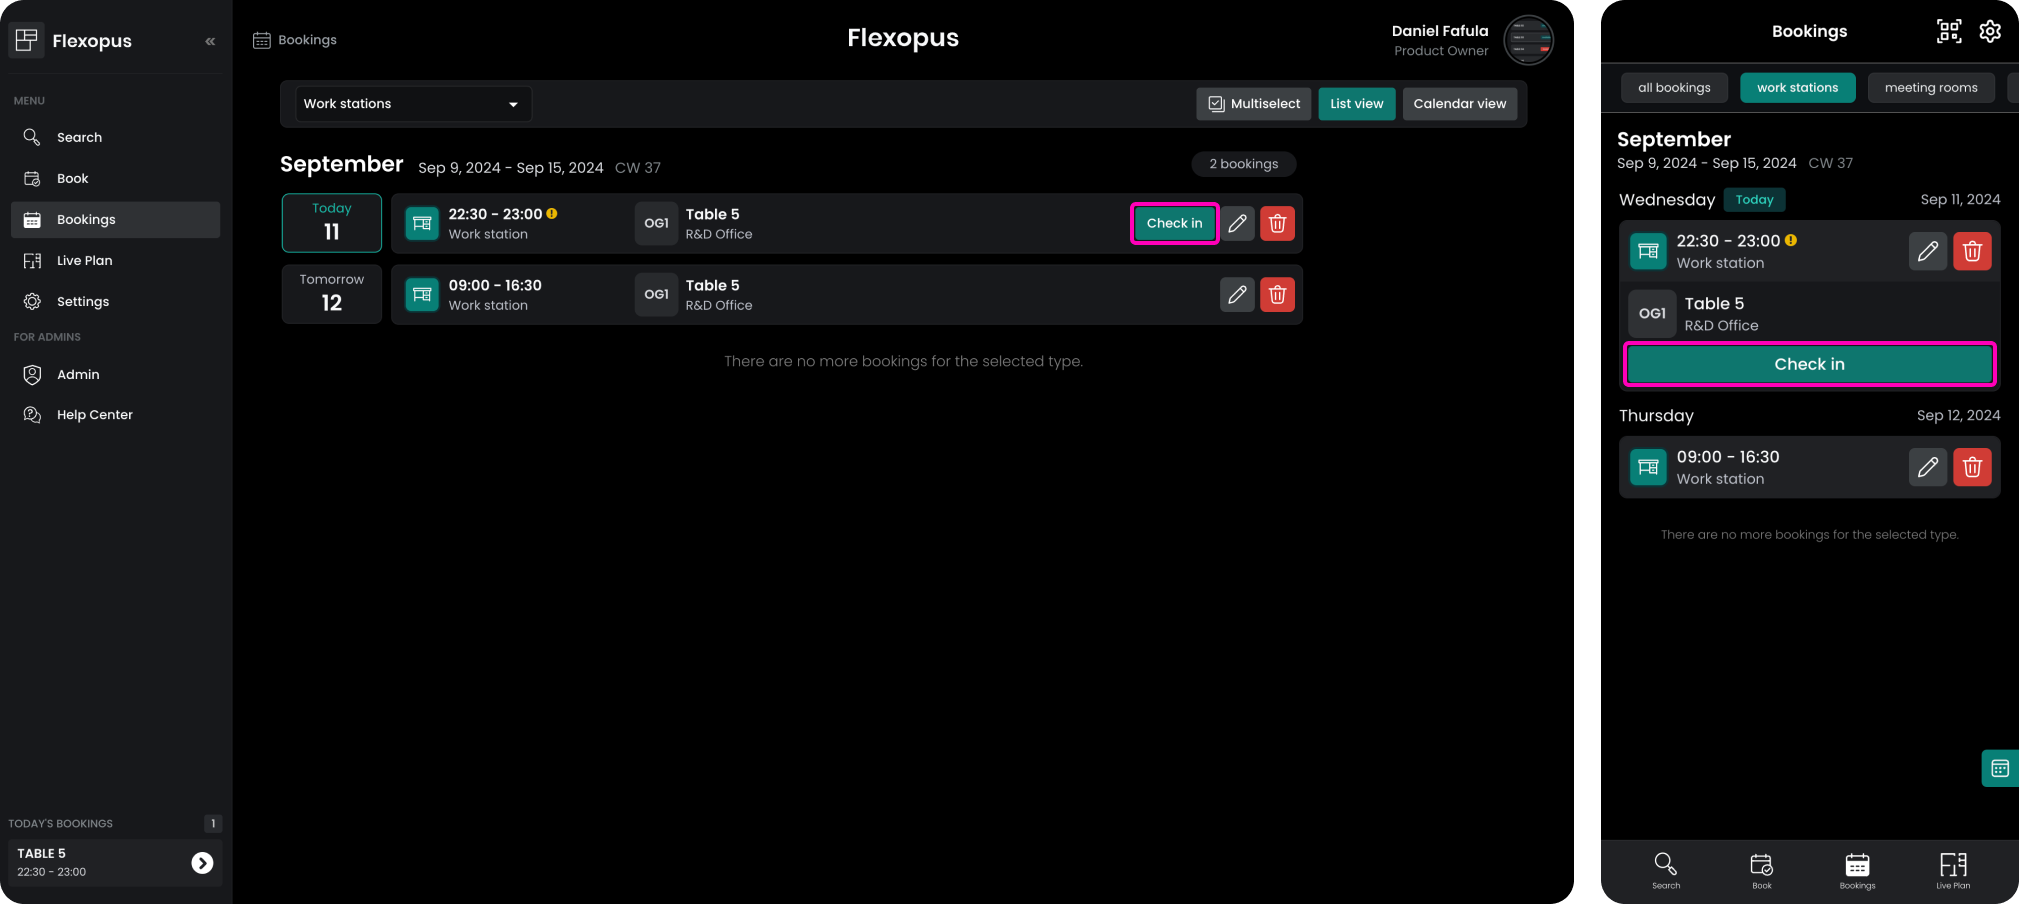
To check in using the list view:
- Navigate to the Bookings list in your user profile.
- Click on the check-in symbol next to the relevant booking.
This allows you to confirm your reservation quickly from the list view.
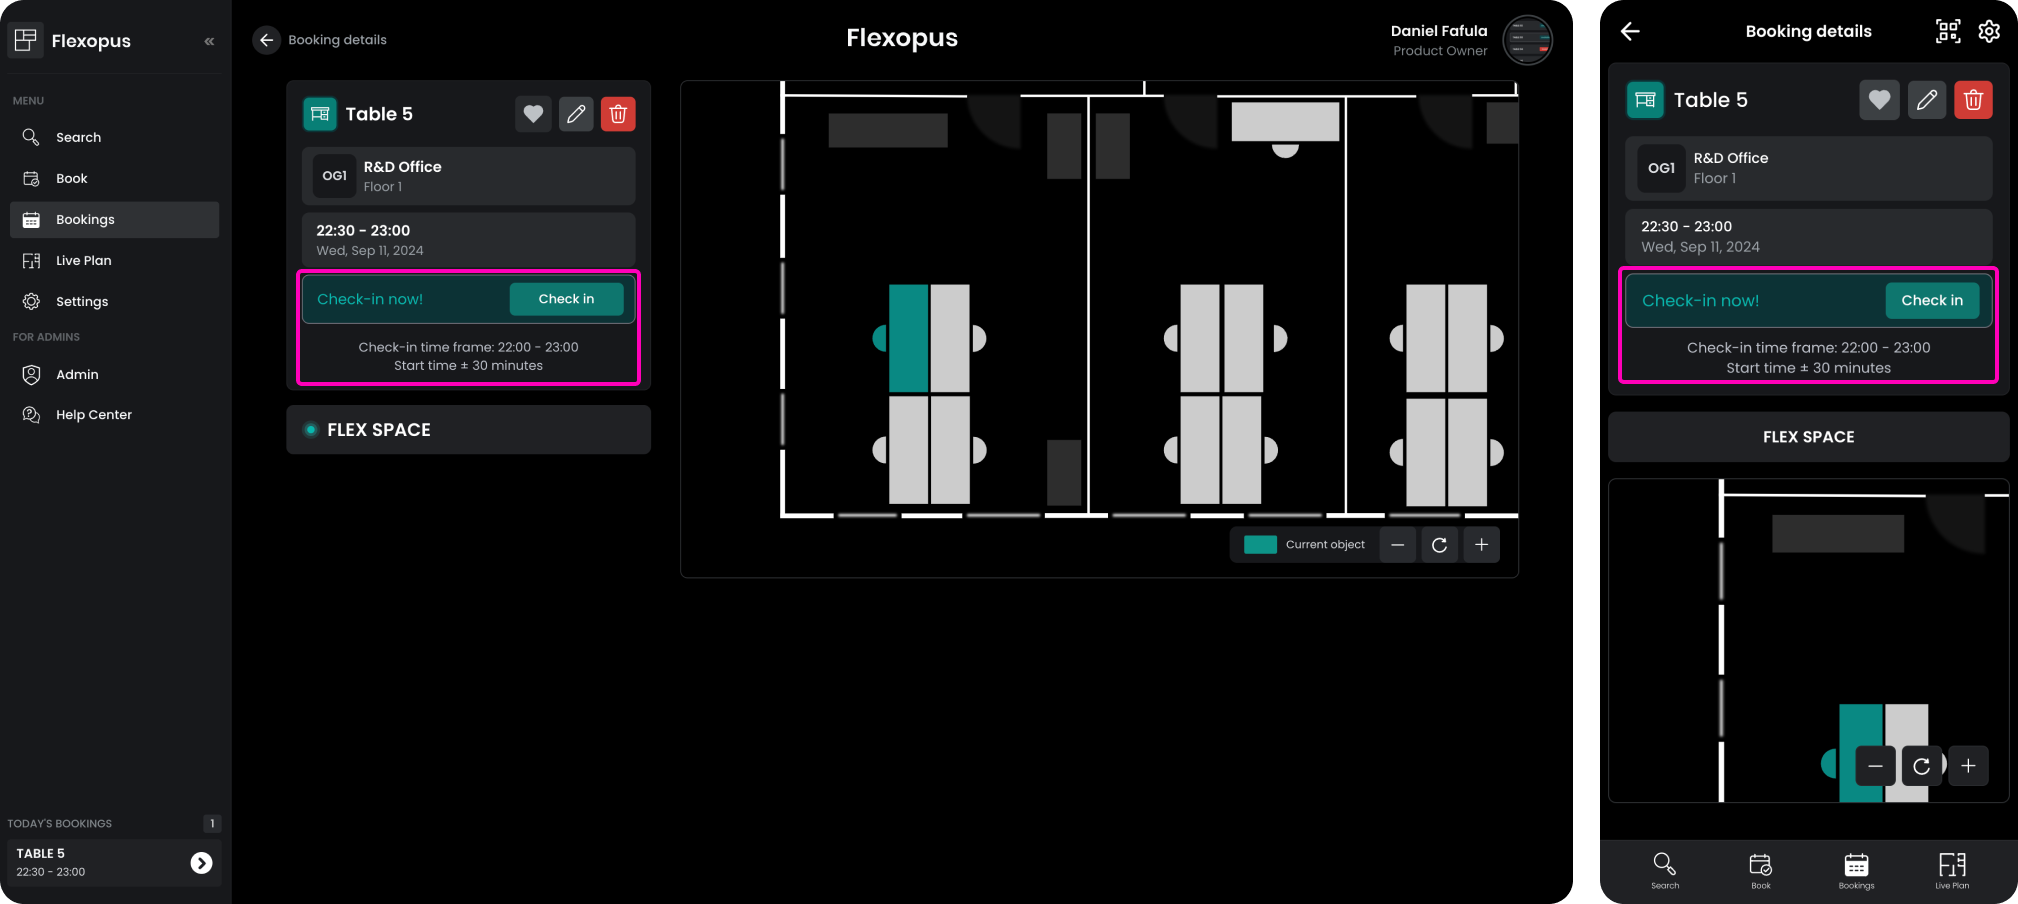
For detail view check-in:
- Open the booking detail view of your reservation.
- Click the check-in button within the detailed view.
This provides a more in-depth look at your booking before confirming check-in.
For QR code check-in:
- Scan the QR code associated with the resource.
- The QR code module will recognize your active booking and offer the option to check in.
For more details on how to use the QR code module, refer to the relevant documentation.
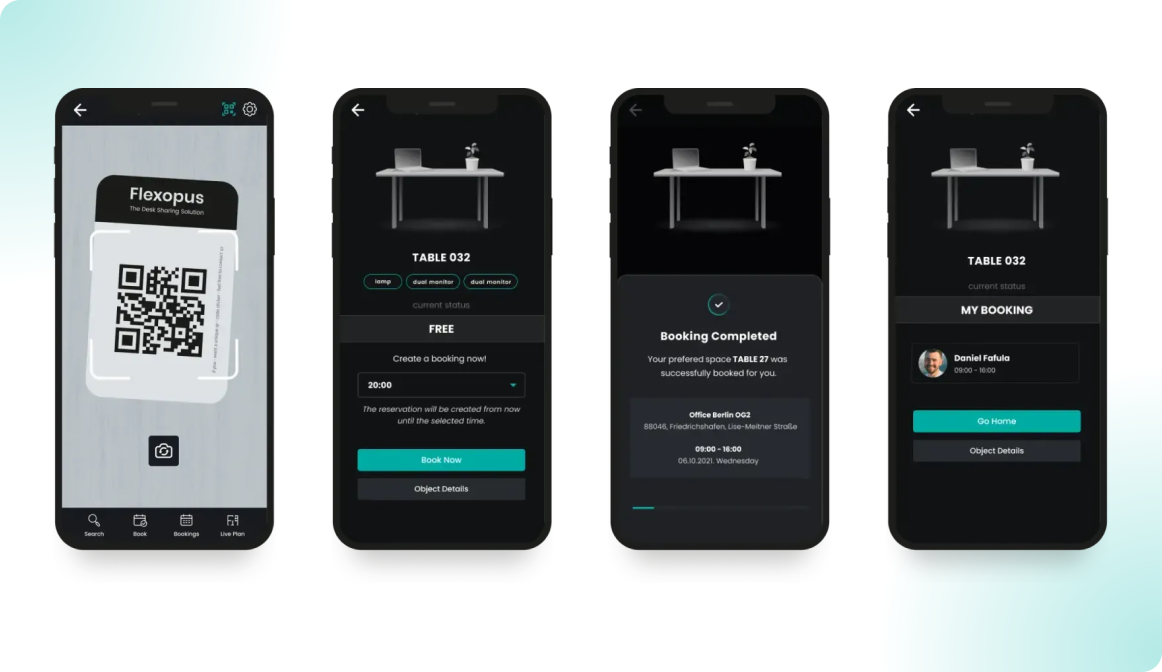
Check-in grace period
The check-in grace period defines how much time a user has to check in before and after the booking's start time. You can set different grace periods for each resource type to suit specific needs.

We recommend a 60-minute check-in grace period for the following:
- Work station
- Parking spot
- Home office
This allows users +/- 60 minutes to check in, giving them ample time to arrive. A grace period that's too short may lead to users ignoring the check-in process. If their booking is deleted due to late check-in, they might not create a new one, even if they arrived on time.
For meeting rooms, we recommend a 15-minute check-in grace period. Meetings typically last 30-60 minutes, so a shorter grace period ensures the room becomes available quickly if not checked in. This helps accommodate others who may be looking for an ad-hoc meeting space, especially since meetings usually start at -:00, -:15, -:30, or -:45.
Configuration manual
You can enable the check-in module in Flexopus by navigating as an administrator to Dashboard > Settings > Booking settings > Check-in module.
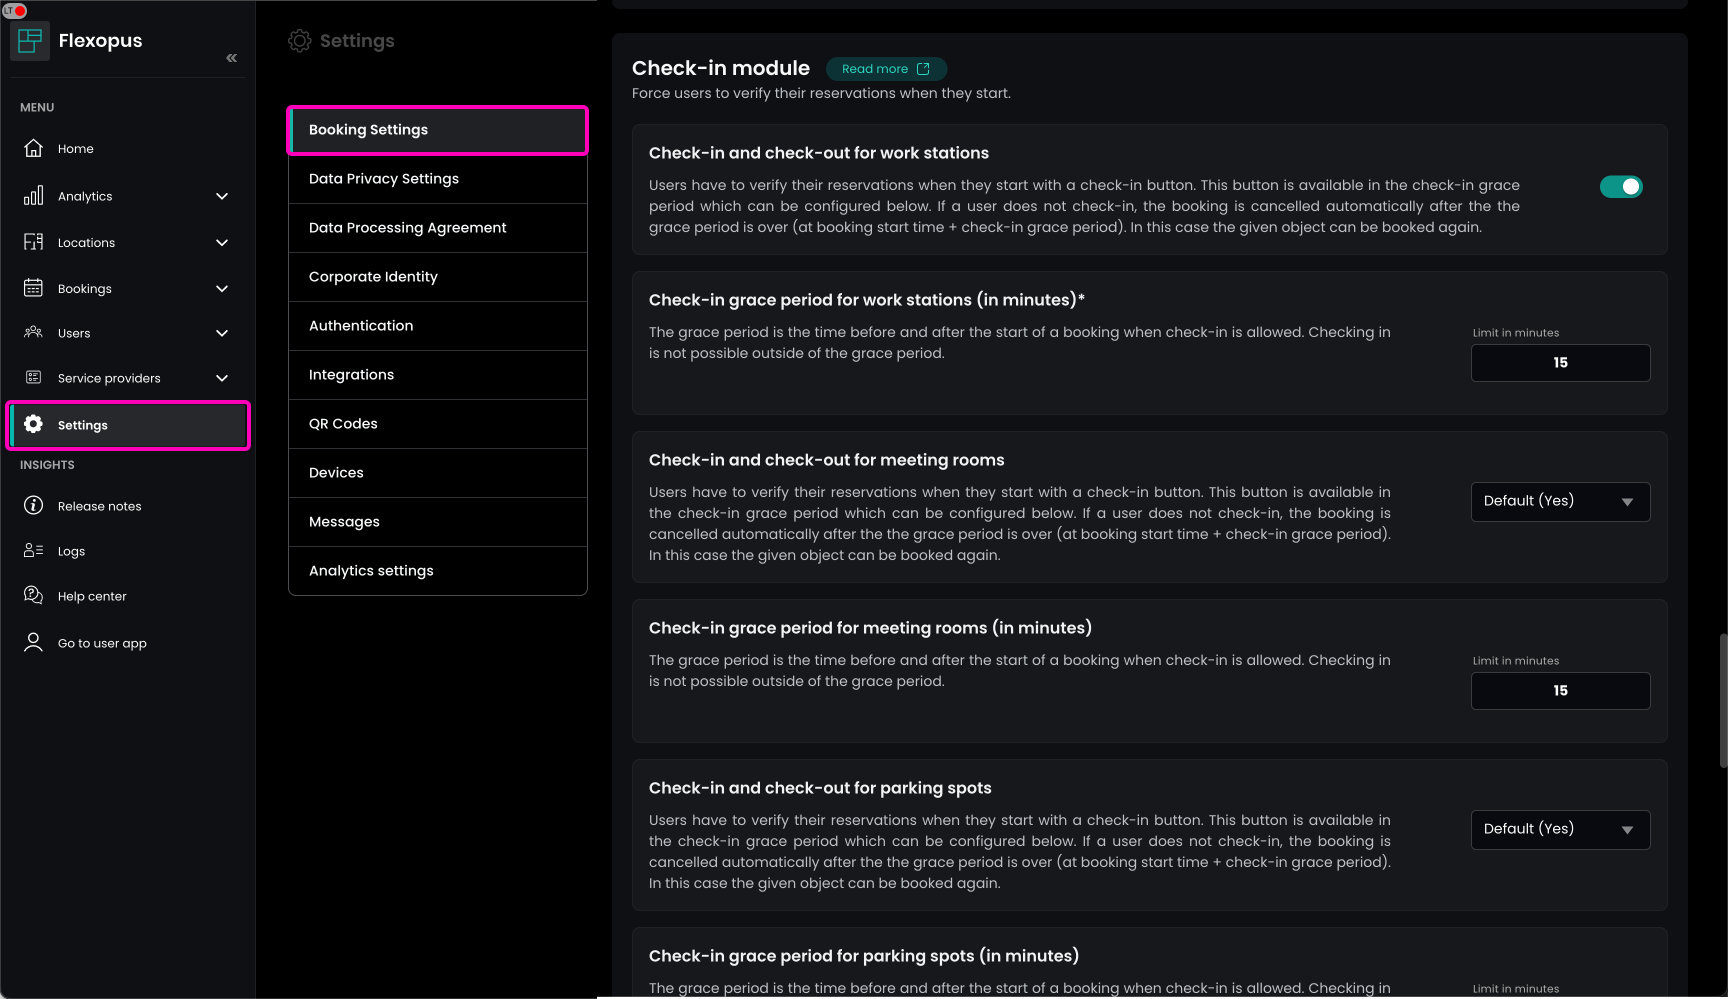
Here, you can enable the check-in module and configure the check-in settings and grace period for the main resource types, such as work stations, parking spots, meeting rooms, and home office.
Check-in notifications
As an administrator, you can enable check-in reminders for users. When enabled, users will receive check-in reminder emails and push notifications when their booking is about to start, if they haven't checked in yet. These reminders are only sent if the booking is not confirmed.
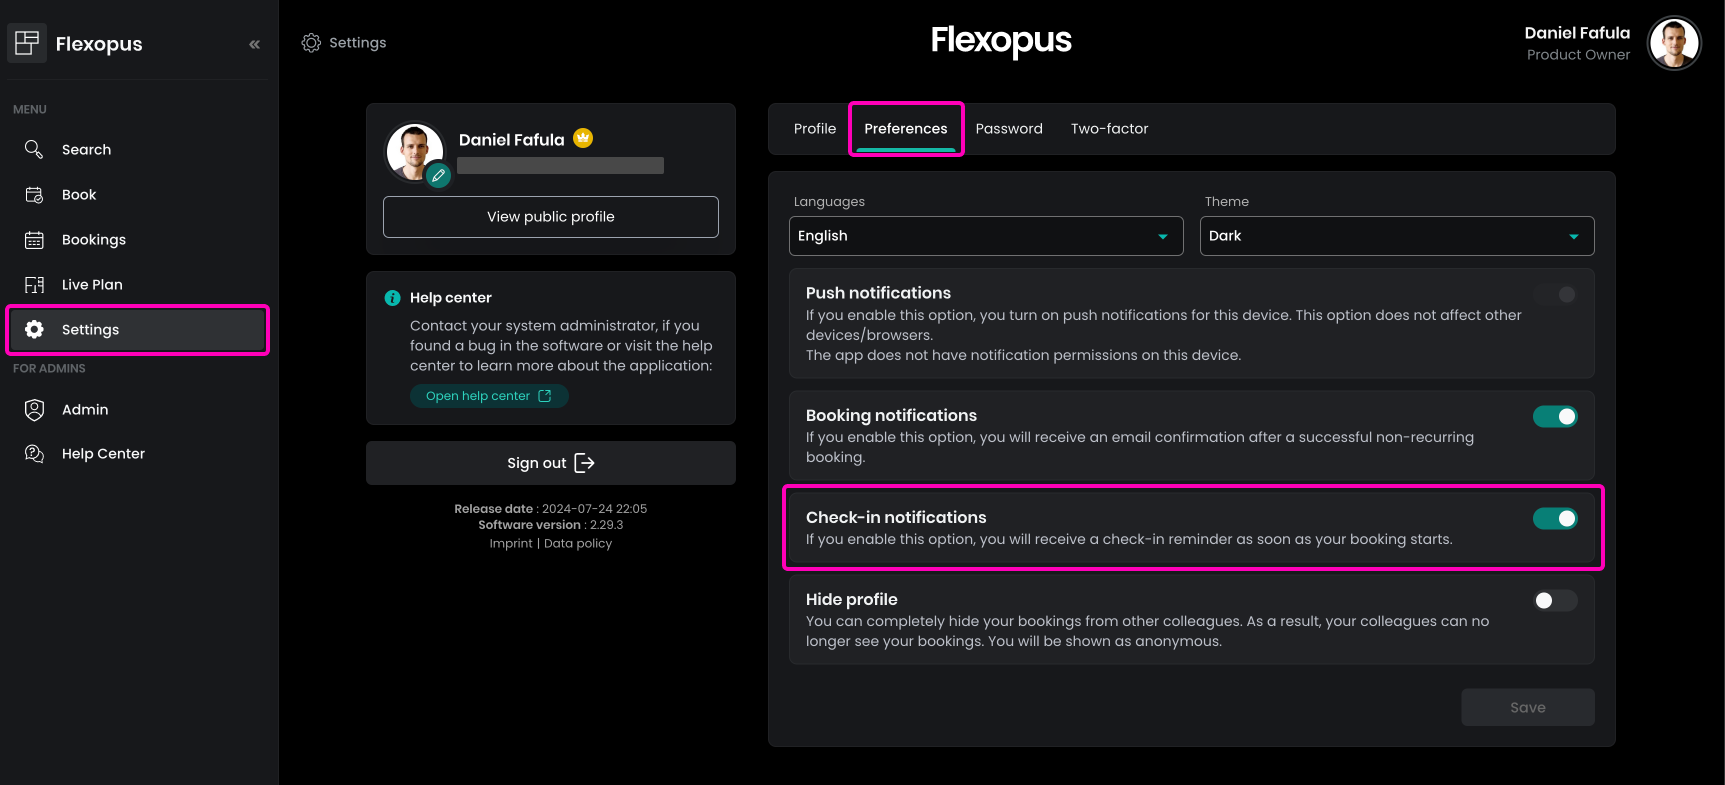
Users can disable these reminders individually in their profiles by navigating to Settings > Preferences > Check-in notifications.
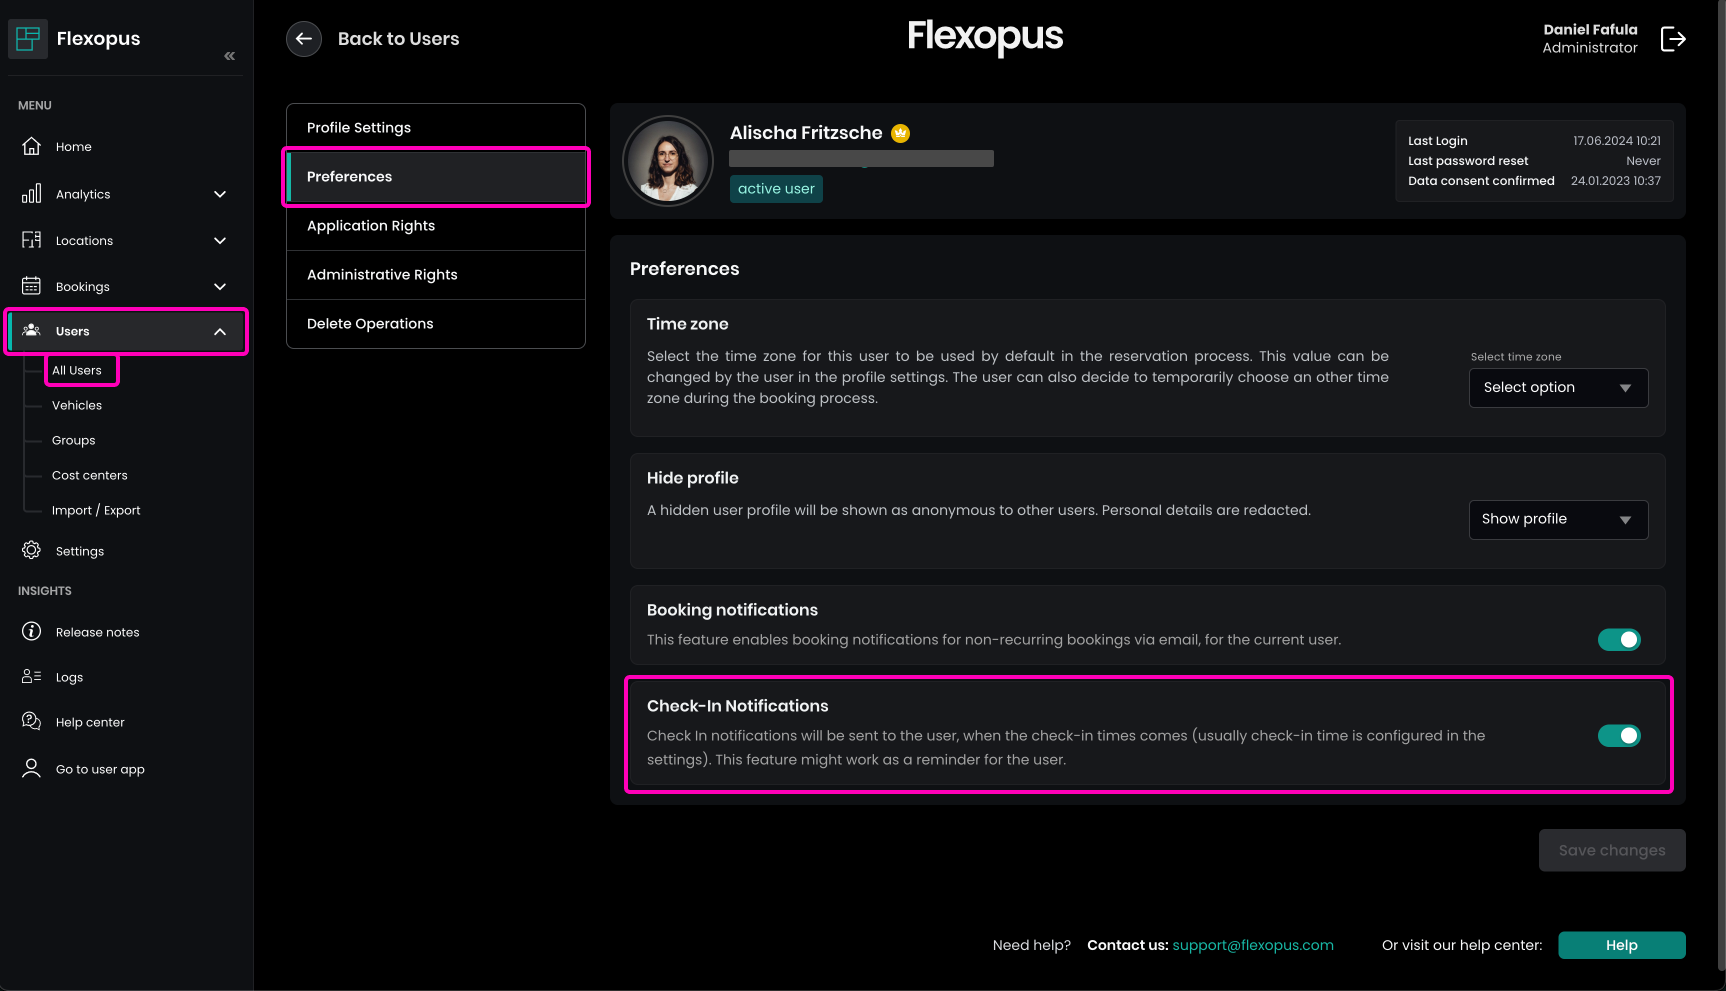
As an administrator, you can also disable check-in notifications for individual users. To do this, navigate to Dashboard > Users > All Users, select the user, then go to Preferences > Check-in notifications.
List of deleted bookings
Ideally, you'll be able to view which bookings were deleted due to a missed check-in. This feature is currently under development and will be available in the future under Dashboard > All bookings.
Admin bookings
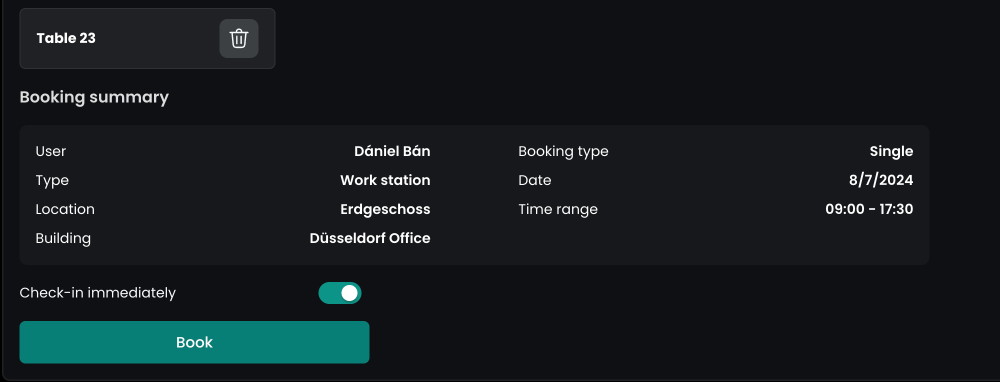
In case an administrator creates a booking for another user, the admin can check-in the booking at the booking creation, this way the user does not need to check-in.
Guest bookings
Guest bookings are not required to be checked in. In case you created a guest booking, the guest is supposed to have a flexibility to arrive at the office, and it’s not required to control when the guest arrived to check-in. This would be a low-end administrative task, which is not really necessary for the guest bookings.
External meeting rooms bookings
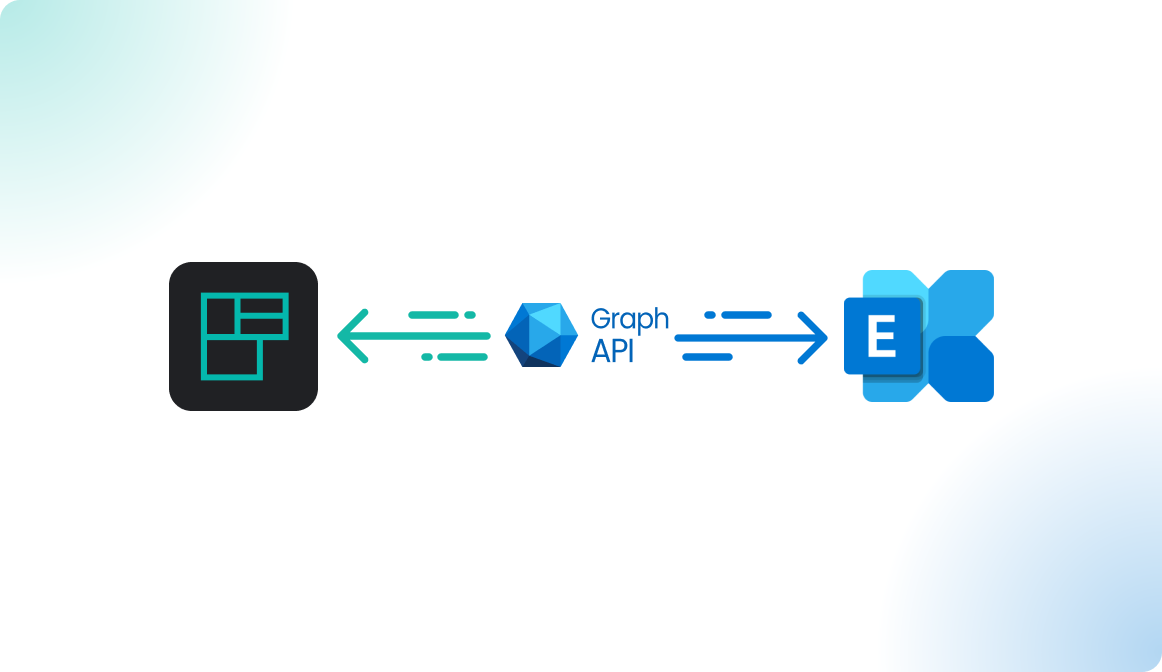
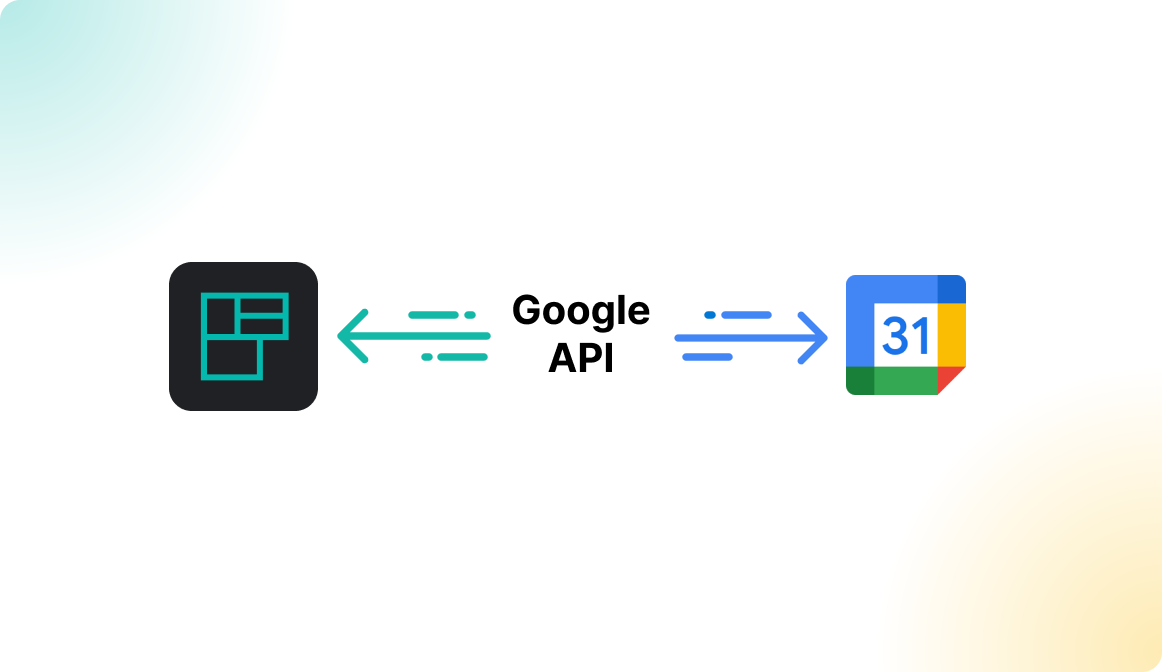
External bookings may be synchronized to Flexopus from external sources such as Microsoft Exchange Online via the Graph API or Google Calendar via the Google API:
In such cases, event hosts create events using email clients like Google Calendar or Microsoft Outlook, which may include a meeting room as an invitee. If the room is connected to Flexopus, the bookings are synchronized with Flexopus. If a room is linked to an external resource in Flexopus, you can optionally enable the check-in module for external bookings. This means that while the bookings are created externally in the user's calendar, the meeting room booking must still be confirmed in Flexopus via the check-in module.
Configuration
To enable check-in for external bookings, navigate in Flexopus as an administrator to Dashboard > Settings > Booking settings > Check-in module and enable the Check-in for external bookings option.

The meeting host can see the booking in Flexopus and confirm the room reservation within the check-in grace period set for meeting rooms.
If nobody checks in, the room booking (not the event) will be deleted for that specific occurrence. In the case of a recurring booking, only the affected meeting instance will be impacted.
Check-in on meeting room signage display
Sometimes the meeting host may not be on-site or available on the day of the meeting, yet the room is still needed by other participants, such as for team meetings, project status updates, or department meetings.
In these cases, it’s helpful to allow other participants to check in for the meeting. However, it should be clear to all participants once the room is already checked in. To facilitate this, we recommend using the meeting room signage display in Flexopus.
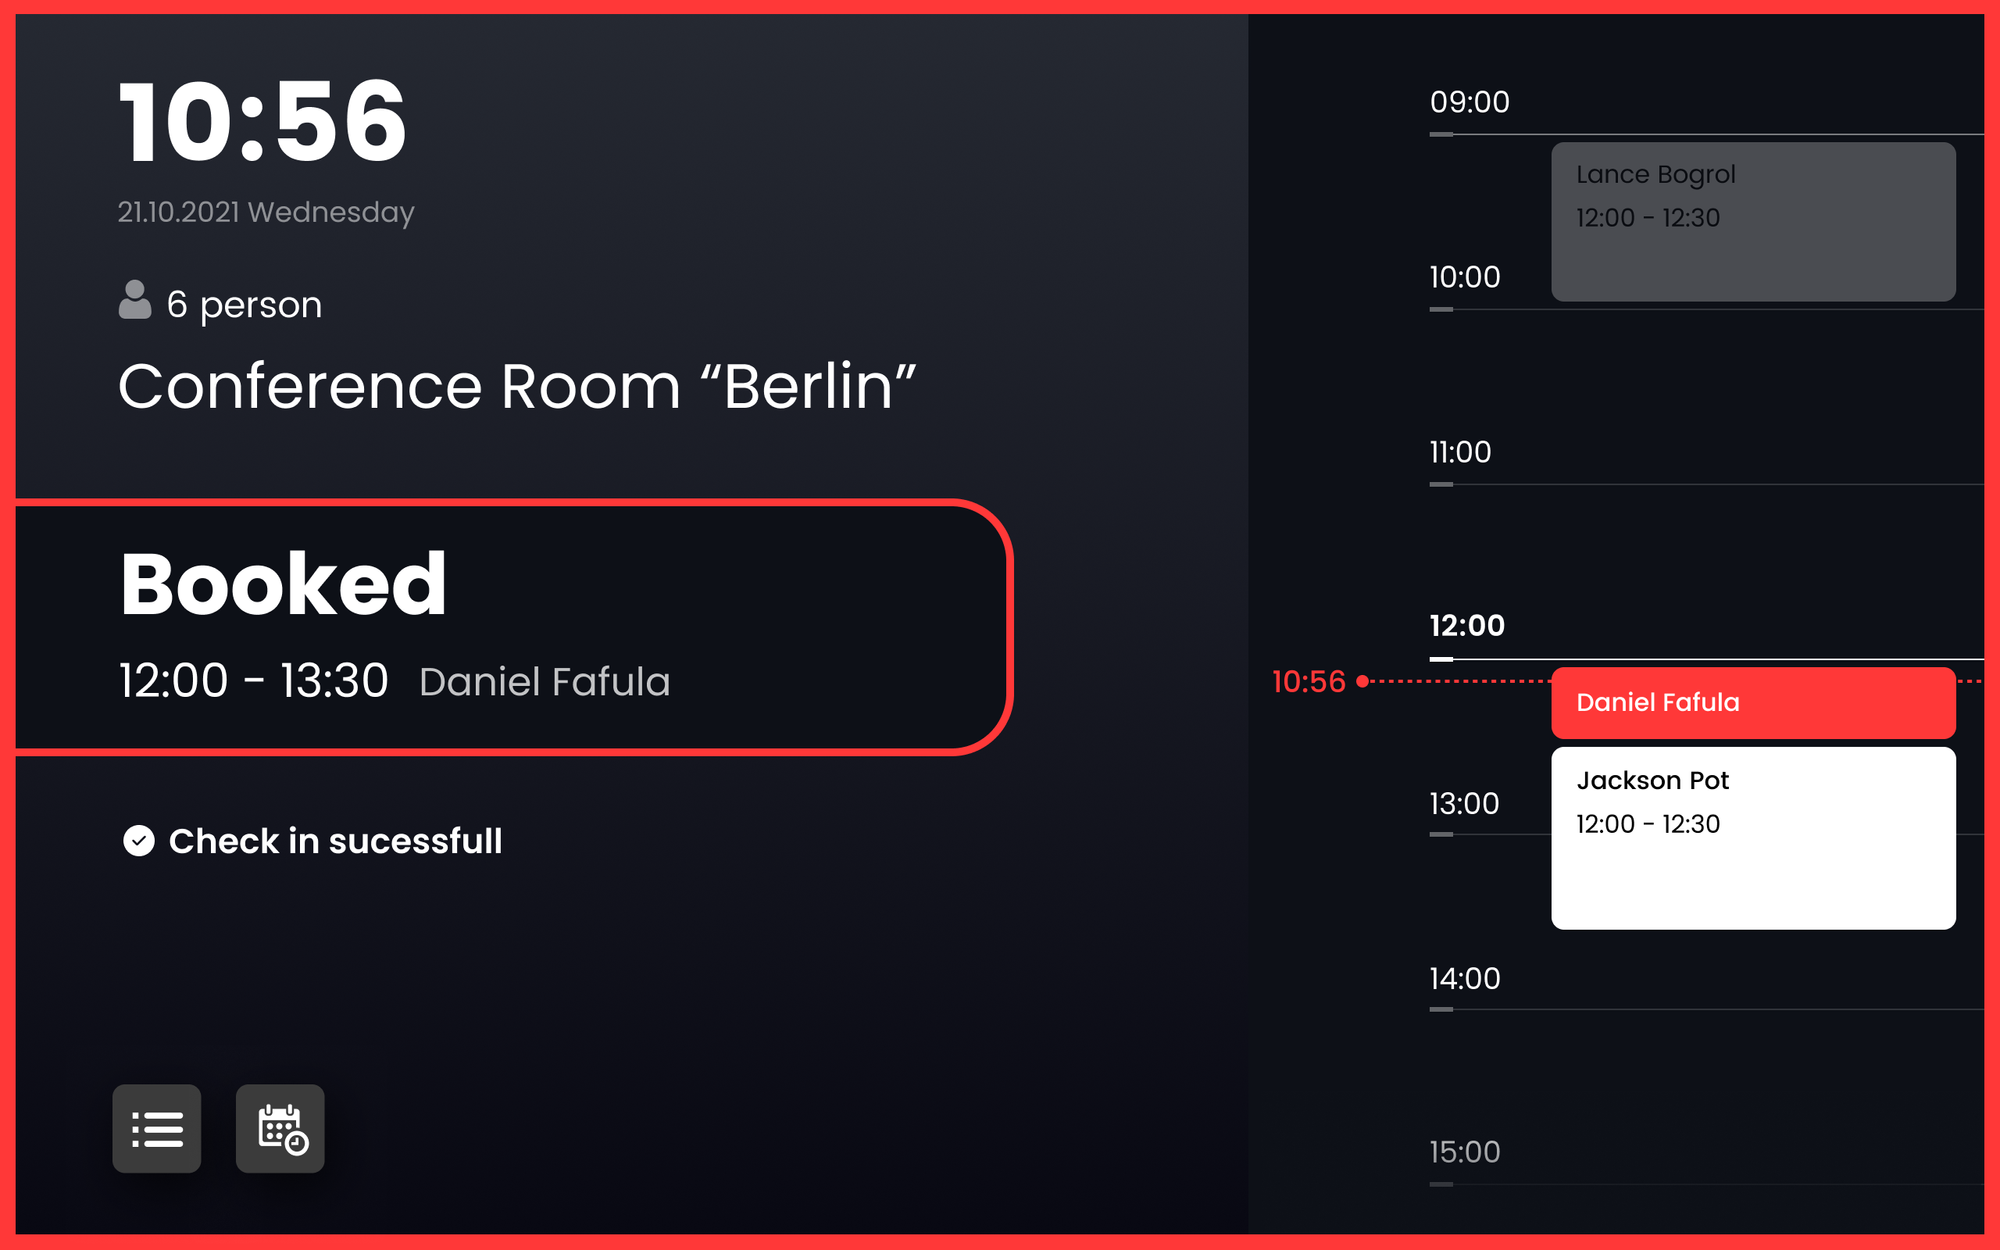
The signage display allows any on-site participant to check in for the meeting. Meetings with a pending check-in are shown in orange. Participants can simply walk by and press the check-in button on the display to confirm that the meeting room is required.
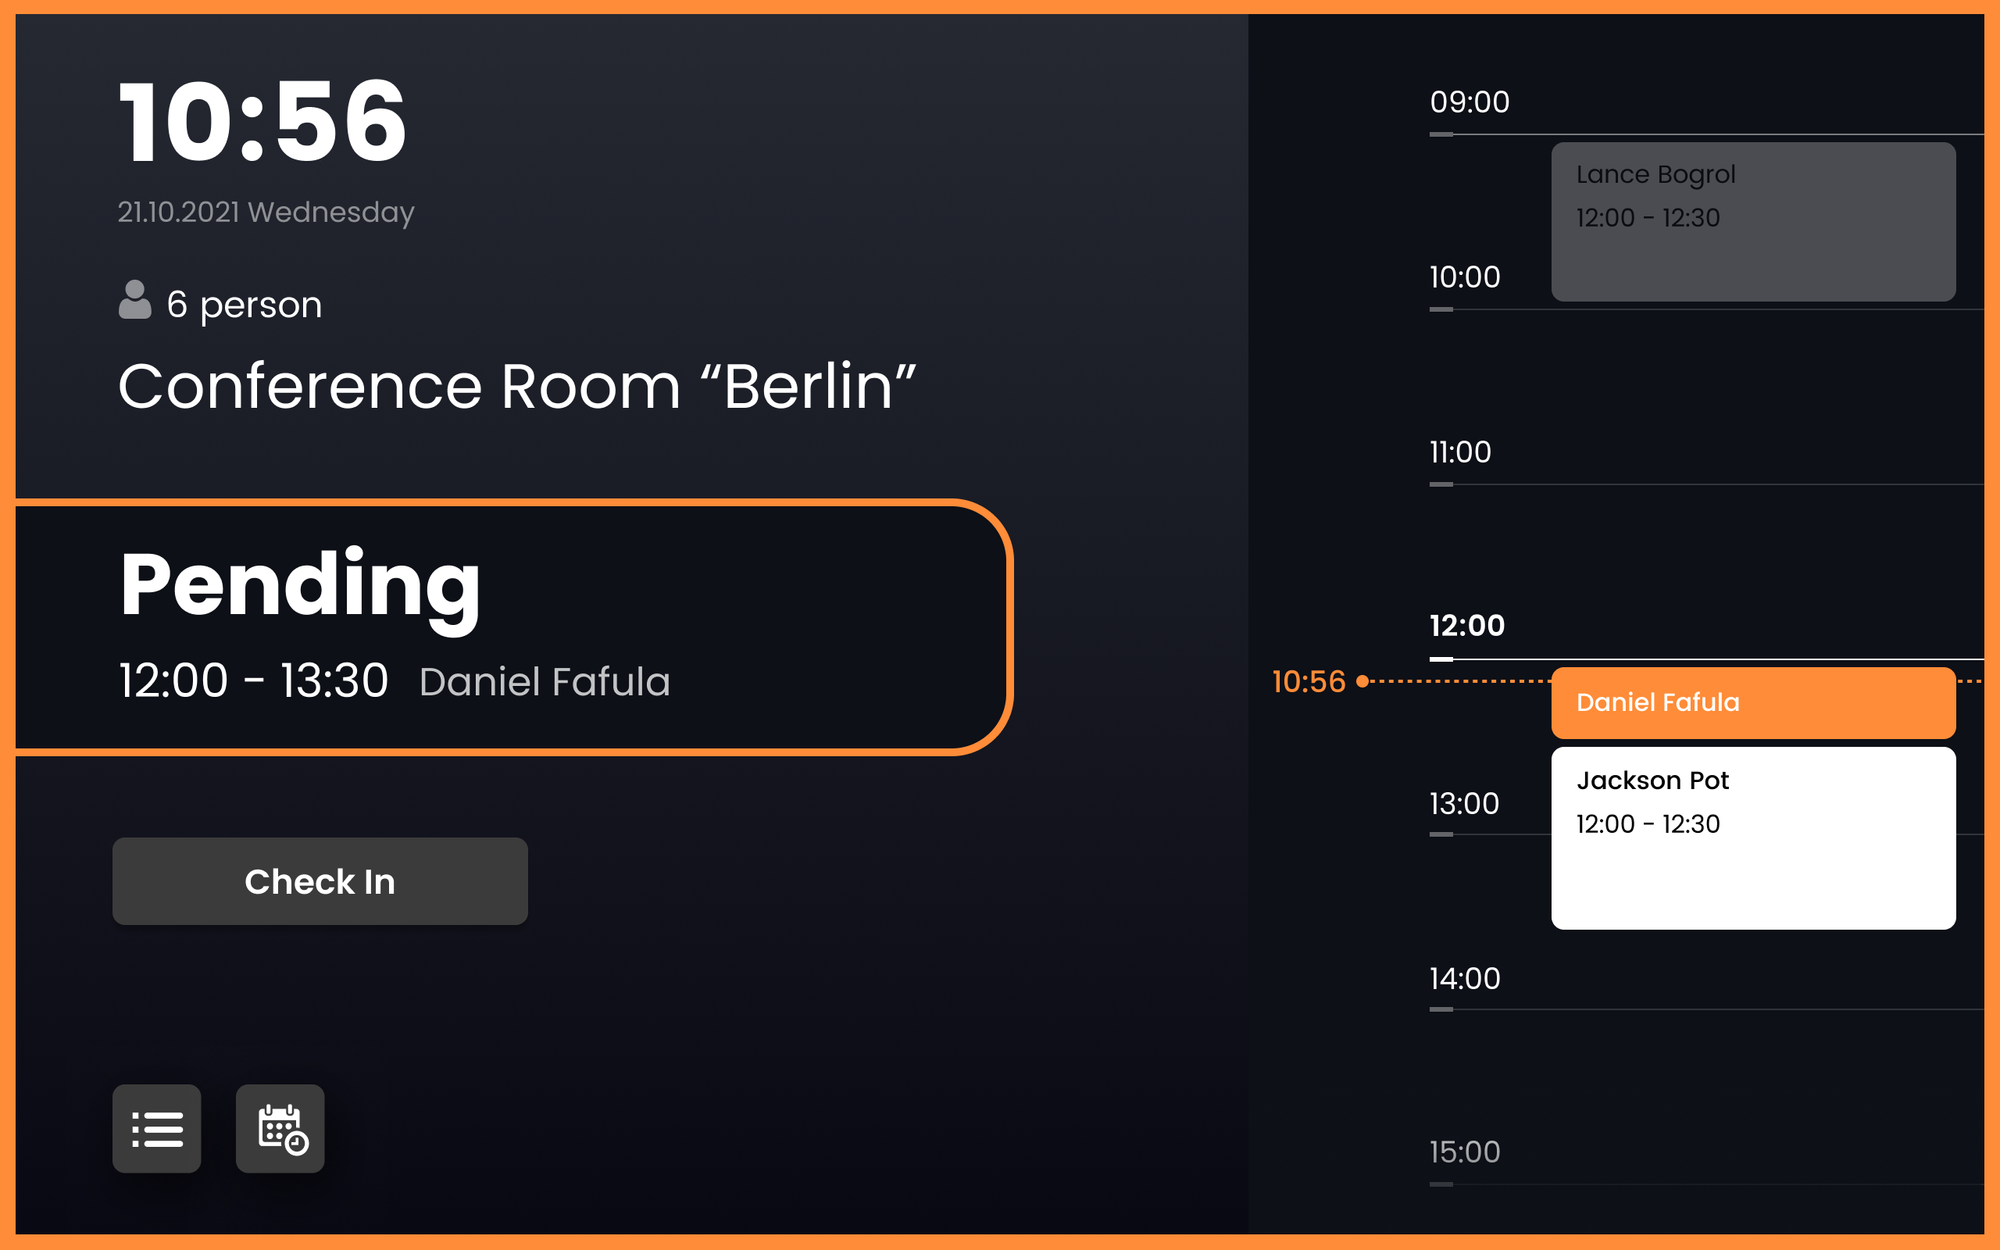
After a successful check-in the display turns red and the meeting room booking is confirmed.
