Floors
Floors
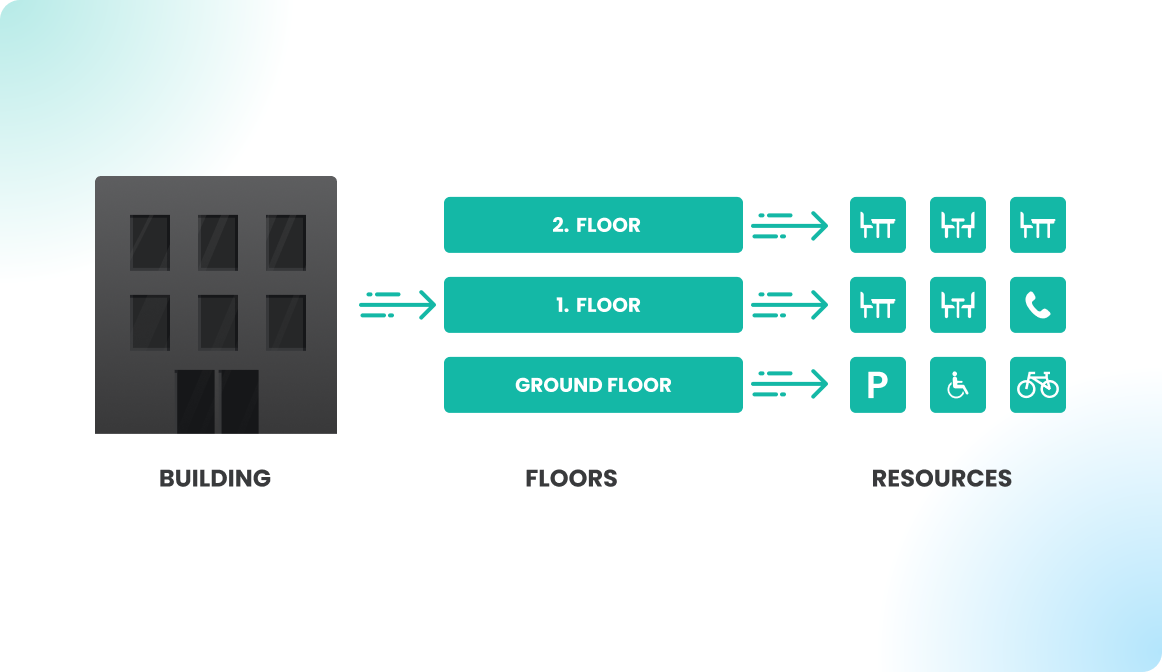
The buildings, floors, and resources are orchestrated in a hierarchical structure in Flexopus. In this article, we explain how the floor abstraction level works and showcase the settings of the floors.
Overview
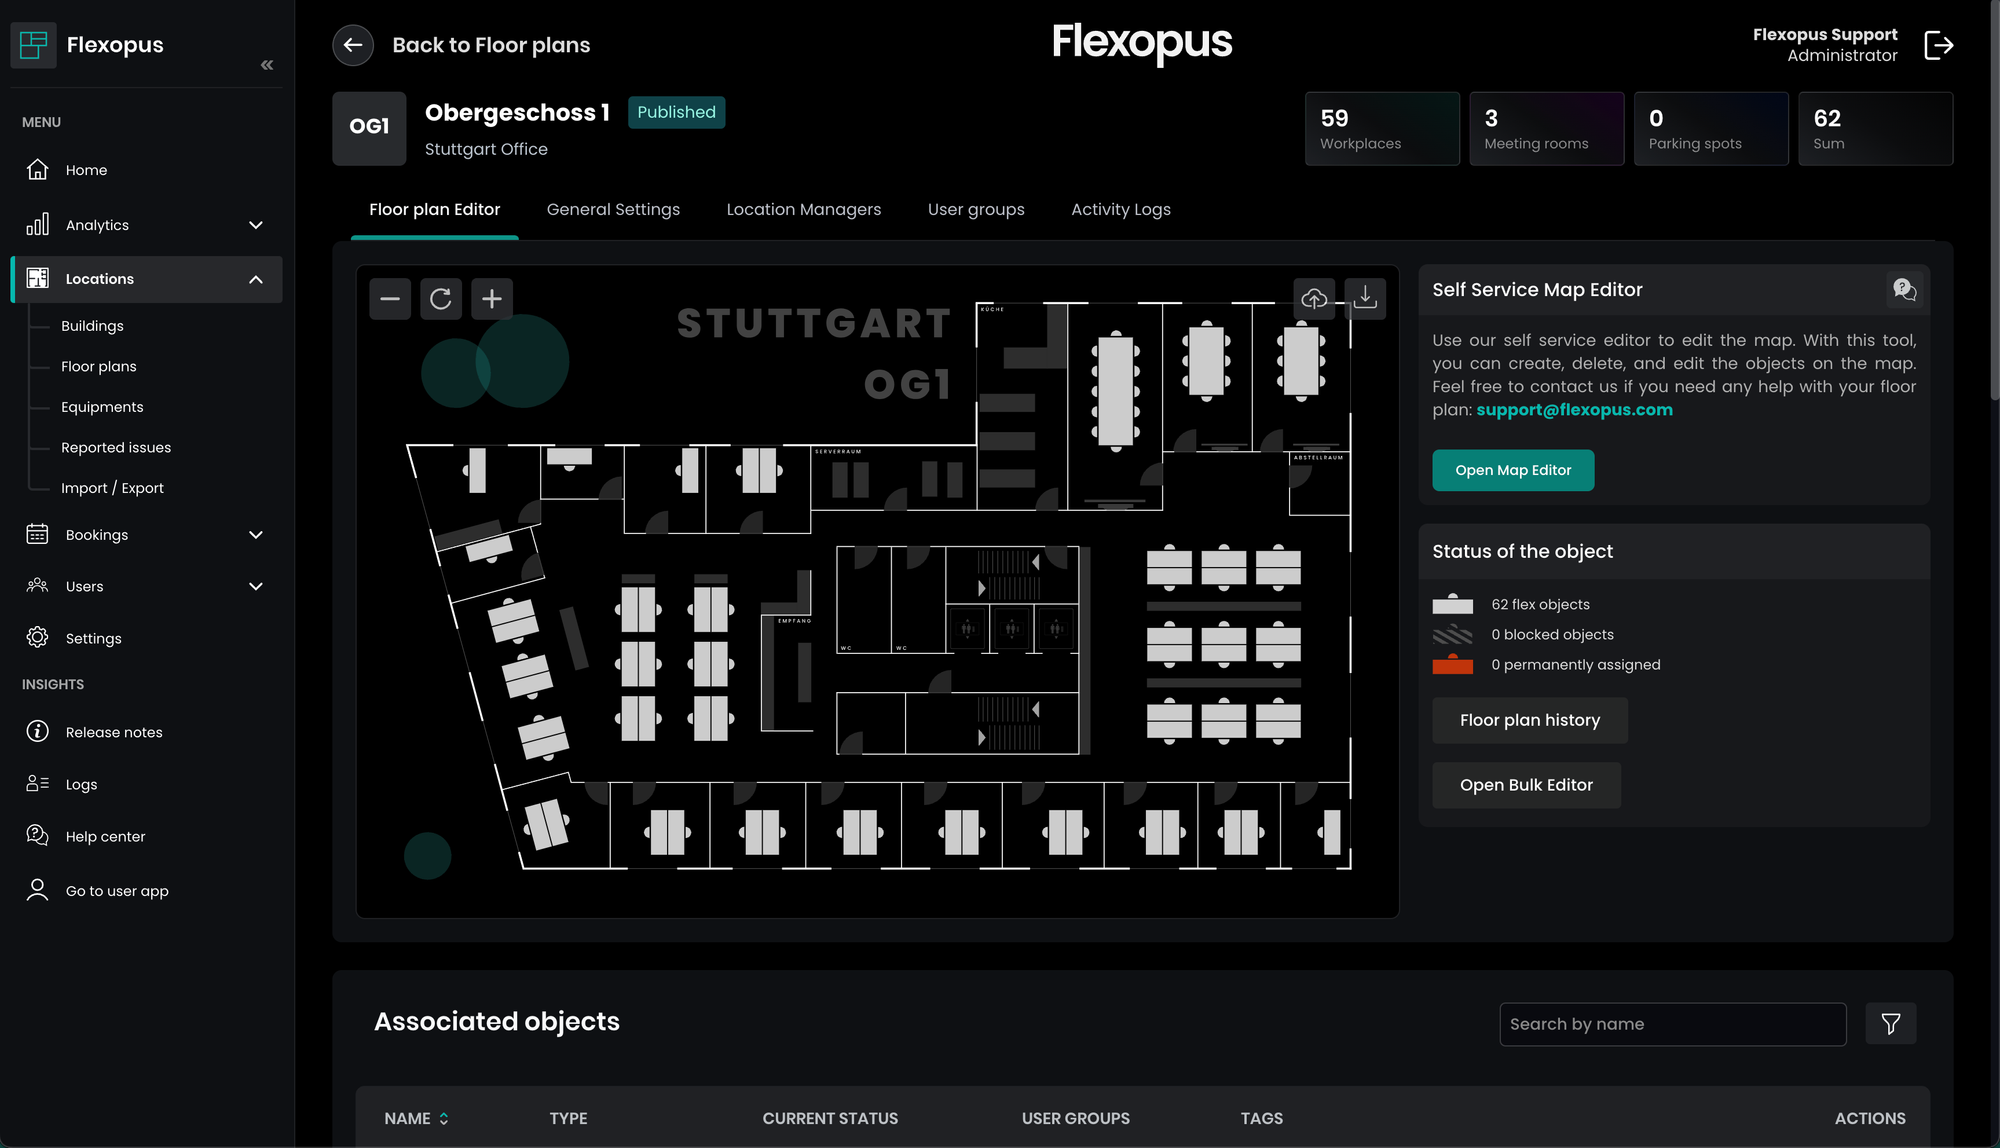
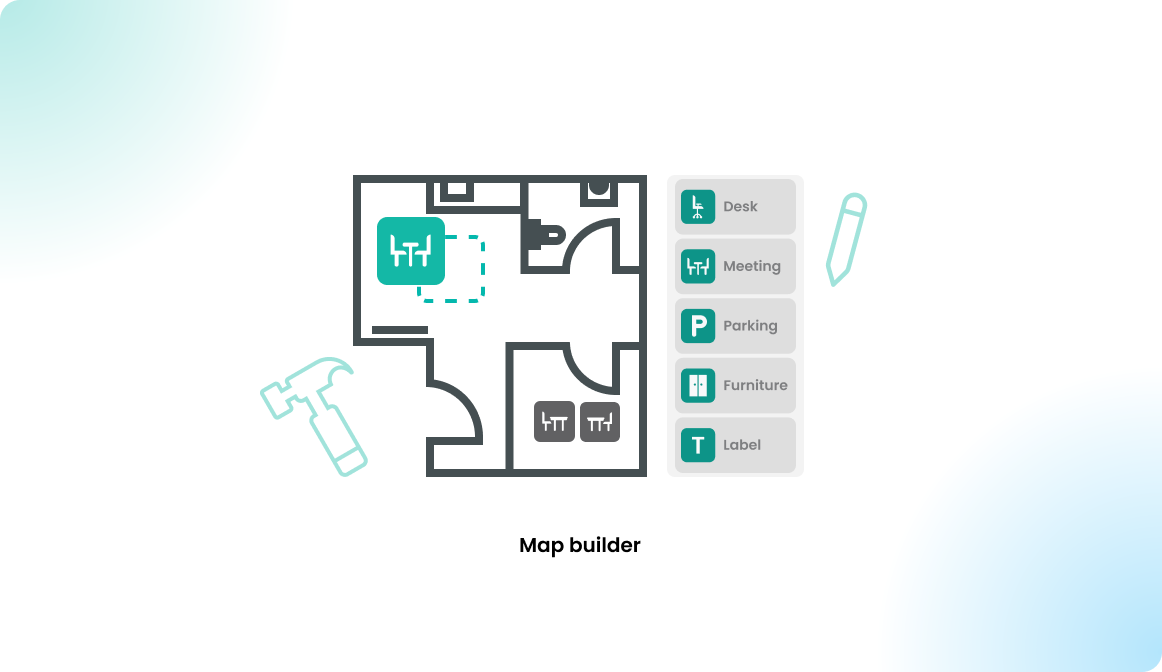
If you navigate to Dashboard > Locations > Floor plans and open a floor, you can view the floor plan, which is one of the most important entities in the application. Resources such as workstations, meeting rooms, and parking spots can be placed on the floor plan for better management and organization.
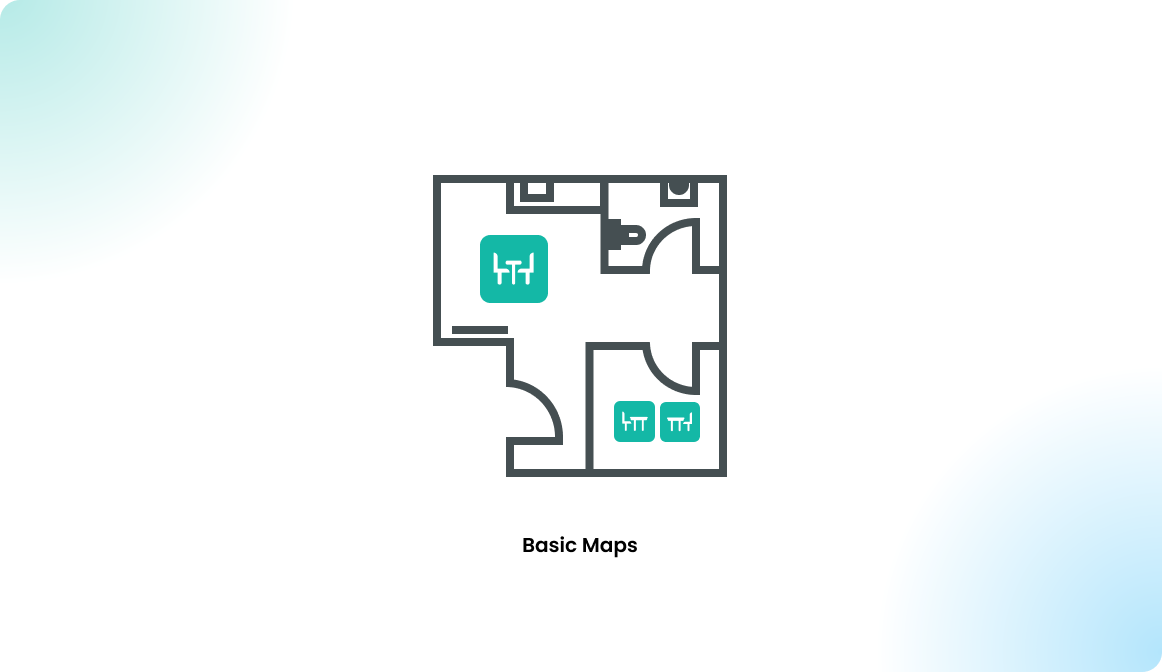
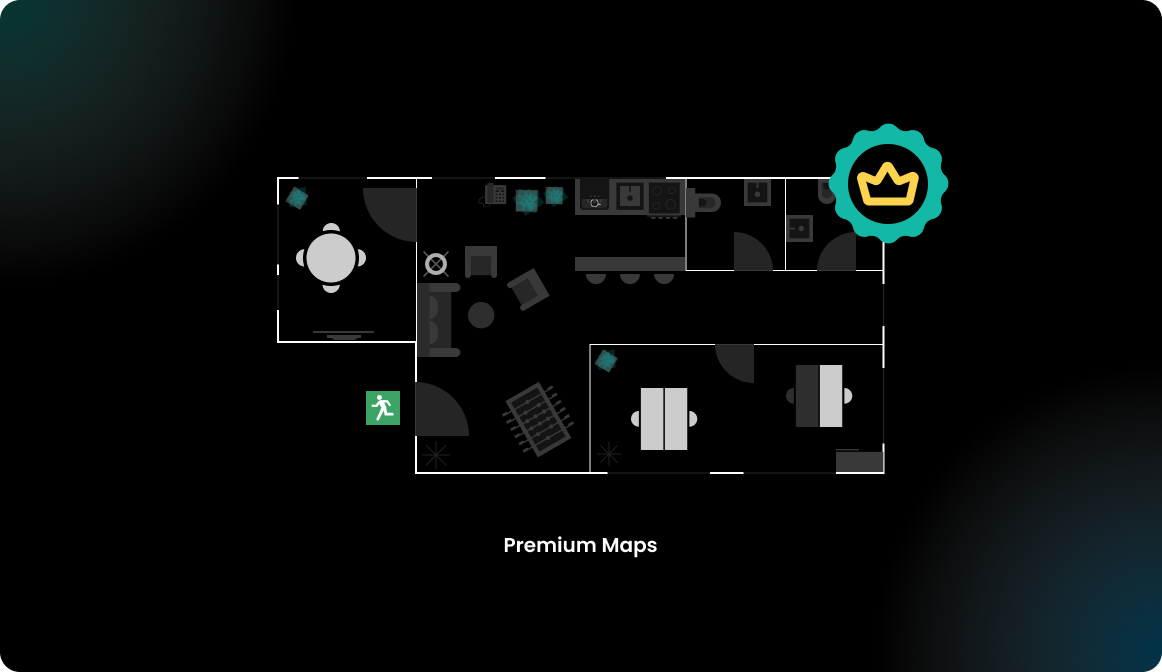
We support two types of floor plans: Basic plans and Premium plans.
- Basic plans are simple images with clickable overlay resources placed on top of them.
- Premium plans are high-quality SVG maps with a modern, cleaner design, created by the Flexopus plan team. We recommend using Premium plans for better clarity and functionality.
For more information about the plan types, refer to this article:
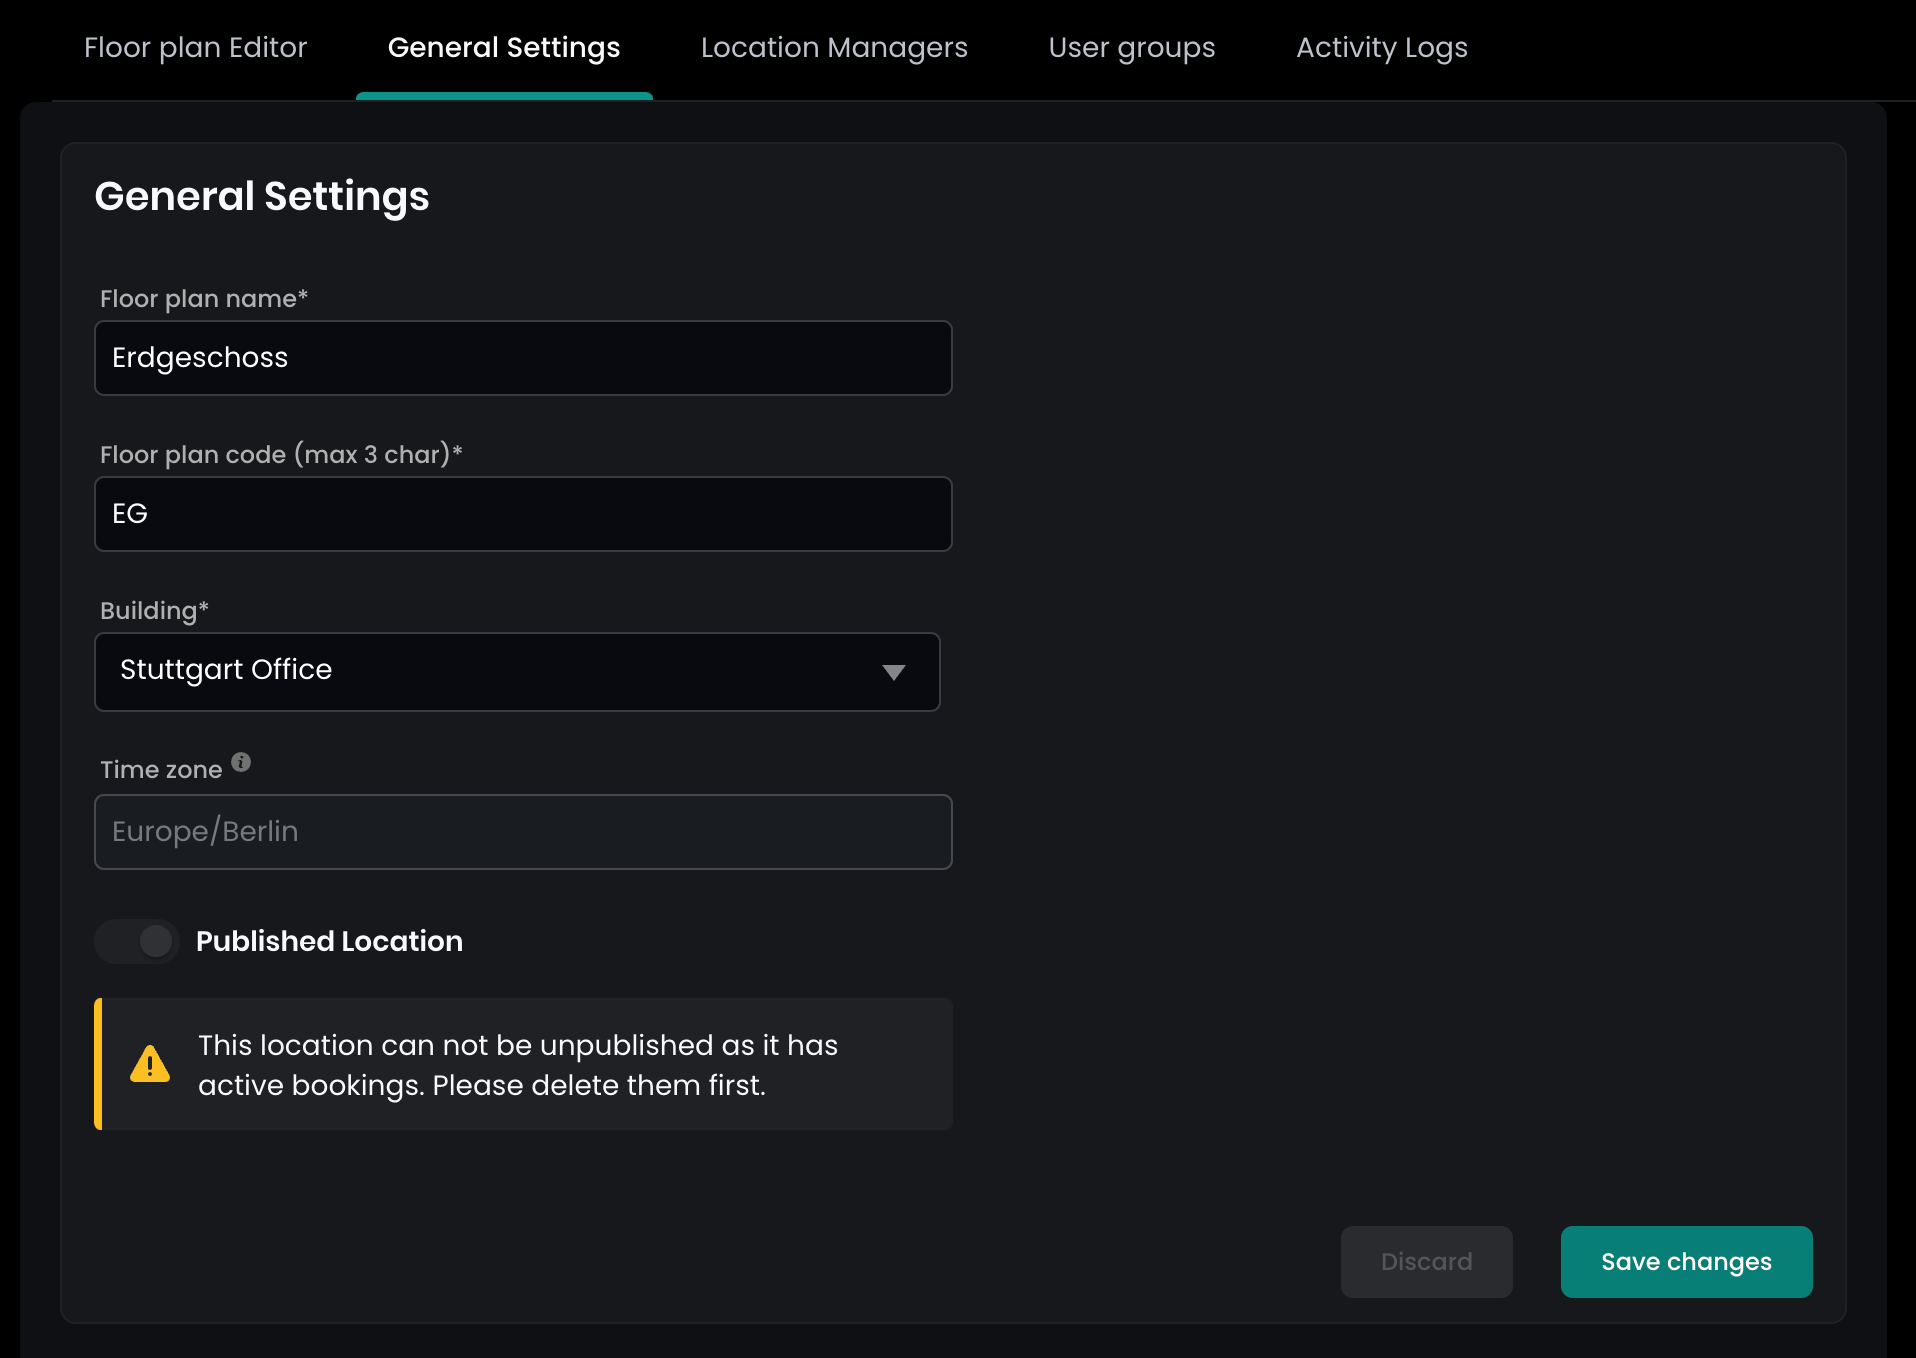
You can set two main parameters for a floor: the name and the code. The floor code is limited to a 3-character identifier, and we recommend naming it similarly to what you'd see in an elevator, such as P1, P2, P-1, P-2, EG, OG1, OG2, F1, F2, 1, 2, DG.
Most importantly, maintain a simple and consistent naming convention for the floor codes, especially if you have multiple buildings in your application. This helps keep everything organized and easy to navigate.
In the Floor Plan Editor tab, there are two ways to edit the map:
- Edit the layout using the Floorplanner.
- Edit the attributes of individual resources by clicking on them.
For more detailed information about how to use the Floorplanner, refer to this article:
Add floor
To add a new floor to a building:
- As an administrator, navigate to
Dashboard > Locations > Buildingsand select the building for the new floor. - In the
Floor Planstab, click theCreate Floor Planbutton. - Enter the
nameandcodefor the new floor. The floor will automatically adopt the timezone of the associated building. - Once the floor is created, upload either a basic plan or premium plan as the floor plan.
- After uploading the floor plan,
publishthe floor.
Make sure that the associated building is also published; otherwise, users won't be able to see the floor!
We created a help video with a step-by-step guide on setting up buildings and floors. Watch it here: https://youtu.be/41IBNtecJYY
Deleting a floor
Deleting a floor should be done in two steps:
- Unpublish the floor
This hides the floor from users. To do this, open the floor and navigate to the General Settings tab. You can only unpublish the floor if none of the associated resources have upcoming reservations. Therefore, make sure to delete any upcoming reservations first. - Delete the floor
Once the floor is unpublished, you can proceed to delete it. Please note that deleted floors cannot be restored.