Get Floor Plans
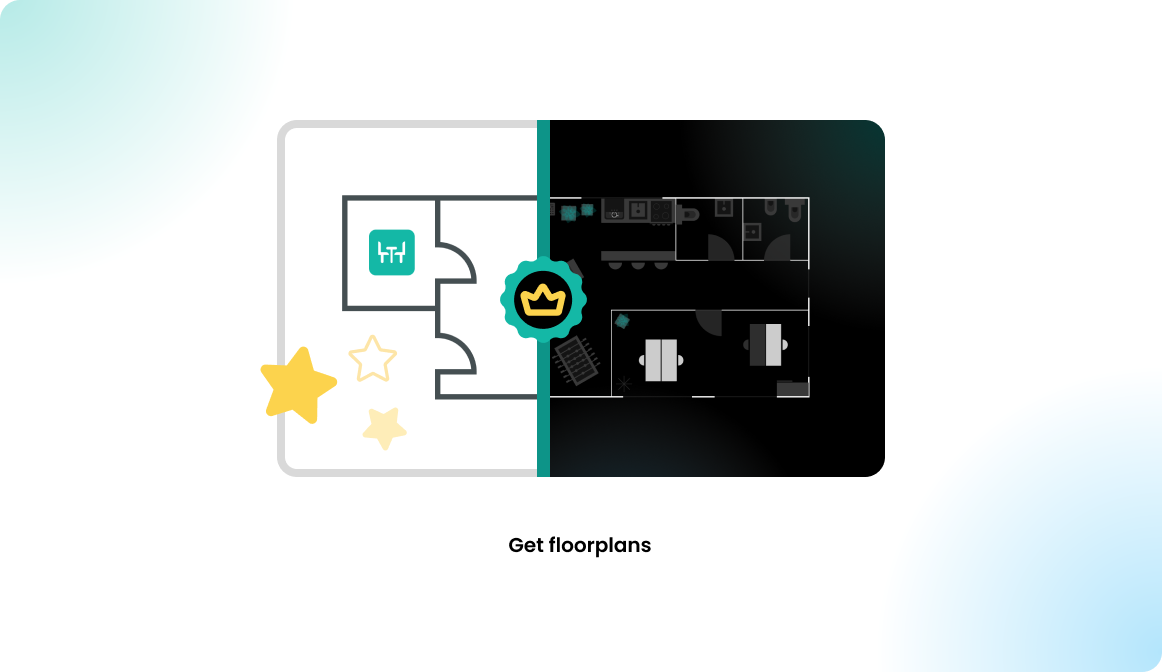
Floor plan types
To get your office floor plans into Flexopus, you have two options:
1. Premium Plans (Extra Cost)
- Description: Flexopus offers a premium map service where an internal graphic team creates a clean, minimal SVG-based map based on the Flexopus style guide.
- Process: You provide the office layout in any format, and the Flexopus team designs and uploads the map to your instance as an unpublished office.
- Adjustments: You can request changes or use the inbuilt map editor for further edits.
- Advantages: This is the recommended method for a polished, professional look.
2. Basic Plans (Free)
- Description: If you'd prefer not to use the graphic team, you can use the basic map builder to create layouts yourself. Upload an office image, then overlay clickable, bookable objects.
- Functionality: Basic plans are fully functional but use an image background, so they may look different and be slightly larger in file size.
- Conversion: Basic plans can be upgraded to premium plans later if needed.
Each option offers flexibility based on your needs and budget.
Premium map
You can find a detailed description of the premium plans below.
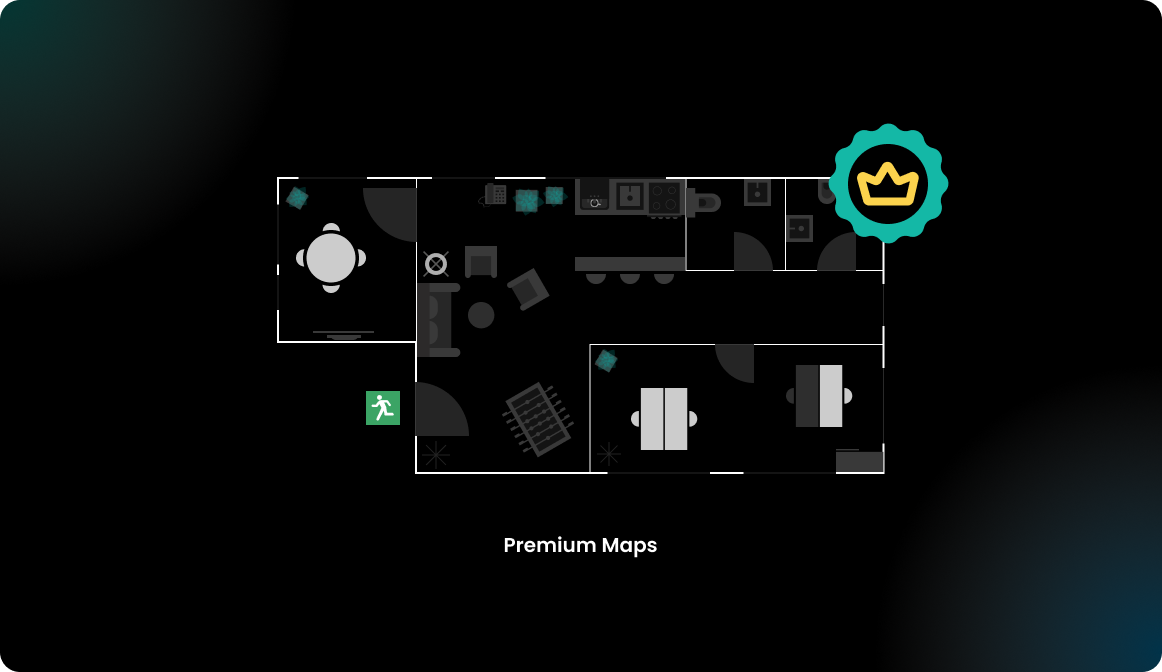
In this article, we focus more on how to get a premium plan into Flexopus. The following questions will be answered:
- Which data format needs to be provided?
- How to add resources onto the plan?
- How to send the data to Flexopus?
- How long does it take to create the plans?
- Additional information on the plans?
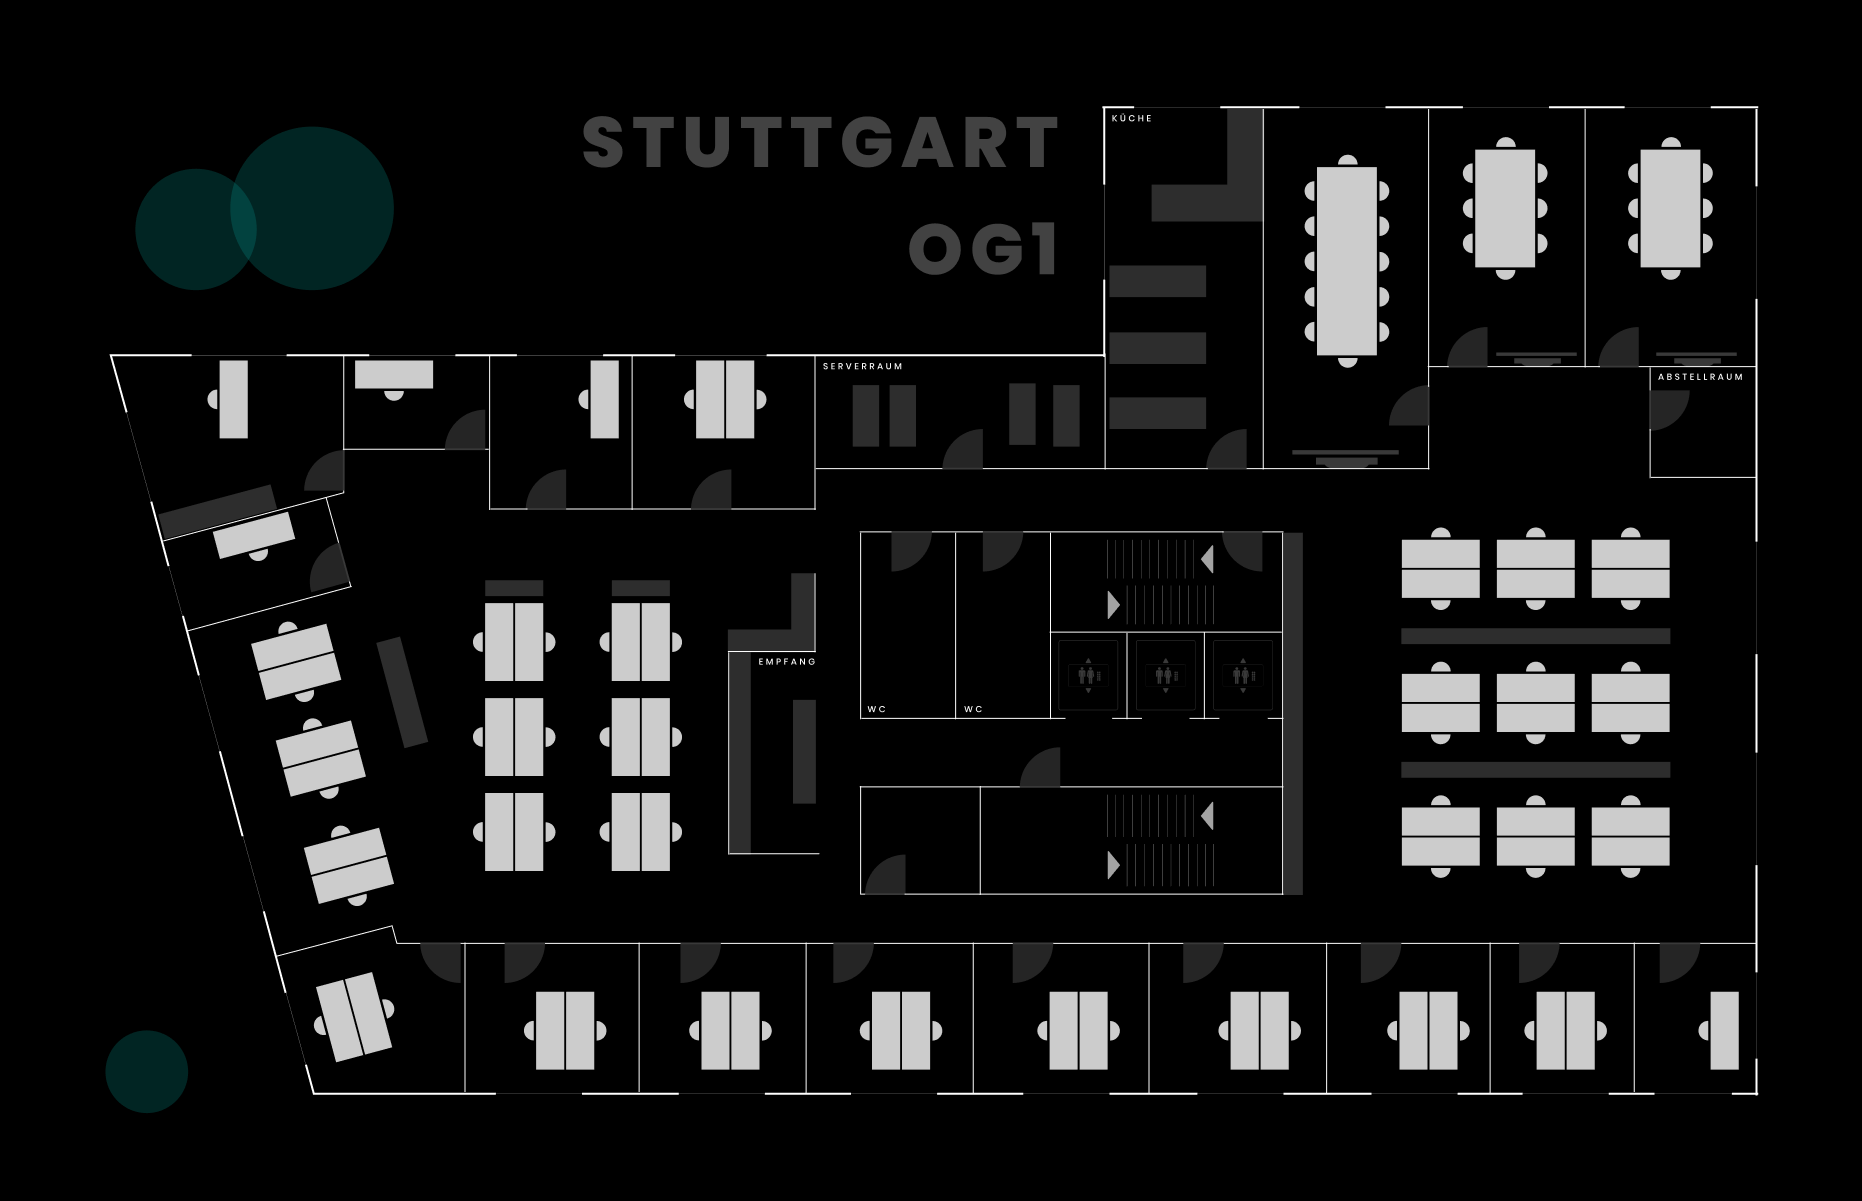
Which data format needs to be provided?
To design a premium plan, our design team will need a visual layout of your office. You likely already have a layout available that you can provide in any of these formats: .pdf, .png, .jpg, .dwg, or similar. Acceptable types include:
- An office layout from an interior designer
- An architect's plan from facility management or your landlord
- A fire emergency exit plan
- Any other comparable visual layout plan
This allows us to create the plan without an on-site visit, keeping the costs lower.
How to add the resources on the plan?
For adding objects like meeting rooms, desks, and parking lots to the plan in Flexopus, there are two main options:
1. Existing Desk Layout
If your office plan already includes the layout with object locations (desks, meeting rooms, etc.), we can create the resources directly on this plan for you. To facilitate this:
- Edit your office layout by marking where each desk, room, or object should go. You can use any tool (e.g., PAINT, Figma) or even print and manually mark the layout.
- Provide both the original plan and the edited version with drawn resources.
This approach allows us to prepare a roll-out ready map for your Flexopus application, saving you setup time.
2. Desk Layout Unknown
If the desk arrangement isn’t finalized, we can start with a basic layout showing only the structural elements like walls, doors, and windows. You can then add and position resources using Flexopus’s inbuilt map builder tool. Once placed, you may request our team to make further adjustments if needed.
The maps you provide will serve as the primary reference for our plan team.
How to send the data to Flexopus?
After gathering your office layout and determining resource placement on the plan, email the files to support@flexopus.com. Please specify which Flexopus application the maps are for. Our team will review your request and pass it to our graphic team, who will create the plans. Once ready, we’ll upload them directly to your Flexopus application as an unpublished plan and notify you by email.
How long does it take to create the plans?
Once you provide us with the plans, they will be forwarded to our graphic design team. Usually creating the plans takes between 1-5 working days.
Additional information on the plans?
For a fully functional and user-friendly premium plan, it's helpful to include more than just walls and desks. By representing familiar office elements, colleagues can better navigate and use these maps daily. We recommend adding:
- Key Office Elements: Toilets, windows, printers, kitchen, lunch area, elevators, stairs, and chill zones (e.g., sofas, chairs).
- Unique Office Features: Extras like a billiard table, fitness area, nap room, or other shared amenities.
- Larger Furniture: Desks, conference tables, and other significant fixtures that help with spatial orientation.
- Abstract Information: Room labels, the company logo, and other identifiers for clear navigation.
Having these details enhances the plan's usability and appeal, aiding Flexopus adoption. Our plan team can incorporate these elements if you provide their locations. Detailed and visually engaging plans improve the overall look and feel, which positively impacts the user experience.
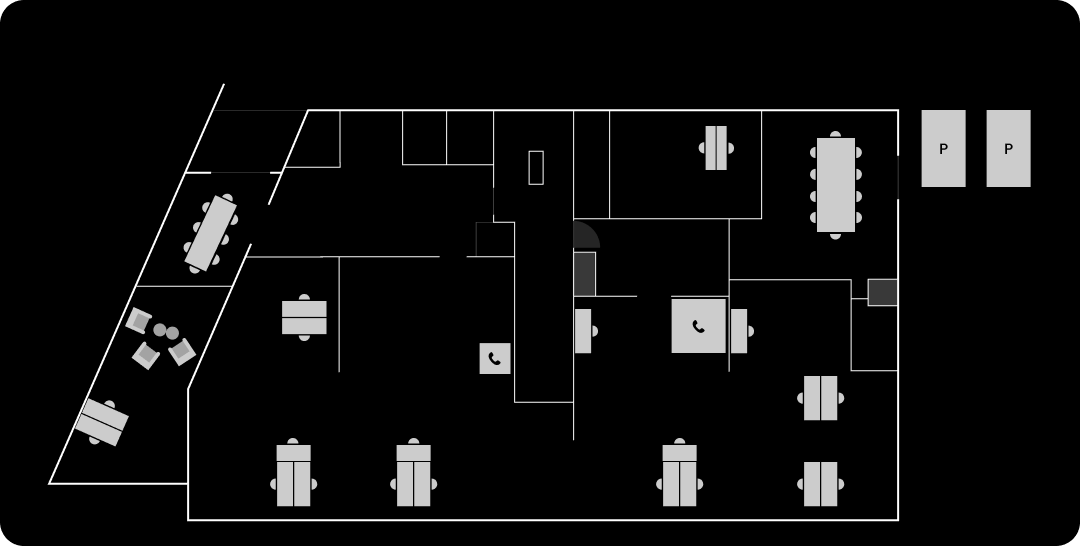

(Optional) Home zones on the floor plan
Depending on how you plan to roll out the hybrid office concept in your organization, you can initiate a few steps to guide your users through their booking process.
OPTION A: No limitations
Everybody can book everything free of their choice.
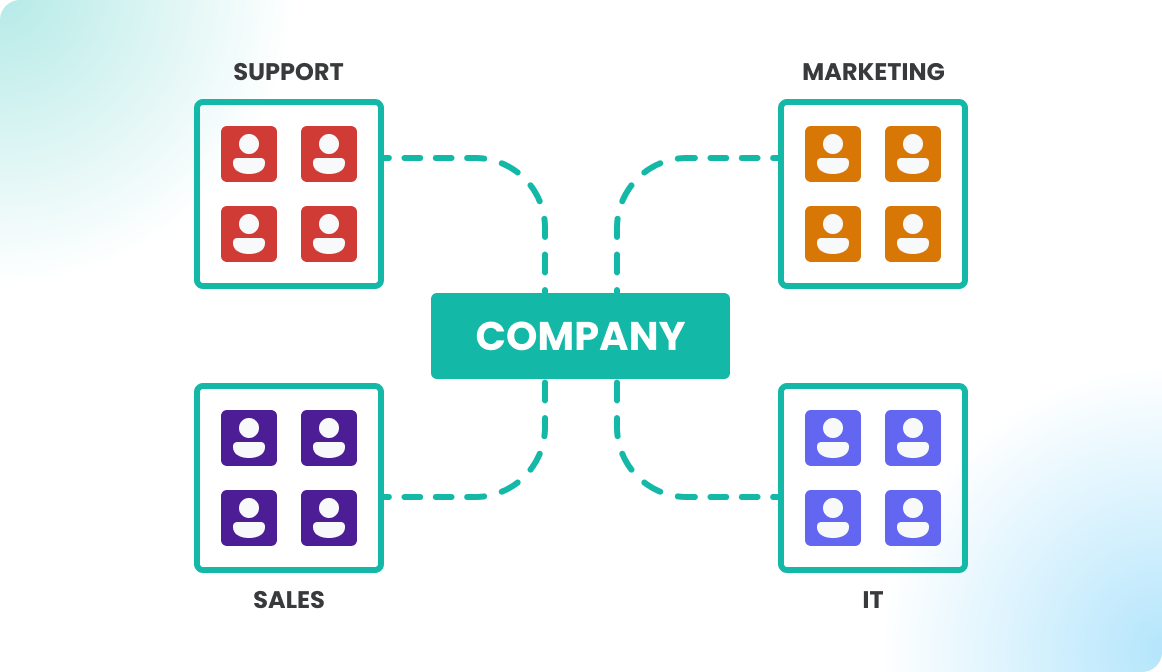
OPTION B: Limit users with user groups
Create user groups and assign resources to groups. This way, users can only book resources with the corresponding user groups. Learn more about user groups here:
OPTION C: Home zones
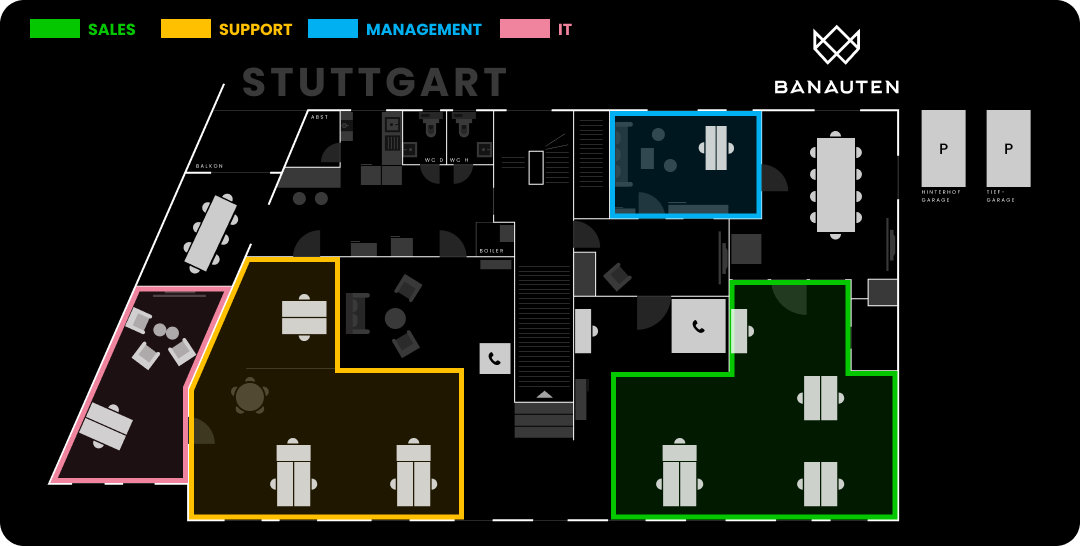
We can also create home zones on your plans, which are visual markers on the floor plan indicating recommended booking areas. This helps colleagues understand where to book and encourages them to reserve desks within these zones first, using other areas only if needed.
Home zones are purely for guidance, so there's no need to enforce booking restrictions through user groups unless you prefer it. This setup helps streamline the reservation process, making it easier for colleagues to follow preferred booking patterns without restrictive measures.
Basic Maps
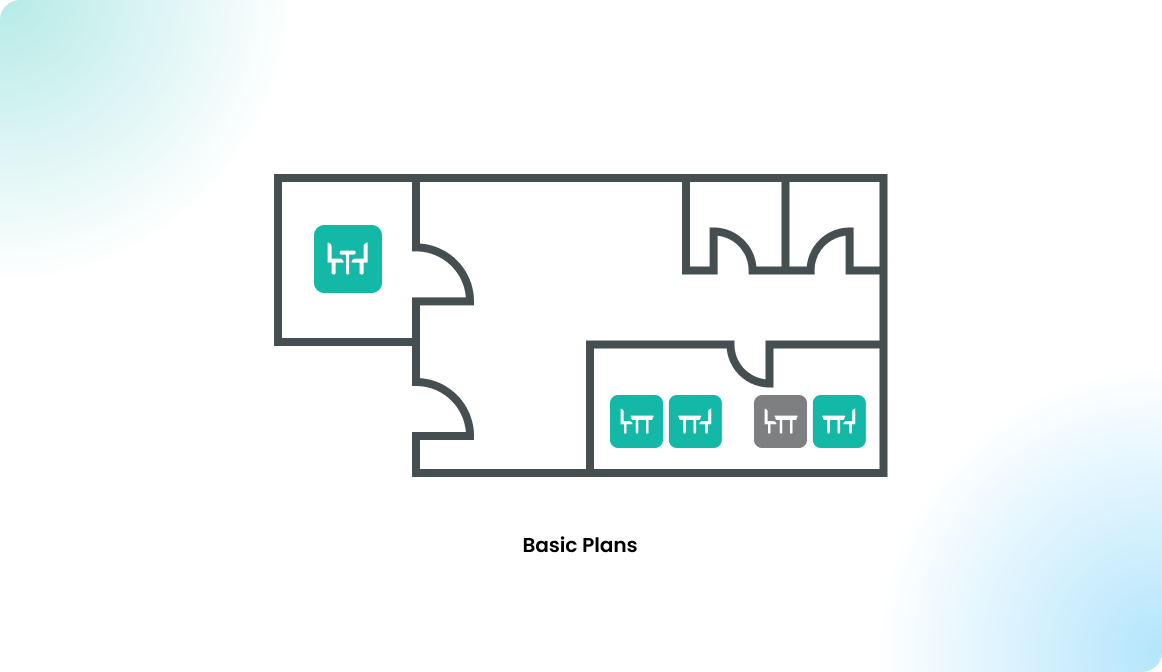
Another way to get floor plans into Flexopus is to use the basic map builder. You can create a basic map by yourself without external help from us.

Simply upload an image of your floor plan and place interactive objects like desks, meeting rooms, and more. It's simple and user-friendly, perfect for anyone to use without needing technical skills. For more details, read the Basic Maps Guide.
Comparison premium vs. basic maps
Here's a comparison between Basic and Premium floor plans in Flexopus based on key properties:
- Size of Map
- ✅ Premium Map: Small size (typically 100 KB) due to SVG vector graphics.
- ❌ Basic Map: Larger file size (typically 1–3 MB) due to high-quality image base, which may affect mobile data use.
- Scaling/Zooming
- ✅ Premium Map: High-quality vector graphics allow unlimited zooming without losing sharpness.
- ❌ Basic Map: Image-based; zooming results in pixelation and quality loss.
- Multiple Offices/Style Guide
- ✅ Premium Map: Consistent style guide across multiple offices for a unified look and feel.
- ❌ Basic Map: Base images can vary from office to office unless manually standardized, making premium maps preferable for consistency.
- Maintaining the Map
- ✅ Premium Map: Objects, labels, and special items can be edited in the map editor. Structural changes (walls, windows, doors) require support team assistance.
- ❌ Basic Map: Objects are editable in the map builder, but base images (including desk layouts) require replacement if updated.
- Price
- ❌ Premium Map: Additional initial cost for creation, aimed to enhance user experience.
- ✅ Basic Map: Free to create, though setup requires your time.
- Usage Statistics
- ✅ Premium Maps: Preferred by 99% of customers for a seamless, quality experience.
- ❌ Basic Maps: Used by some customers, favored for simplicity and DIY setup.


