Invite & Import Users
Overview
There are several ways to maintain and manage the user list in Flexopus. This article outlines the supported methods for importing users into the system, which include:
- Creating users with
SAML2 SSO - Creating users with
OAuth SSO - Provisioning users via the
SCIM API - Provisioning users with
Google Groups - Importing users via
REST API - Importing users manually
- Creating users manually
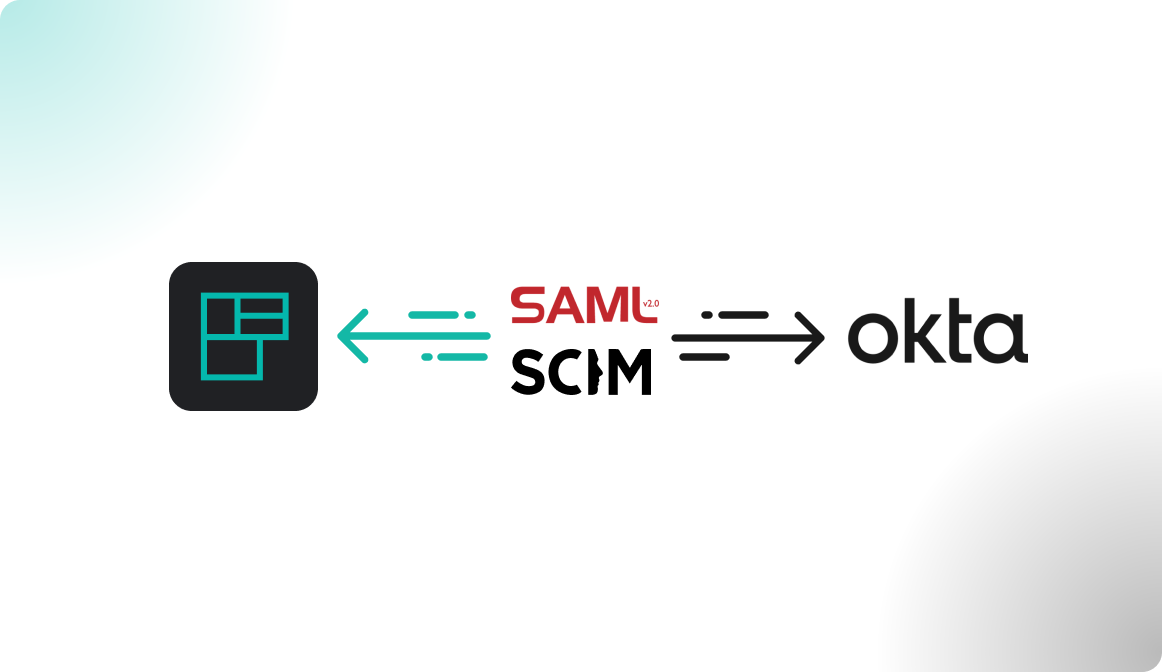
Create users with SAML2 SSO
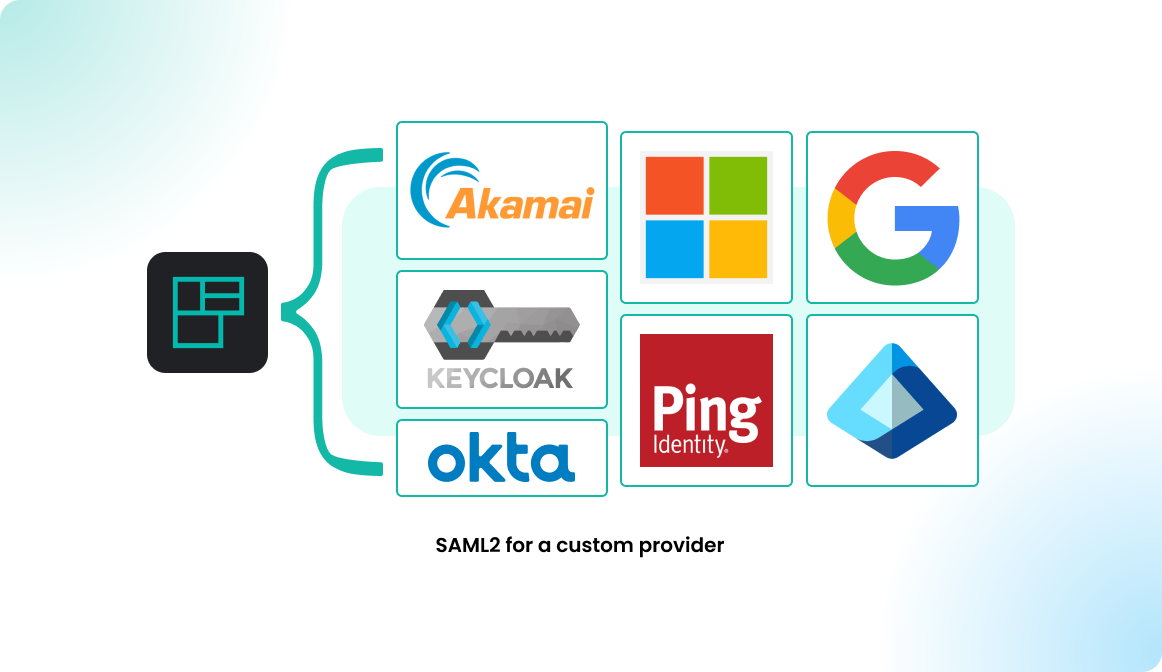
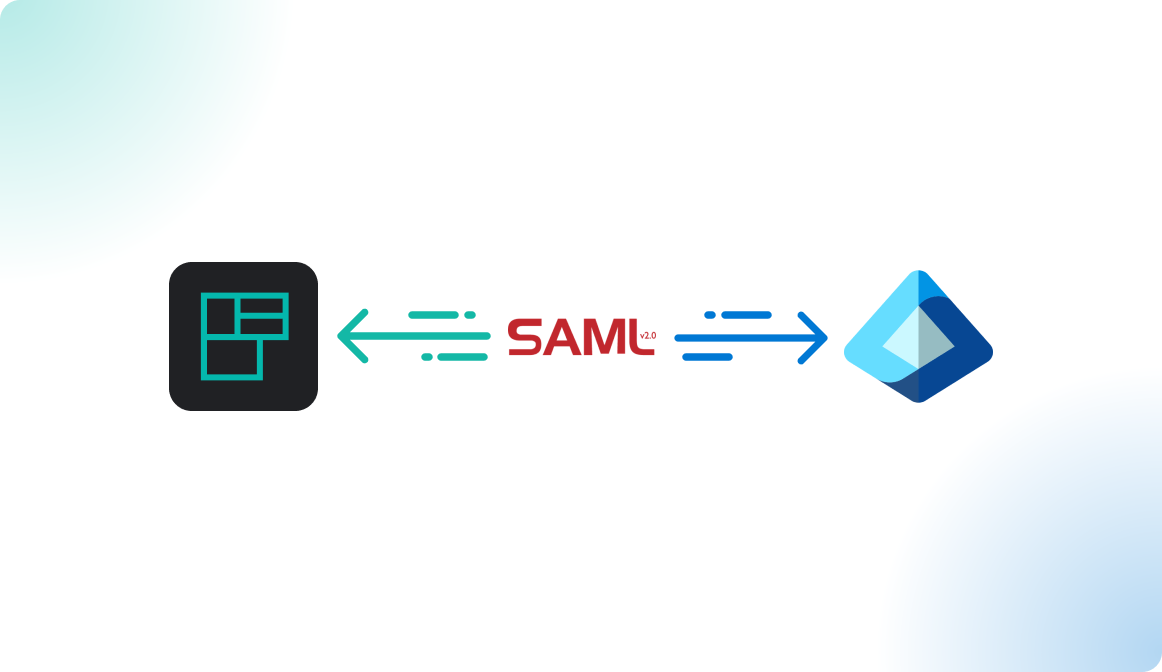
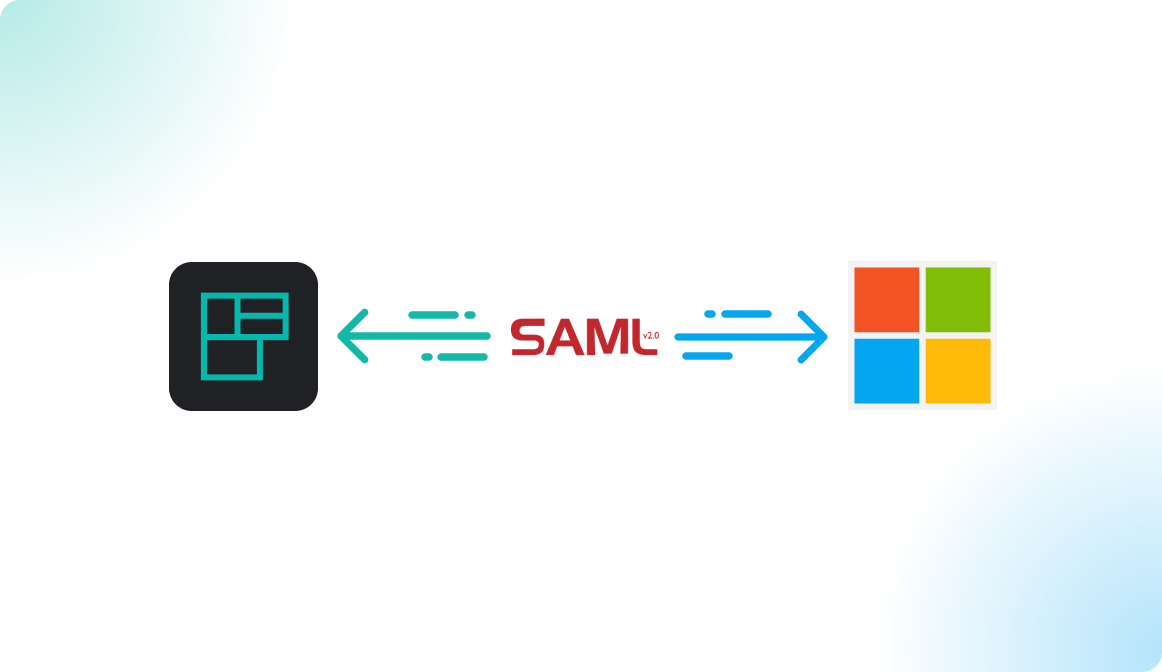
You can connect your preferred identity provider to Flexopus via SAML2 for single sign-on (SSO). This allows users from identity providers such as Microsoft Azure, AD FS, Google, Okta, Ping, etc., to log in using their existing credentials for authentication.
Once Flexopus is connected with SAML2, you can control which users are allowed to log in through your identity provider. Upon the user's first successful login, their profiles are automatically created in Flexopus using attributes like UPN, email, and name. This eliminates the need to manually add users one by one.
Additionally, you can disable email and password-based login, forcing users to log in through SSO. Access to Flexopus can also be revoked directly in your identity provider if needed.
Learn more about SAML2 integrations:
We created a step-by-step instruction manual for the most commonly used Identity Providers as well:


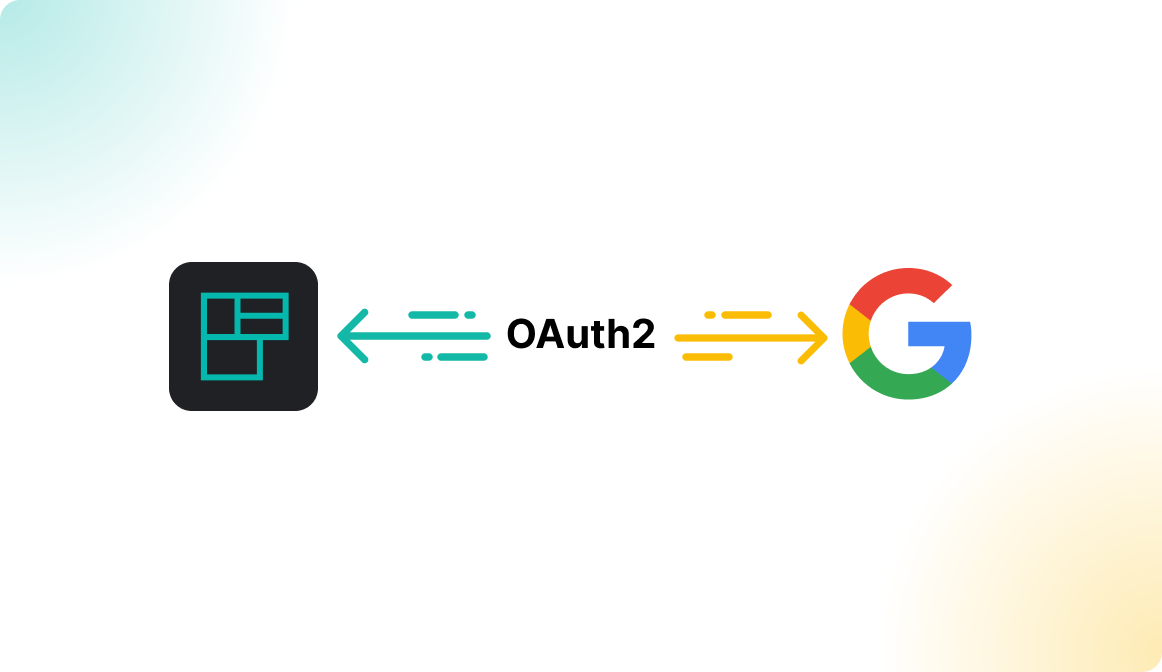
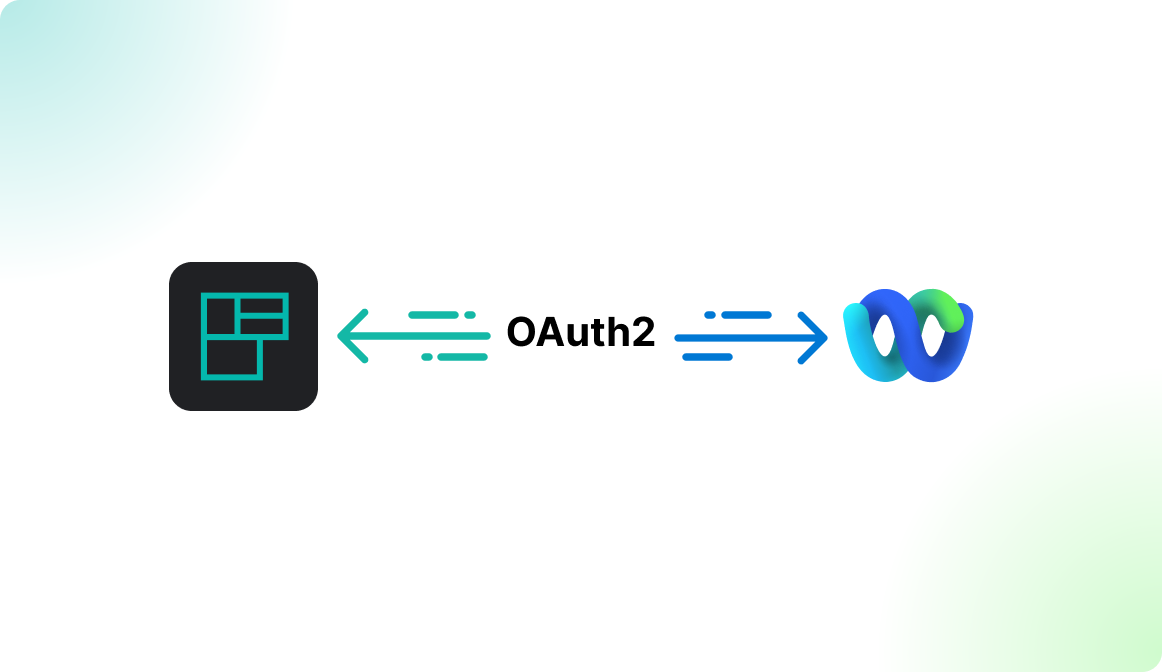
Create users with OAuth SSO
You can connect Flexopus via OAuth SSO with providers like Google, Microsoft 365, and Webex. This offers a more flexible solution for single sign-on (SSO), allowing users to log in and have their profiles automatically created in Flexopus.
SAML2 instead of the OAuth options for SSO login. With a SAML2 connection, you have greater control over which users are allowed to log in. In contrast, with OAuth SSO, control is limited to the domain level.If you connect Flexopus with Google OAuth for single sign-on, this would initially allow all Google users worldwide to log in to your Flexopus instance. However, you can apply a domain-based filter to restrict access, ensuring that only users with a specific domain can log in. For example, you could enable login exclusively for Google users with a @flexopus.com email address.
Learn more about the supported OAuth connections:
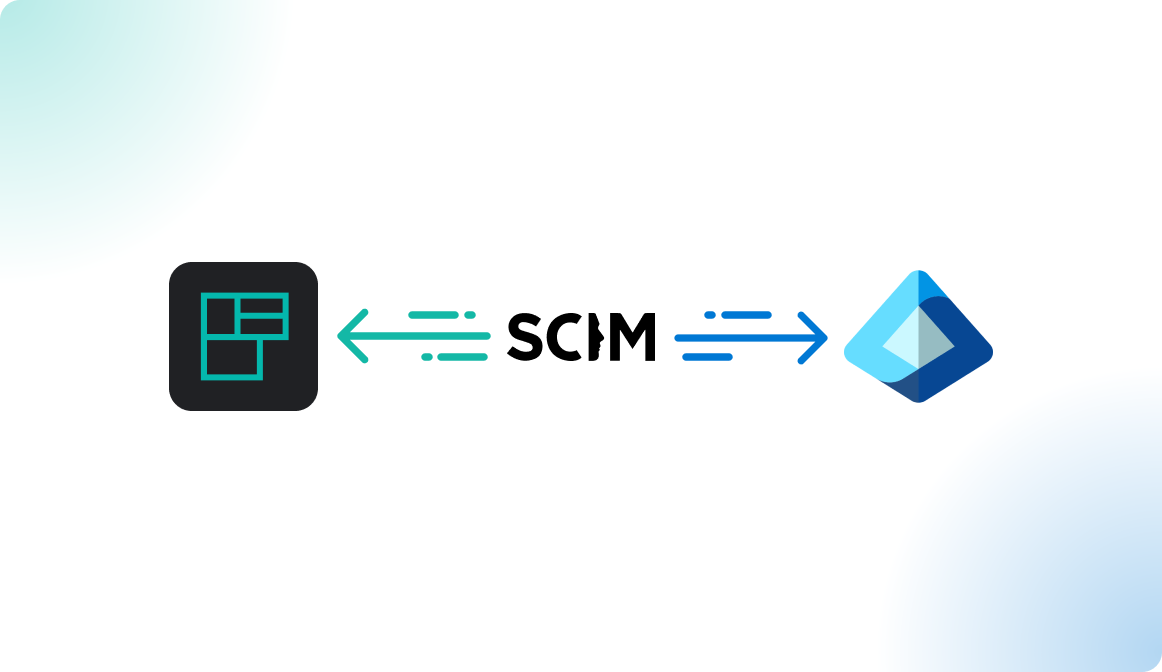
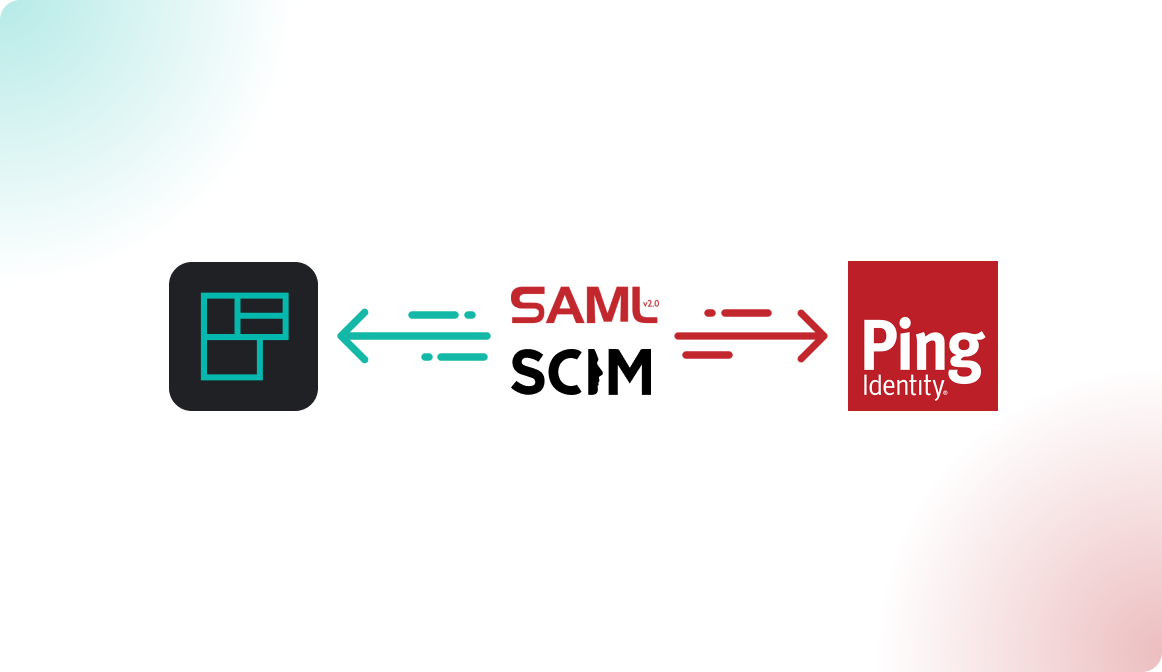
Provision users via the SCIM API
Some identity providers offer the option to provision users via the SCIM API. This allows you to automatically import users and groups into Flexopus, independent of their login attempts. With this method, user profiles can be created before the first login. Flexopus has implemented SCIM API v2, which is designed to work with any identity provider that also supports this version. This makes user provisioning seamless and efficient.
Due to our current knowledge, the following identity providers are supporting SCIM: Azure Active Directory, Okta, Ping Identity. We also created a step-by-step instruction manual on how to configure them:
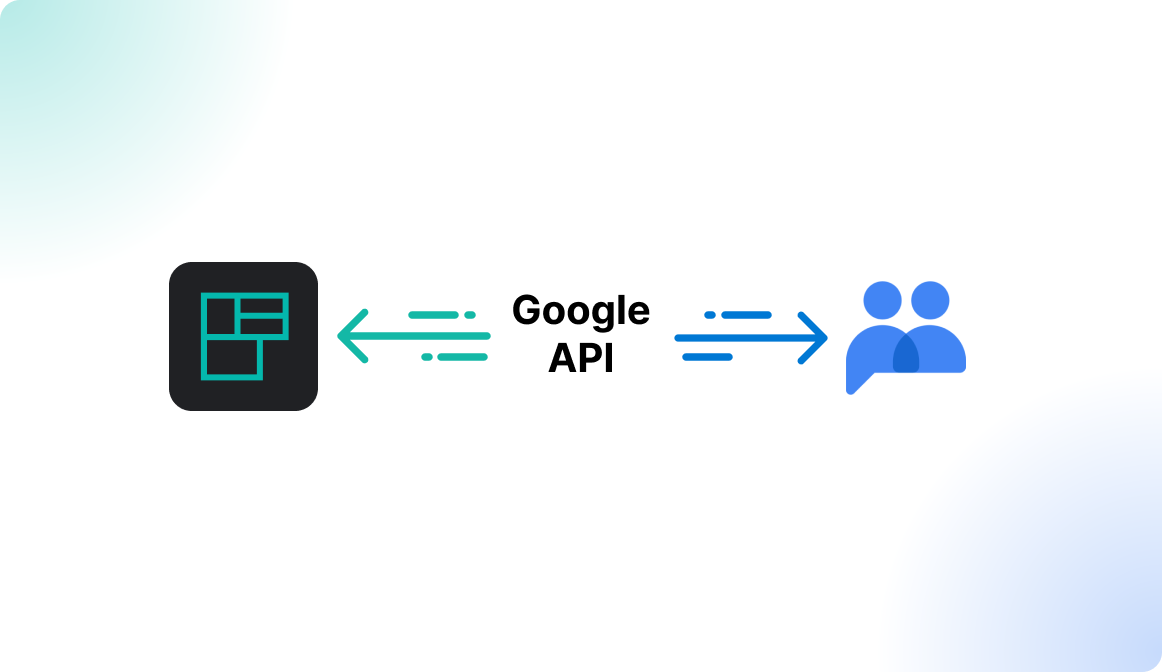
Provision users with Google Groups
To automatically create users, you can use the Google Groups integration in Flexopus. This integration allows you to synchronize groups and their associated users via the Google API. While Google does not offer the SCIM API, this integration serves as an equally effective alternative for provisioning users independently of their login attempts.
Learn more here:
Import users via REST API
Besides manual entry, there is a simple alternative to import users into Flexopus: the REST API. This allows you to upload a list of users via a dedicated interface. You can upload files in various formats such as CSV, TXT, ODS, XLS, or XLSX.
To use this method, you need an API token. You can find instructions on how to generate one in this article:
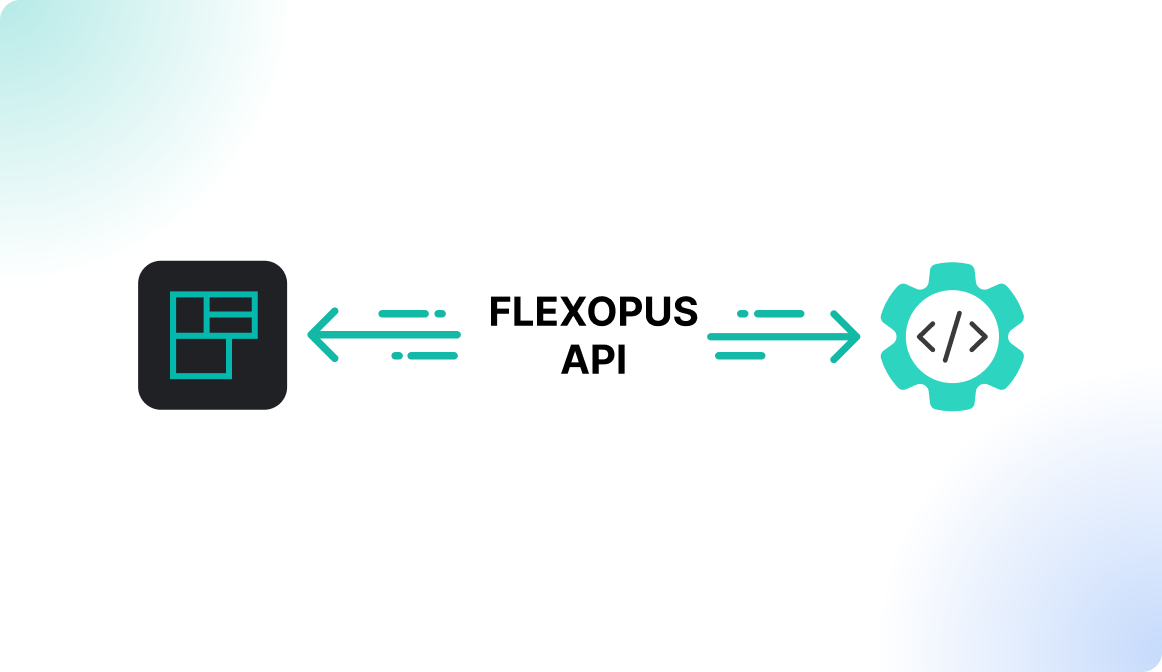
You can find the API documentation here::

To import users via the API, use the following endpoint:
POST /api/v1/users/import
This endpoint requires authentication using a Bearer Token and accepts multipart data as input with the following parameters:
file <file>(required):
The file containing the user list to be imported. Accepted file formats: CSV, TXT, ODS, XLS, and XLSX.update <boolean>(default: false):
Determines whether existing users should be updated.deactivate <boolean>(default: false):
Specifies whether users not present in the list should be deactivated.restore <boolean>(default: false):
Determines whether deactivated users present in the list should be reactivated.
Dashboard > Users > Import / Export.The following cURL request demonstrates how to import users. This example will.
Deactivateevery user not present in theusers.csvfile.Createevery user present in theusers.csvfile but not already in the system.Updateand (if deactivated) re-activate every user present in both theusers.csvfile and the system.
curl https://<your-domain>.flexopus.com/api/v1/users/import \
    -H "Accept: application/json" \
    -H "Authorization: Bearer <your-token>" \
    -F "file=@./users.csv" \
    -F "update=1" \
    -F "deactivate=1" \
    -F "restore=1" \
    -F "dry_run=0"
After uploading, the API returns a JSON response detailing the performed actions:
{
  "dryRun": false,         // dry_run flag from the request
  "created": [2, 3],       // row indices for freshly created users
  "updated": [4, 6],       // row indices for updated users
  "deleted": 0,            // the number of deleted users
  "skipped": [5, 8],       // row indices for unchanged users
  "errors": [7],           // indices for rows with errors
  "errorMessages": {       // object with messages for every error
    "7": {                     // row index of error
      "email": [                   // column with error
        "The email must be a valid email address." // error message
      ]
    }
  },
  "rows": 7,              // total number of processed rows
  "filename": "users.csv" // name of the uploaded file
}
This response helps you track the import process and quickly identify any errors.
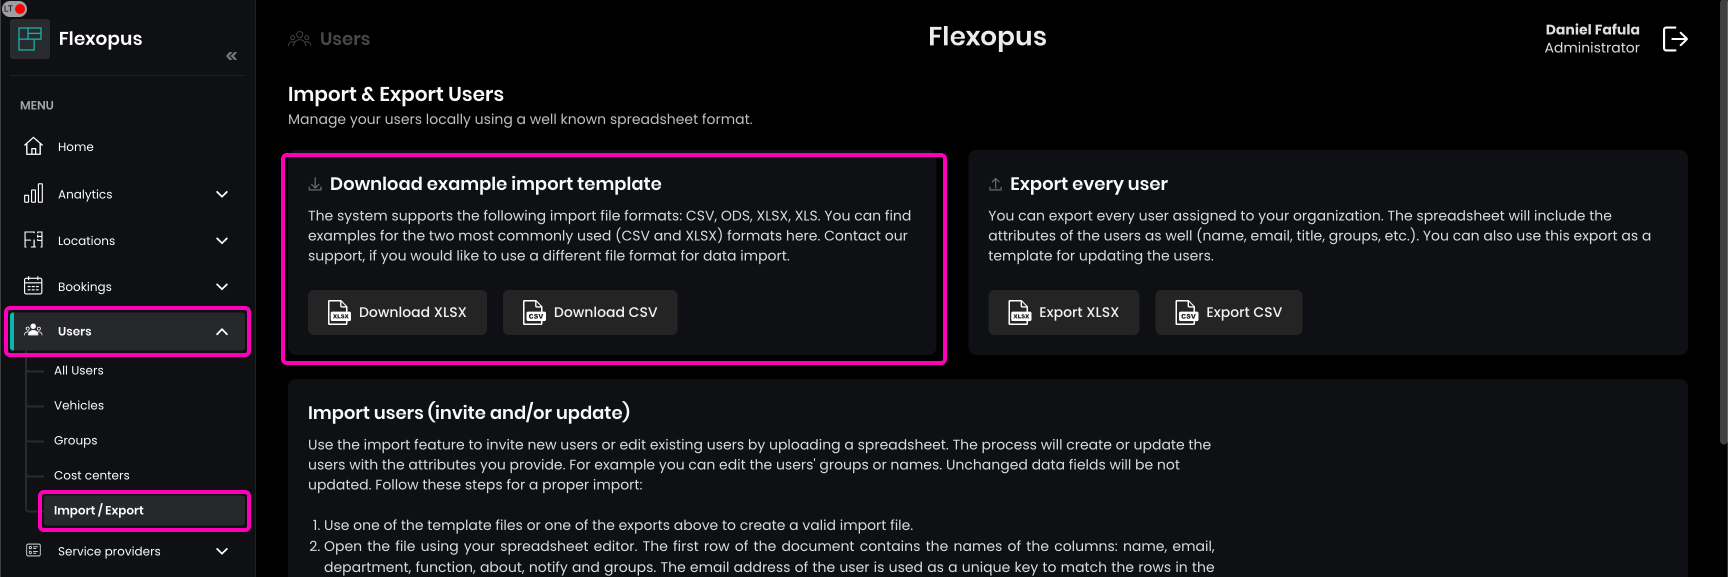
Import users manually
As an administrator, you can also upload users into Flexopus manually on the dashboard. Navigate to Dashboard > Users > Import / Export.
Use the import feature to invite new users or edit existing users by uploading a spreadsheet. The process will create or update the users with the attributes you provide. For example you can edit the users' groups or names. Unchanged data fields will be not updated.
First, download one of the provided import templates as an Excel file XLSX or as a CSV file. Alternatively, you can also export all existing users and edit them by using the export function.
Open the file using your spreadsheet editor. The first row of the document contains the names of the columns: name, email, department, function, about, notify, groups, timezone and cost_center. The email address of the user is used as a unique key to match the rows in the database.
The following columns are required for every row in the file: email and name. Every other column is optional.
Leave only the columns you wish to use. Attributes (columns) not present in the import will not be changed. To skip an attribute you have to delete the whole column including the column name in the first row. In case you leave an empty column with the first row still containing the column name, then the system will use the empty fields to overwrite the corresponding attribute of the listed users.
By default, the system will use only the data provided in the spreadsheet. If the user in a given row already exists in the database and the Update existing users option is checked, the given user is updated. If there is no matching user (by email address) then a new one will be created. By default, users not present in the document will not be changed.
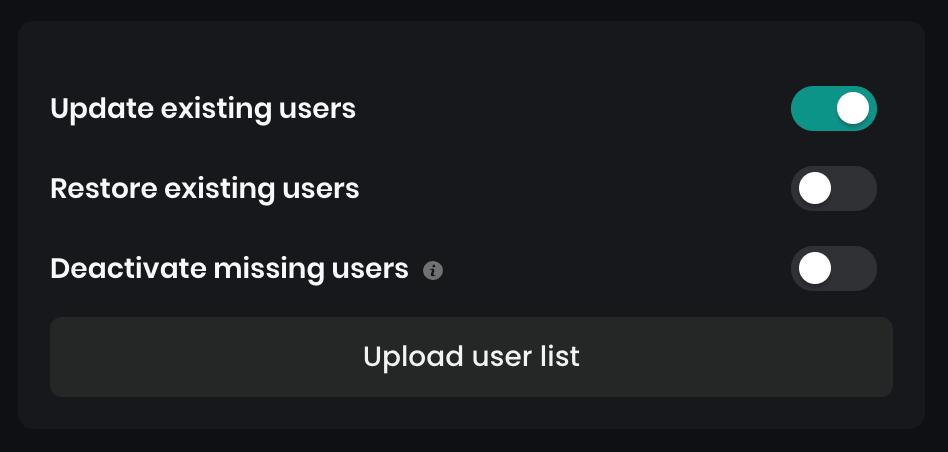
Update existing users option. This will overwrite the data of existing users and not skip them.If the Restore existing users option is checked, then deactivated users in the system will be reactivated if present in the spreadsheet.
If the Deactivate missing users option is checked, then every user not in the spreadsheet but present in the system will be deactivated. Be careful when using this option as deactivated users can not login and might be deleted later if the Delete archived users automatically setting is enabled.
The following values are accepted for the data columns:
name
The name of the user. First name and last name.
email
The email address of the users. Note that just valid email addresses will be accepted. The system is running a domain based validation on the email addresses as well. For example john.doe@localhost will not be accepted.
department
Organisation entity of the user in the organisation. This is an optional and non functional field.
function
The position of the corresponding user in the organisation. This is an optional and non functional field.
about
A short introduction of the user for their public profiles. This is an optional and non functional field.
notify
The notify flag affects only the users created by the current import and existing, unverified users in case the Update existing users option is enabled. Set this field to 1 to send a welcome email or set it to 0 to avoid sending a welcome email.
groups
Enter user groups you would like to associate with the user. If you would like to associate multiple groups, separate them with semicolons (;). (Example: "management;accounting"). Groups not present in the list will be removed from the user. Listing a group that does not exist in the system will create the given group.
timezone
Explicitly set user timezone. You can only select time zones from your globally set time zone and the building time zones (Example format: "Europe/Berlin", "Europe/London"). If the field is empty, the user will use the time zone set in the global settings.
cost_center
Enter a cost center you would like to associate with the user. Listing a cost center that does not exist in the system will create the given cost center.
tags
Enter the tags you want to associate with the user. These tags will appear on the user's profile. To add multiple tags, separate them with semicolons (;). (Example: "tag1;tag2").
Once you finished editing the document, press the Upload user list button to select the document. The following file formats are accepted: CSV, ODS, XLSX, XLS. After selection, press the green Process File button to upload and process the file. The system will check your file for errors. If there are any problems, the upload process will be cancelled.
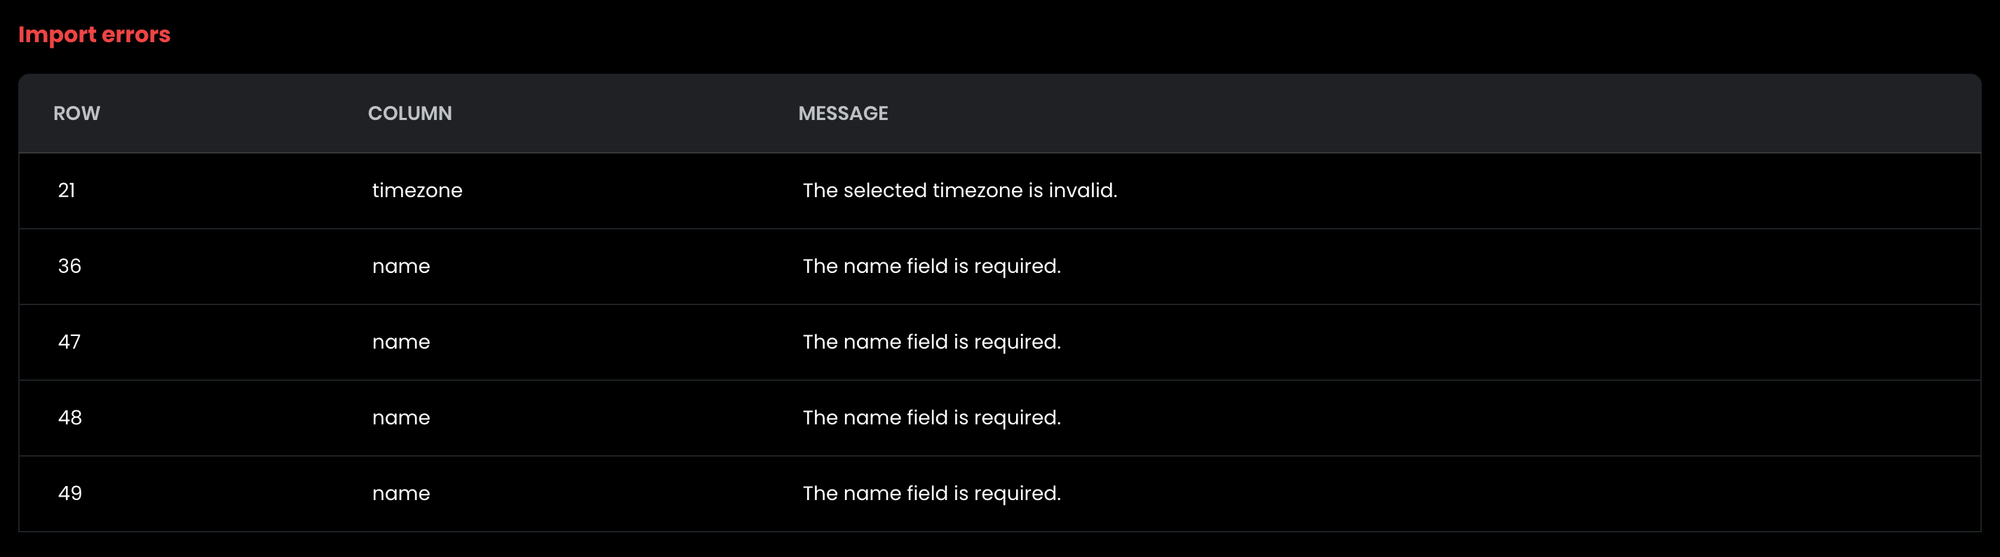
You have to provide a valid file. If there are no errors, a summary is shown and you can press Finalize Import to save your changes.
Create users manually
You can also create and invite users manually in Flexopus, though this is the least recommended method as it requires the most effort and is not optimized. Before proceeding with this option, consider using one of the other methods mentioned to maintain the user base more efficiently.
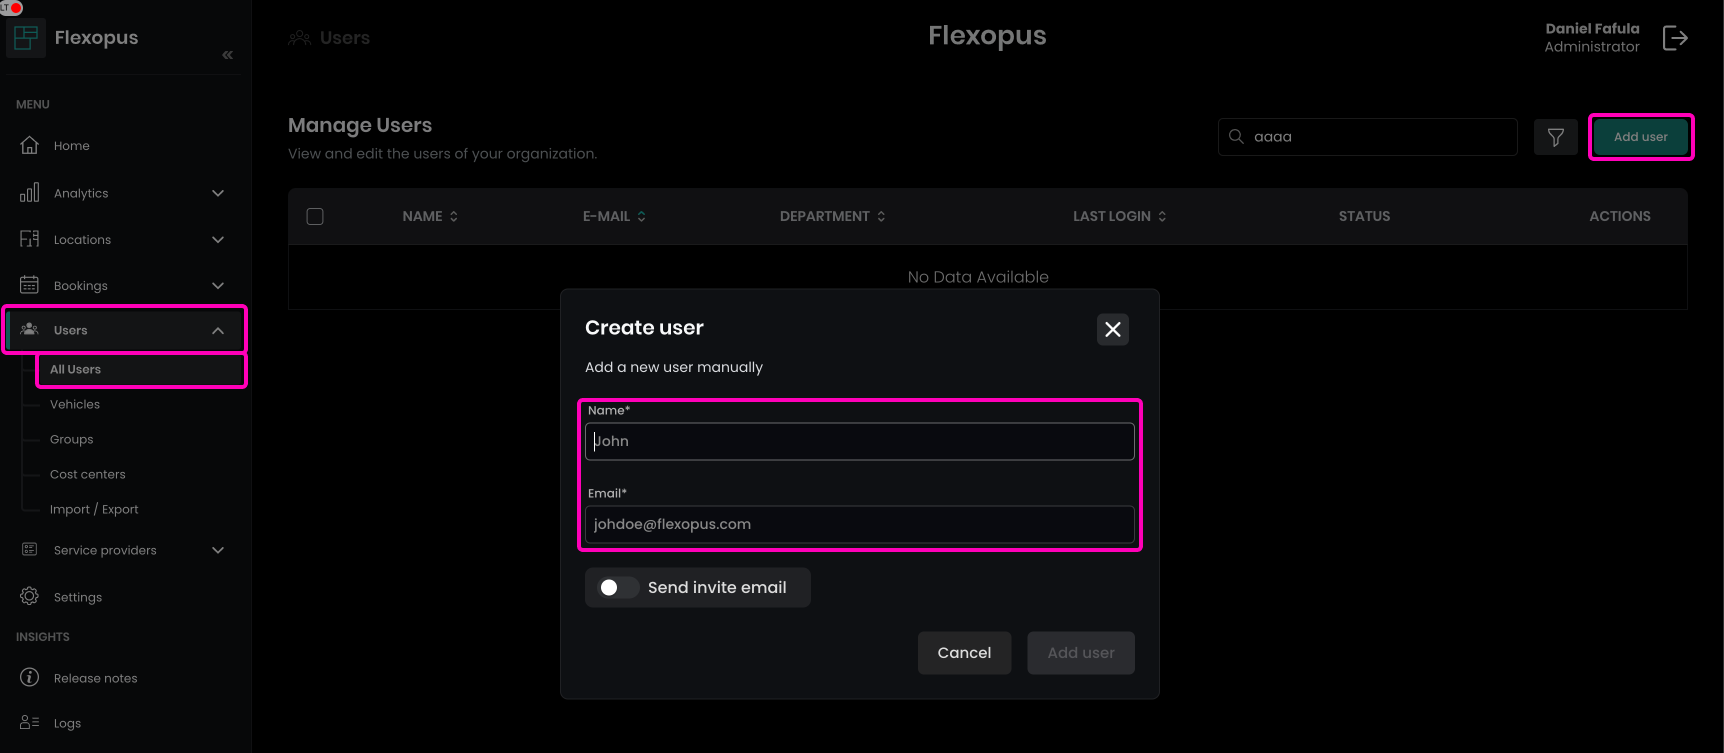
To create a user manually, follow these steps:
- As an administrator, navigate to
Dashboard > Users > All Users. - Click on the
Add Userbutton. - Enter the user's name and email address.
- Optionally, you can send an invitation message to the user.
It's advisable to explore other options before using this method to save time and resources.
Once a user is created, their email address will remain unverified. The user can set a password either through the welcome email or by visiting the login page and requesting a password reset email.