Advanced Guide to Floorplanner
Introduction
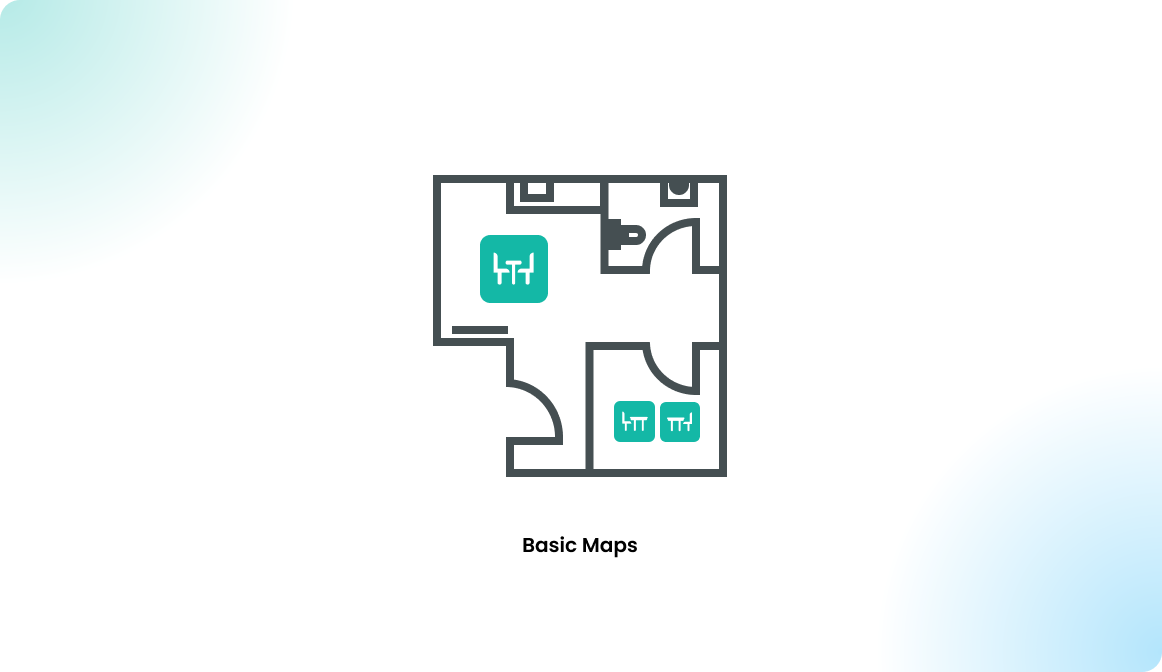
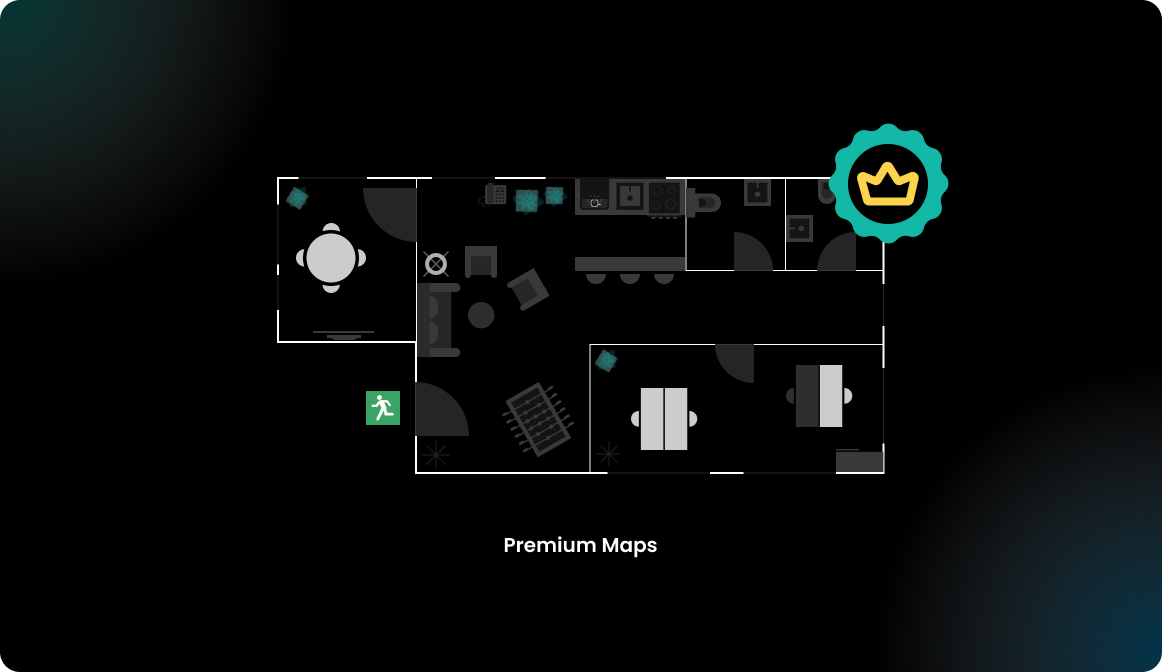
In this article, we delve into the advanced features of the Floorplanner that can elevate your plan editing skills. Previously, we covered the differences between Basic Plans and Premium Plans and demonstrated how to create a floor plan, add, edit, remove resources, and publish changes in Flexopus. If you haven't read those articles, we recommend doing so first. Here, we'll focus on using premium plans as examples. Note that some features discussed are exclusive to premium plans and not available on basic plans.
Application layout
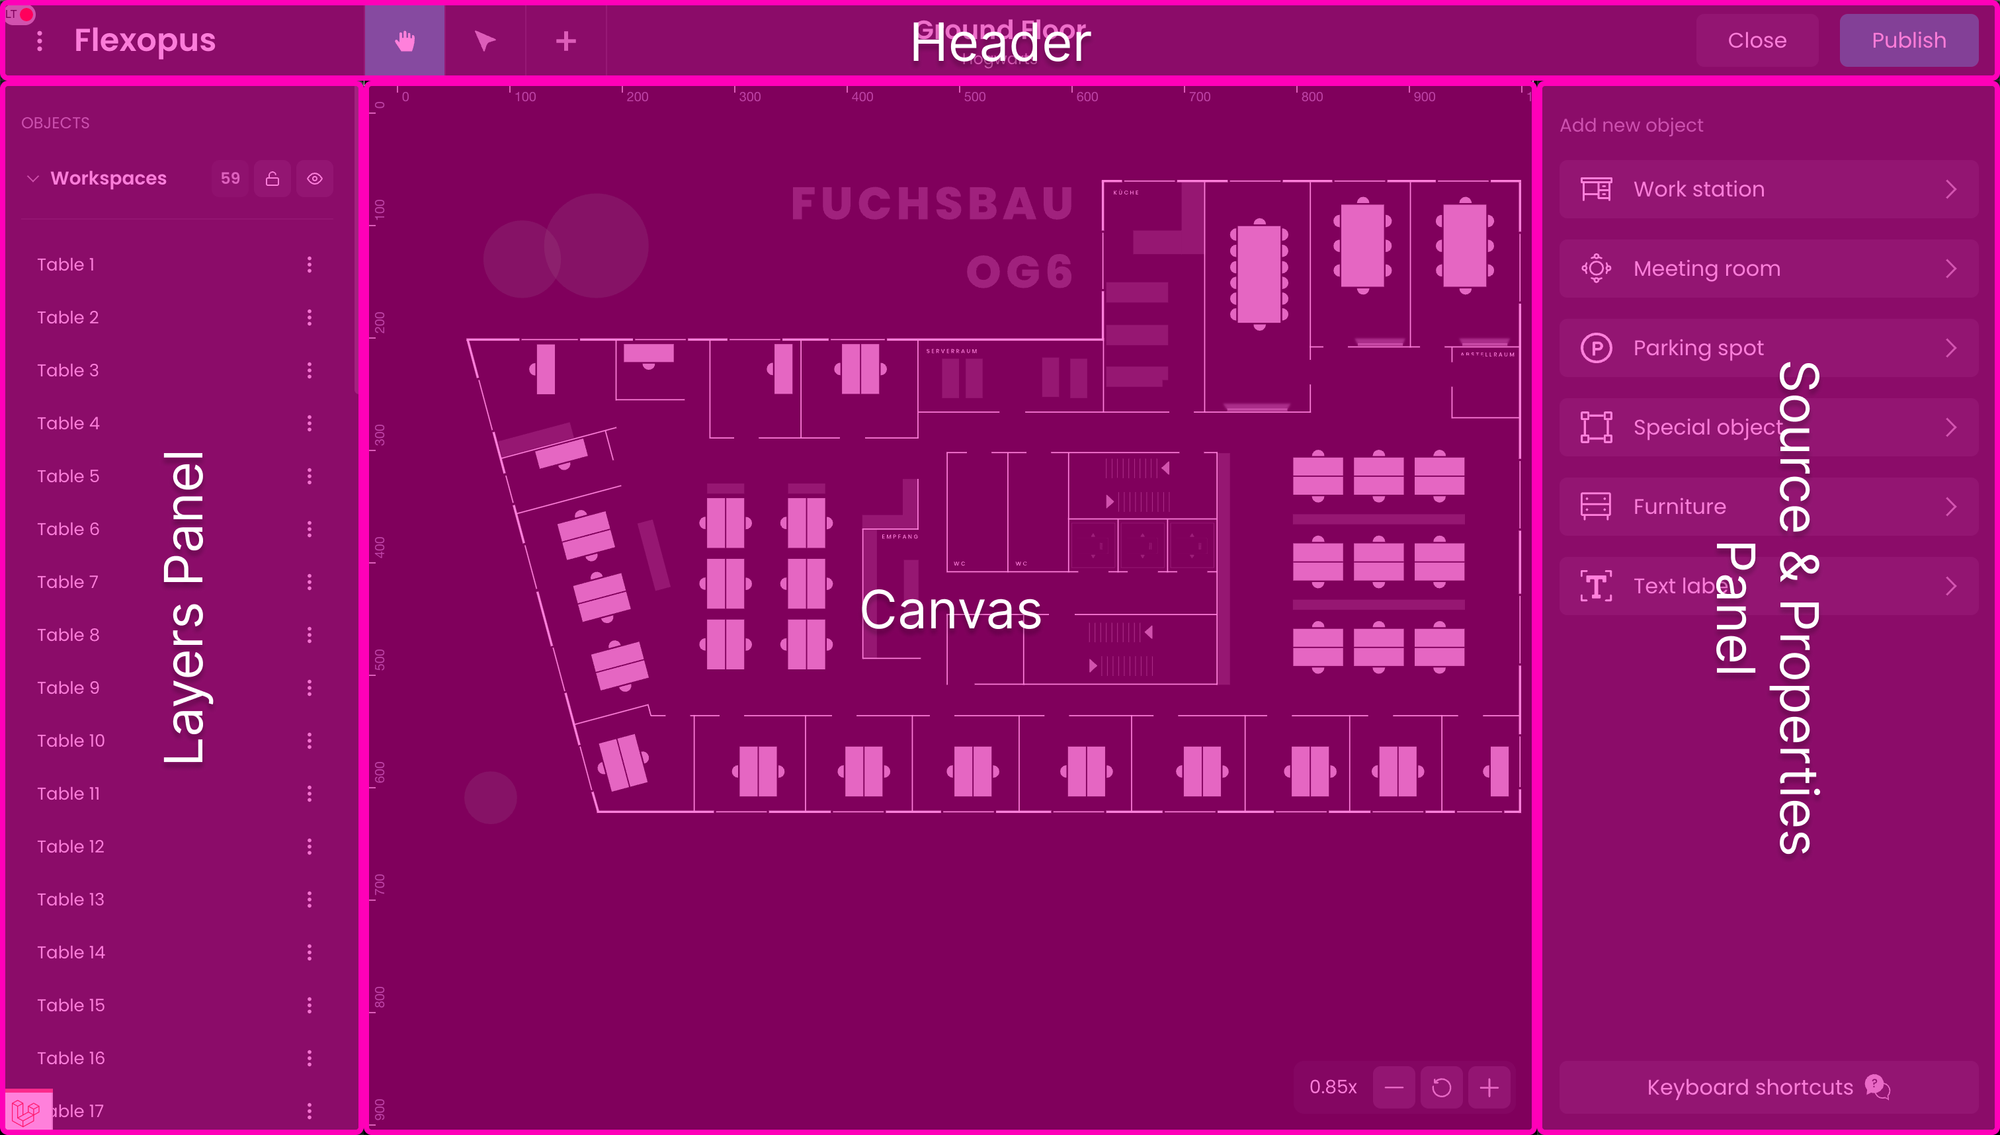
The Floorplanner application is built up of four major parts. You will find every important function in one of these areas, arranged to be as easy to use as possible.
Header
In the application header, you can find application-level information and actions.

To access global actions in the Floorplanner, use the Options menu (⋮) located in the left corner. Some actions are only available in the dropdown, or via shortcuts.
Next to the Options menu, you'll find the Tool Selector, which allows you to switch between the basic tools, such as the Pan tool, Selection tool, and Create Resource tool.
At the right end of the header, you'll see the Close and Publish buttons. Once you've finished working on your plan, you can exit the application using either button. Publish saves your changes, while Close exits without saving.
Left panel — Layers panel
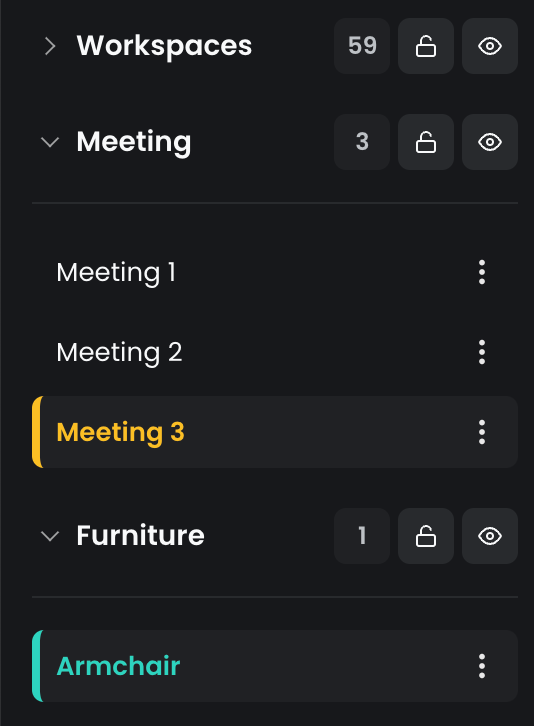
The left panel contains all the layers of the application, with editable resources grouped by type into layers such as Workspaces or Furniture. You can expand or collapse these groups to organize the space more efficiently.
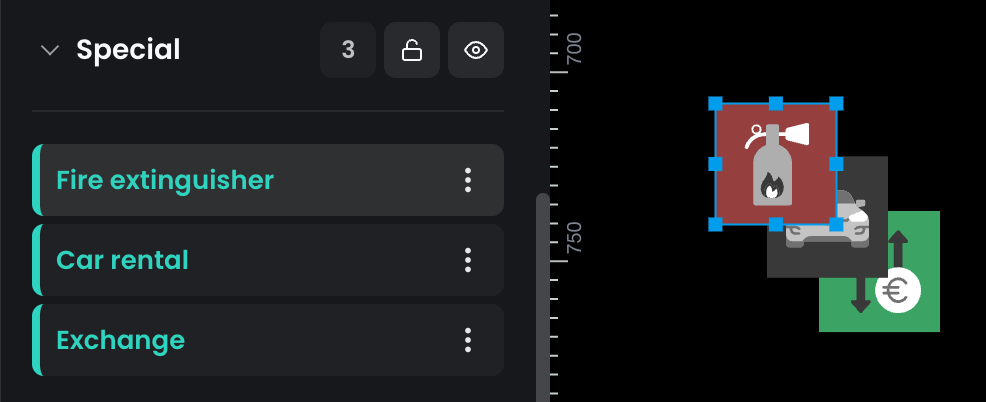
- Resources with active bookings are highlighted in amber.
- Newly added resources are emphasized with a turquoise highlight.
This helps you to quickly identify active and recently added elements on the map.
Right panel — Tools & Properties
The right panel serves a double purpose. On one hand, it is used to display options for adding a new resource, and on the other hand, it hosts the settings panel where you can modify all the properties of a selected resource.
Canvas
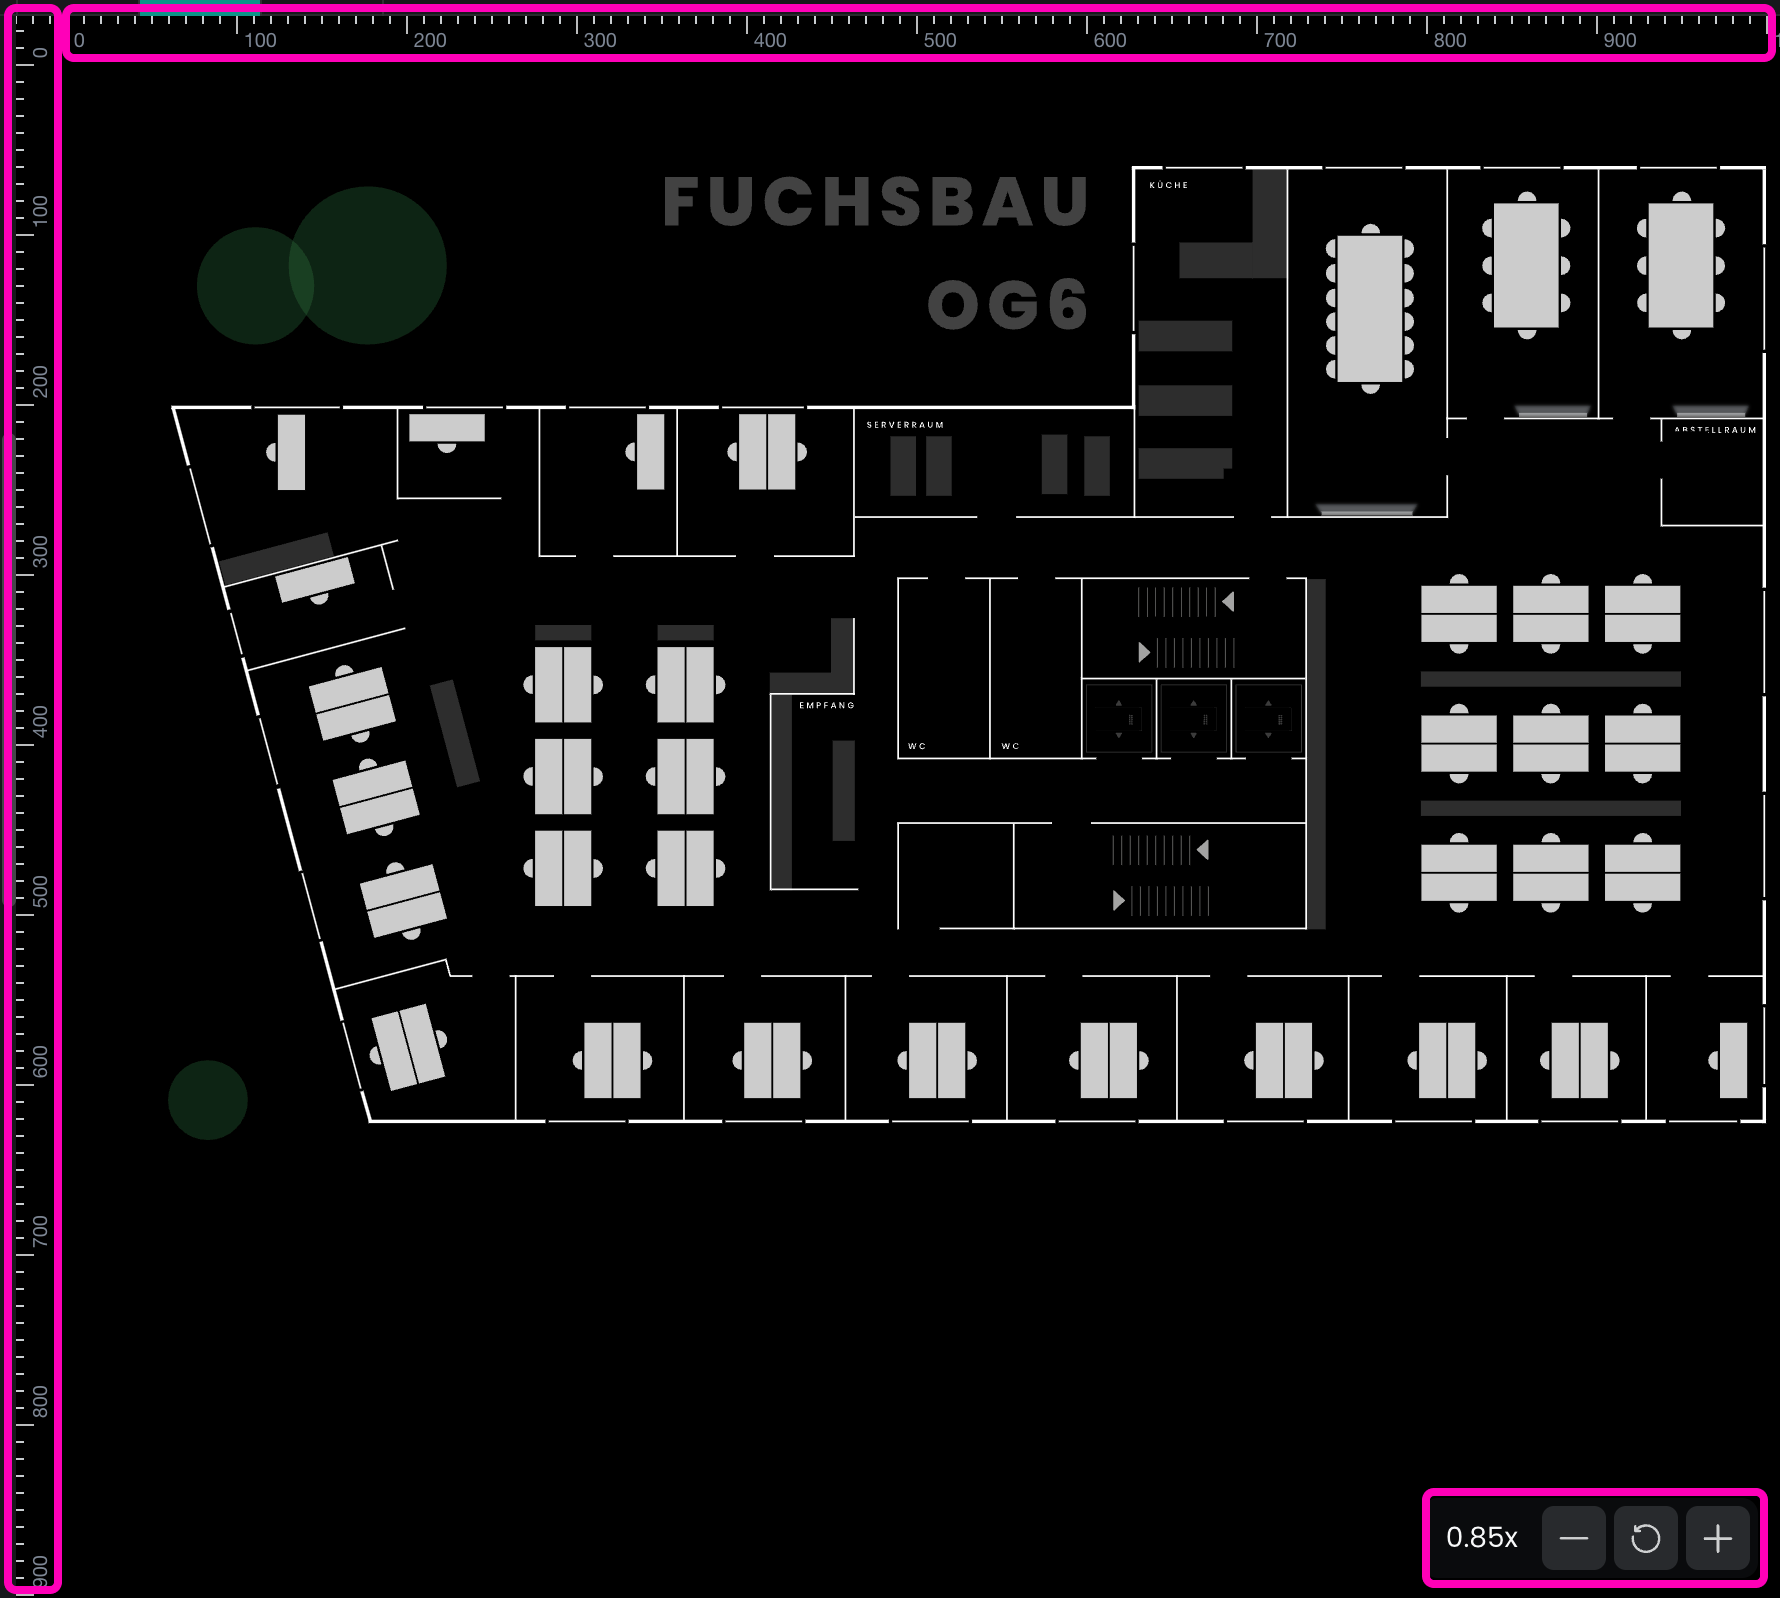
The central part of the application is the map canvas itself. All the resources are displayed on the canvas, except for the ones you explicitly hide. You can navigate on the canvas with the Pan tool, the scroller button of your mouse, or the zoom controls in the bottom right corner of the canvas. To select one or more resource, use the Selection tool. When enabled, rulers make it easier to position resources. For further accuracy, you can enable a grid overlay.
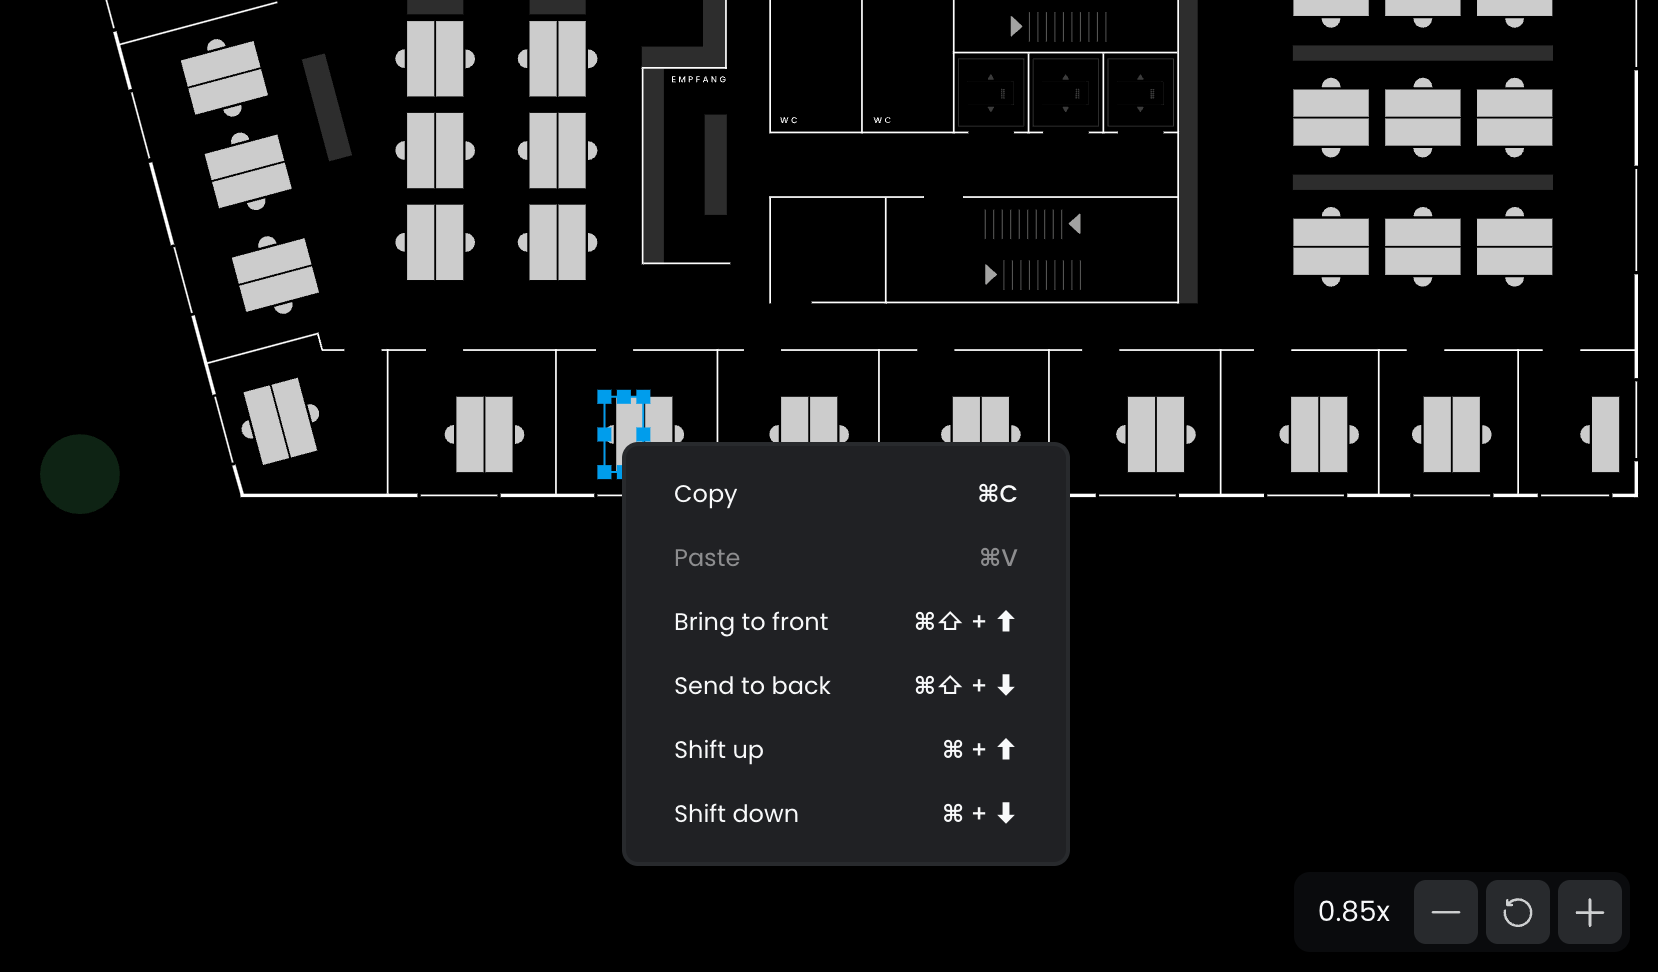
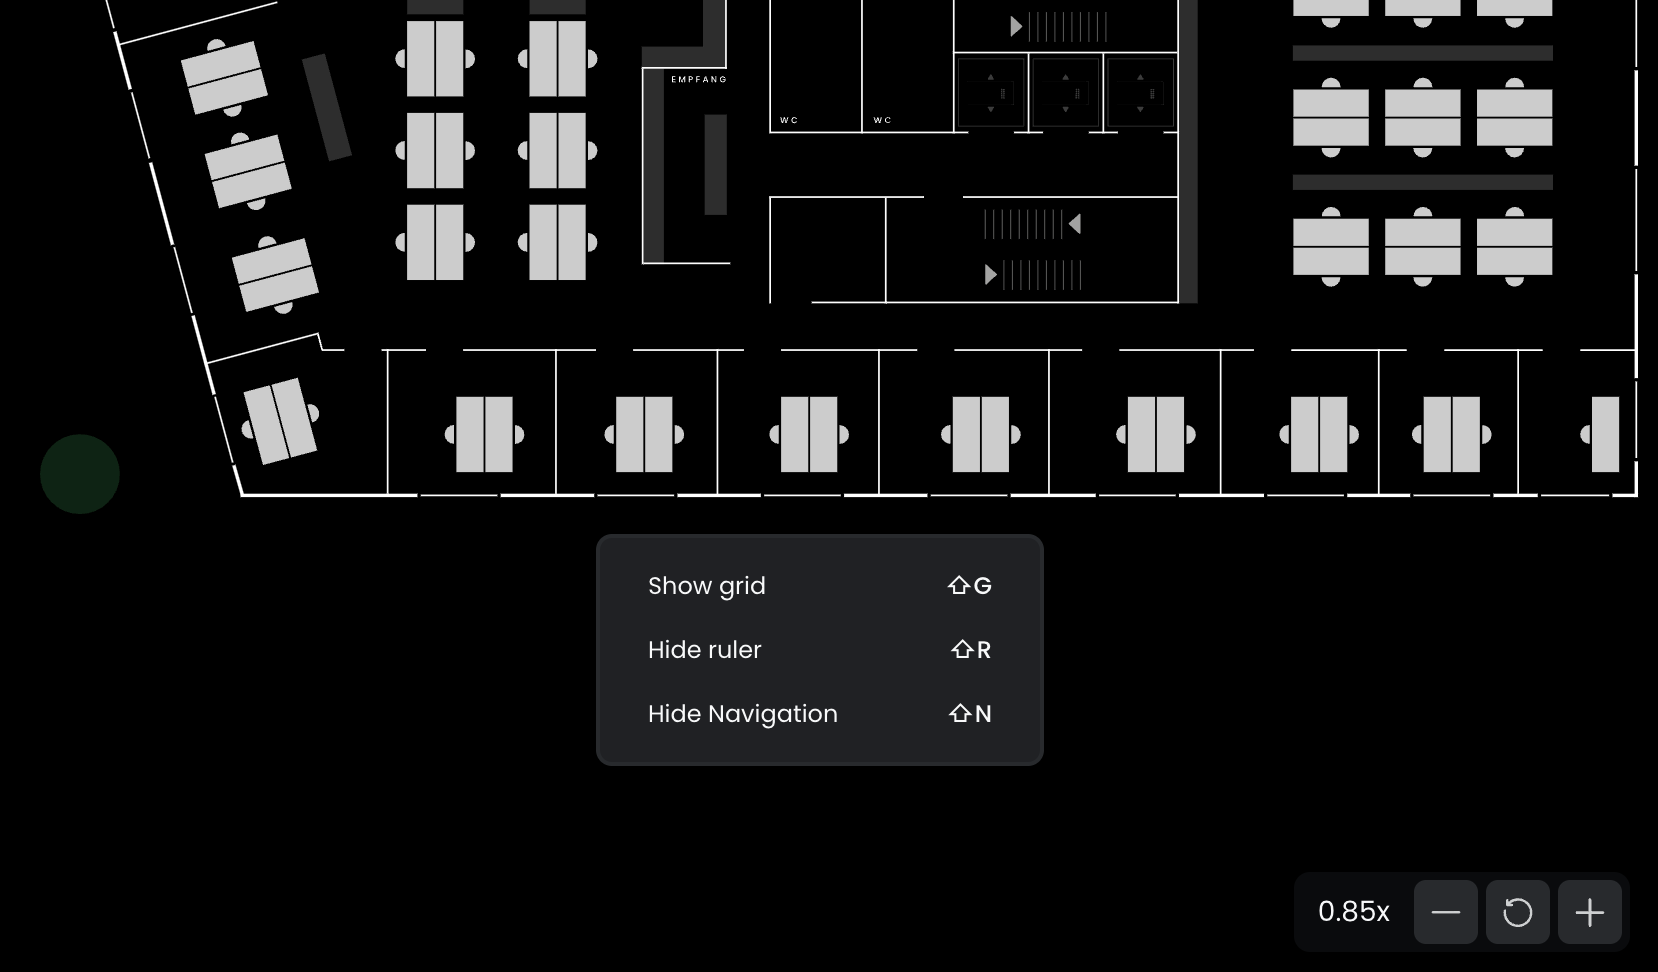
You can access some of the resource-level actions by right-clicking on one of the resources, and some basic application-level actions by right-clicking the background of the canvas.
Basic tools
You can control the application with the three base tools, which you can select in the header panel.
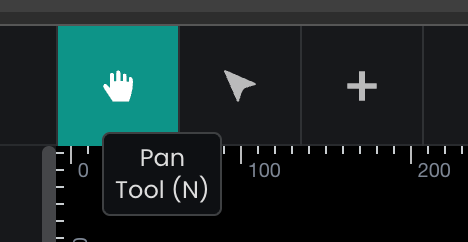
Pan tool
You can activate the Pan tool in the following ways:
- Click the palm icon in the header.
- Hold Space while using the Selection tool.
- Press N if shortcuts are enabled.
This allows you to easily move the map around without interacting with the resources.
With the Pan tool, you can grab the plan and navigate without accidentally moving any of the resources. Use the zoom controls, or the mouse wheel to zoom in or out.
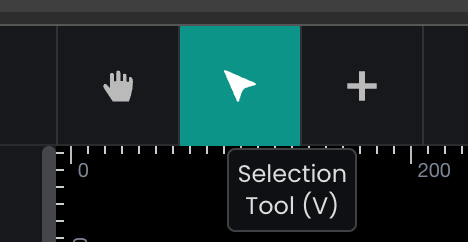
Selection tool
You can activate the Selection tool in two ways:
- Click the cursor icon in the header.
- Press V if shortcuts are enabled.
This allows you to select, move, and modify resources on the map.
As the name suggests, the selection tool's main function is to select resources on the plan. Click on any resource to select them, or draw a bounding box by holding down the left mouse key, to select one or more neighboring resources.
You can then drag and move resources, or rotate them by dragging the handle at their corner. When moving close to other resources, guidelines appear to help to position the resource precisely.
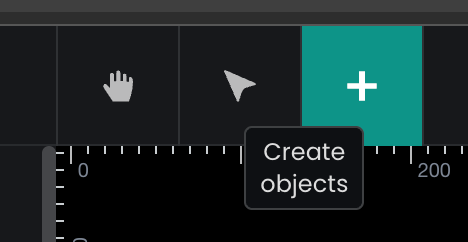
Create resources tool
To add new resources to the map, select the Create Objects (+) tool from the header. This will allow you to place new items on the map.
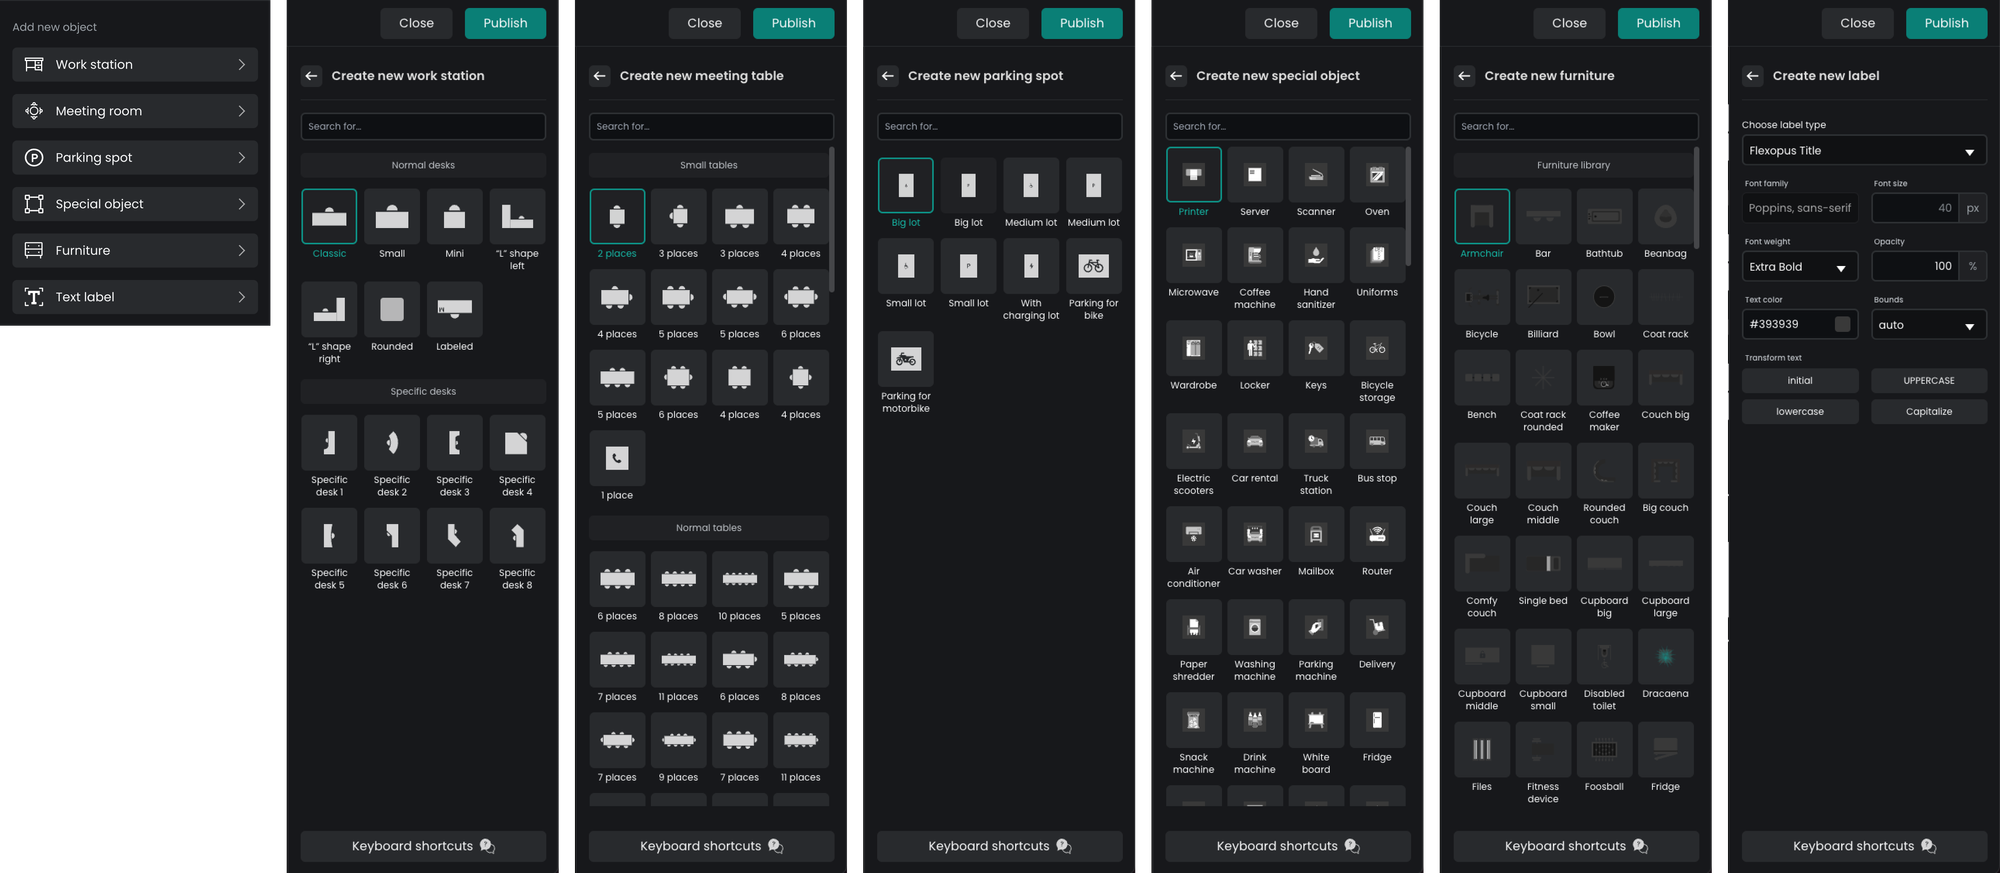
Once you have activated the tool, you will be asked to select the type of resource you want to create. You can do this by clicking a category on the right panel.
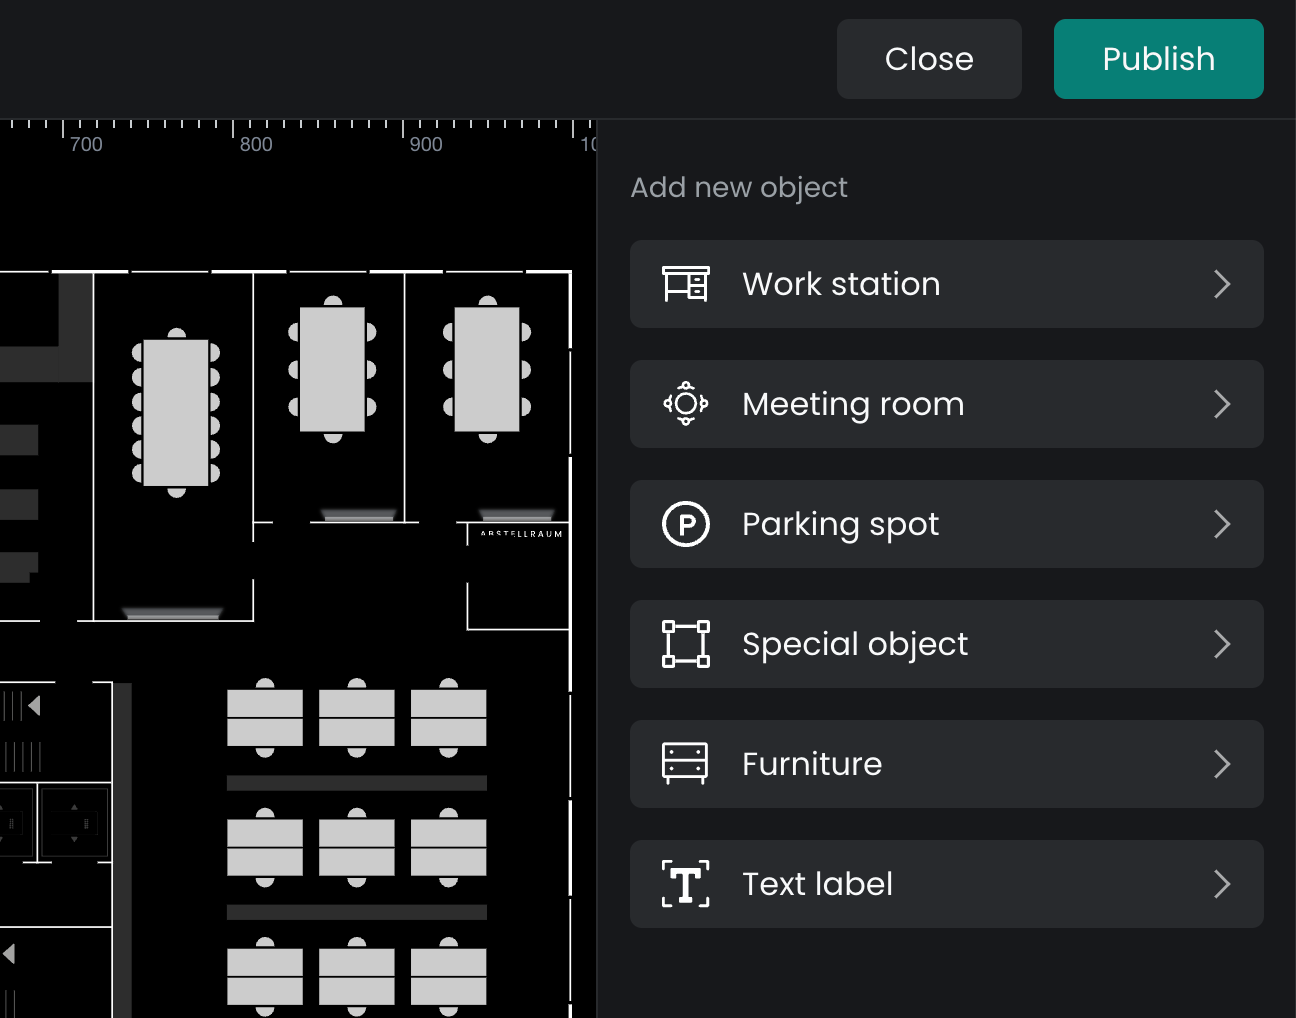
Most resource types have variants or configurations. Select the variant from the list and click anywhere on the map to place a new resource. You can also create items by dragging and dropping them directly on the plan.
Project-level functions
Publish & close
There are two ways of exiting Floorplanner: you can either close the app and discard your changes, or publish the changed plan to Flexopus. Either way, you will be taken back to the Flexopus admin dashboard.

Export SVG
Flexopus maps are stored in SVG format, using a custom scheme for representing static and bookable resources. You can download your floor plan from the Floorplanner and make changes to it in your preferred SVG editor tool. Once you made your changes send the updated plan to support@flexopus.com and our colleagues will upload it for you. All plans will be manually evaluated to match the Flexopus Plan Scheme, ensuring no mistakes are made.
To download your SVG map, click the Options menu in the top left corner of the application and select Export as SVG from the dropdown menu, or press ⌘ + E anywhere in the app to quickly export the plan.
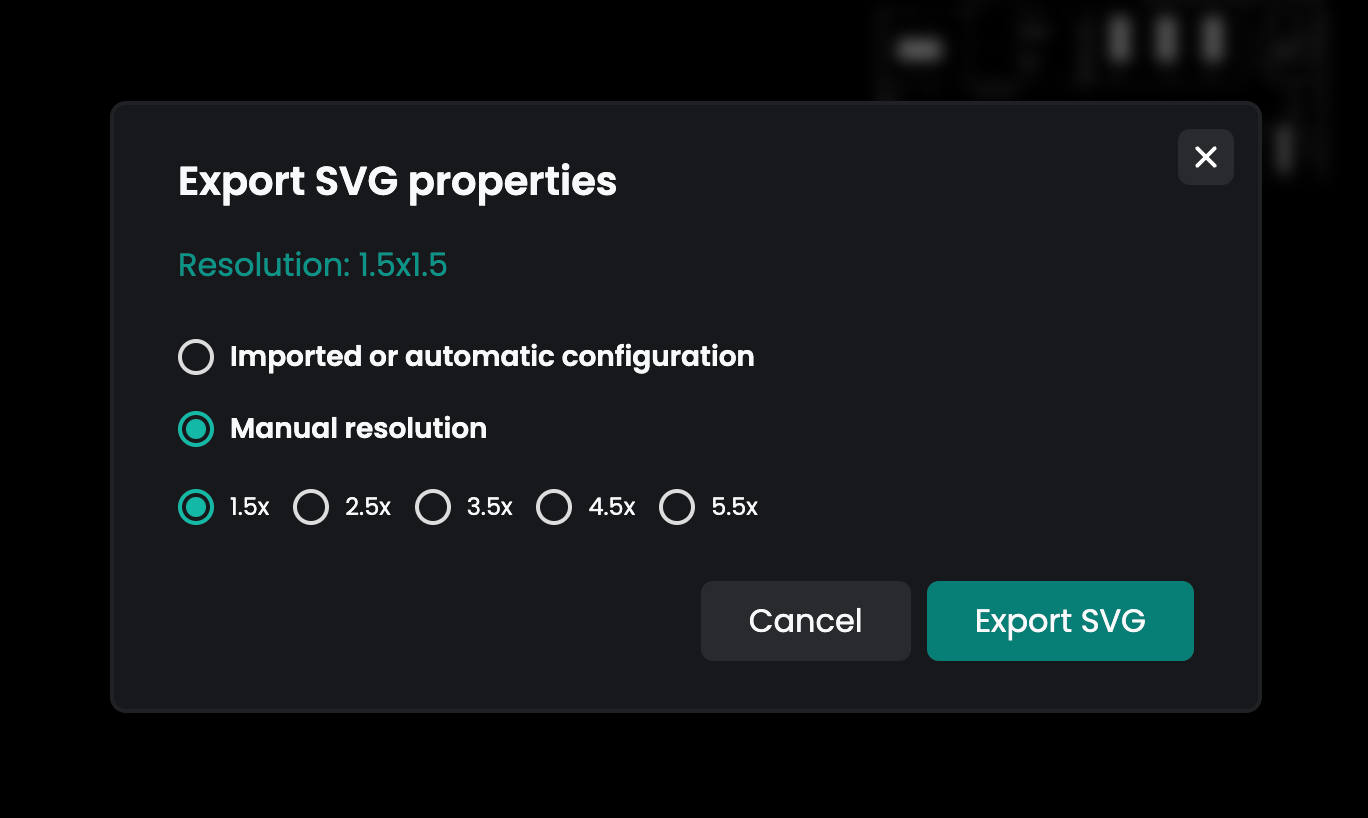
When exporting your plan as an SVG, you will be prompted to select the resolution of the exported map. After making your selection, click Export SVG to download the file to your computer.
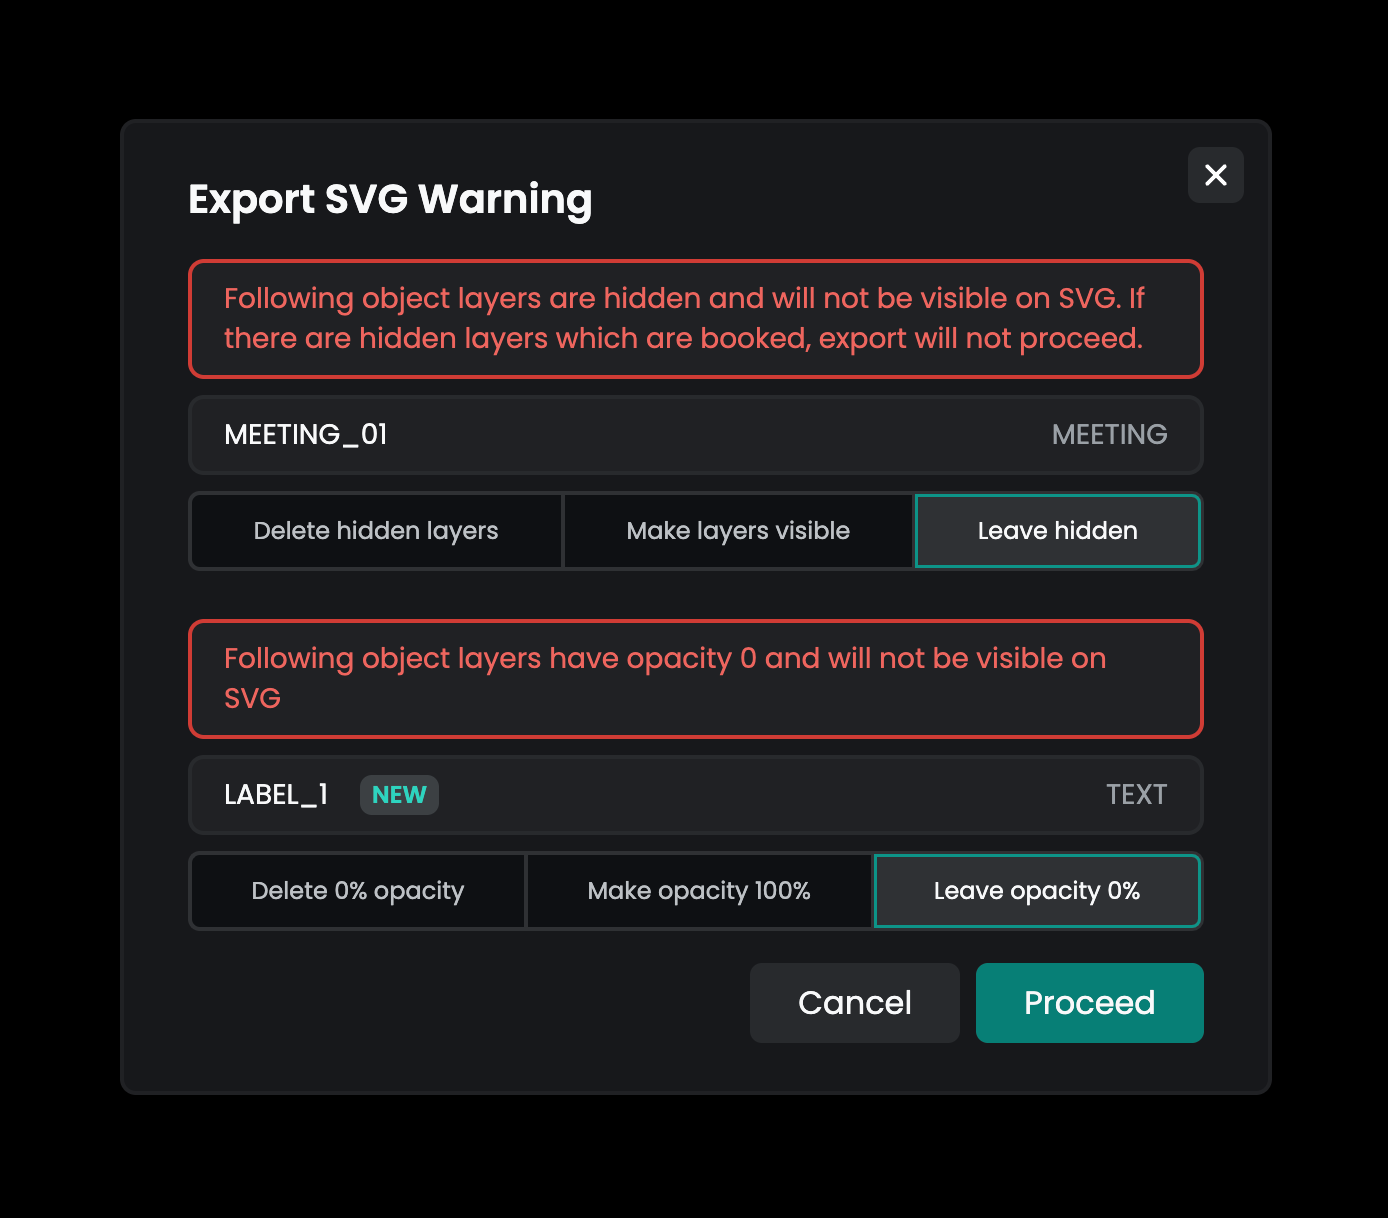
If there are hidden resources or text with 0% opacity on the map, you will be prompted to decide how to handle them during the export process. You can choose to include or exclude these elements.
Export PNG
For your convenience, you can also download a PNG version of the map if you require a raster image format.
To download the PNG file:
- Select Export as PNG from the dropdown menu in the top left corner, or
- Press Ctrl / ⌘ + Shift + E anywhere in the app to quickly export the map as a PNG file.
Object-level functions
Changing object properties
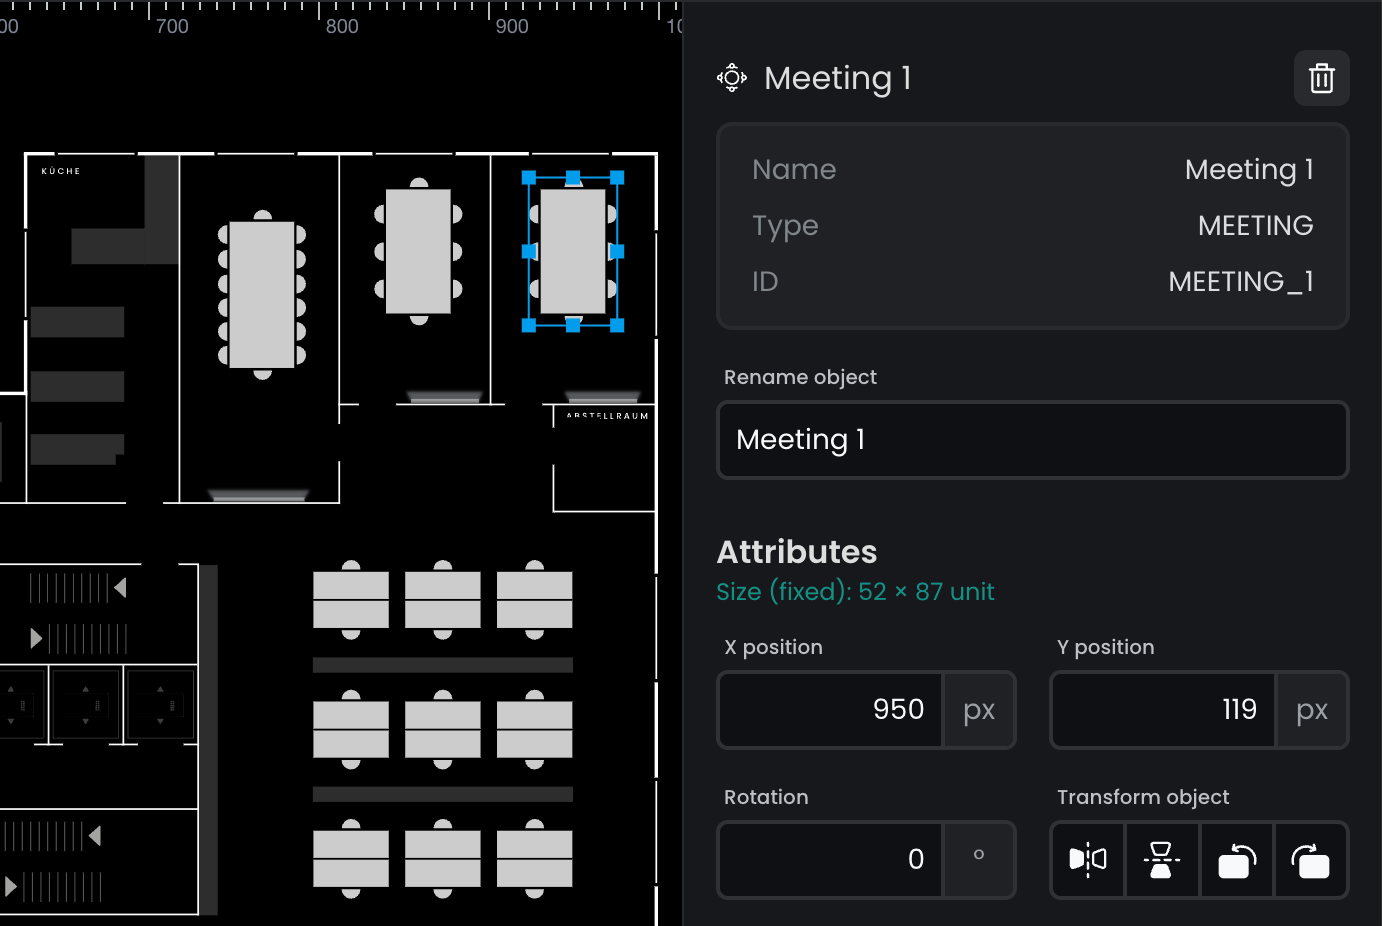
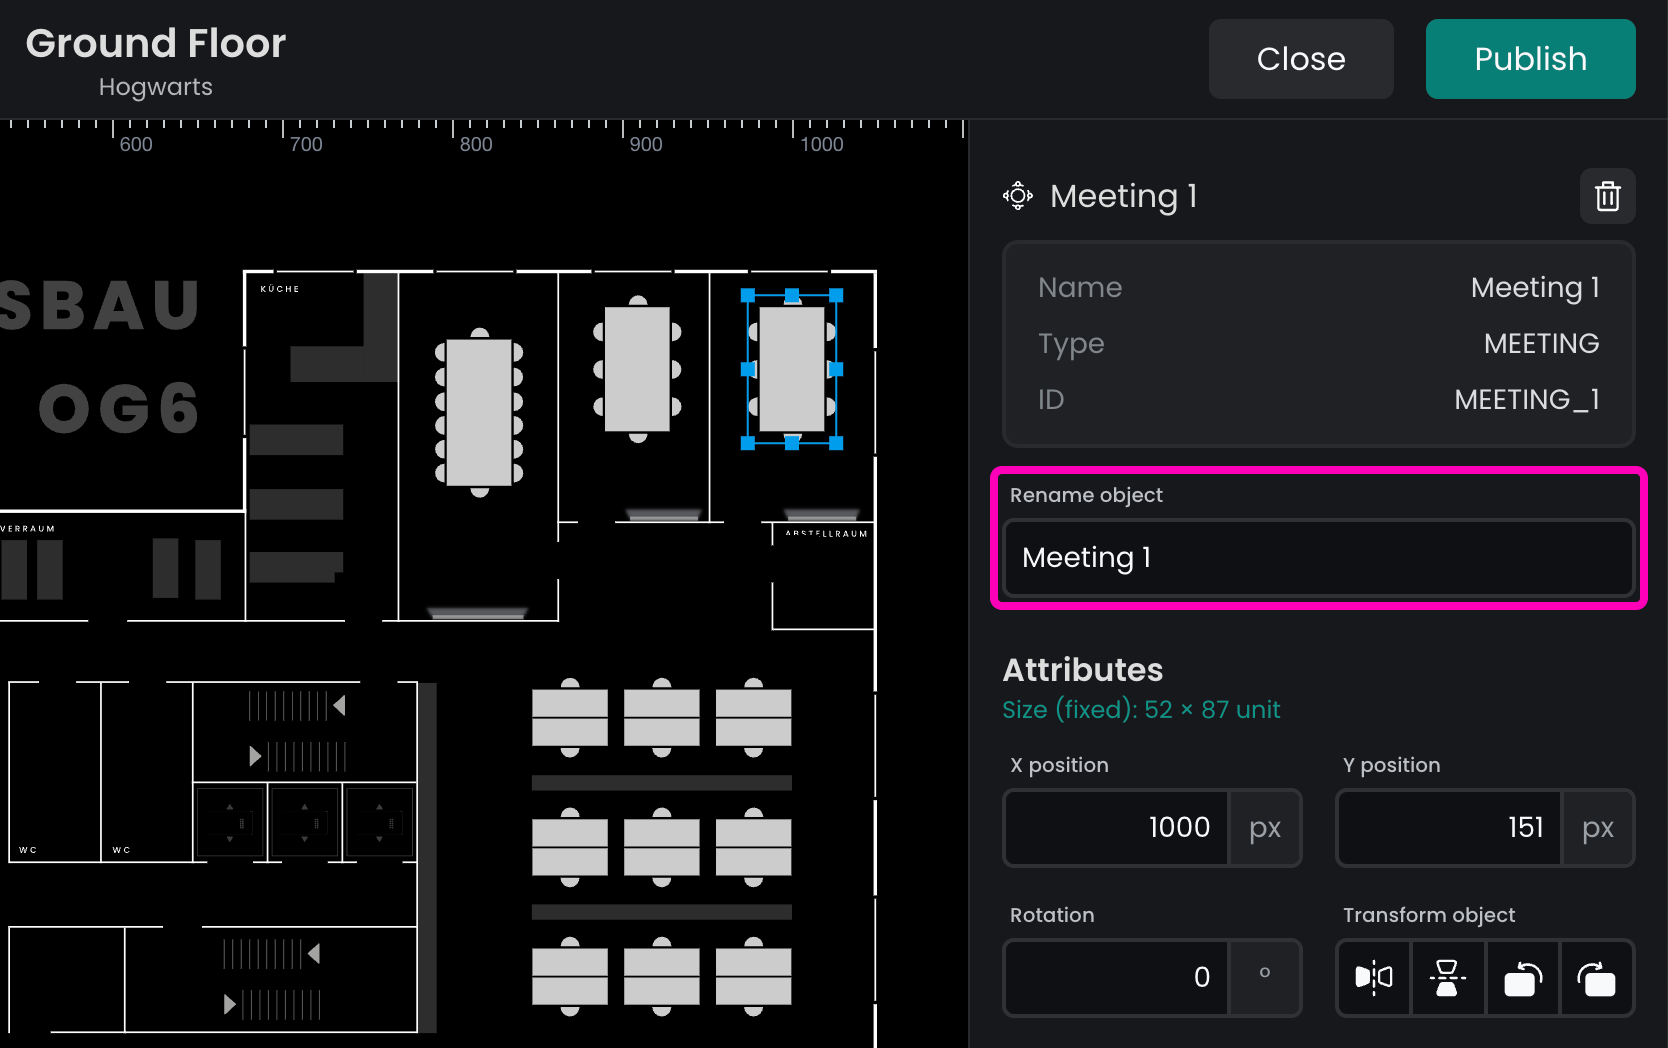
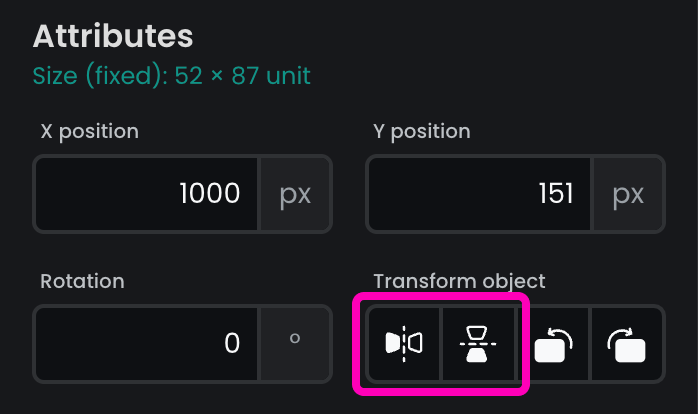
All resources in Flexopus have common properties such as name, position, mirroring, rotation, and size. Some of these properties may be fixed and not editable. You can manage these attributes through the properties panel, the canvas, or the layer list panel. Below are the methods to change a resource's name:
- Method 1: Select the resource on the canvas using the Selection tool and change the name in the properties panel.
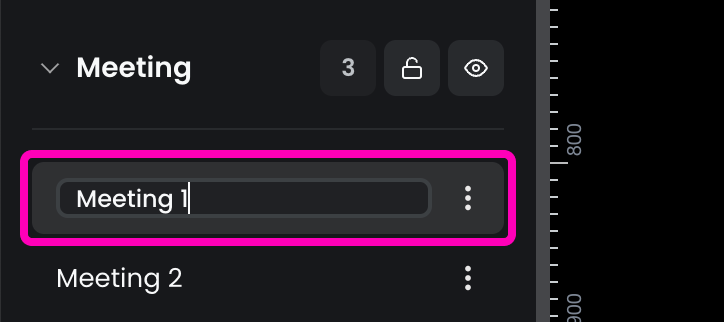
- Method 2: Double-click the resource name in the layers panel to enter Edit mode.
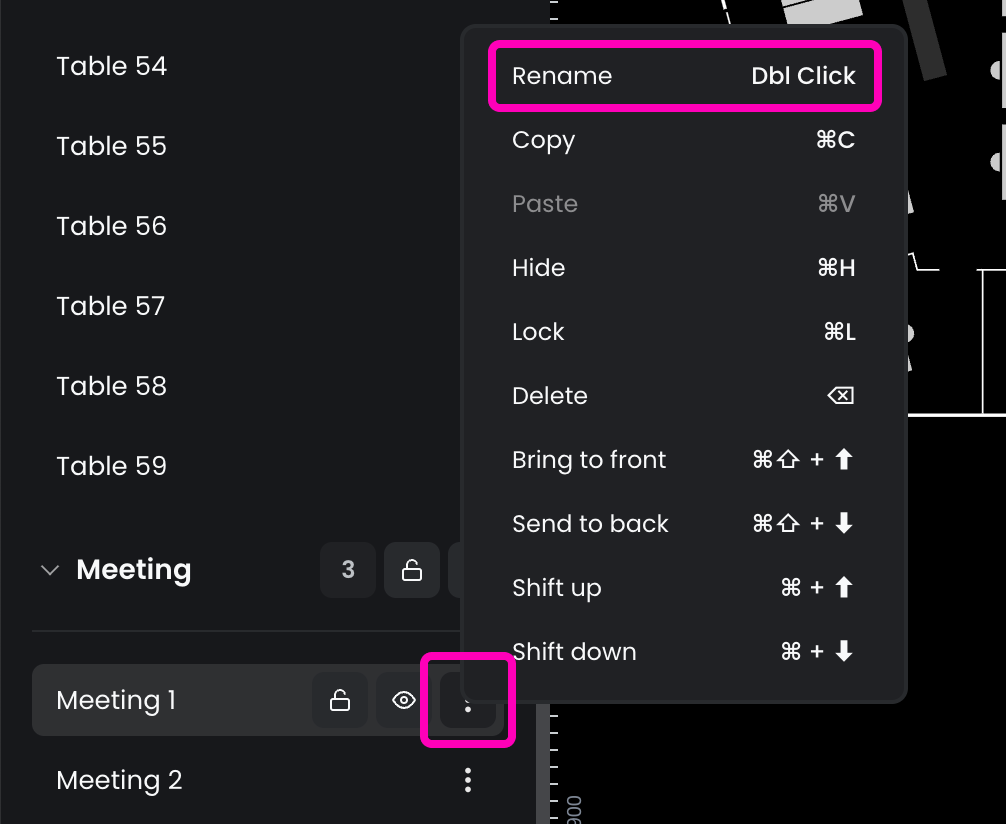
- Method 3: Click the options button (⋮) next to the resource in the layers panel, and select Rename from the menu to enter Edit mode.
These multiple options allow flexibility in managing resource attributes.
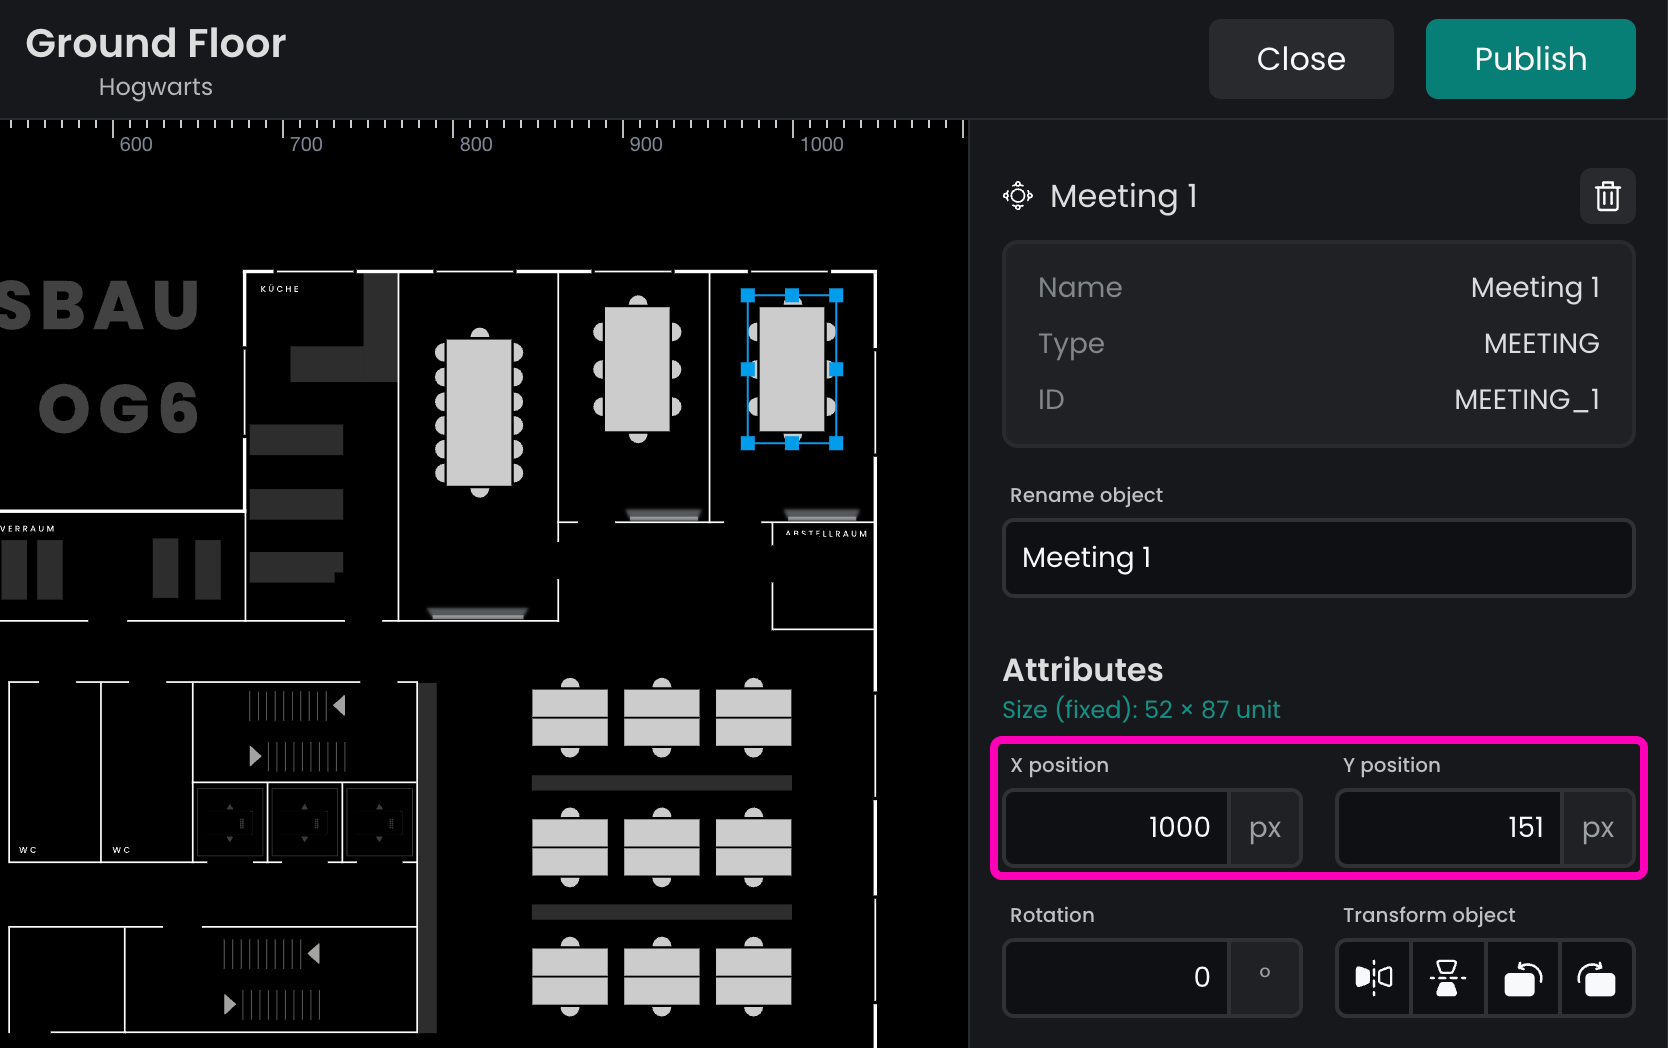
To change the position of a resource, you have several options:
Change in the properties panel:
These methods give you precision when positioning resources on the plan.
- Select the resource on the canvas using the Selection tool.
- In the properties panel, adjust the X and Y positions.
- You can use the up/down arrow keys in the input field to change the value. Hold Shift for bigger increments.
Drag on the canvas:
- Use the Selection tool to drag and move the resource directly on the canvas.
Use arrow keys:
- Select the resource and use the arrow keys (up/down or left/right) to move it pixel-by-pixel.
Mirror resource: once selected, click the horizontal or vertical flip buttons to mirror the resource over the X or Y axis.
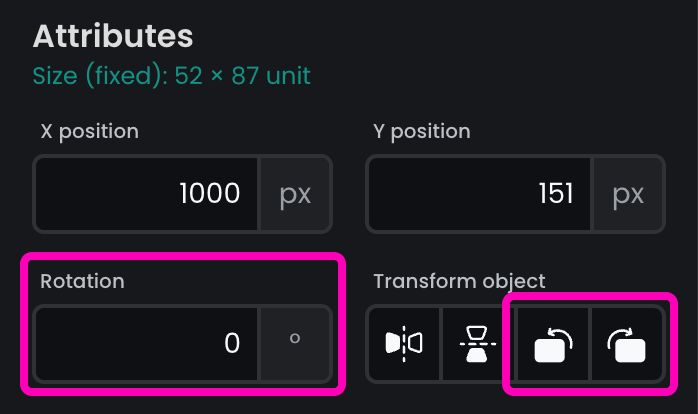
To change the rotation of a resource, you have two main options:
Rotate freely on the canvas:
These methods give you control over the rotation of resources.
- Select the resource on the map.
- Drag the corner of the resource to rotate it. When you hover over the correct handle, the cursor will turn into a rotation sign (↻).
Rotate precisely in the properties panel:
- In the properties panel, enter a specific rotation value in degrees for precise adjustments.
- Alternatively, click the rotate buttons to change the rotation by 90° increments.
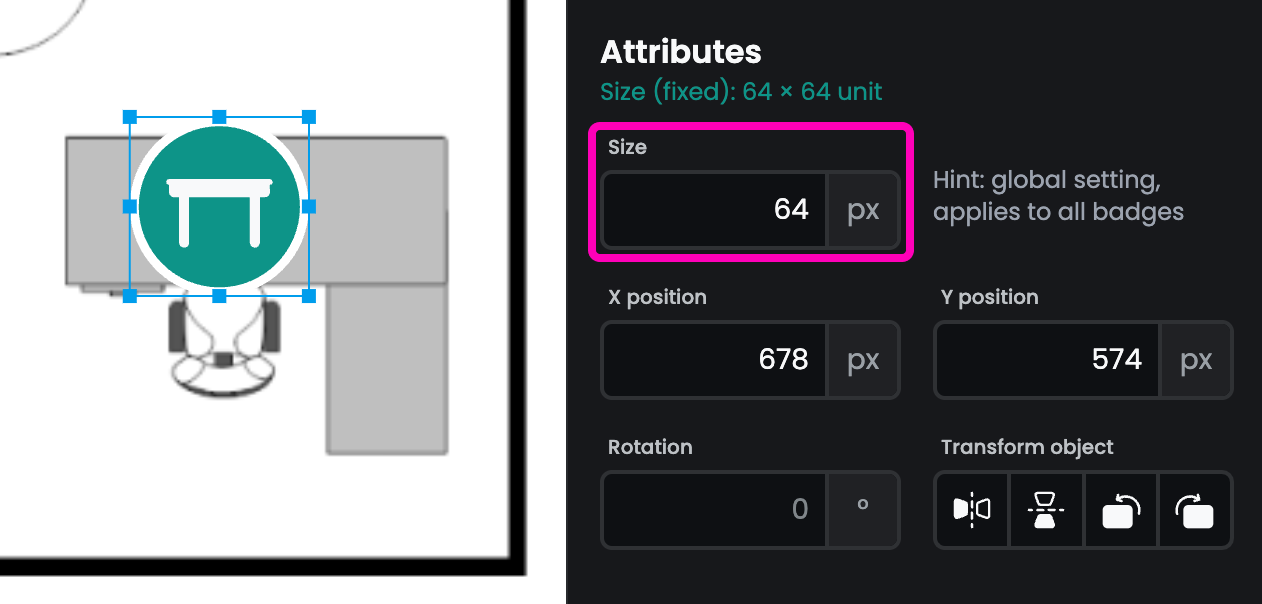
Changing the size: the size of most resources is fixed, with two exceptions.
- On Basic Plans, resources have a globally set size that applies to all of them by default. You can change this by selecting a resource and adjusting the Size property in the properties panel.
Additionally, the background image can also be resized:
- Simply drag the corner of the image to adjust its size as needed.
These features allow you to tailor both the resources and the background image to fit your plan layout.
Copy & paste
To duplicate resources:
- Select the resource(s) you want to duplicate.
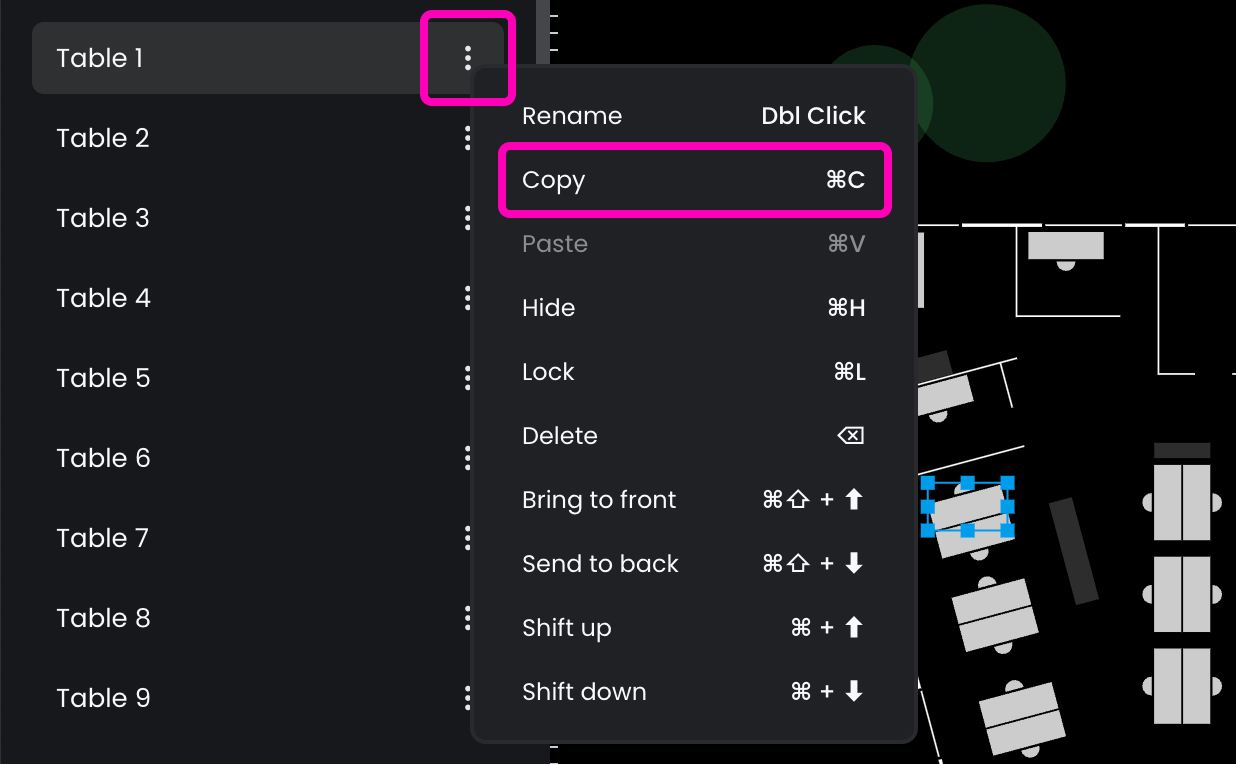
- Press Ctrl / ⌘ + C to copy them.
- Press Ctrl / ⌘ + V to paste the duplicated resource(s).
The duplicated resource will appear next to the original counterpart on the plan.
You can also copy a resource by opening the options menu (⋮) in the layers panel and selecting Copy.
Lock & hide
Two resource states can alter a resource's visibility and interactivity on the plan: locked and hidden.
- Locking resources prevents unwanted changes while you focus on editing others. For example, after placing bookable desks, you may want to lock them while arranging furniture or decorations. On Basic Plans, the background image is locked by default to prevent accidental movement.
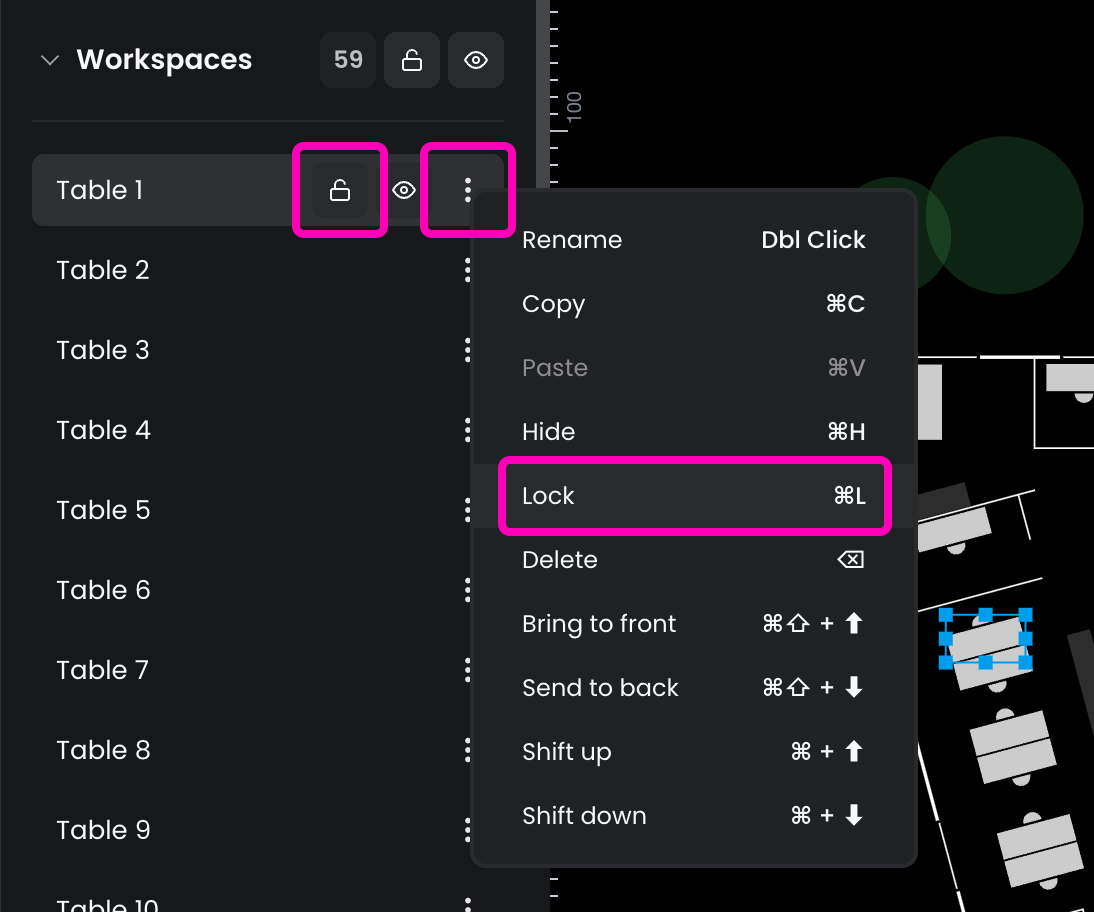
To lock or unlock a resource:
- Click the lock icon in the layers panel.
- Select Lock/Unlock in the options menu.
- Press Ctrl / ⌘ + L to quickly toggle the lock state.
This helps maintain control over which resources can be modified.
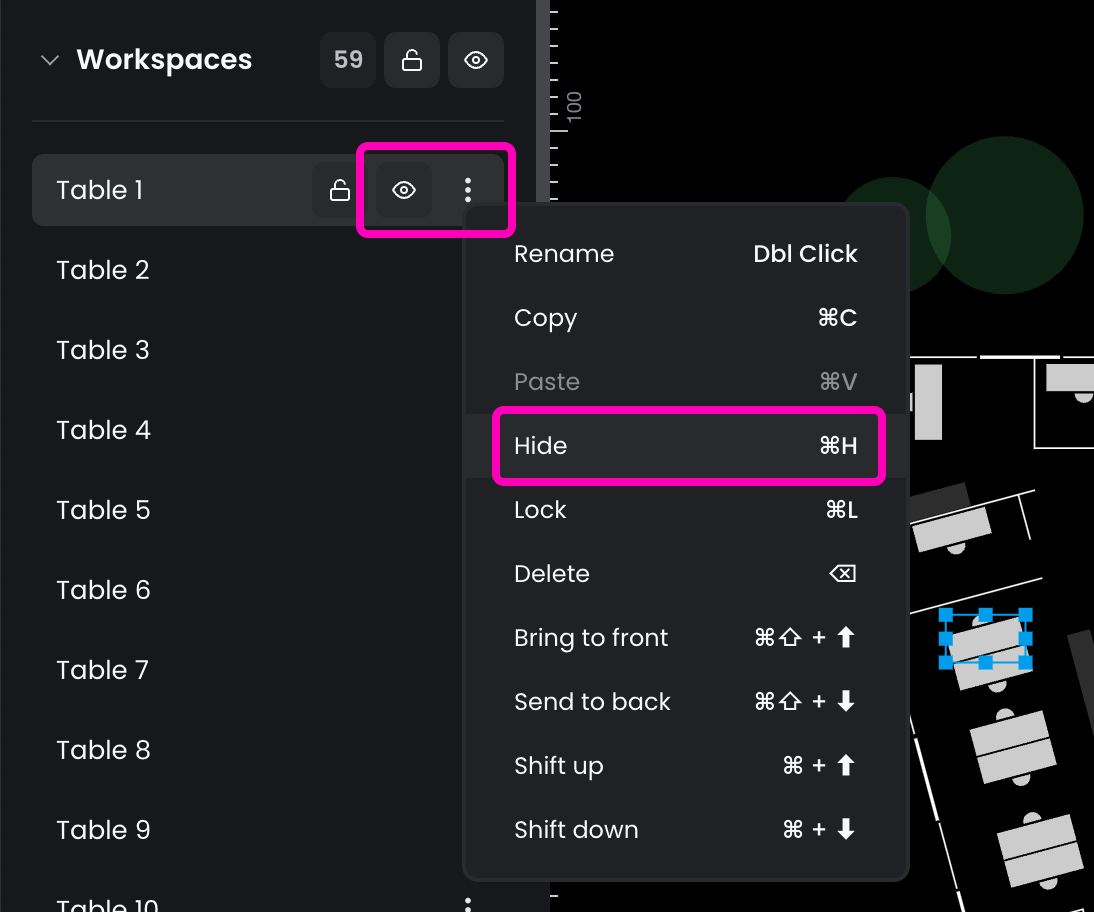
The hide feature is useful when you need to focus on a specific part of the plan or modify overlapping resources. Hidden resources are completely removed from the canvas but remain accessible through the layers panel.
To hide or show a resource:
- Click the eye icon in the layers panel.
- Select Hide/Show from the options menu.
- Press Ctrl / ⌘ + H to toggle the visibility of the resource.
This allows you to work more efficiently by clearing clutter from the workspace without deleting resources.
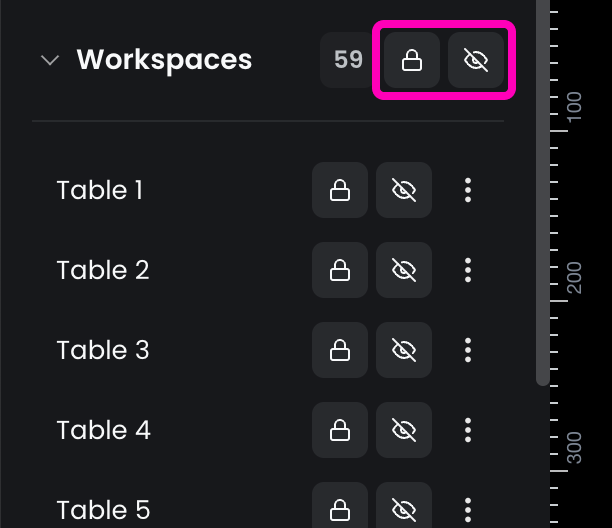
The lock and hide features can also be used on a group level, by clicking the lock or the eye icon next to a layer's name in the layers panel.
Layer ordering
In most cases, layer order isn't a concern, as floor plans typically don't contain overlapping resources. However, if your floor plan does have overlapping elements, you'll need to consider the layer order.
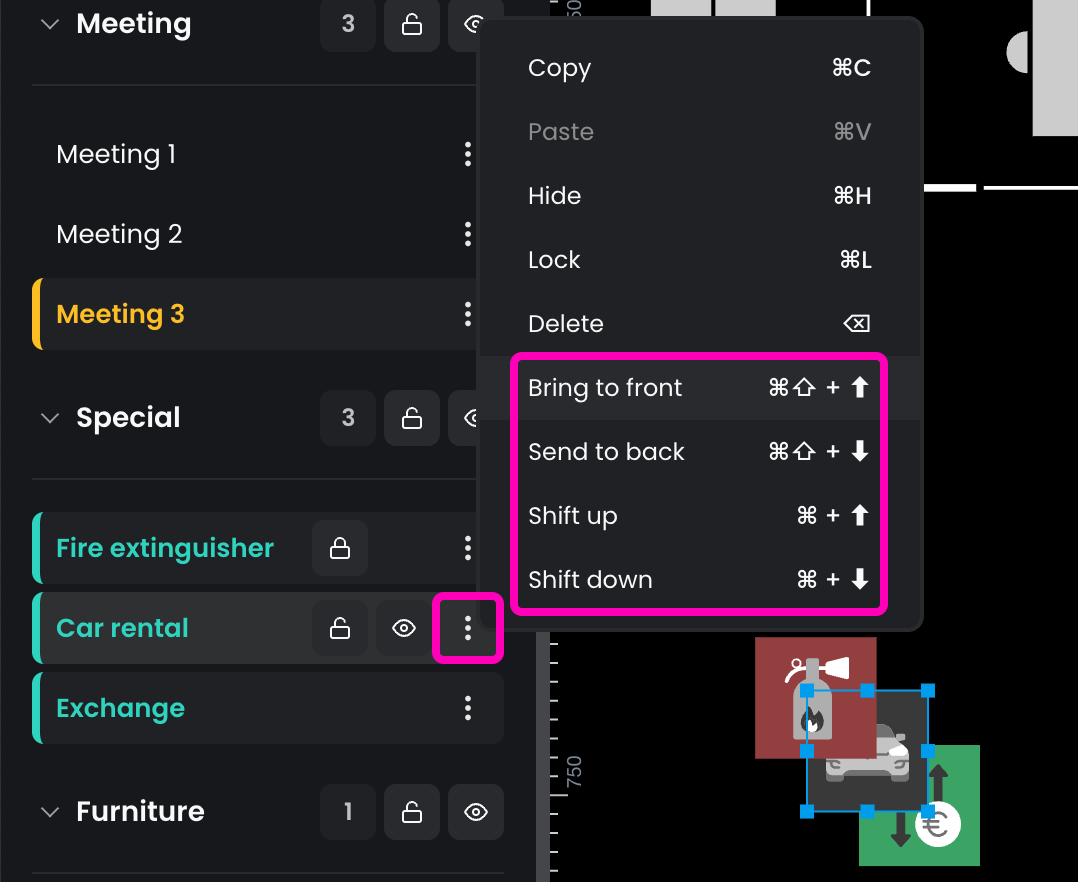
Resources on the plan are stacked in the same order as they appear in the layers panel. This means that the first resource in the list is displayed on top. Adjusting the order of layers can help ensure that resources are correctly displayed in relation to one another.
You can modify the layer order of resources using four actions:
- Bring to Front: Moves the selected resource to the top of the layer stack.
- Send to Back: Moves the selected resource to the bottom of the layer stack.
- Shift Up: Moves the resource one layer up.
- Shift Down: Moves the resource one layer down.
These actions are available in the options menu or can be done using keyboard shortcuts for quick adjustments.
Delete
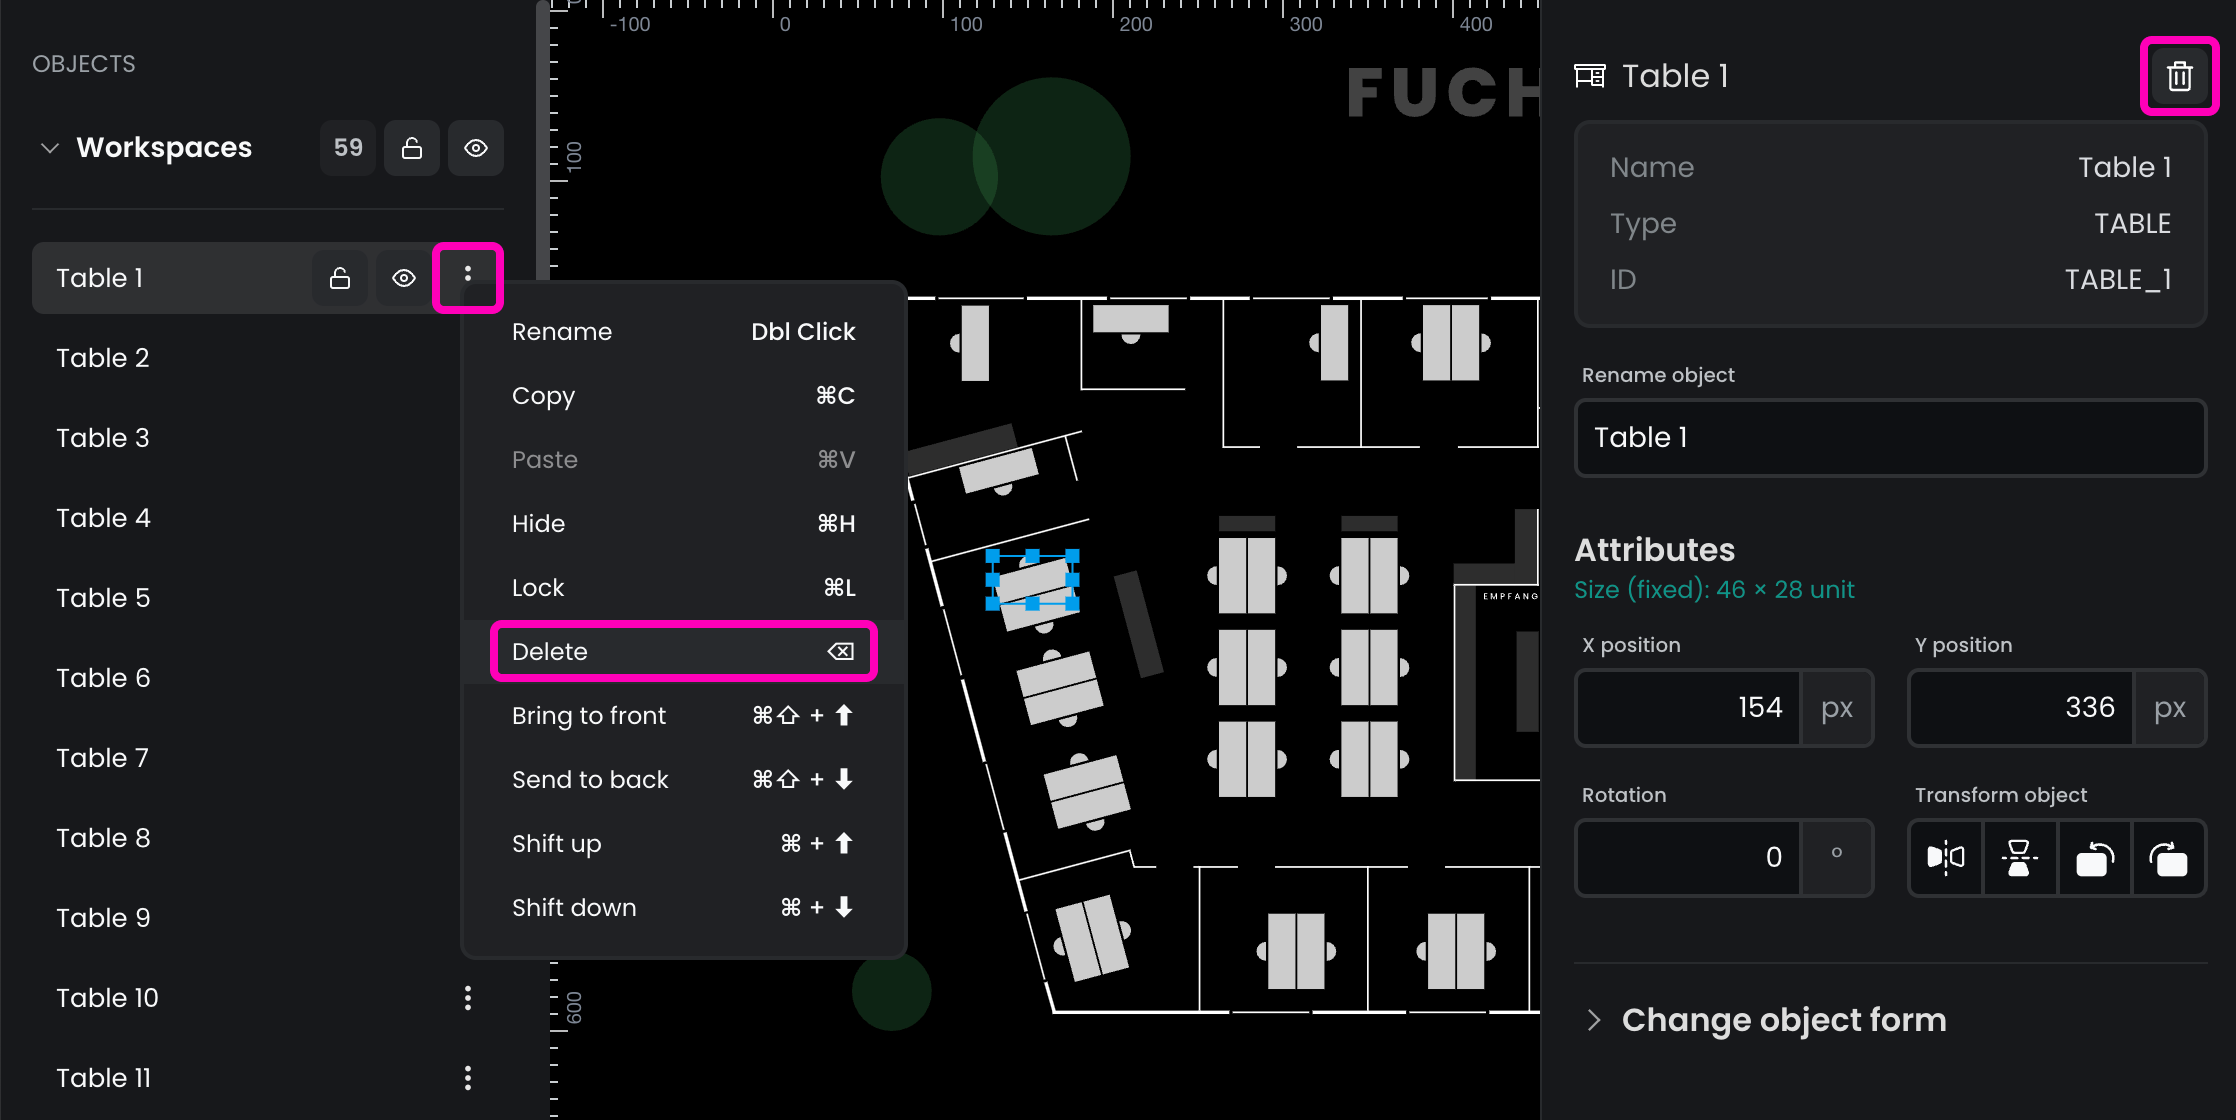
The application offers 3 ways to delete unnecessary resources:
- Select Delete from the options menu in the layers panel.
- Select the resource(s), then click the trash bin icon in the properties panel.
- Select the resource(s) and press Backspace or Del on your keyboard.
These options allow you to efficiently remove resources from the map.
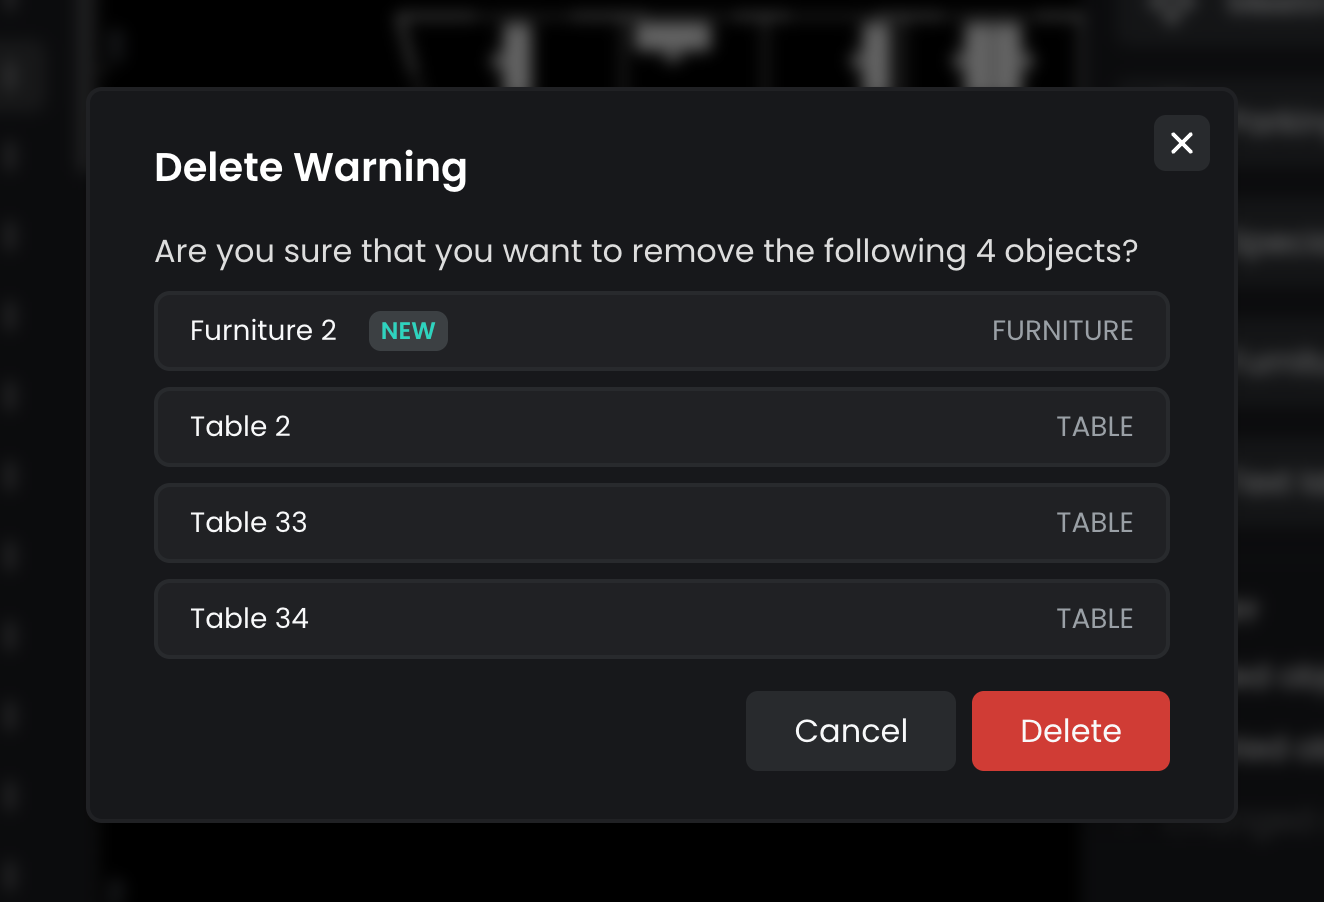
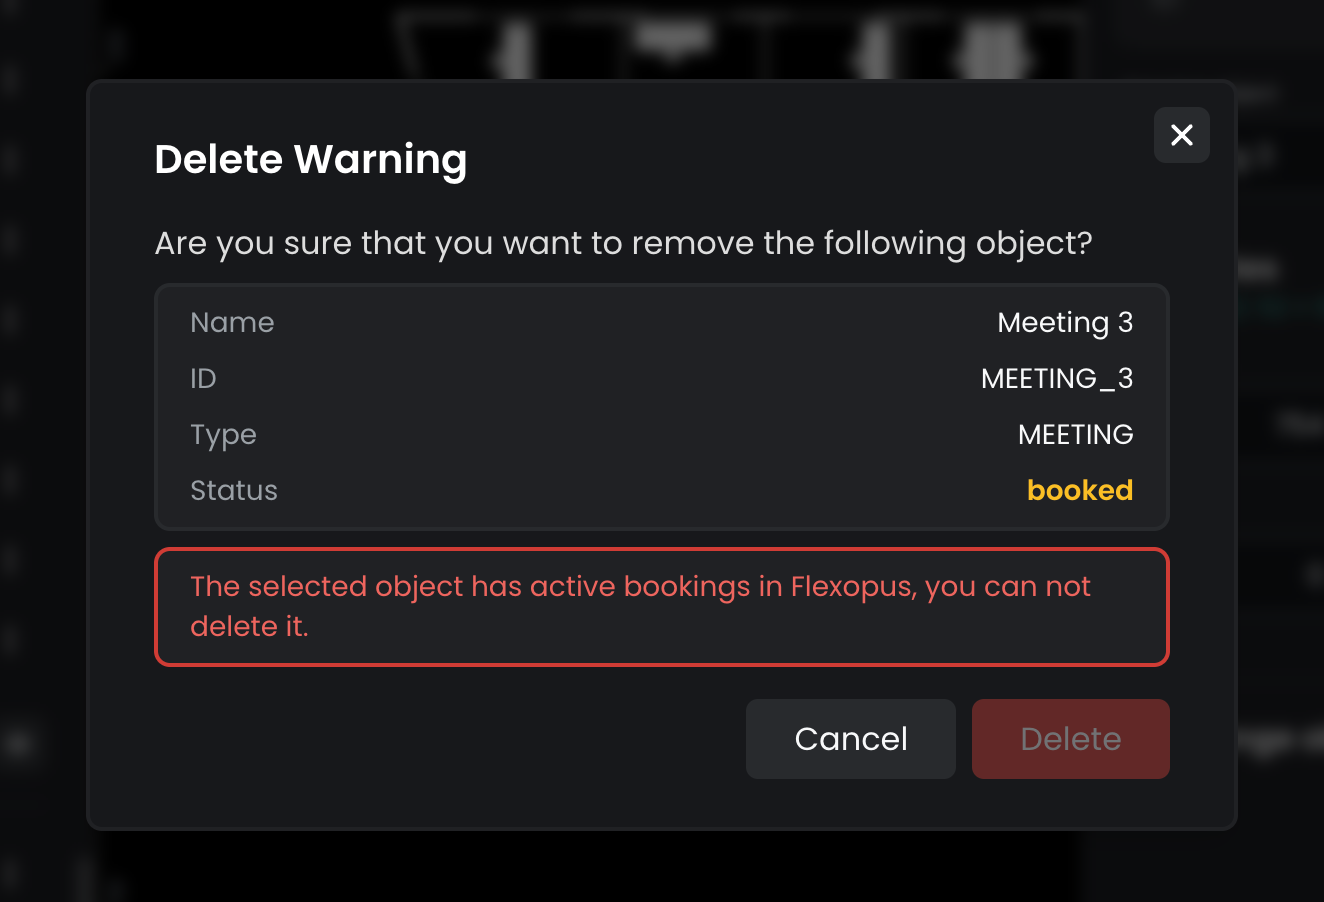
In any case, you will be asked to confirm the deleting operation. You may also select multiple resources and delete them at once.
Shortcuts
To make the Floorplanner easier to use, most actions have corresponding keyboard shortcuts. To view a full list of shortcuts, simply click on Keyboard Shortcuts in the bottom right corner of the application. This will display all available shortcuts for quicker navigation and editing.
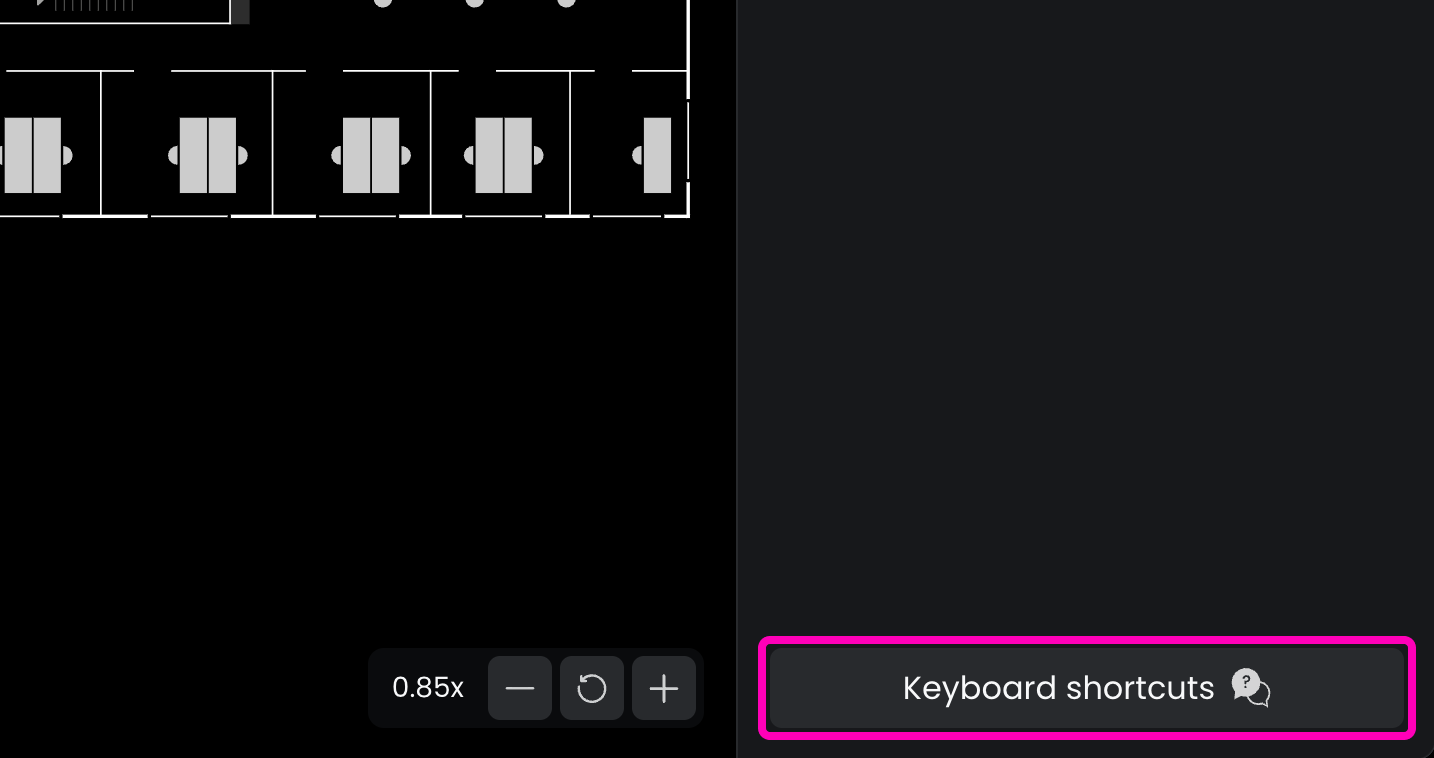
By default, shortcuts are turned on. This may cause issues since binding the key combinations to Floorplanner might prevent the system or other apps from handling important keyboard shortcuts. If you experience any blocking issues, you can disable Floorplanner's shortcut handling in the dialog.
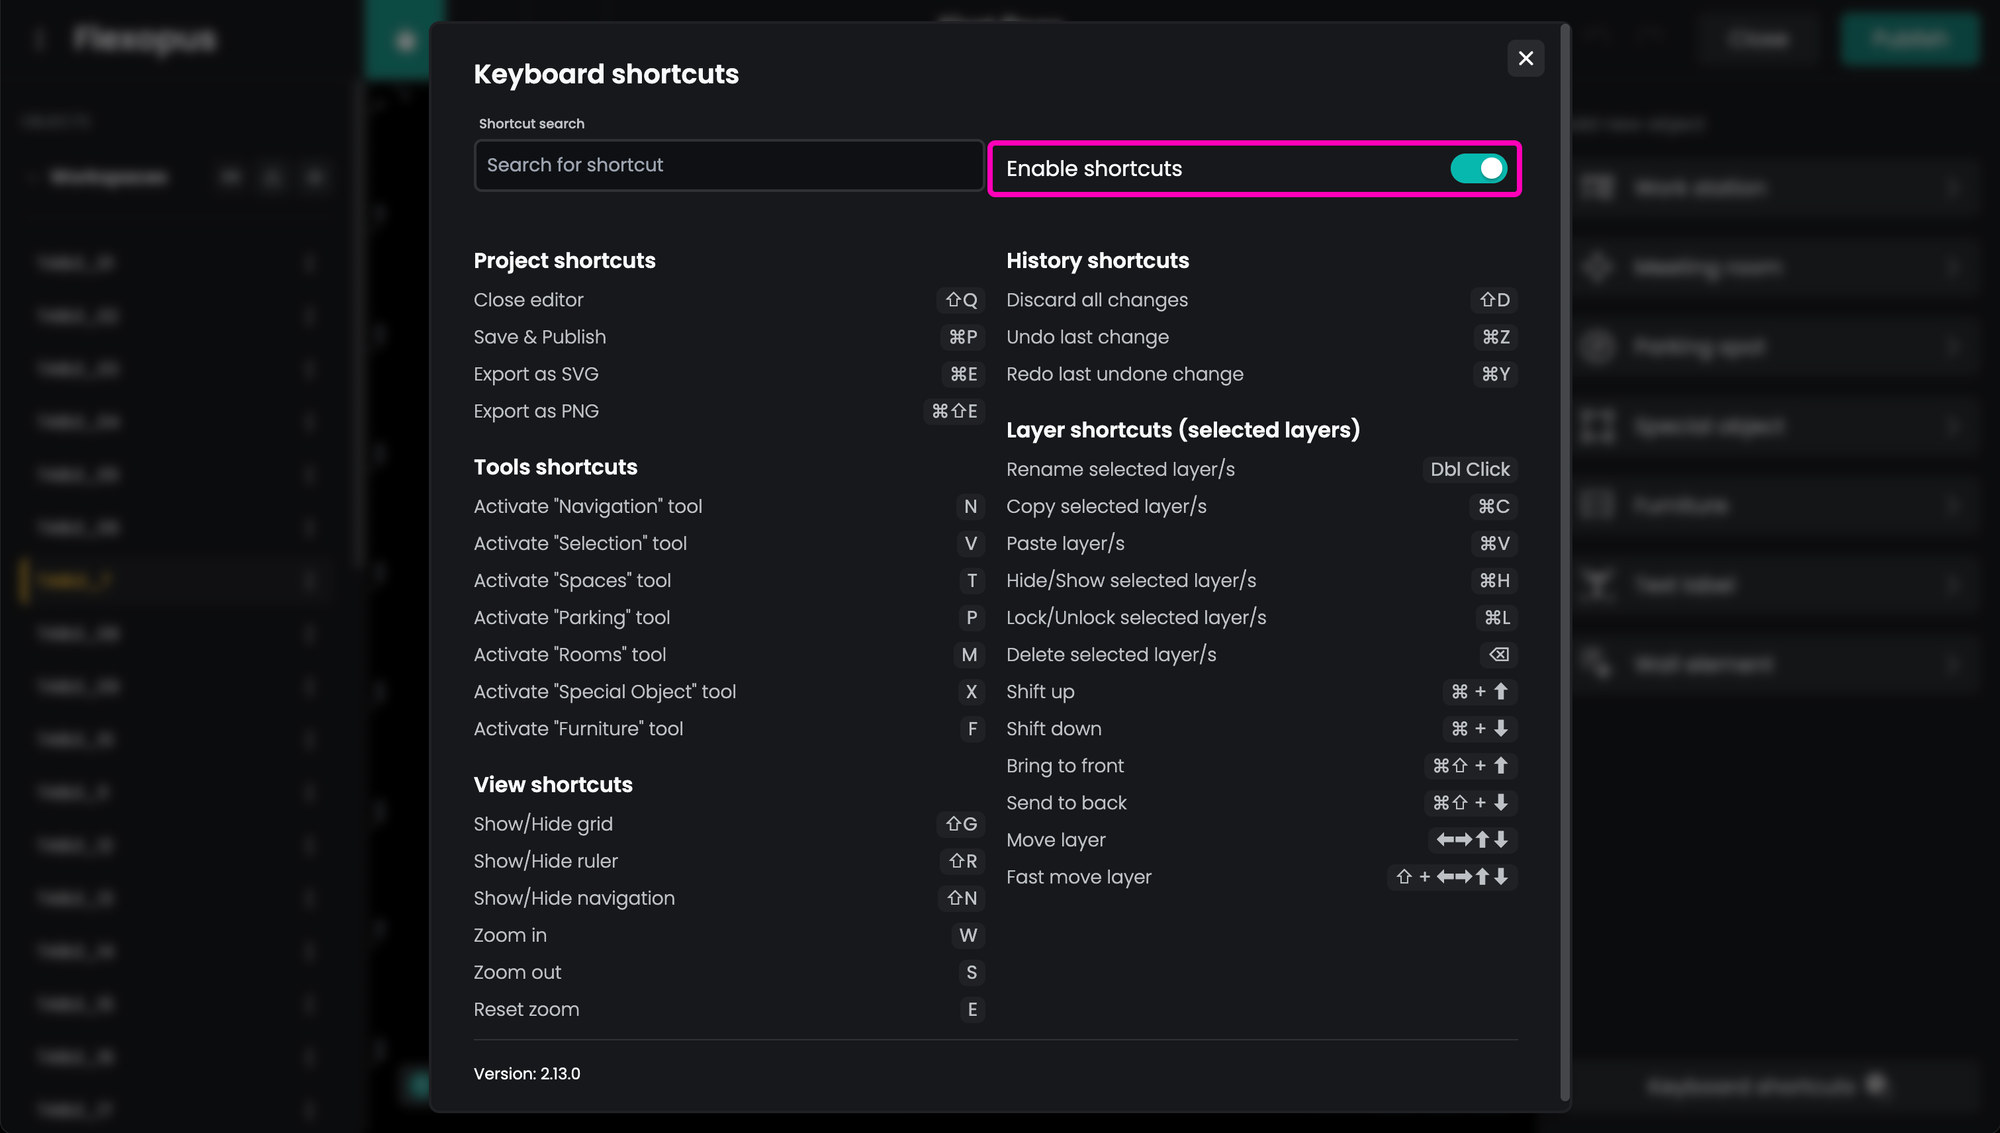
You can find all the possible shortcuts listed here below.
| Action | Shortcut |
|---|---|
| Close editor | ⇧Q |
| Save & Publish | ⌘P |
| Export as SVG | ⌘E |
| Export as PNG | ⌘⇧E |
| Activate "Navigation" tool | N |
| Activate "Selection" tool | V |
| Activate "Spaces" tool | T |
| Activate "Parking" tool | P |
| Activate "Rooms" tool | M |
| Activate "Special Object" tool | X |
| Activate "Furniture" tool | F |
| Show/Hide grid | ⇧G |
| Show/Hide ruler | ⇧R |
| Show/Hide navigation | ⇧N |
| Zoom in | W |
| Zoom out | S |
| Reset zoom | E |
| Rename selected layer/s | Dbl Click |
| Copy selected layer/s | ⌘C |
| Paste layer/s | ⌘V |
| Hide/Show selected layer/s | ⌘H |
| Lock/Unlock selected layer/s | ⌘L |
| Delete selected layer/s | ⌫ |
| Shift up | ⌘ + arrow up |
| Shift down | ⌘ + arrow down |
| Bring to front | ⌘⇧ + arrow up |
| Send to back | ⌘⇧ + arrow down |
| Move layer | arrow keys |
| Fast move layer | ⇧ + arrow keys |