Book for Guests

Guest booking with visitor management disabled
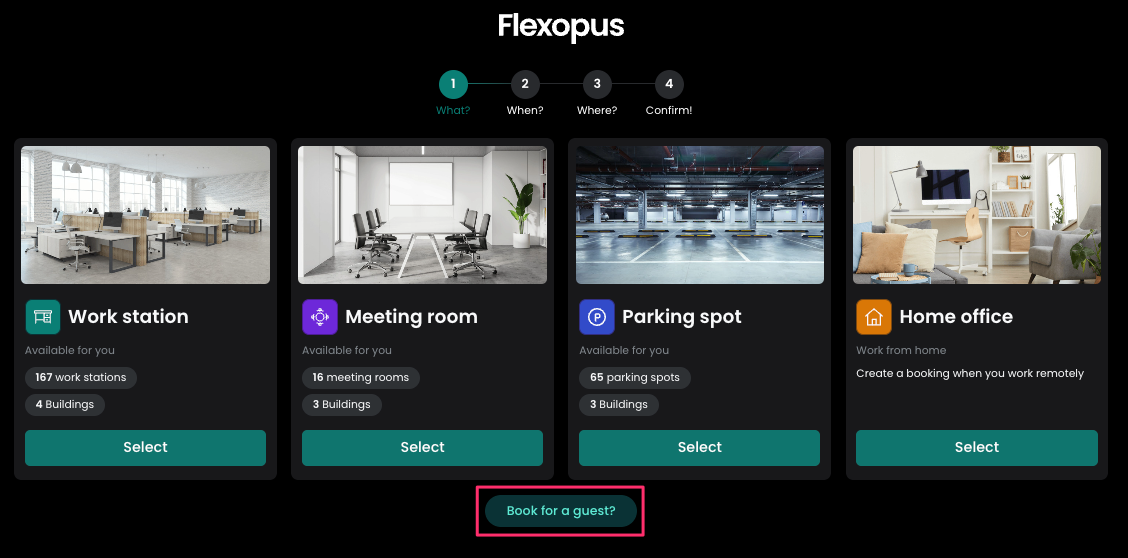
After enabling the guest booking in the settings, a new option can be found on the booking screen.
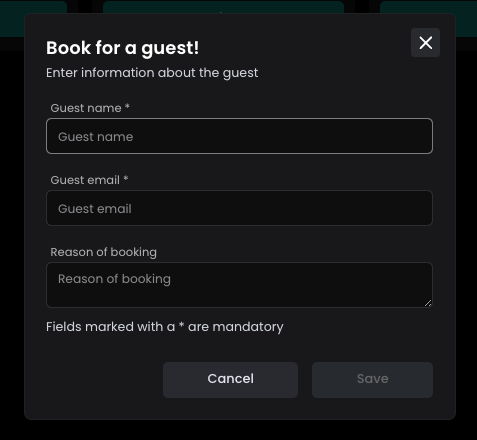
After selecting 'Book for a guest?' users can enter the name and email address of the guest. There is also an optional field to enter the reason for the booking.
After entering the personal data, the booking process resumes as normal. Resource type, date, and time as well as location and desk are selected.
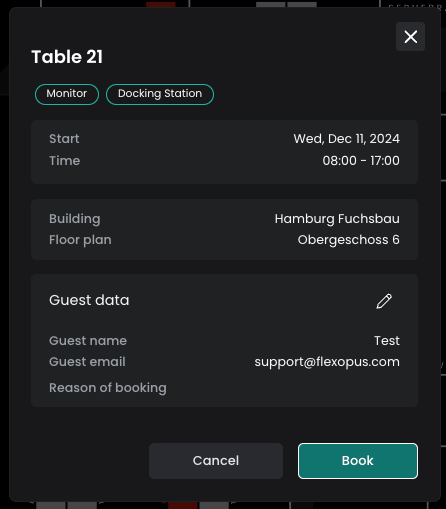
In the last step before creating the booking, you will get confirmation, that this booking will be created for a guest.
Guest booking with visitor management enabled
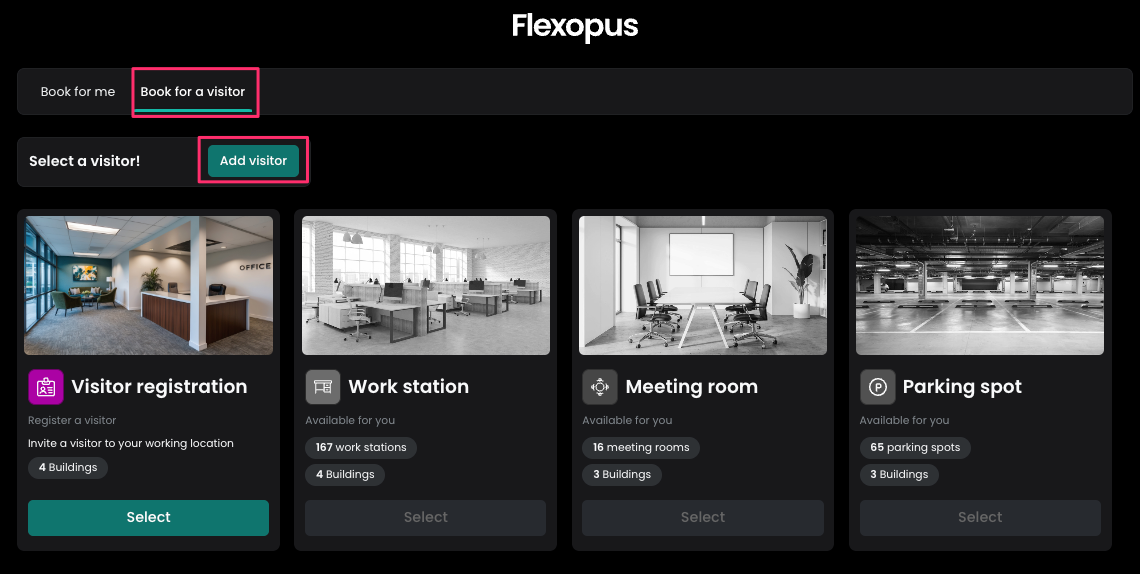
If the visitor management is active the new option called 'Book for a visitor' will appear on the booking page.
After clicking on 'Add visitor' a new visitor can be created or an already existing one selected. Once a new visitor is created, they will be saved to reuse.
Unknown visitors cannot be used for guest booking.
After selecting a visitor, the booking process resumes as normal.