Advanced Floor Plans
Introduction
The Flexopus application supports two types of floor plans. This article is about Advanced Floor Plans, you can read about Basic Floor Plans in this article.
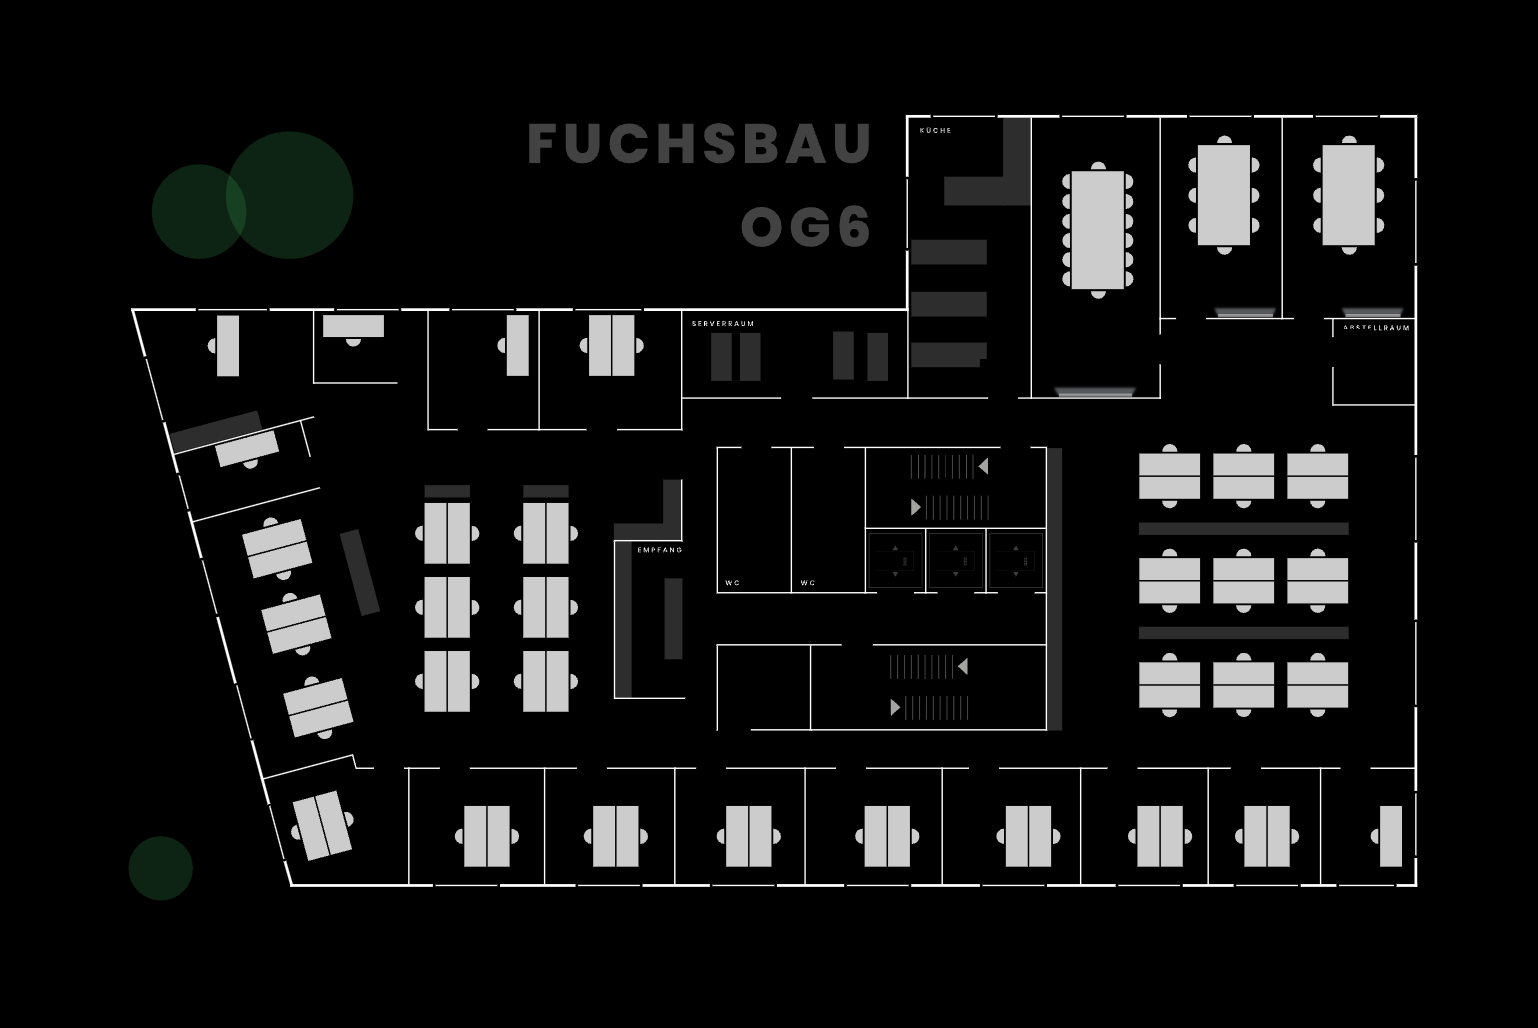
Created by the Flexopus team, advanced floor plans come with advanced features and optimized designs to improve navigation and workspace management. With Floorplanner, users can further customize these plans to meet specific organizational needs, ensuring a tailored and efficient office environment. This article explores the benefits and customization options available with Flexopus advanced floor plans.
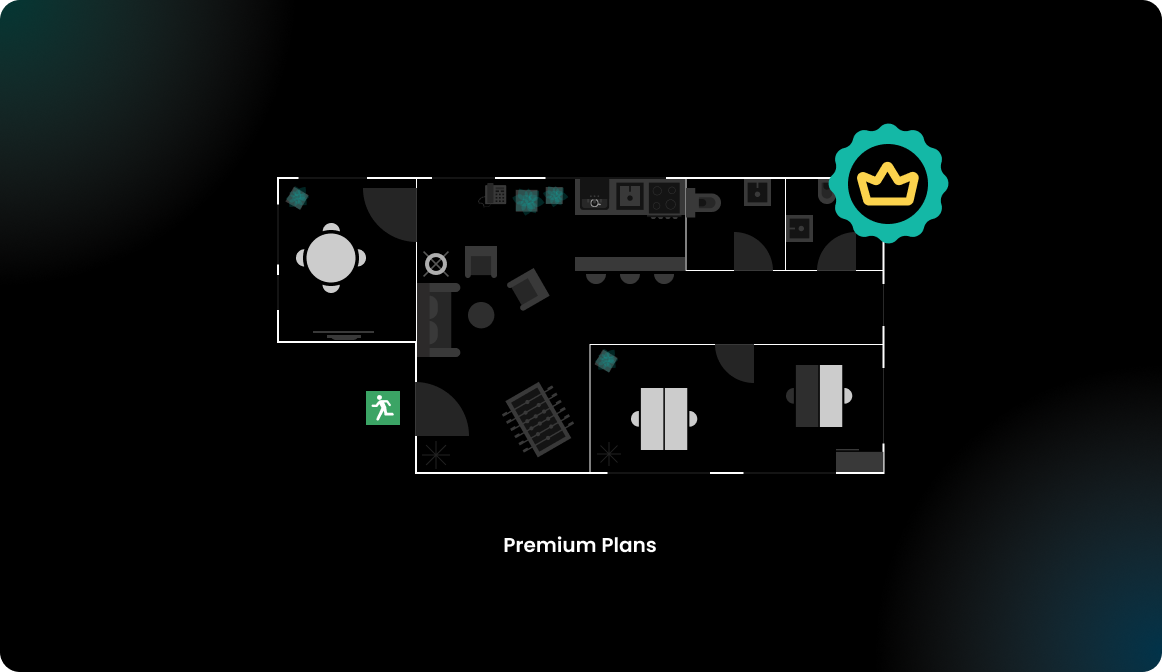
How to get a premium map?
Premium floor plans are created by experts at Flexopus, based on the plans you provide. To get started, please write to support@flexopus.com, attaching a floor plan of your office. Once ready, our colleagues will upload the plan to Flexopus for you.
How to edit your plan?
Step 1: Open Floorplanner
In the Flexopus Administrator panel, navigate to Locations > Floor Plans and click the Edit button next to the floor plan you want to modify. This will allow you to make further changes to the selected floor plan.
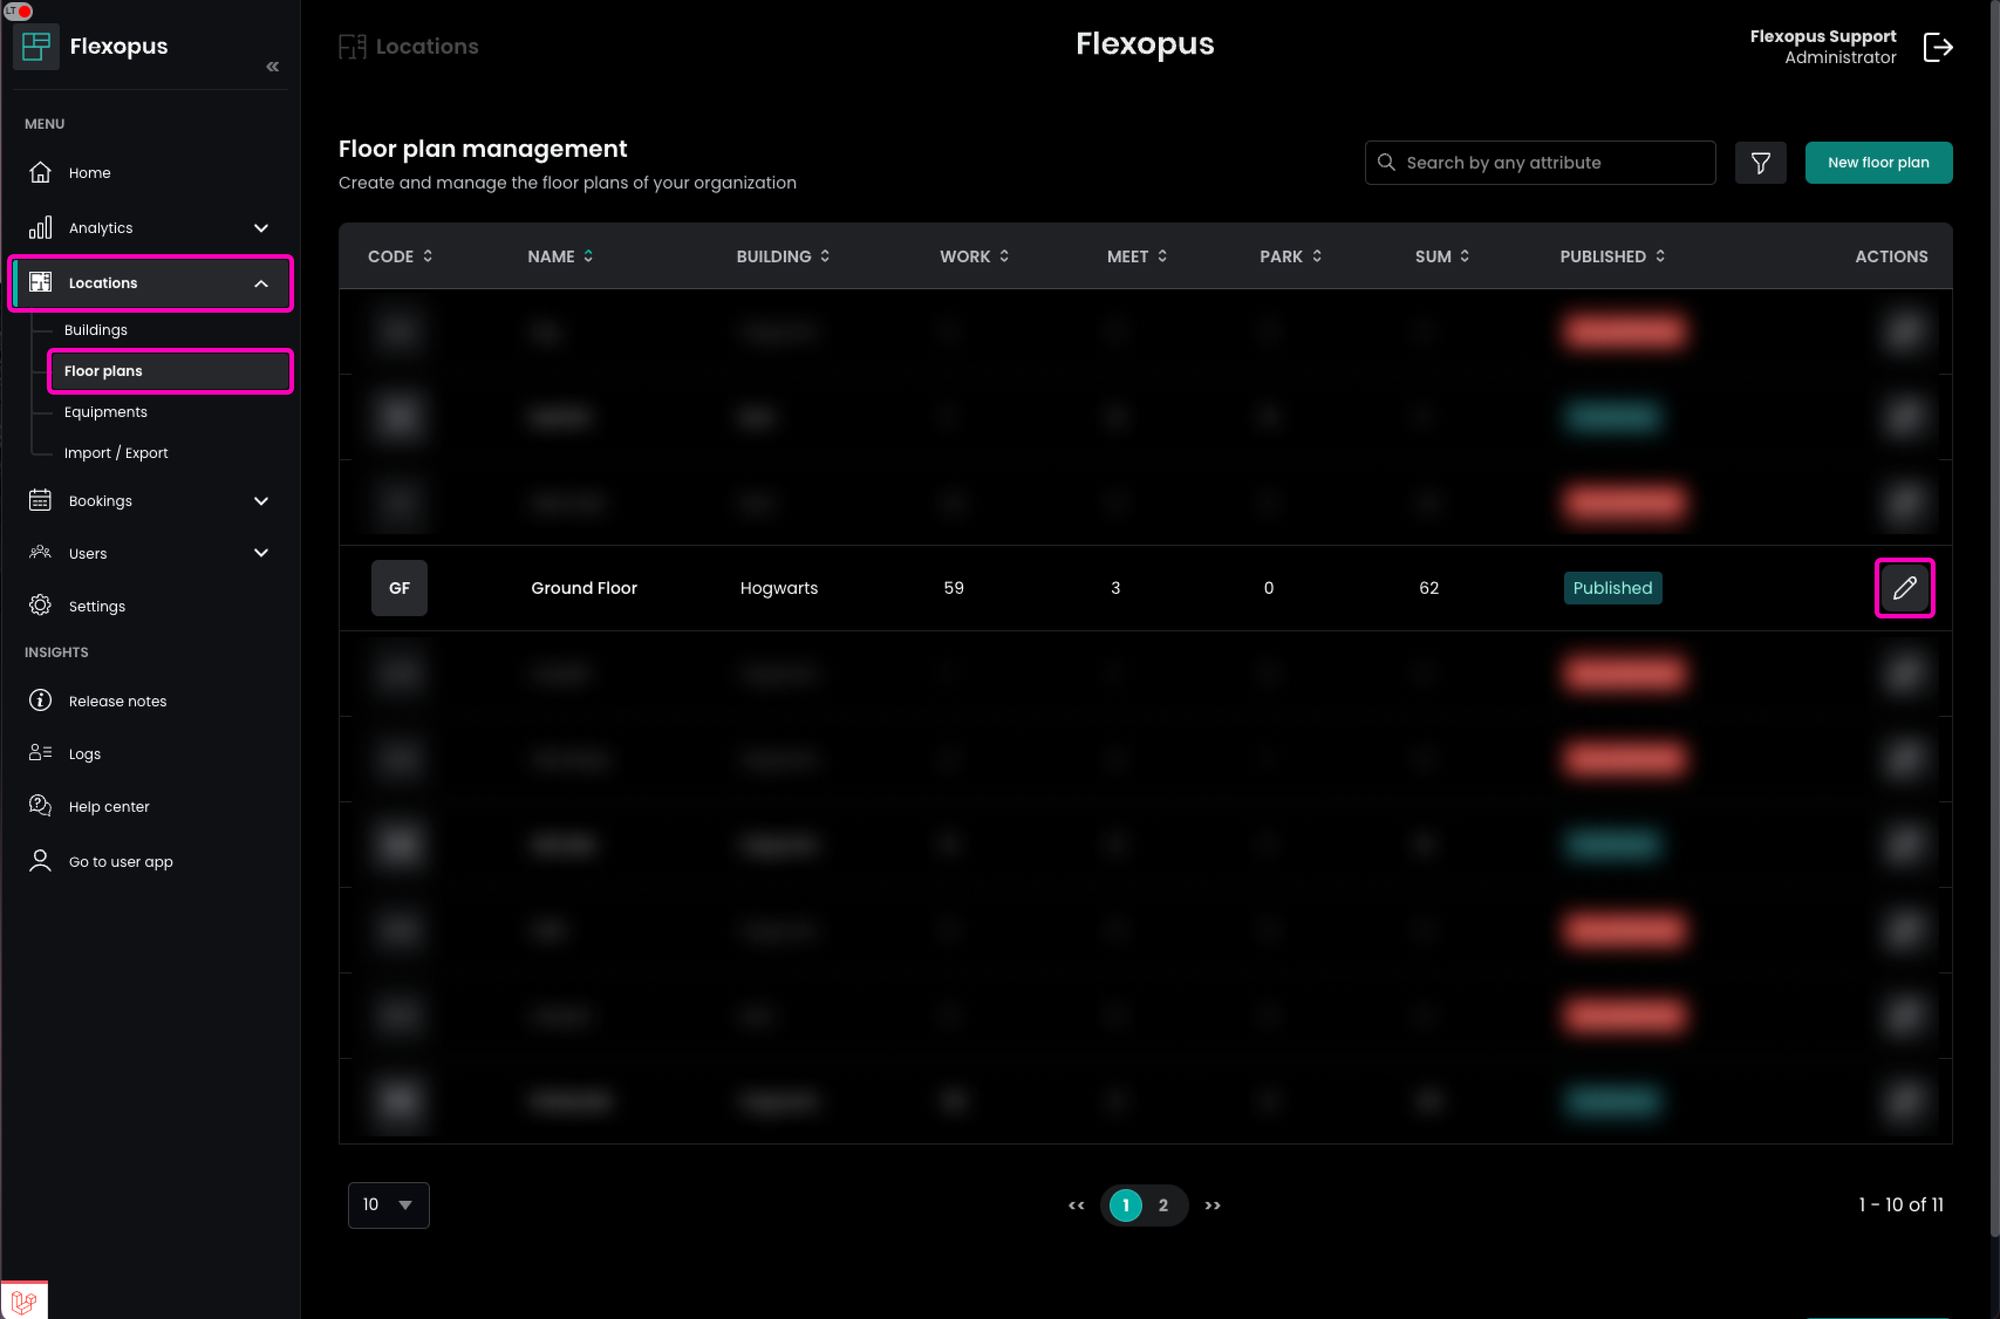
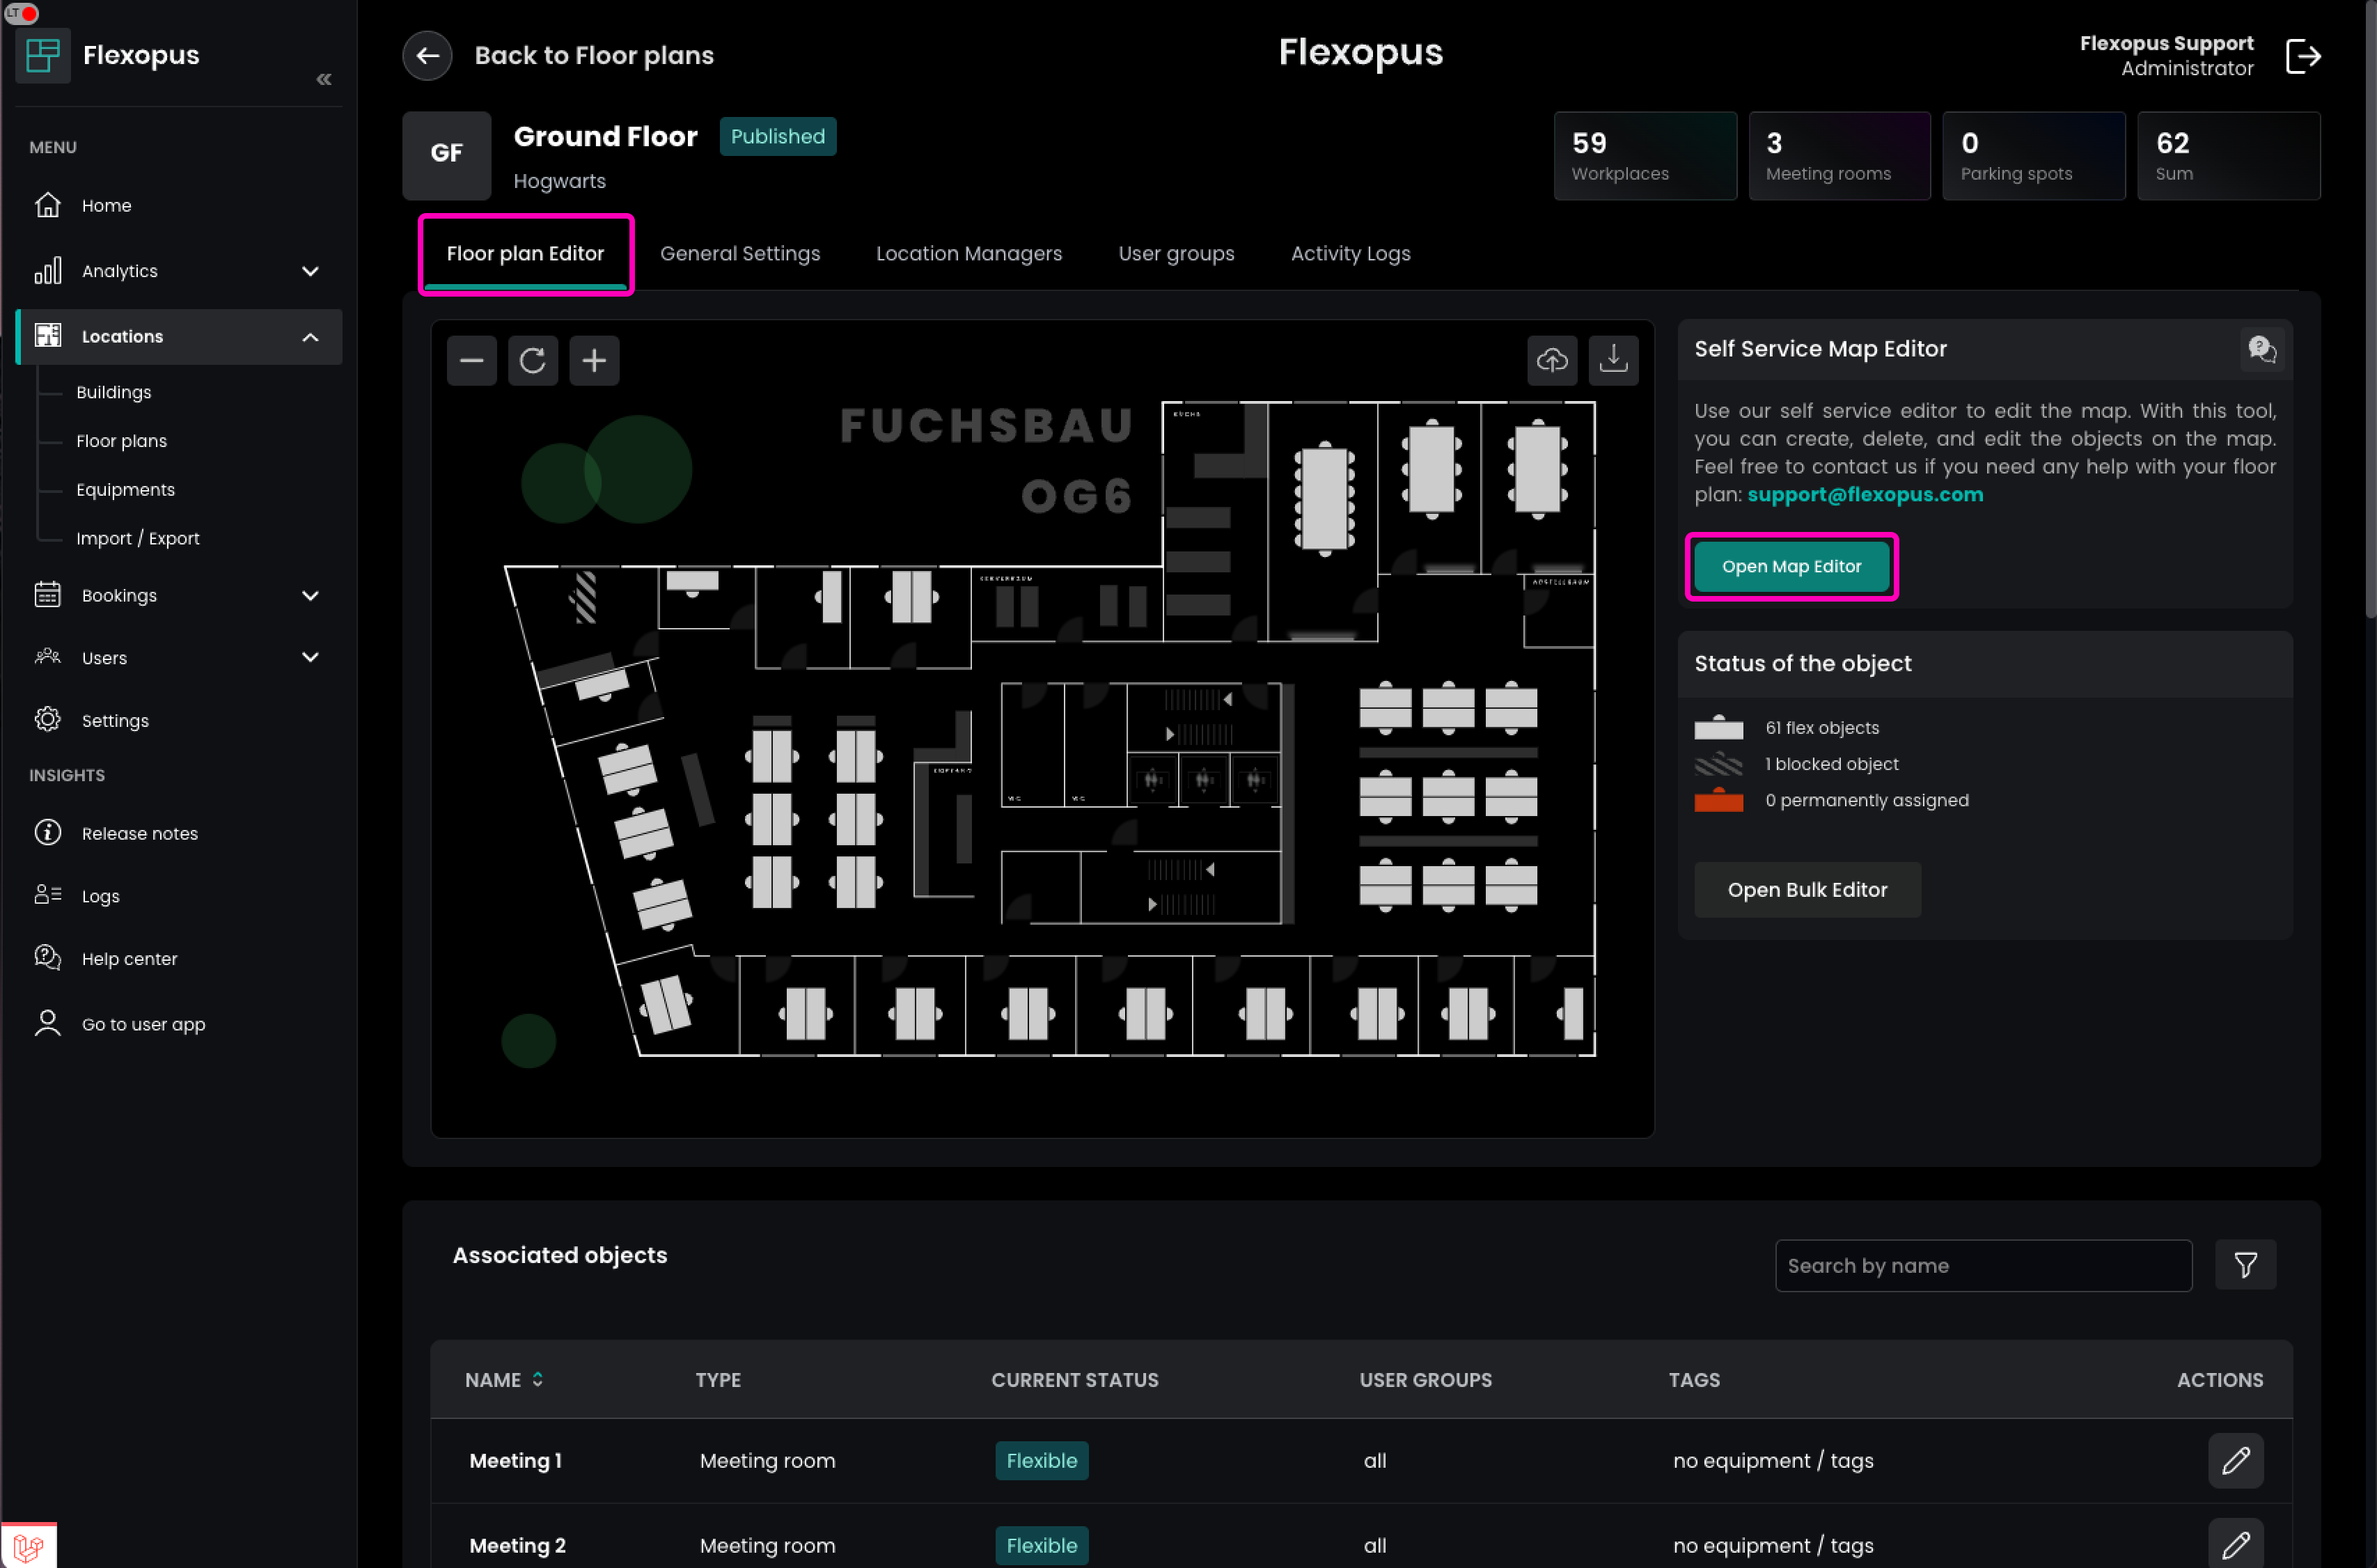
On the Floor Plan Settings page, navigate to the Floor Plan Editor tab and click Open Map Editor to begin editing your floor plan.
Step 2: Make changes
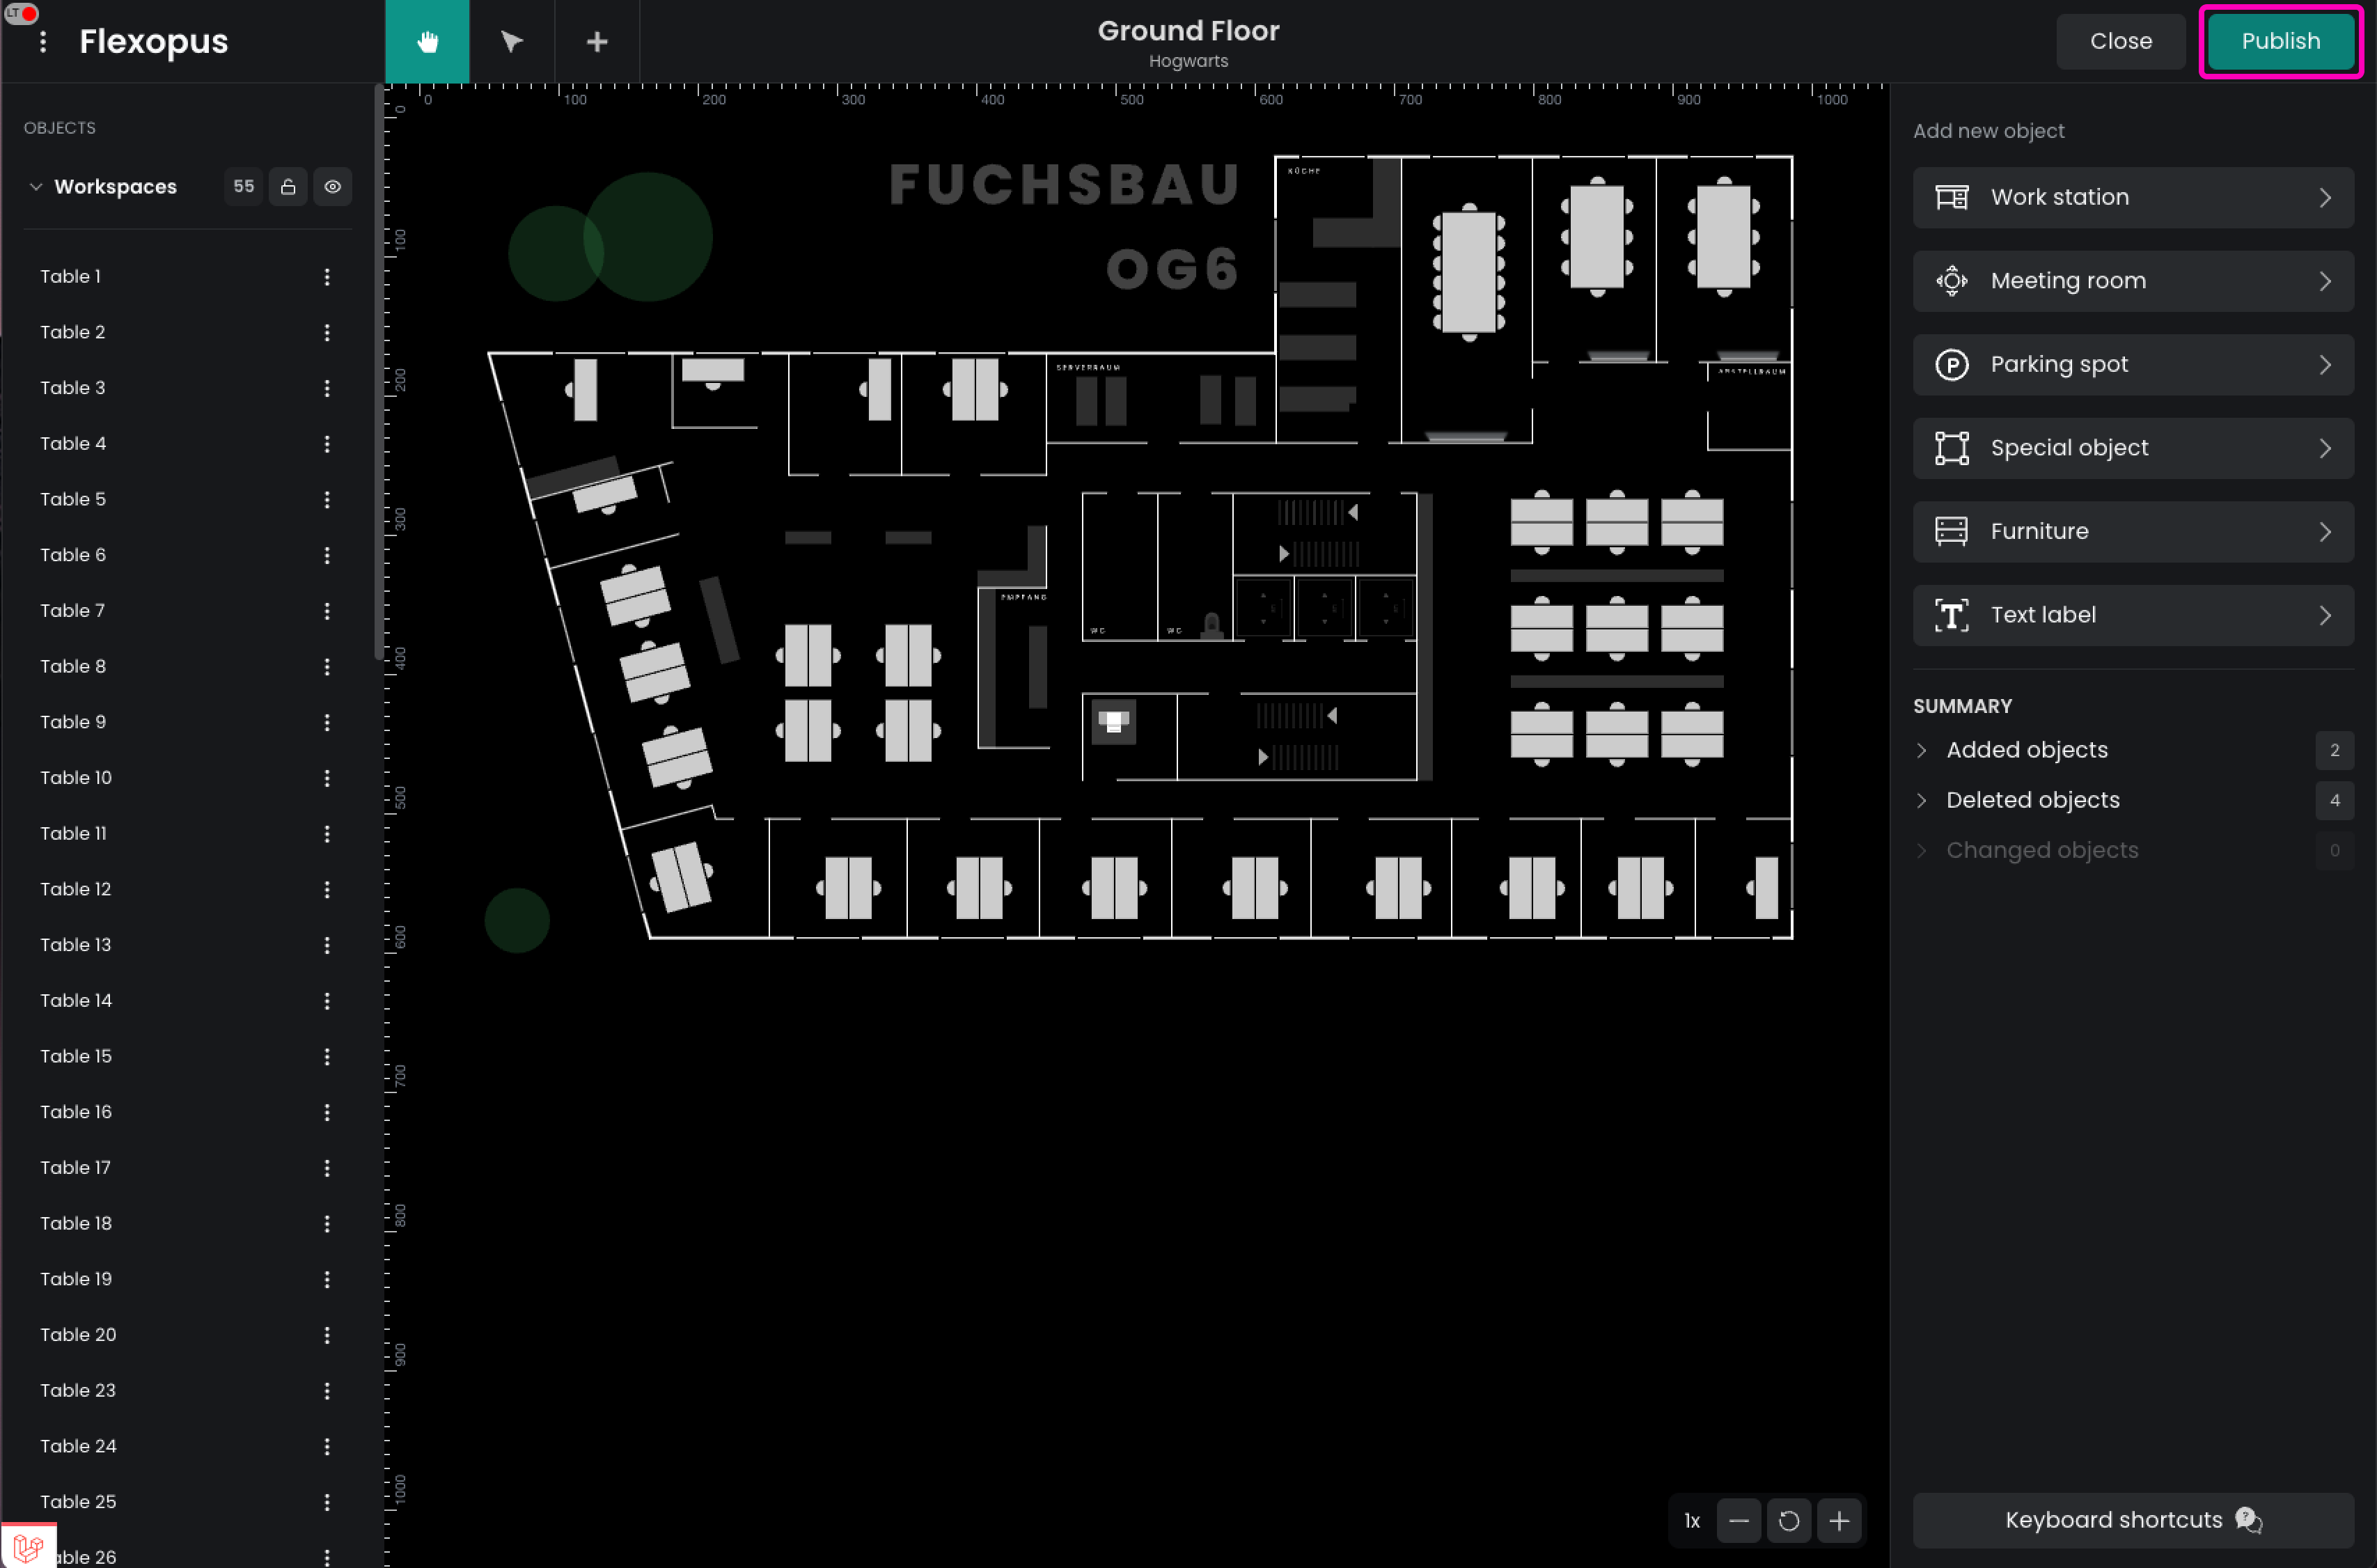
The Floorplanner application will open your floor plan for editing. In the header panel, you can select the primary tools of the application:
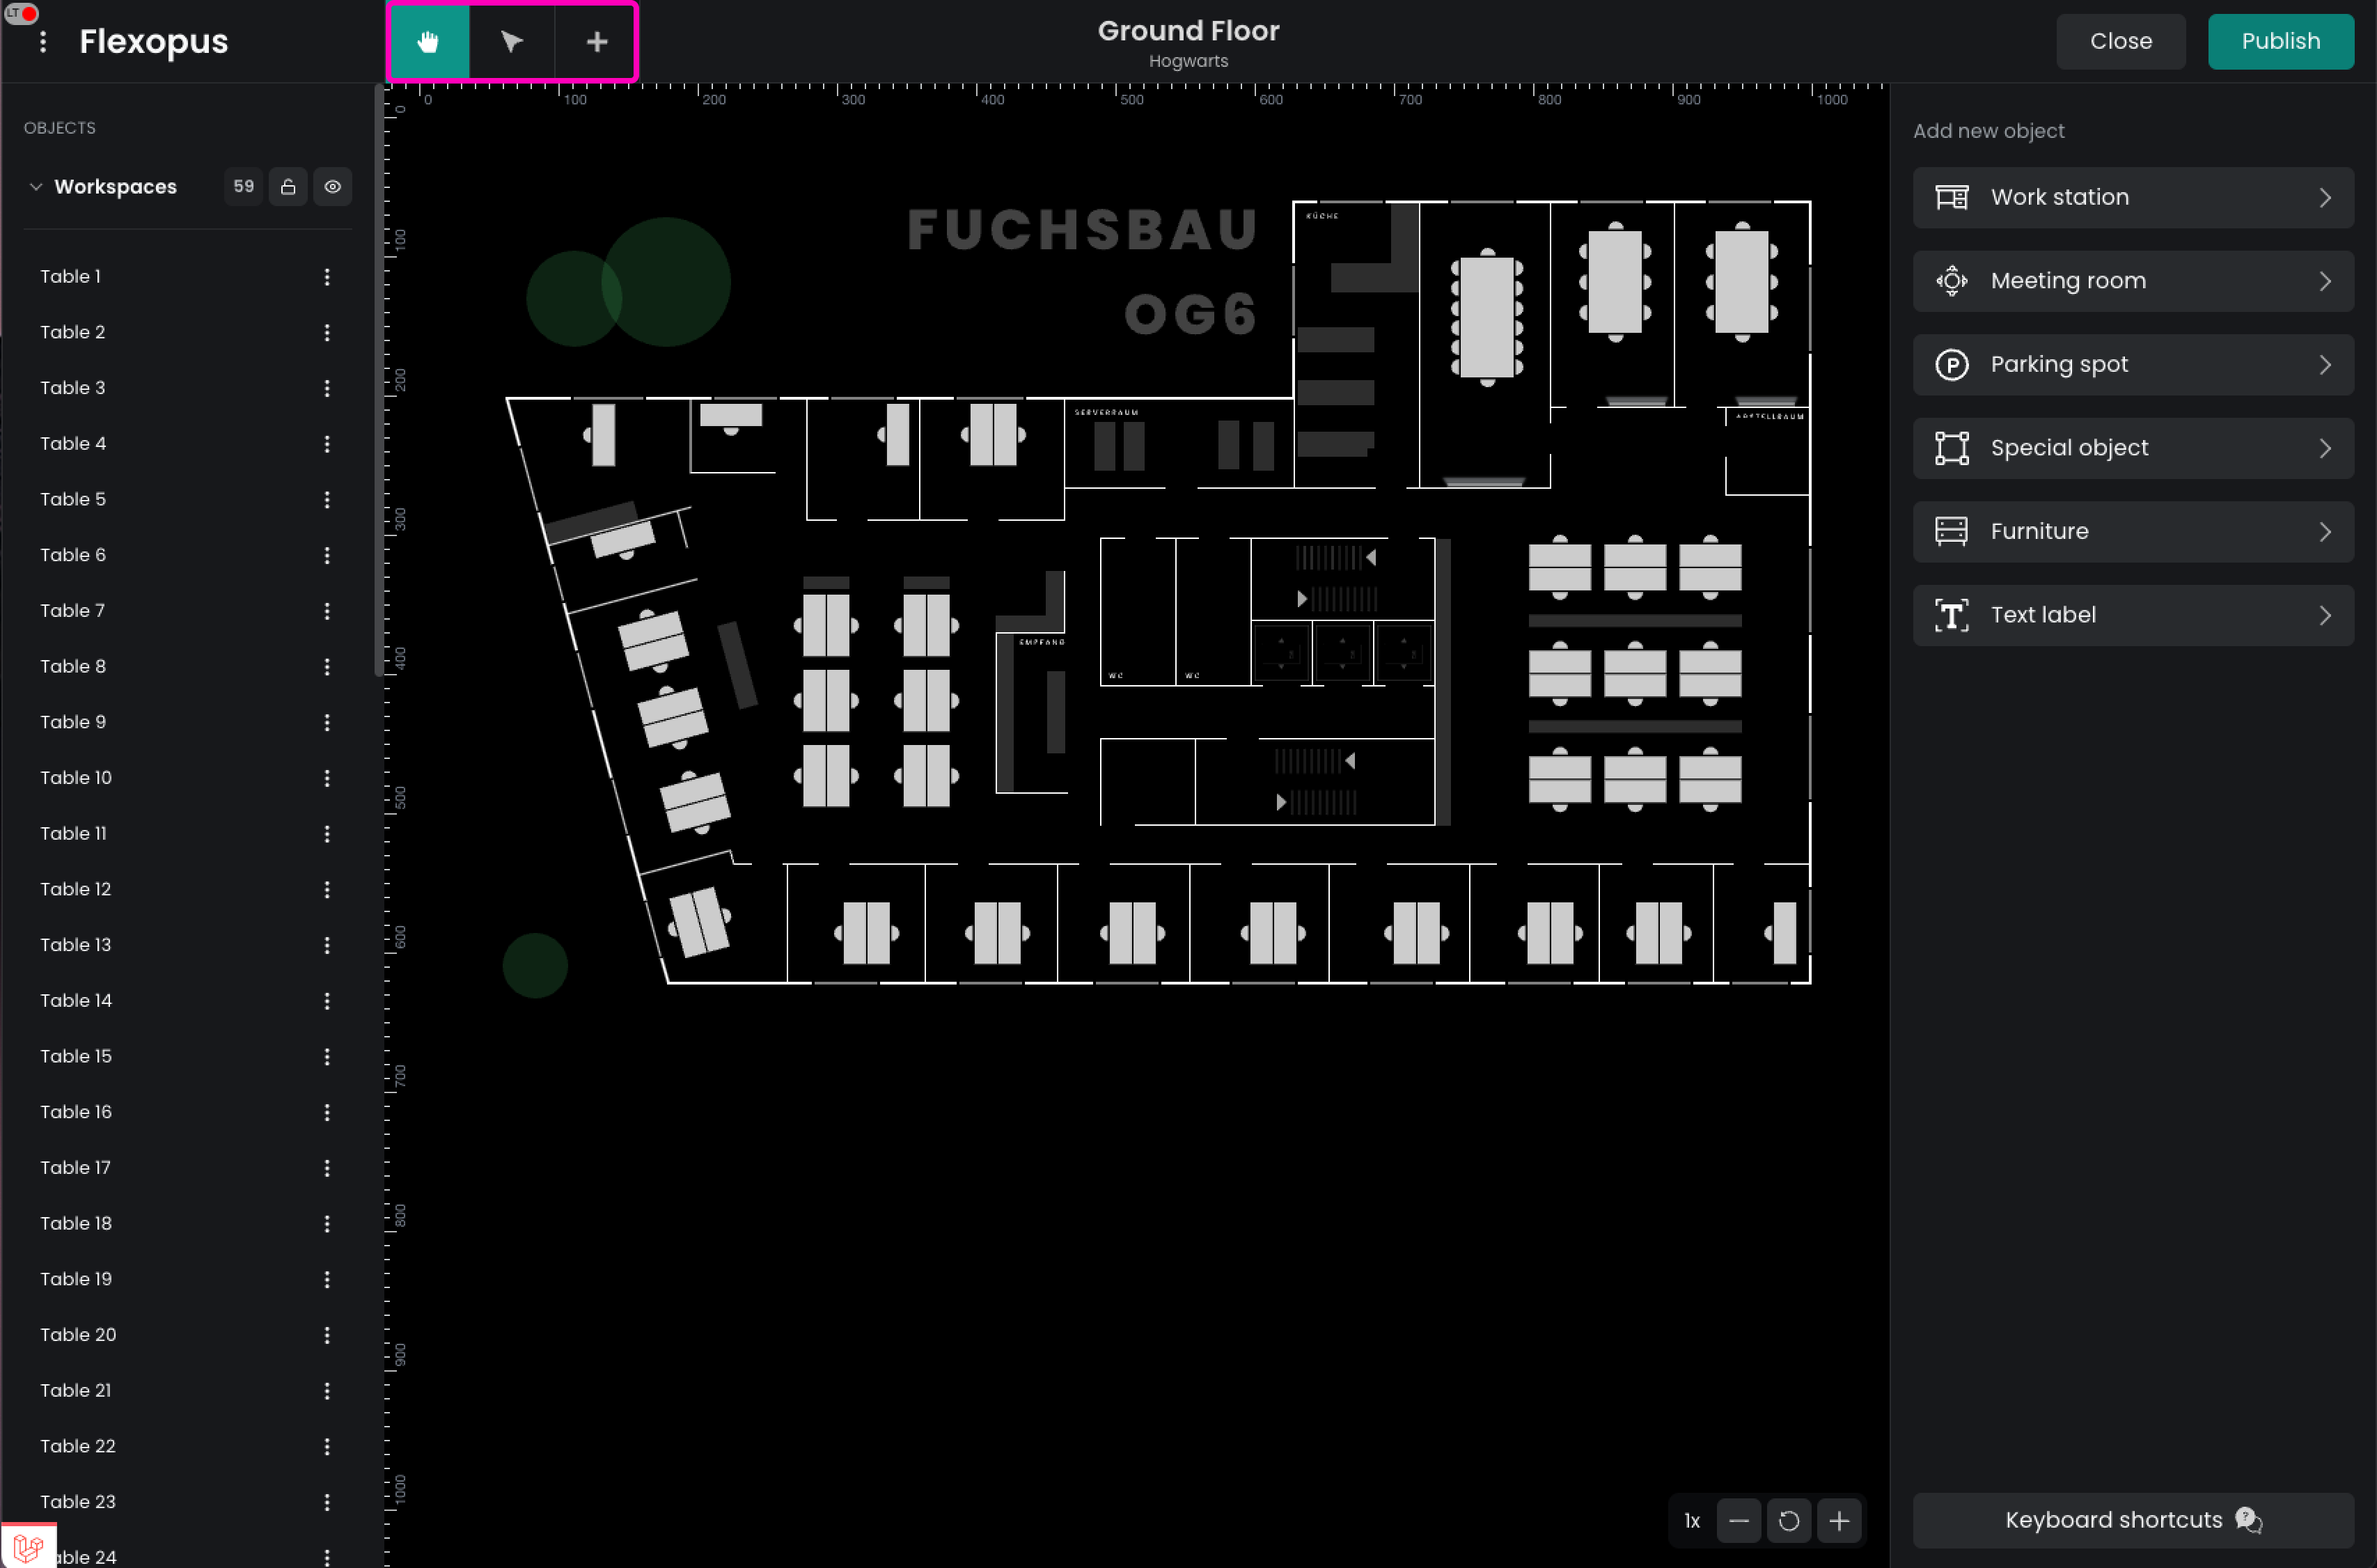
The Pan tool allows you to move your map around without accidentally altering any resources.
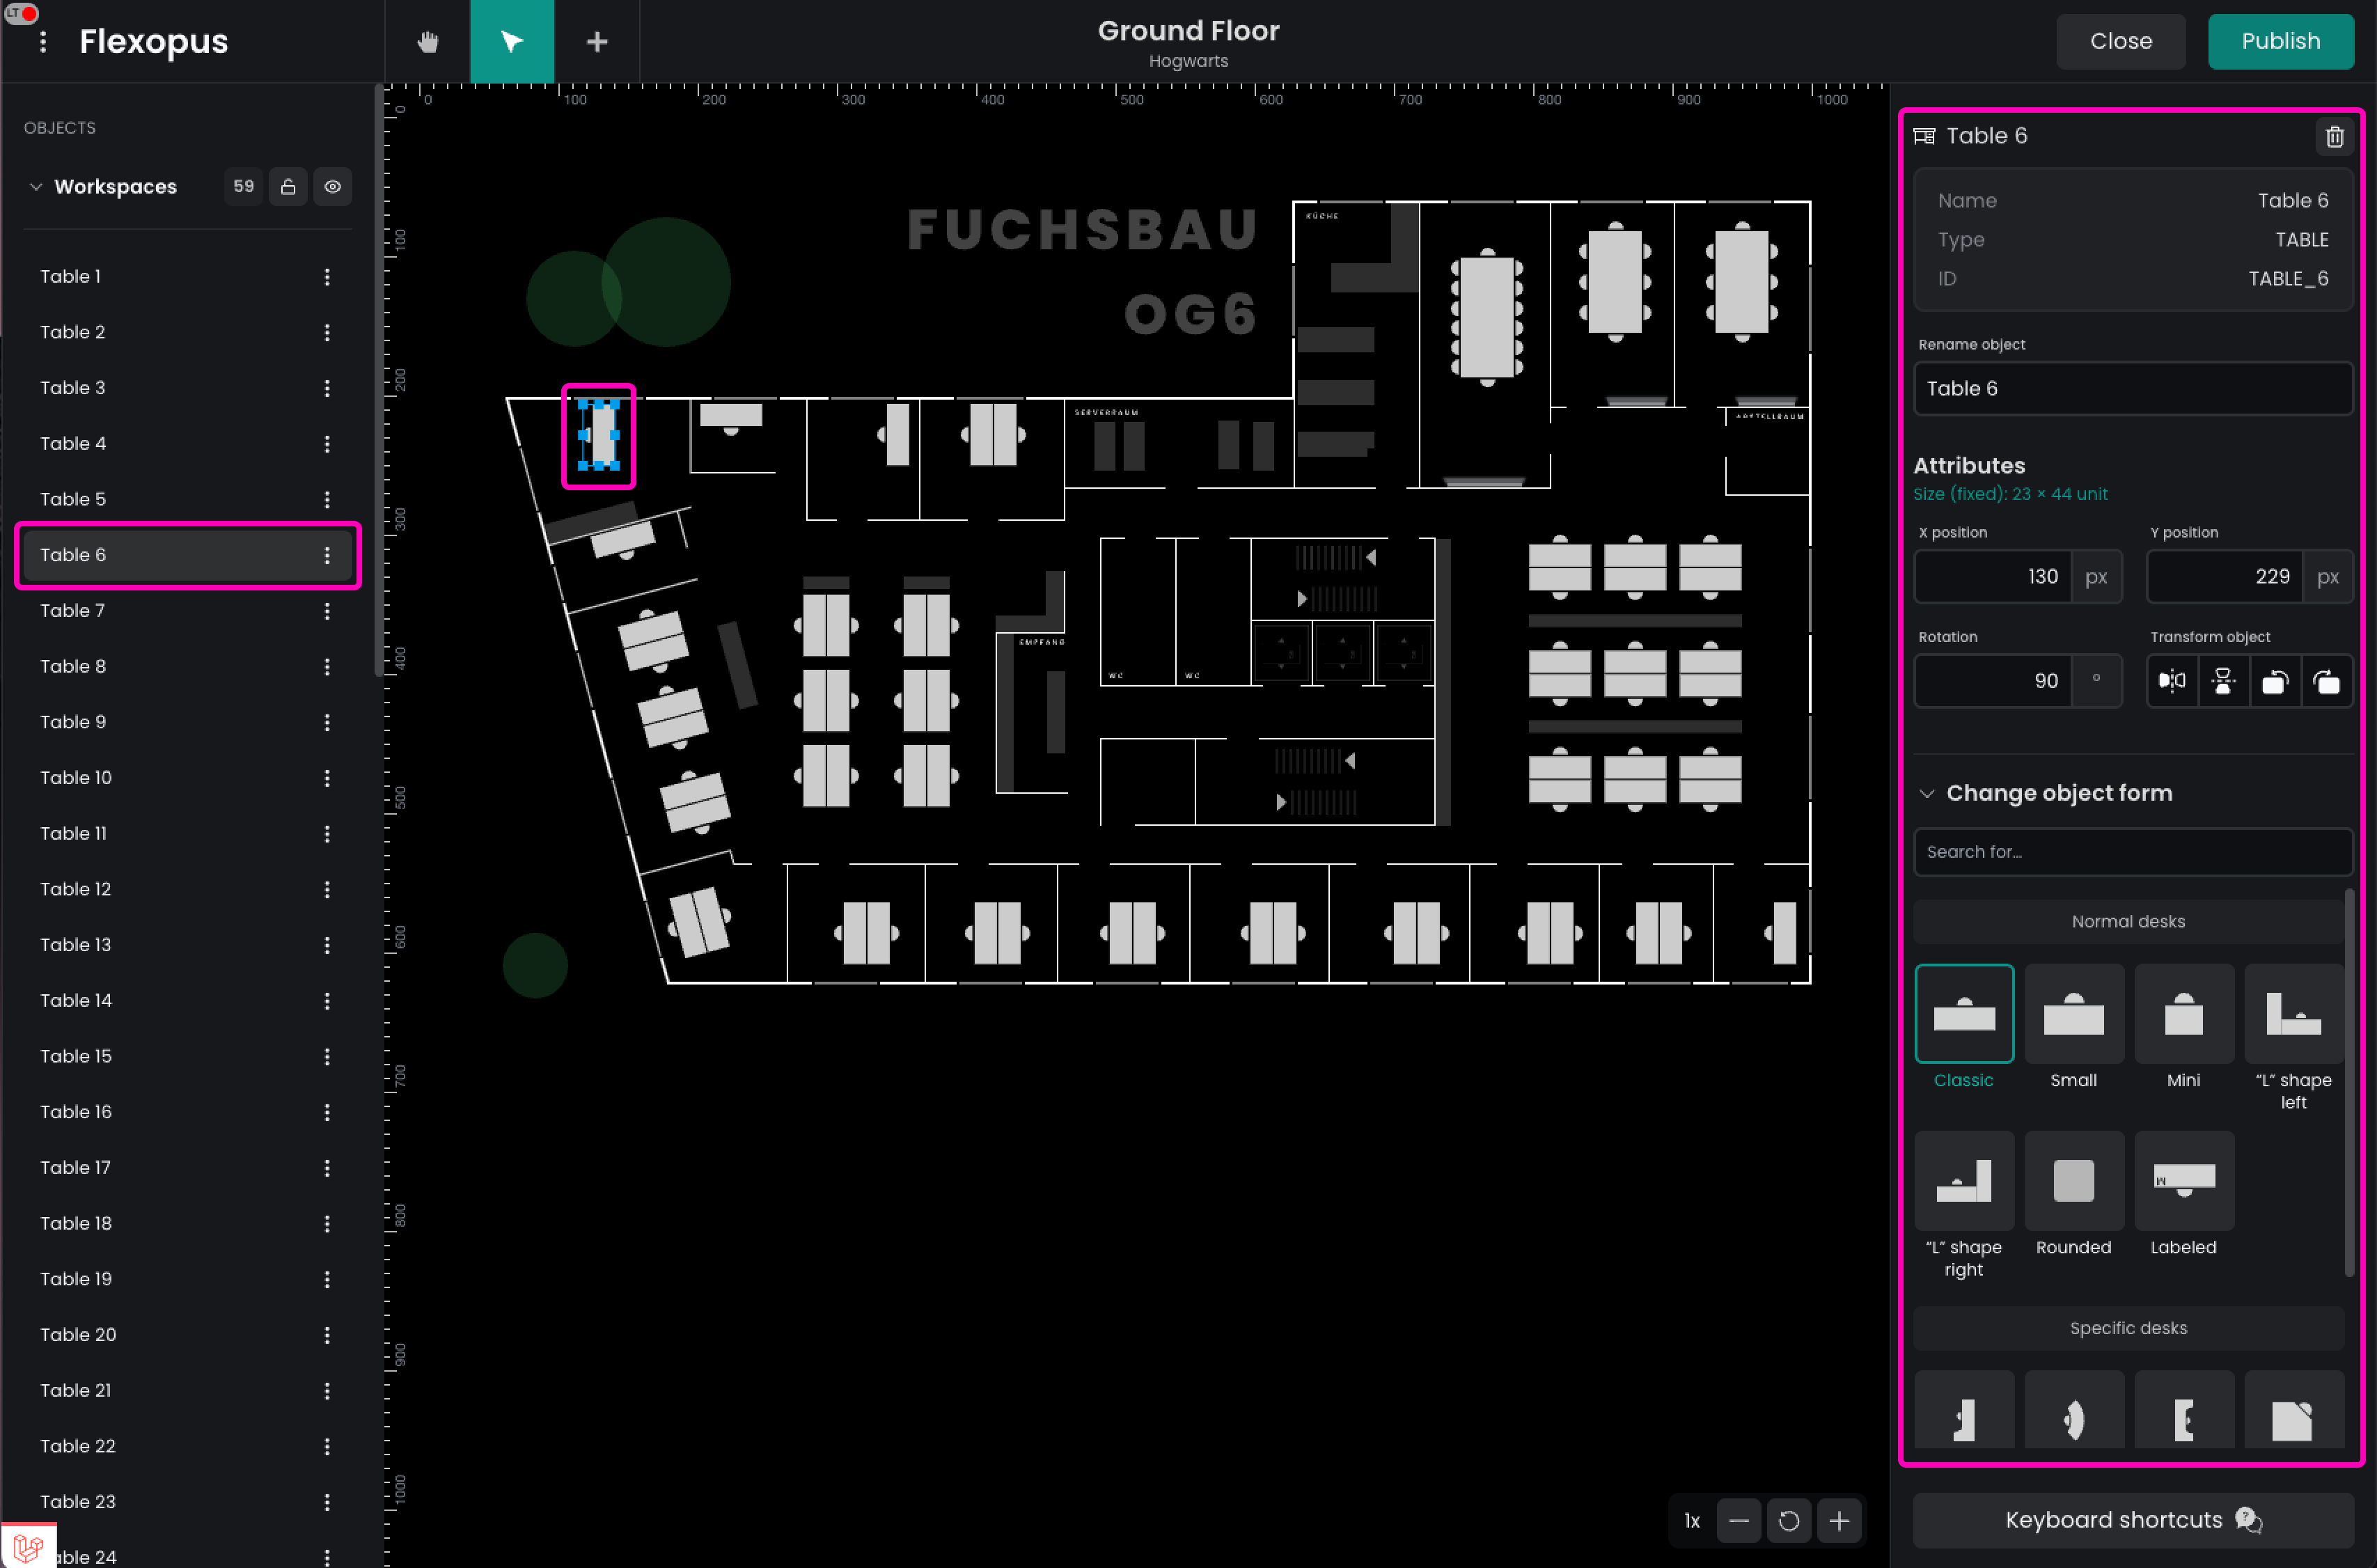
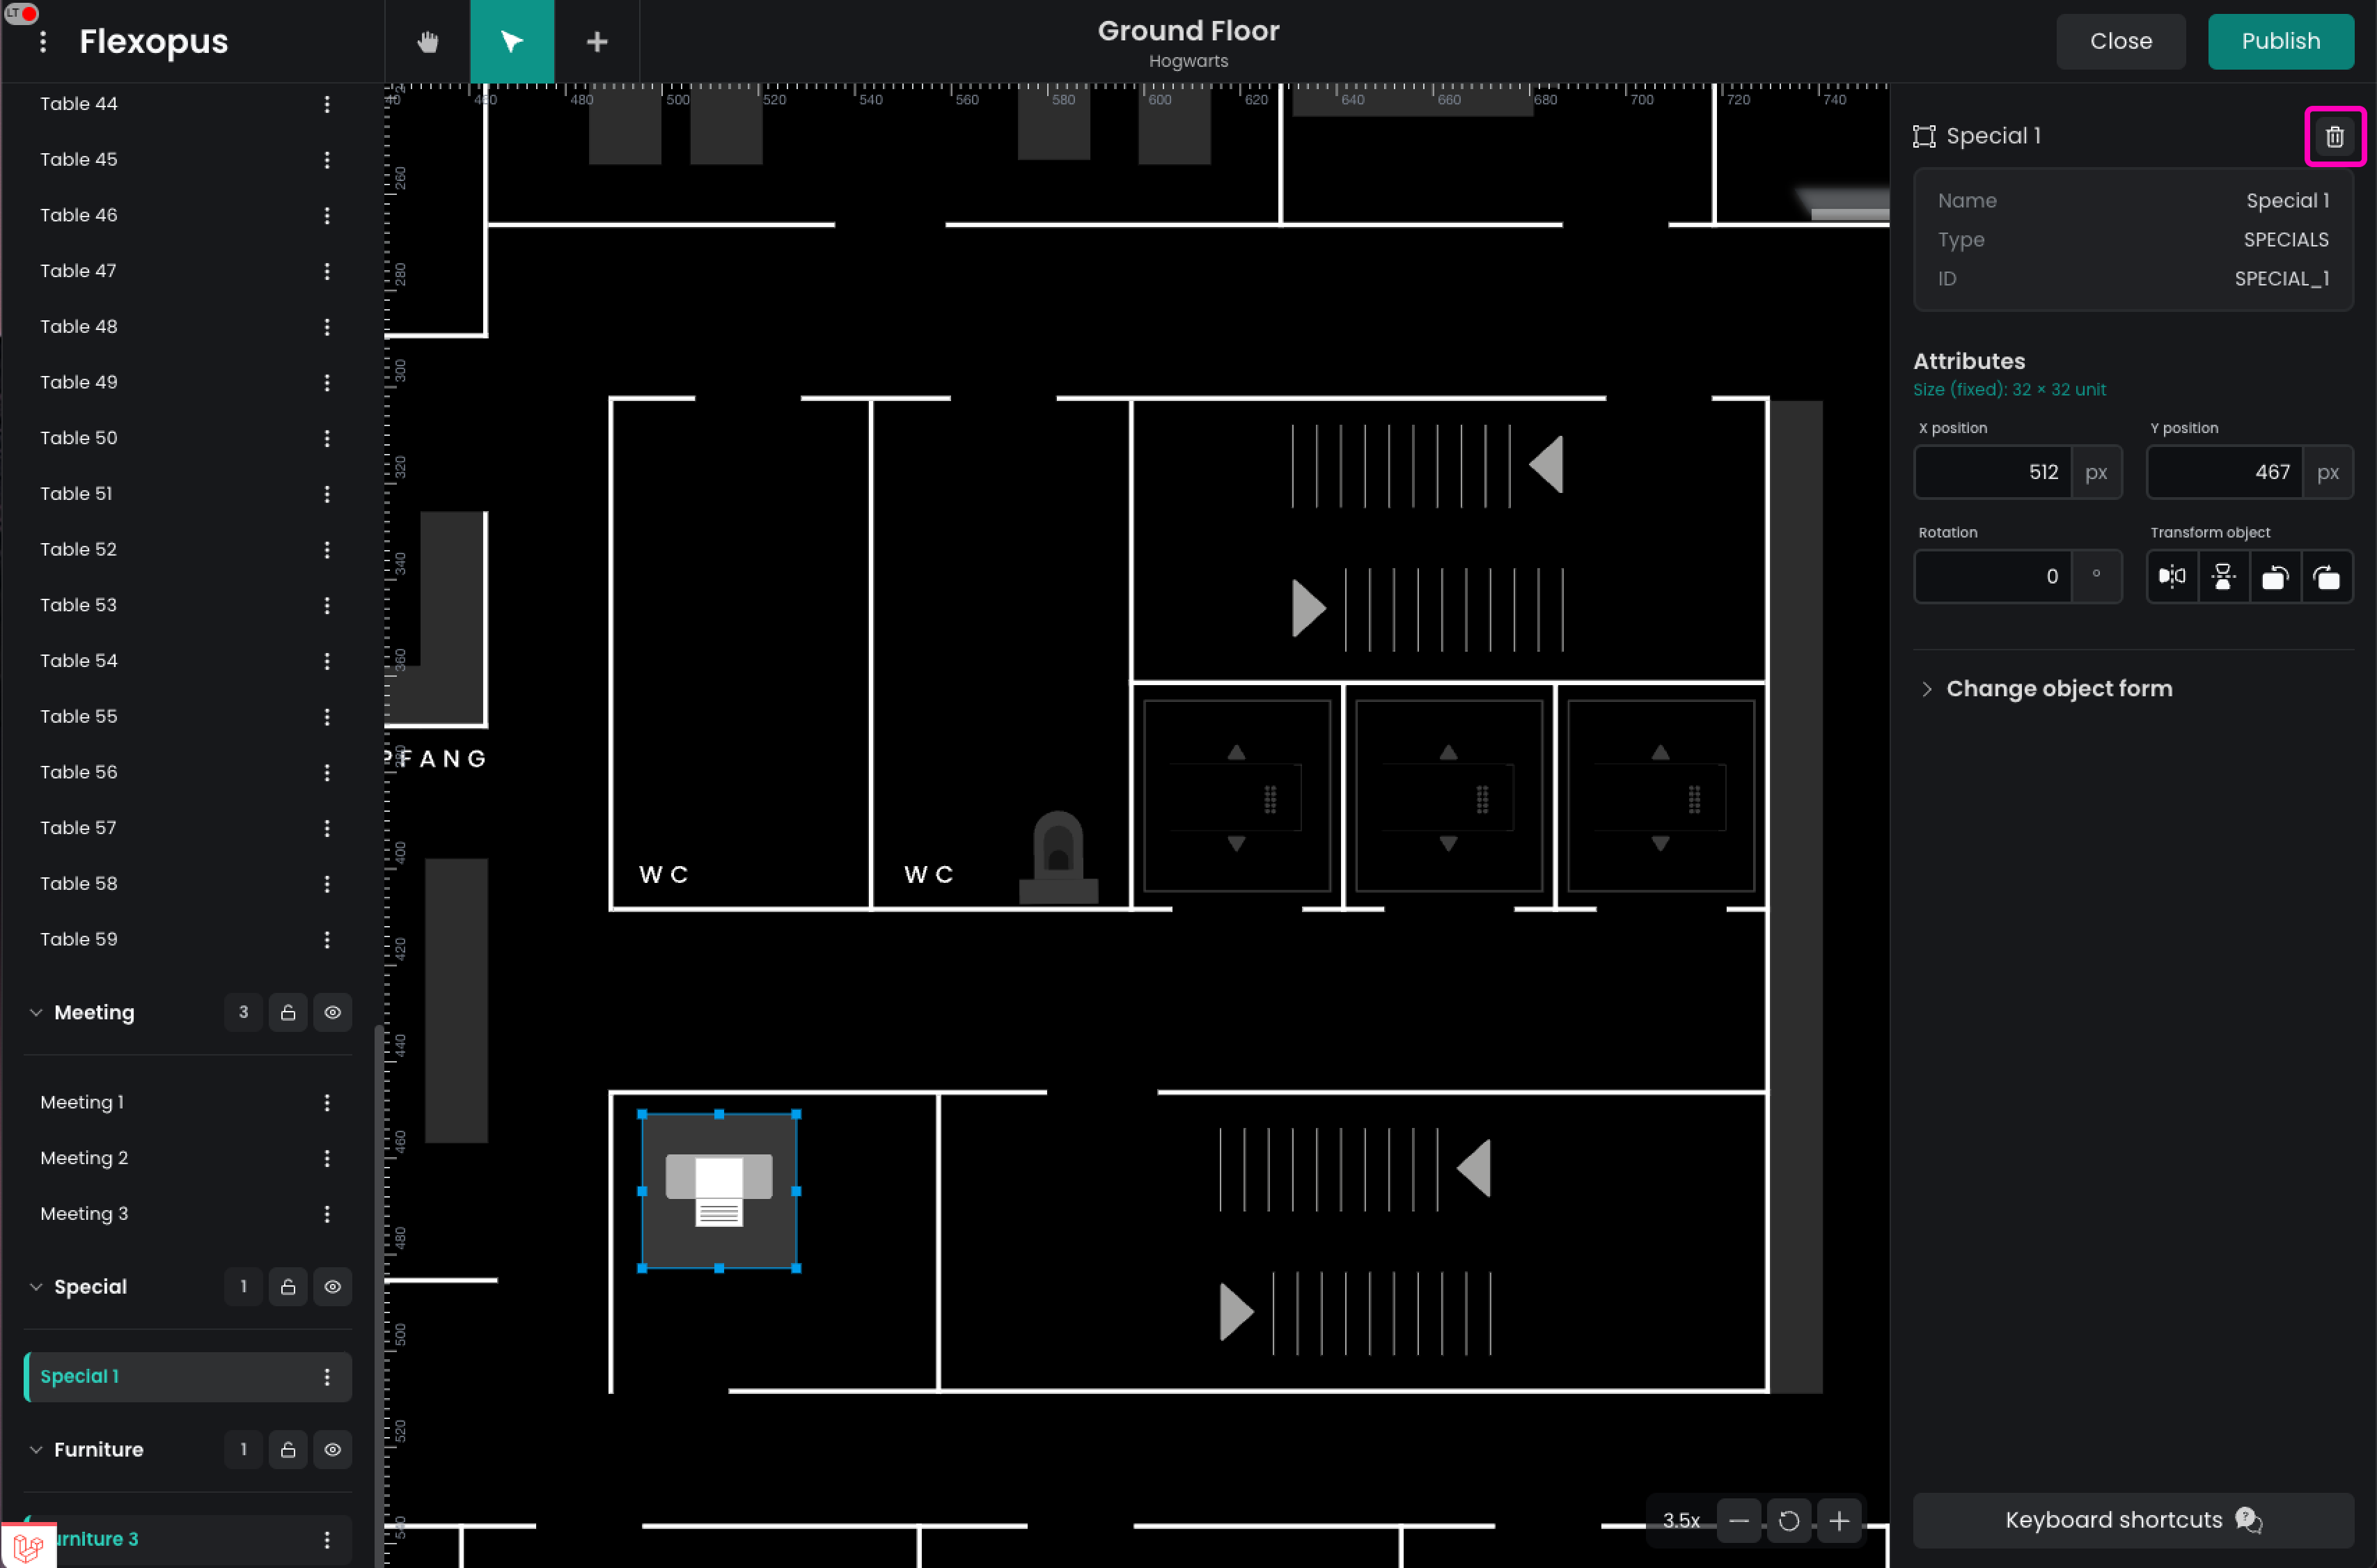
The Selection tool lets you select, move, and rotate resources directly on the plan. You can also select resources from the list in the left sidebar. Once a resource is selected, its properties will appear in the right sidebar, where you can modify the name, position, or form of the resource.
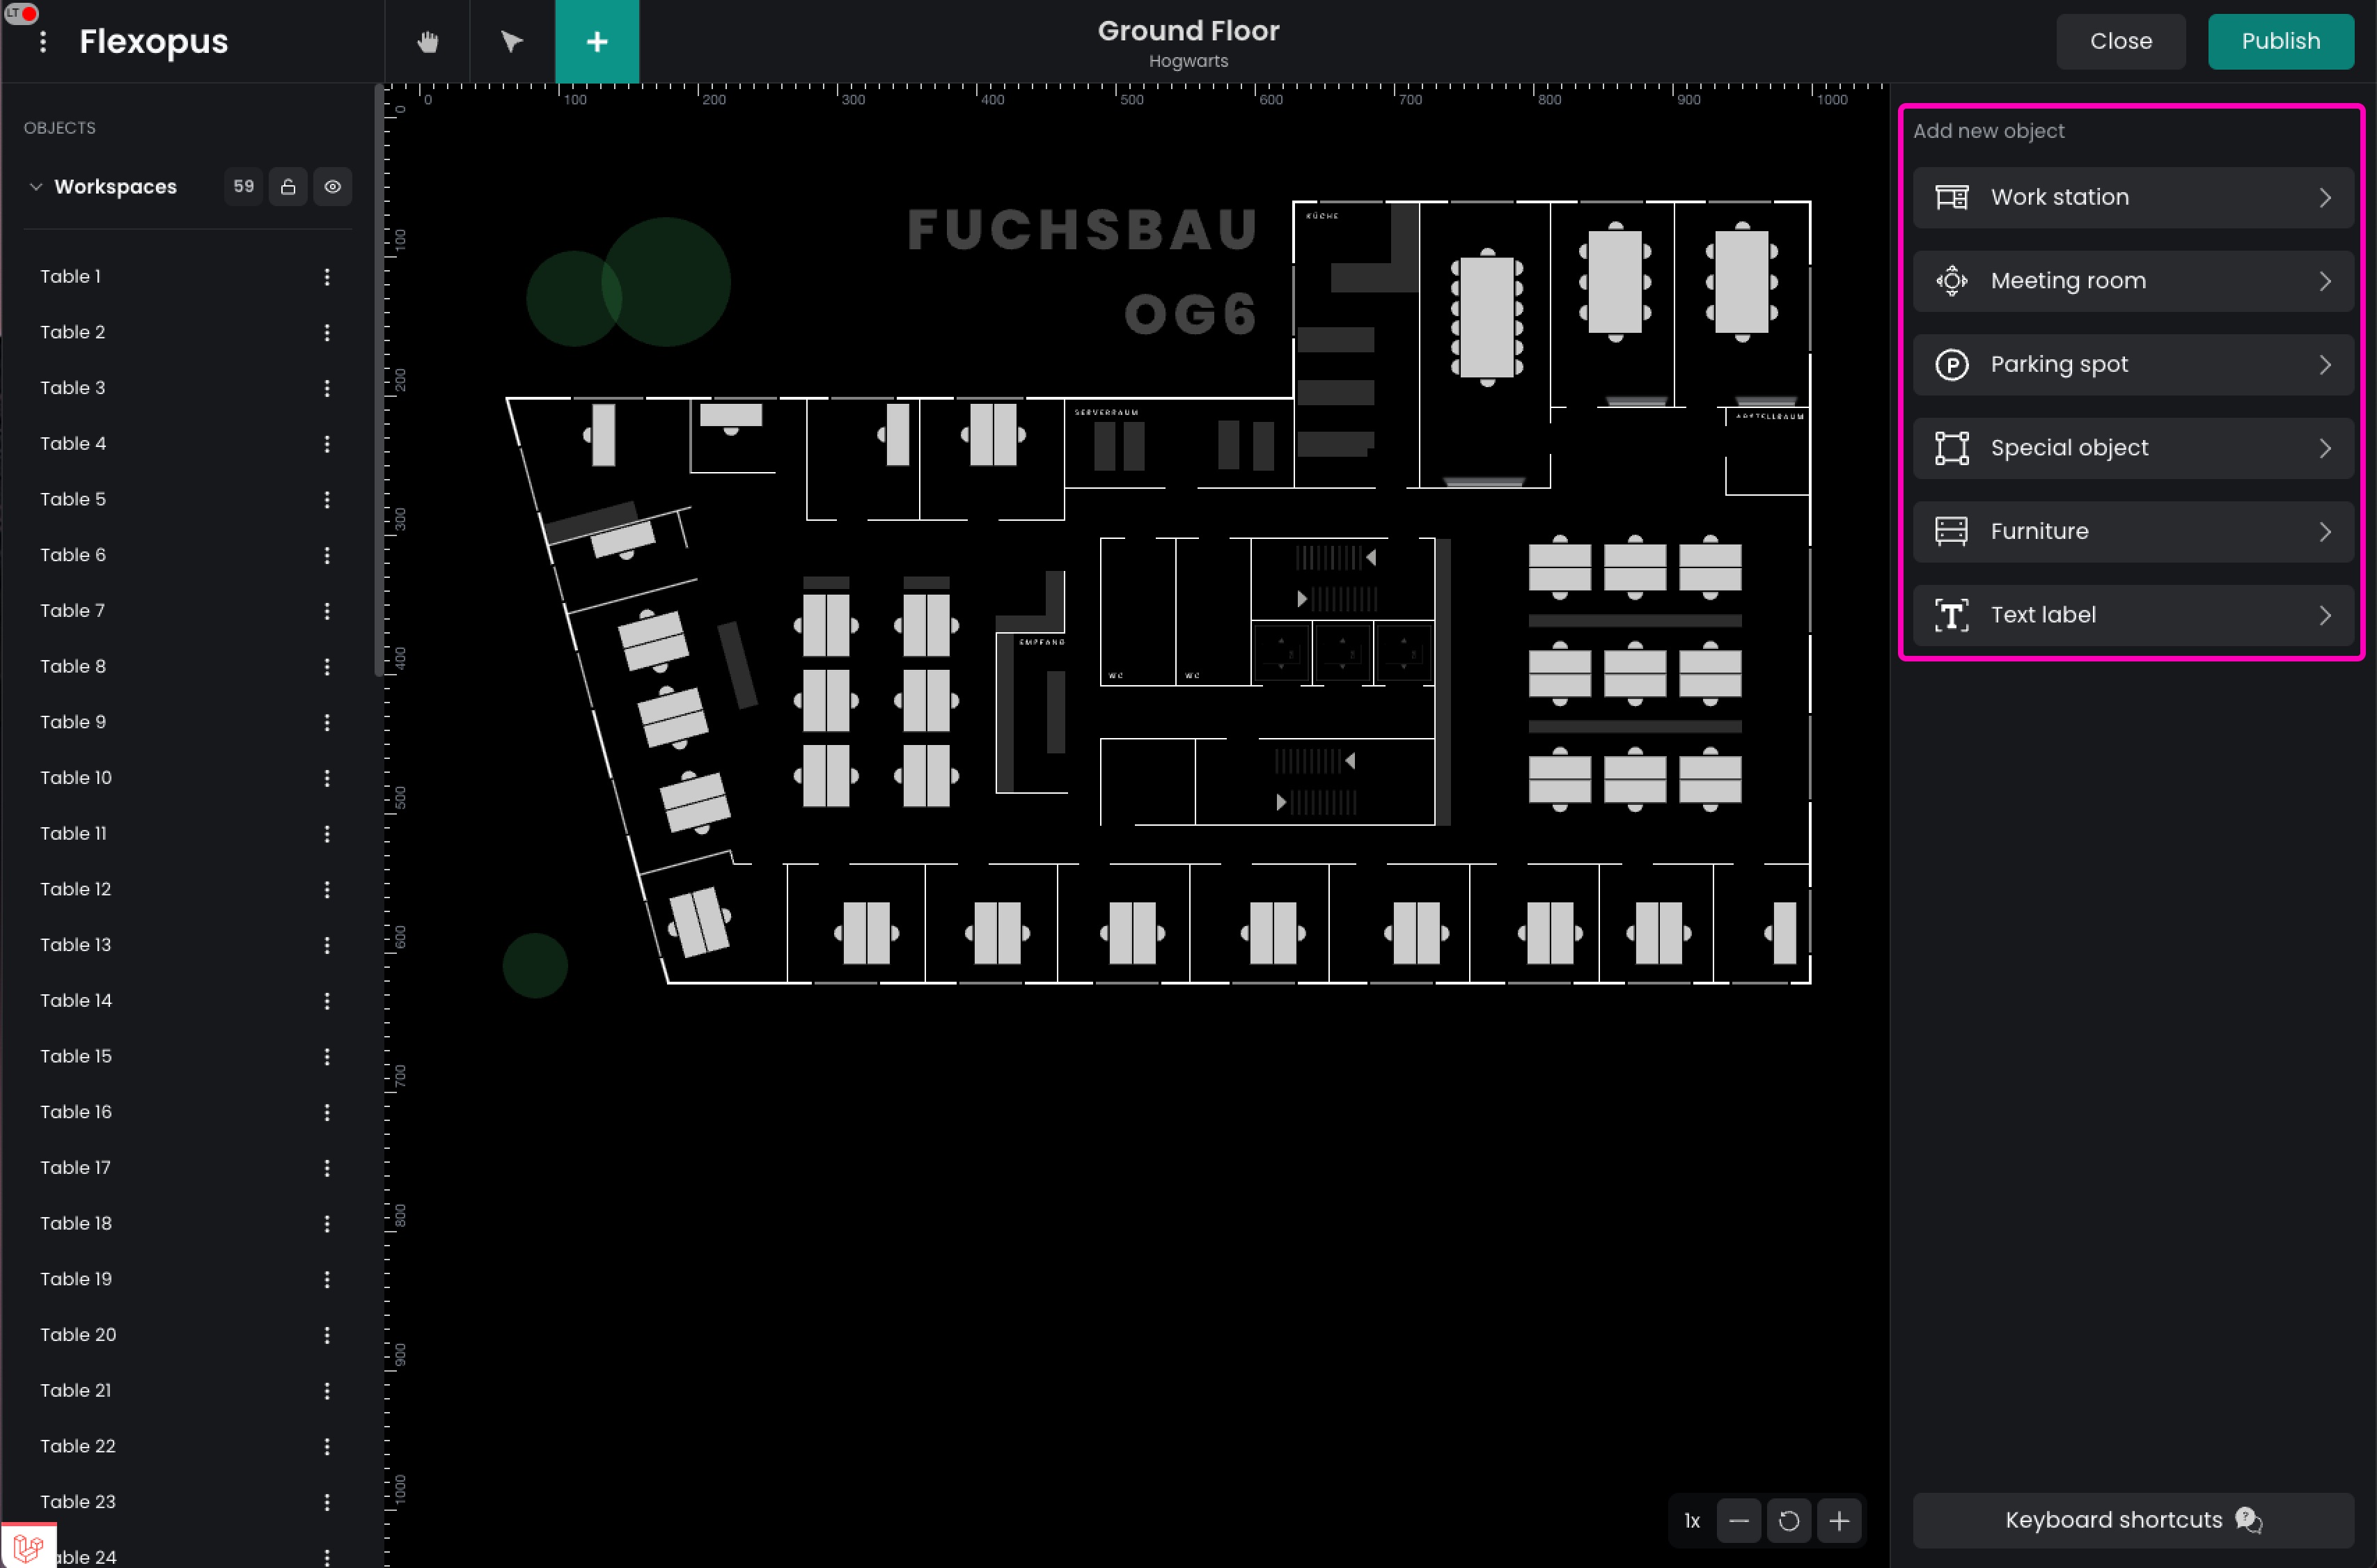
You can add additional resources by selecting the Create Resource (+) tool. Choose the resource type and then select its variant. The available types include:
- Bookable resources: Work station, Meeting room, and Parking spot.
- Static resources: Special object, Furniture, and Text label.
These options allow you to customize your floor plan with both bookable and static elements.
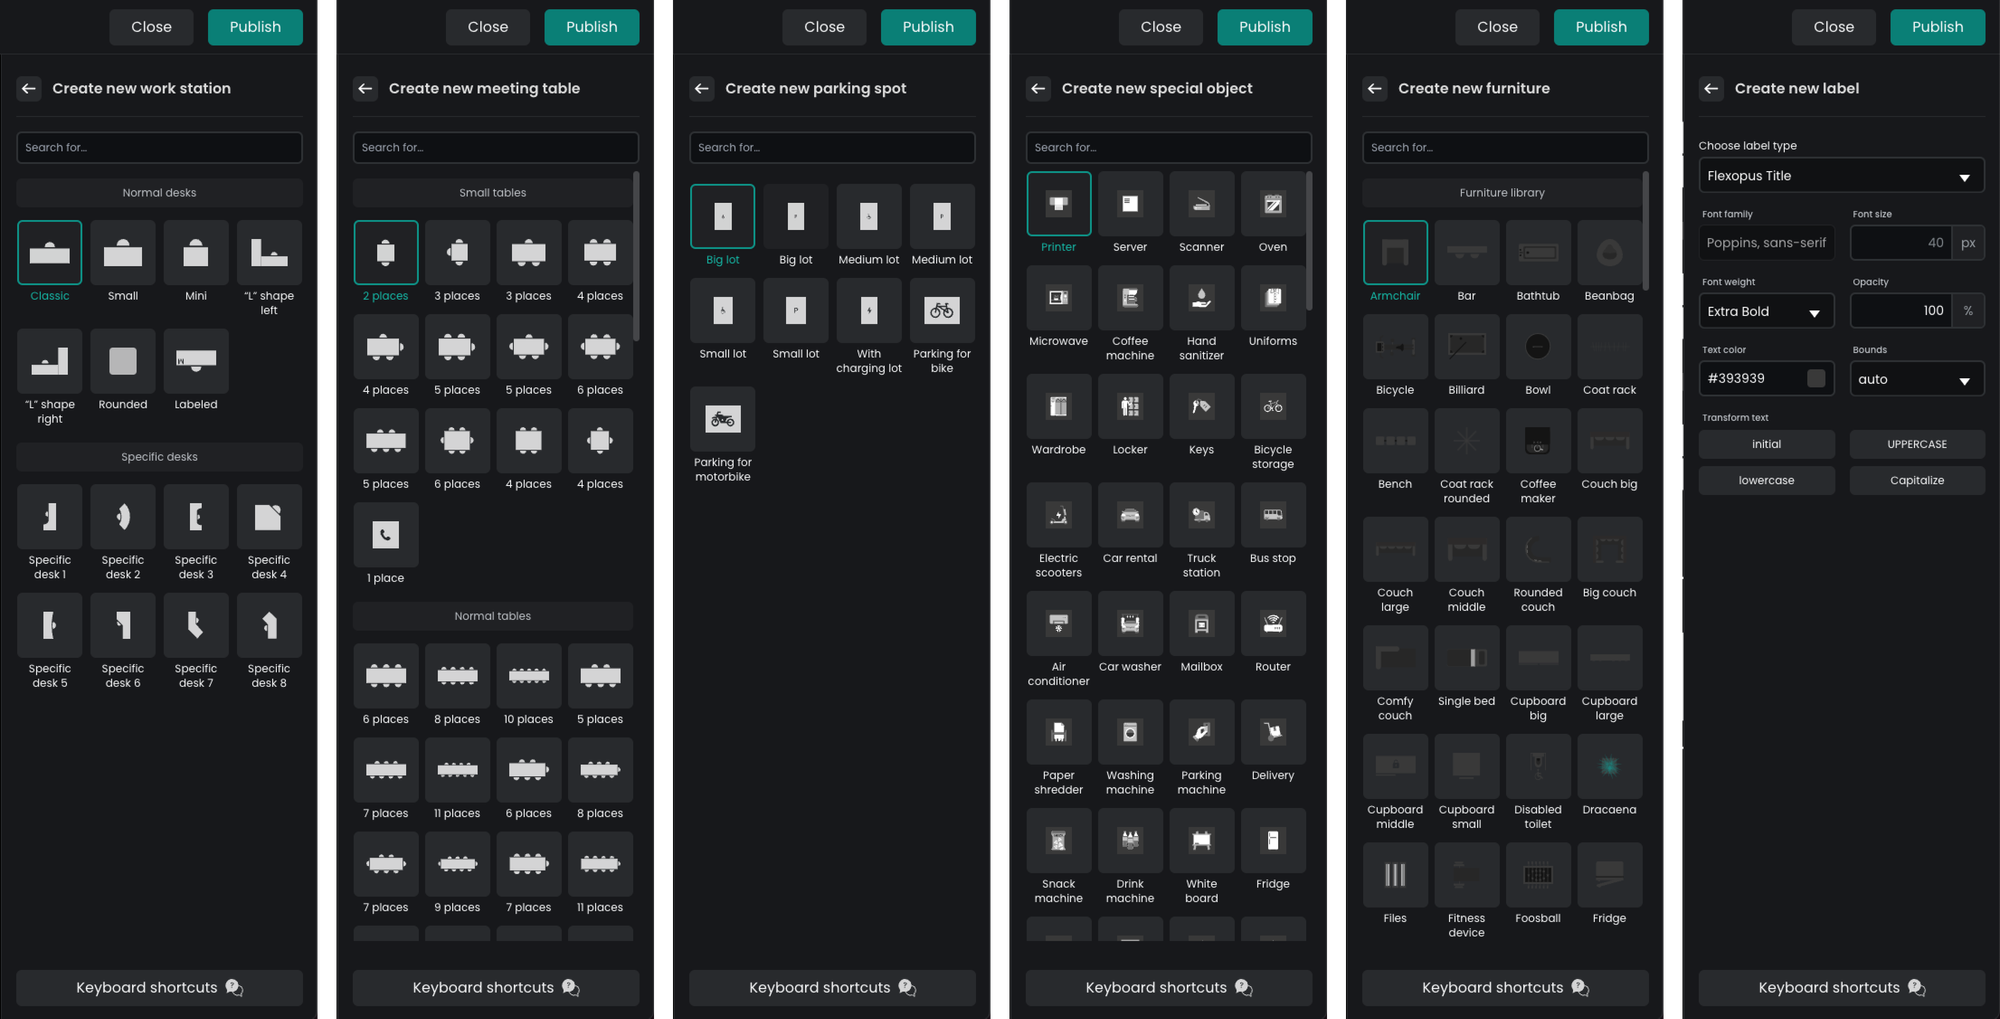
Once you have the correct variant selected, click anywhere on the plan to place the new resource. Added resources will appear in the list with a green highlight. Now you can modify the resource just as you would do with the others.

To delete a resource:
- Select the resource.
- Click the trash icon in the properties panel or press Del/Backspace on your keyboard.
- Confirm the action in the popup.
You can also select multiple resources and delete them in one action for bulk removal.

Step 3: Save changes
To save your changes, you must Publish them in the Floorplanner. Click the Publish button located in the top-right corner to confirm and save your changes.
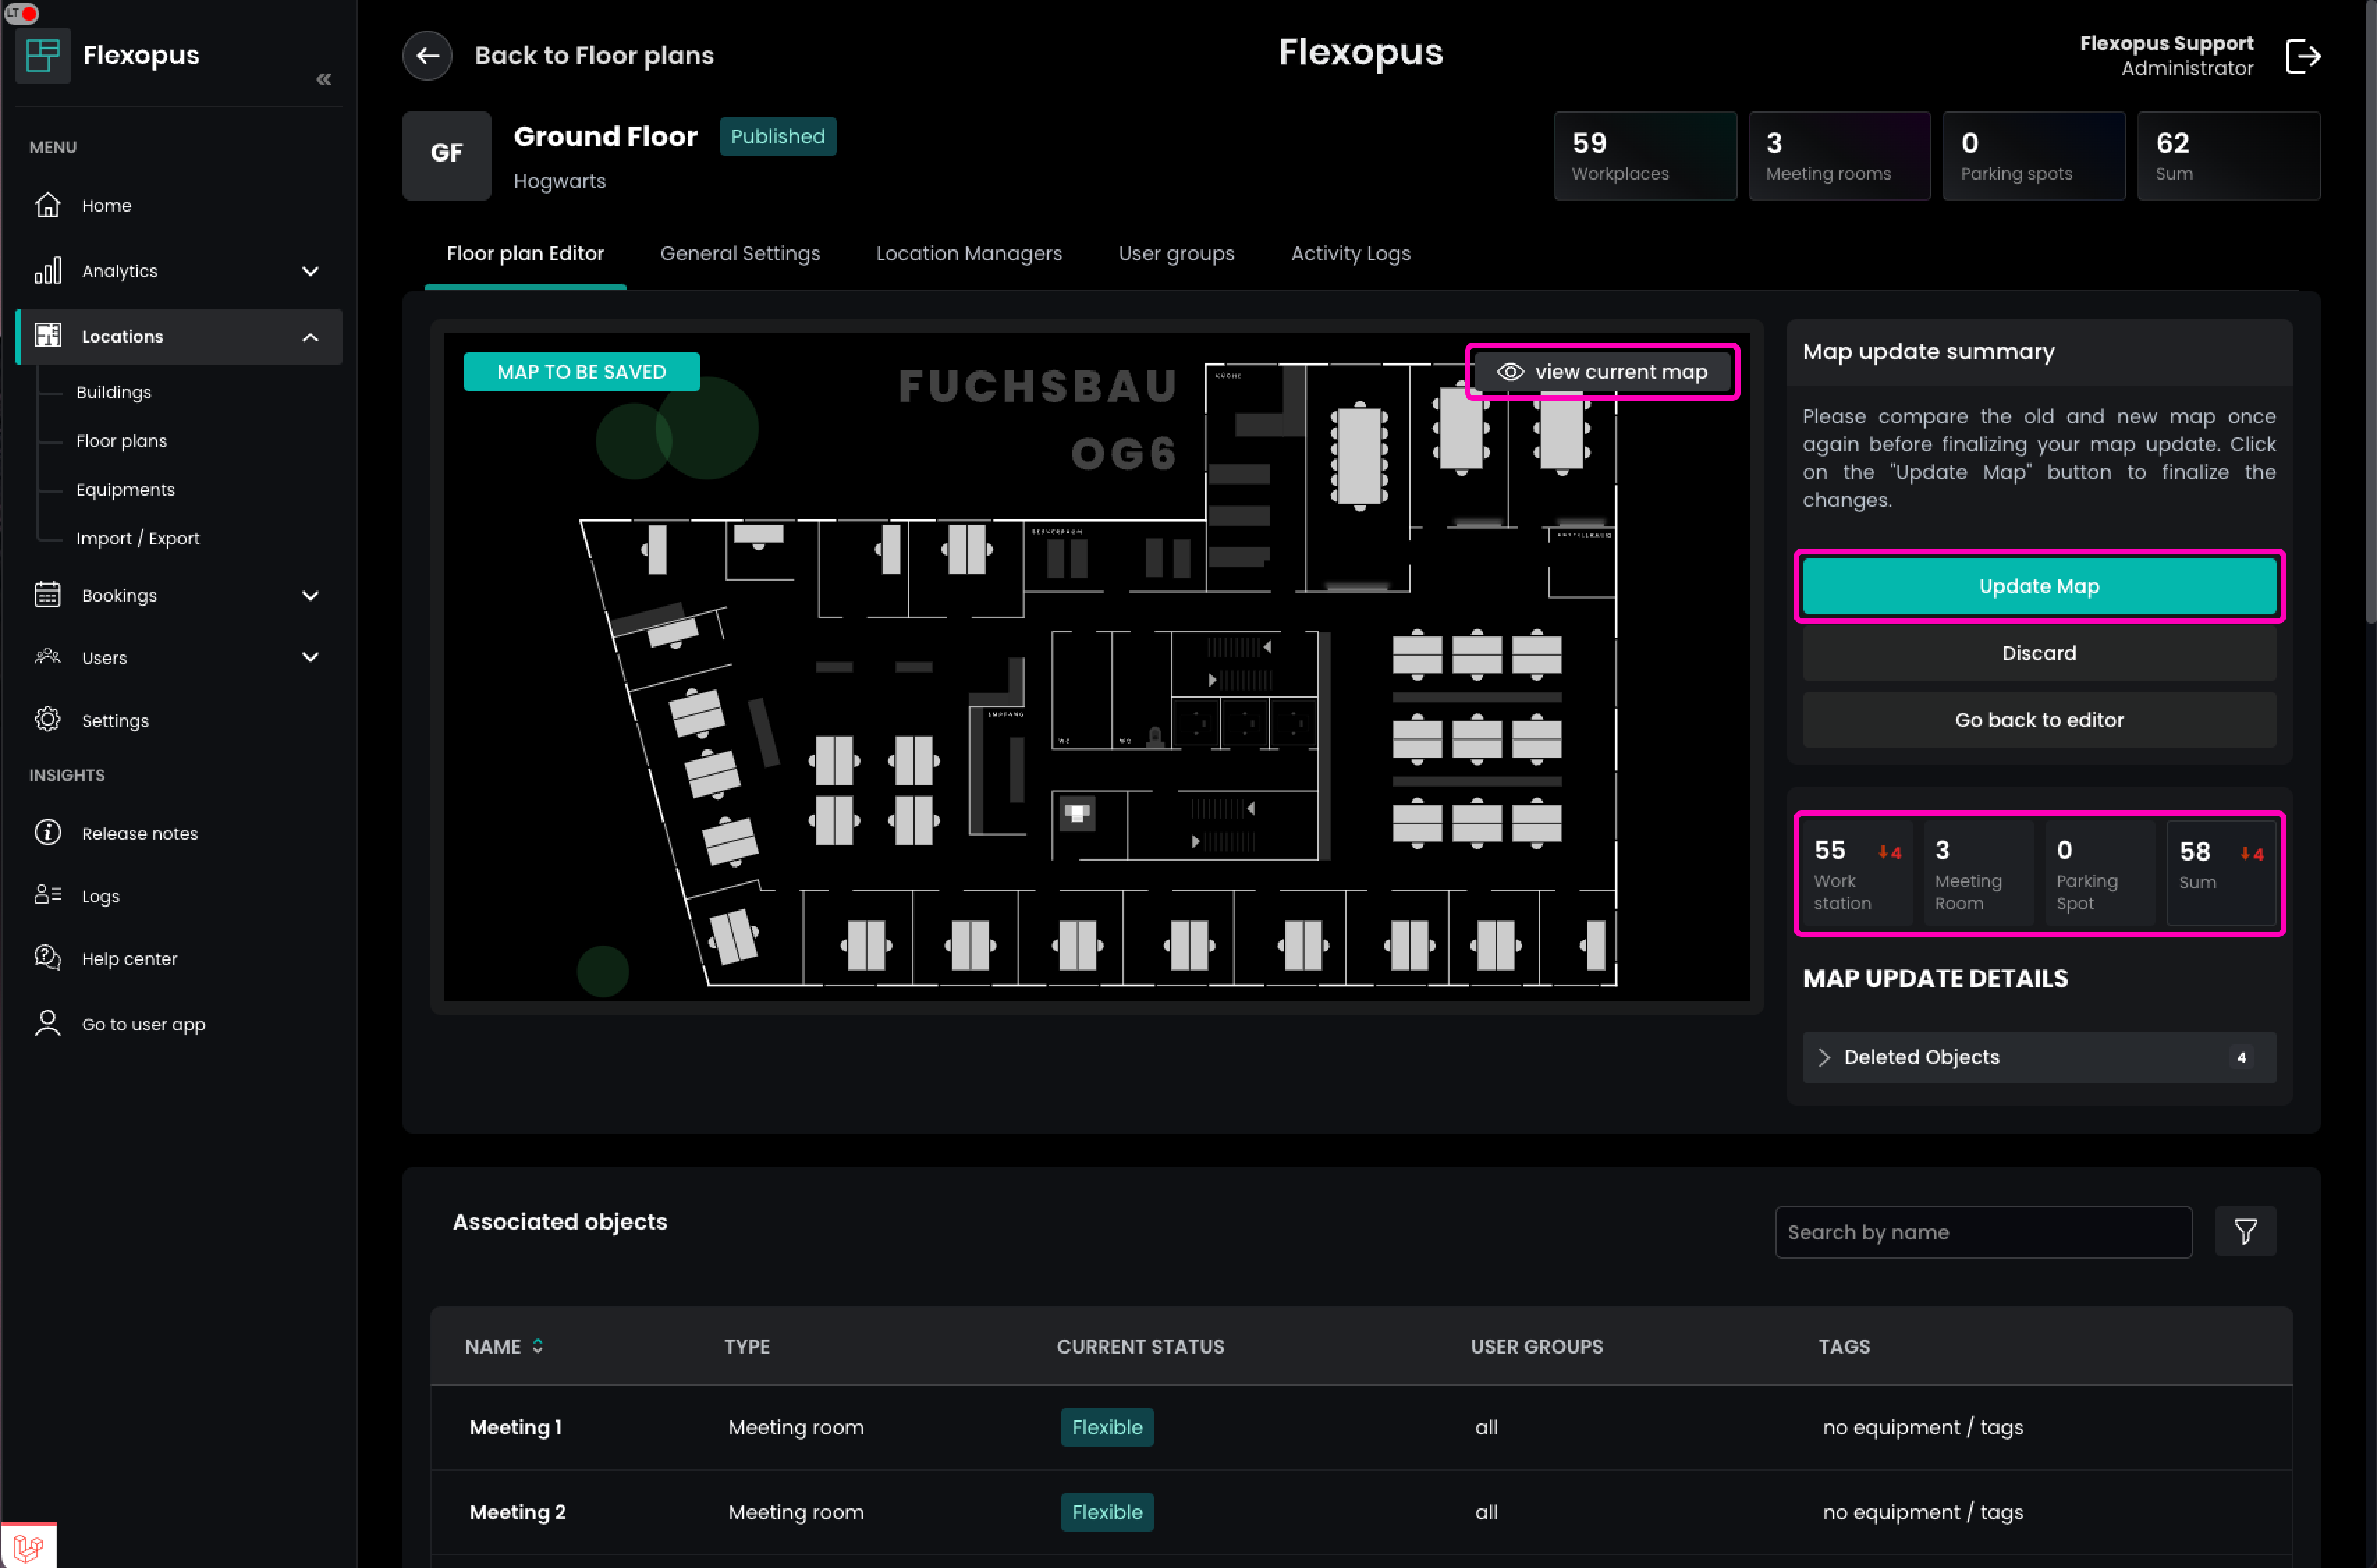
After publishing, you will be directed back to the Flexopus Administrator Dashboard, where you can review your changes. Only modified bookable resources will be marked, as static resources do not affect the application's behavior. You can visually compare the changes by clicking View Current Map.
Once you have confirmed that all your changes are correct, click Update Map to finalize and save the changes.
Plans are not saved while you are making changes to them in the Floorplanner. If you close the application before confirming your changes in the Administrator Dashboard, your changes will be lost.
Troubleshooting and FAQ
Can't delete a resource
Resources with active bookings cannot be deleted. To delete a resource, you first have to delete all corresponding bookings it may have.
I have closed the Floorplanner, are my changes lost?
Unfortunately, yes. Currently, we are not saving any drafts of a plan you are editing. We recommend making small, incremental changes, and saving your work regularly.