Configure Settings
Overview
As an administrator, you can configure many reservation settings in Flexopus. In this article, we will explain the most important reservation settings, which you need to be aware of. Many settings are already configured with a reasonable default value; however, you can change the preferences according to your organization.
Booking settings
The following configurations can be made for the booking process:
Booking limits in days
Booking settings > Booking limits
You can define the day limit within which your users can book seats and resources in advance, and whether weekends should be skipped for future booking limits. We recommend setting it to 14–28 days for the workstations and the parking spots.
If you set no limits, then the user might ignore the system and create reservations 1 year ahead and could forget to delete the reservation or to create new reservations. Employees with a 40-60% or a full flexible office schedule usually decide days but maximum 1–2 weeks ahead, when to go or not to go to the office. This setting should align with this decision time frame.
Default booking times
Booking settings > Booking time range > default start / end time
This setting allows setting a default start and end time for the bookings. We recommend setting it to 08:00 - 17:00. Most of the users will come at this time frame to the office. The predefined time selection should align with the needs of the majority of the people.
Limit booking time range
Booking settings > Booking time range > Earliest booking start / end time
This setting creates time limitation during the day. Reservations outside this time range are not allowed. This is an optional setting, if you have no reason to set it then leave it disabled. A reason could be that you have strict office or organization rules that prevent users from working outside this time range. Still, you can leave the decision to the users. If they see an important reason to stay in the office longer or come earlier, then they should be able to decide about it.
Booking time increment
Booking settings > Booking time range > Time increment
Configure the time increments that users can select during the reservation process. We recommend setting it to 30 minutes. If you set it to a very low number, like 10 minutes, then you make the reservation process a bit more complex. Your goal is most probably not to optimize the office resource utilization on the minute basis, but more like on an hour basis or even a day basis.
Email confirmations
Booking settings > Booking time range > Email settings
Send a confirmation email after every non-recurring booking. When enabled, users can individually turn this feature on and off in their profile settings.
Optionally, you can also include an .ics calendar invitation in the booking notification email. Depending on the email software, the booking will be automatically added as an event to the user's calendar. The users can also decline the invitation or suggest another time frame for the reservation using the .ics invitation.
Search and favorites
Configure and limit the data shown to the users in the search. Enable or disable the favorite management and the presence list.
Past bookings
Booking settings > Past bookings
You can configure whether users are allowed to view past reservations of others in the live plan and presence list. While accessing past reservations is not essential for a flexible hybrid office concept, it may provide additional context for workspace usage. This setting allows you to control the level of visibility based on your organization's preferences.
If you don't know how to decide, then simply do not show past bookings (“Privacy by default”). If somebody has a reason to see the bookings in the past, they will contact you, and you may find a reason to turn this setting on.
Presence list
Booking settings > Presence list
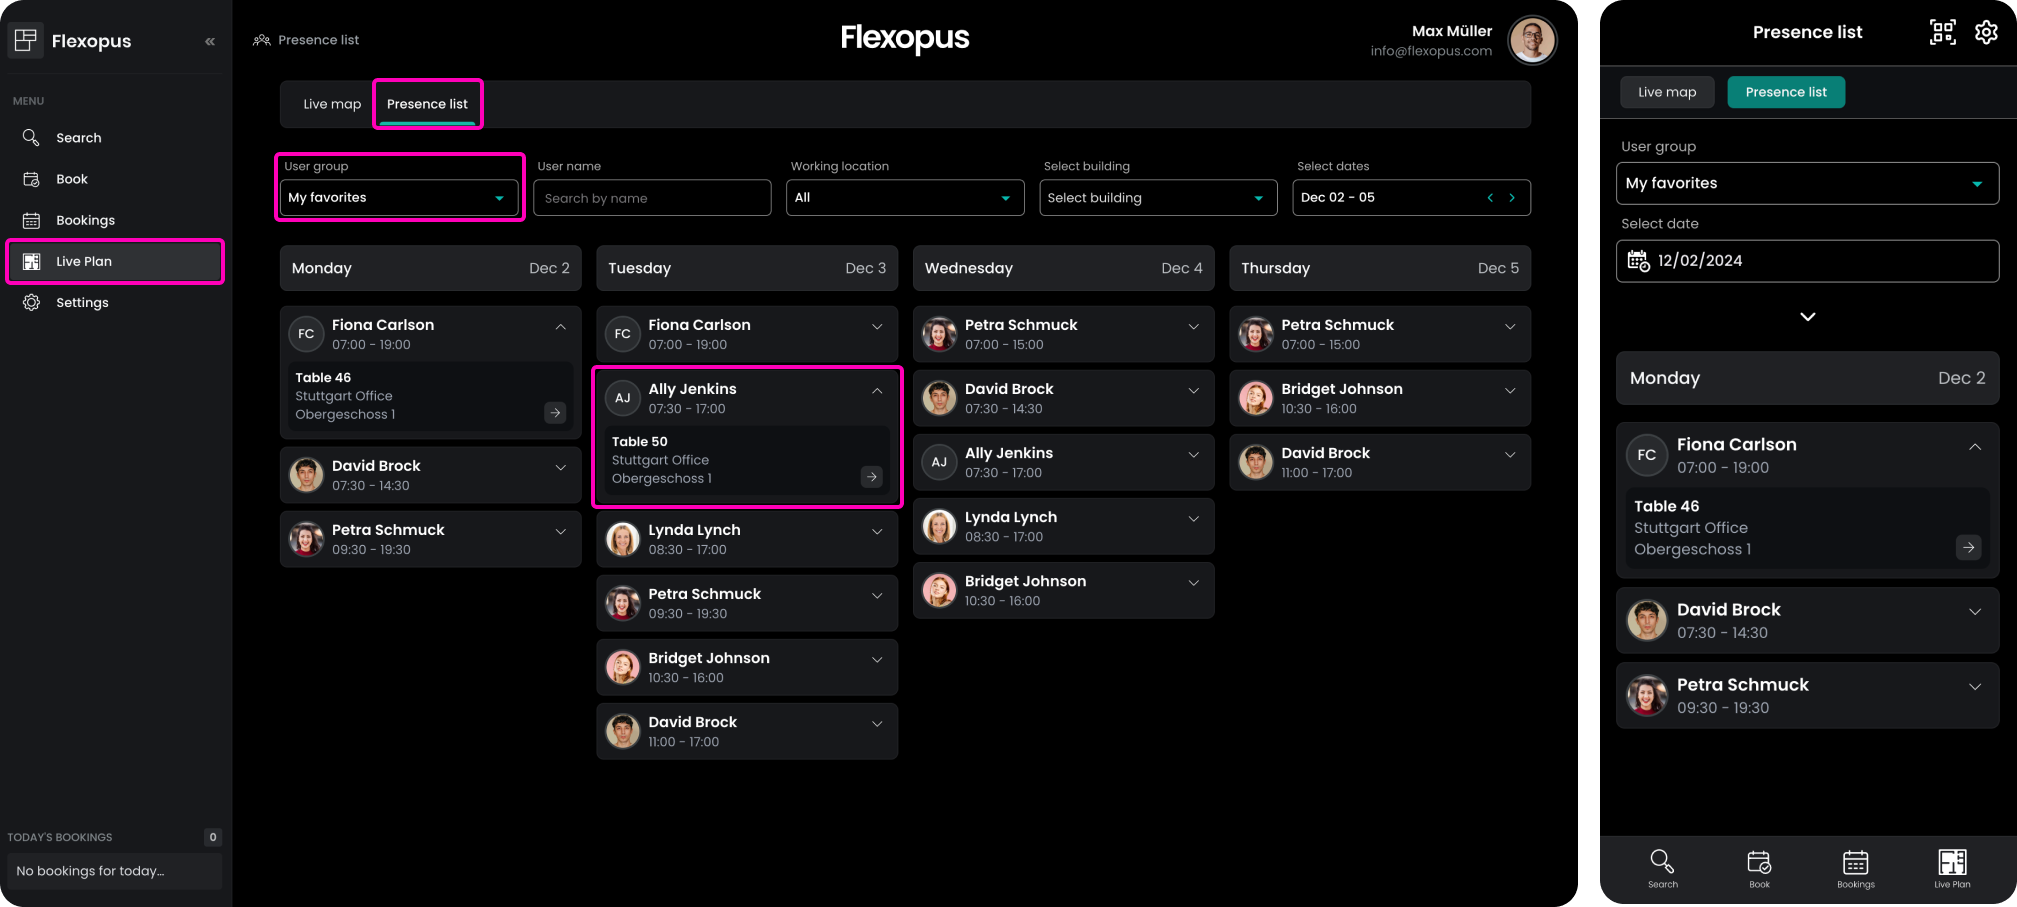
Using the presence list, you can enable the users to see upcoming office reservations of their favorite colleagues, or to select a public group to see the reservations of that group. This is basically a user group-based reservation overview. Learn more in this article:
Favorites
Booking settings > Favorites
Enable users to mark other colleagues as favorite users. This feature is recommended to be used together with the presence list.
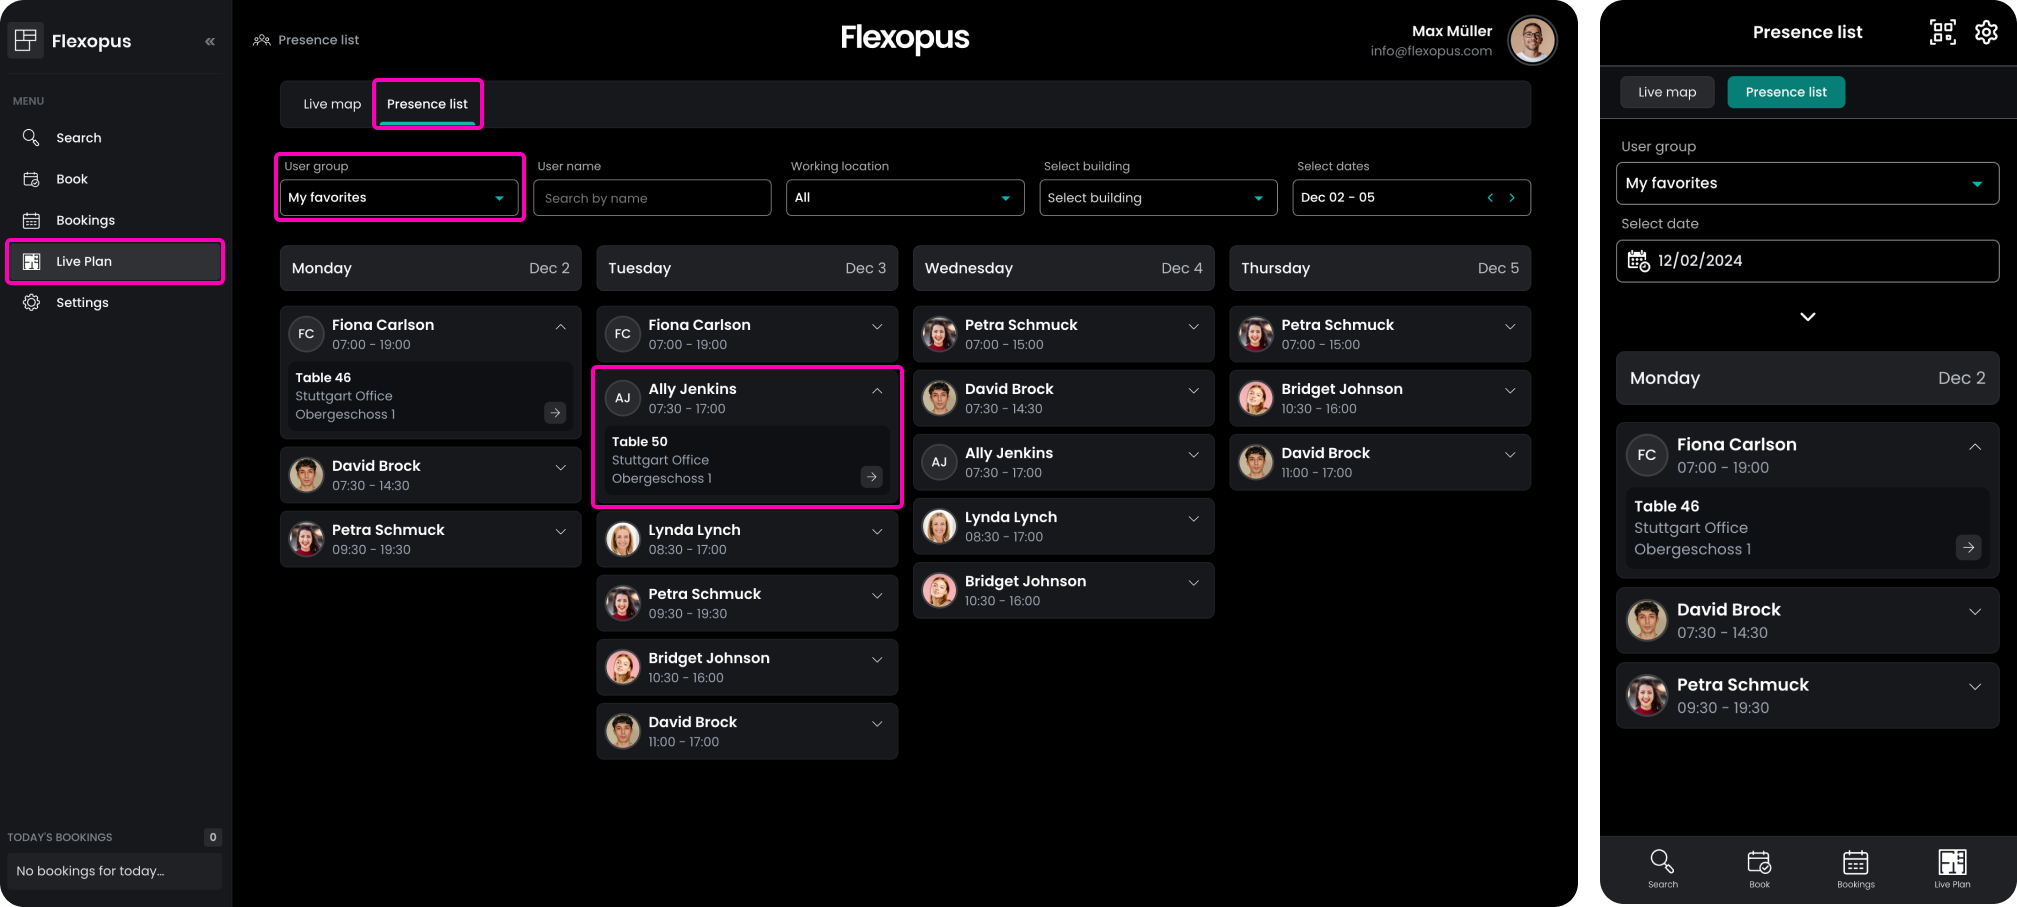
Enable users to mark resources as favorite objects to improve the booking process.
Additional modules
There are a few other modules that you can enable in Flexopus. You can decide individually about these settings.
Check-In module
Booking settings > Check-In Module
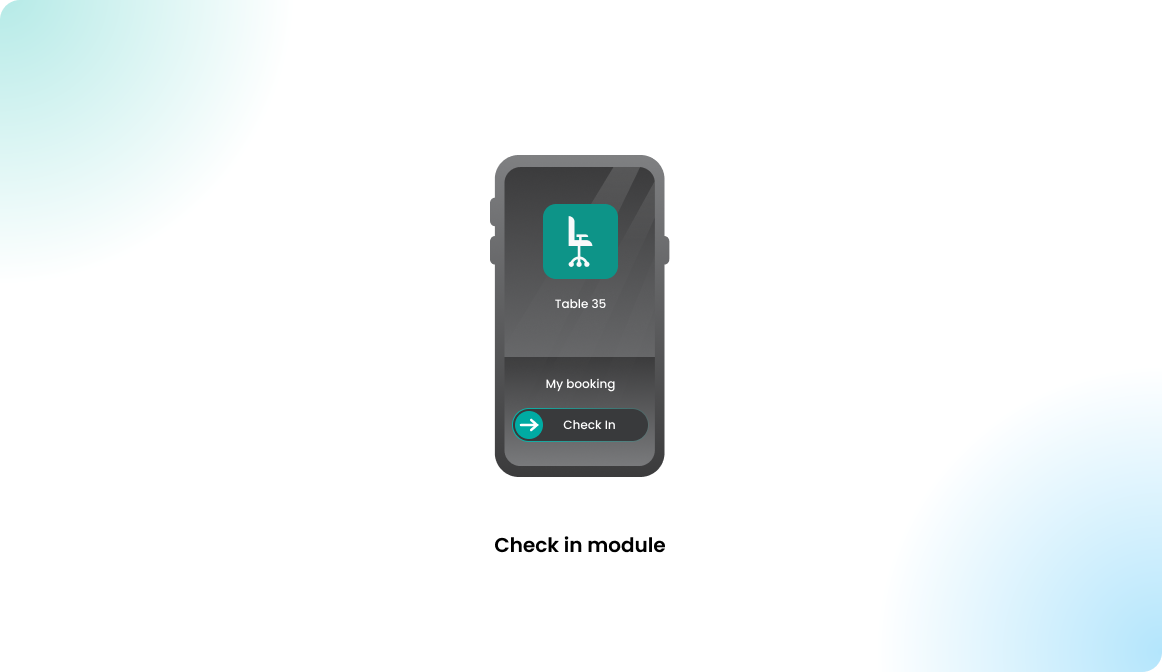
By enabling the check-in module, you can enforce users to confirm their bookings within a given grace period. Bookings without a confirmed check-in will be deleted automatically. The resource will be free to book by other users. Before the booking starts, the user can check in to the booking using the Flexopus application.
Learn more about the module here:
QR-code module
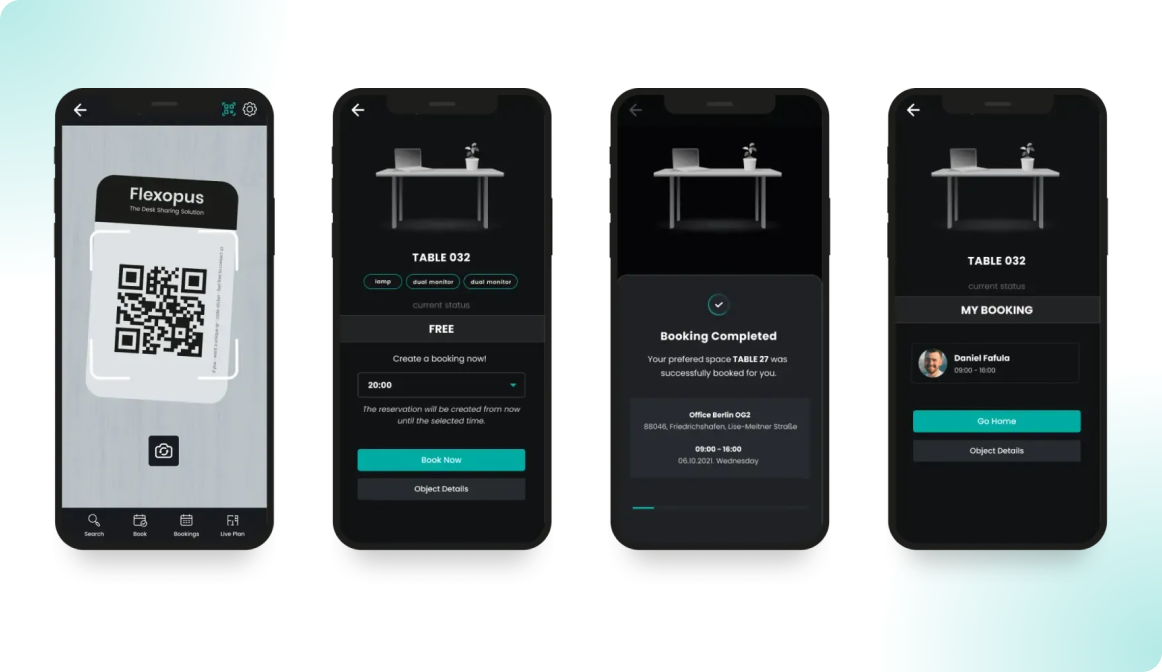
You can connect QR code stickers to Flexopus resources, such as workstations, meeting rooms, and parking spots, allowing users to access these resources by scanning the assigned QR codes. Each QR code contains a unique ID linked to a specific resource. After scanning the QR code, users can handle the following use cases:
- Check-in for their reservation.
- View object details such as availability or assigned equipment.
- Make a booking for the resource if it's available.
Learn more about the module here:
Issue reporting module
Often, users may want to report issues to facility management, such as broken equipment, misconfigurations, missing access rights, or problems with reservations or the application. Typically, these issues need to be linked to a specific building, floor, object, or reservation. To facilitate this process, Flexopus has developed a module to collect and manage issue reports effectively, ensuring they are connected to the relevant location or resource.
Learn more about the module here:

Vehicle plate numbers
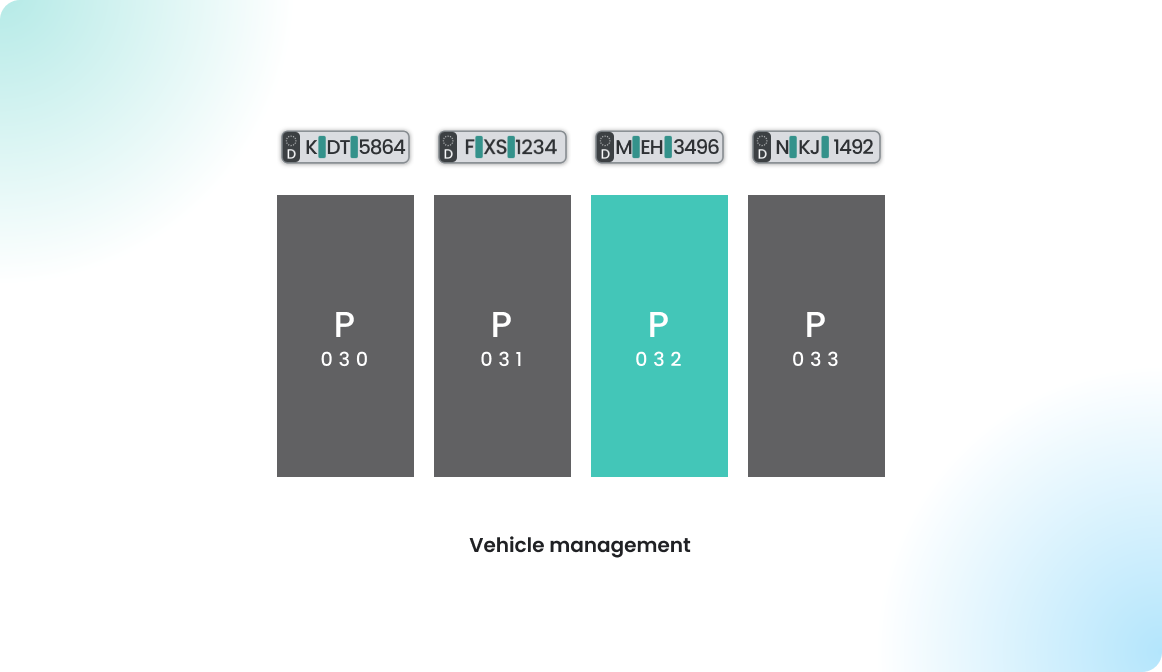
You can optionally enable this module to improve parking spot management. This feature allows users to manage their vehicles in their user profile settings, and those vehicles can then be used for parking spot bookings. To maintain better control over your parking spots, you may need to verify which vehicle is occupying a spot. With the Vehicle Management feature, you'll know exactly which car belongs to which user, making it easier to manage parking allocations efficiently.
Learn more about the module here:
Guest booking
TODO
Home office booking
TODO


