First Steps for Admins
Overview
If you’re planning to set up a new Flexopus application for your organization, you’re in the right place. Flexopus offers many configurable settings to tailor the application to your needs. This guide will walk you through the essential steps for a successful rollout. Follow each linked article as you go, and return here once you’ve completed each step to ensure nothing is missed.
First steps for admins
The following steps are required to ensure a successful rollout:
STEP 0 - Contract and subscription
To get the application, you need to subscribe to Flexopus. We assume that you have already done it.
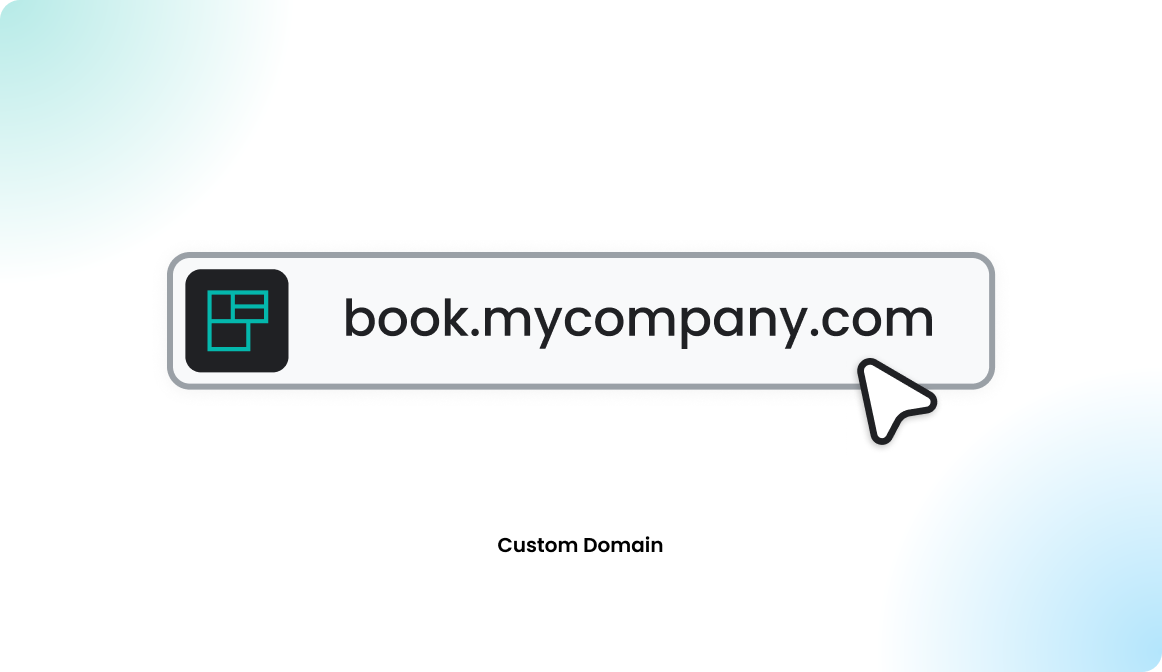
STEP 1 - Application URL
Unlike many other applications, Flexopus provides each customer with a unique URL, such as yourcompany.flexopus.com. After subscribing, you can specify your preferred domain, and we’ll set up the application for you. As part of this setup, you will receive an invitation as a system administrator.
If you prefer not to use a domain ending in flexopus.com, you can request a custom domain for your application.
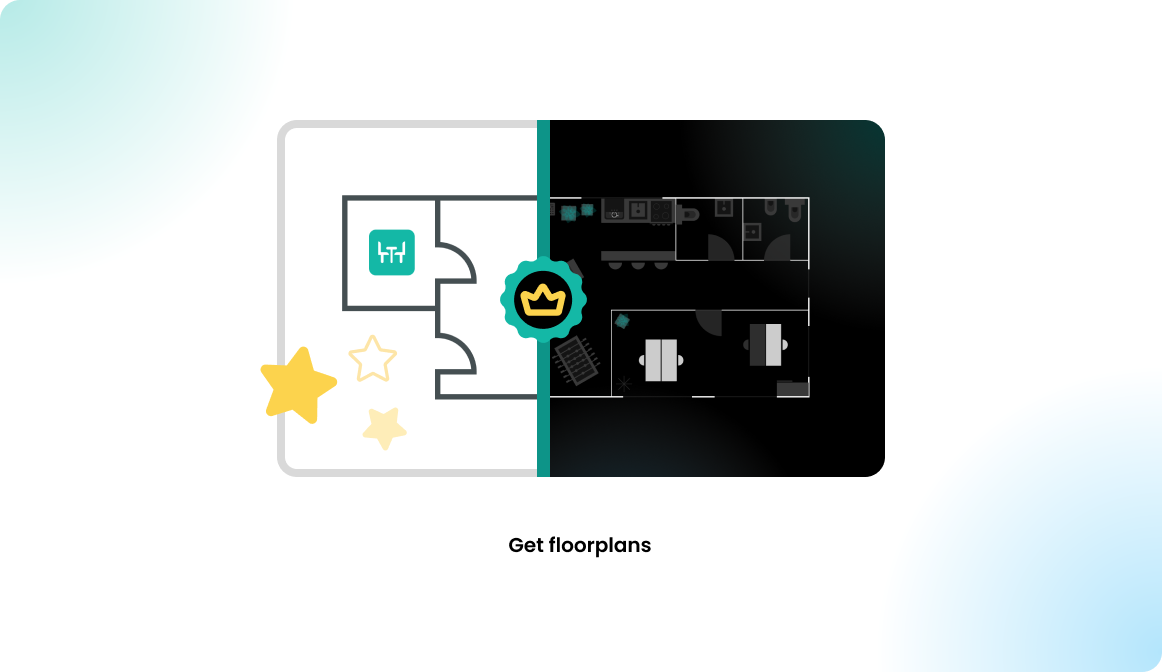
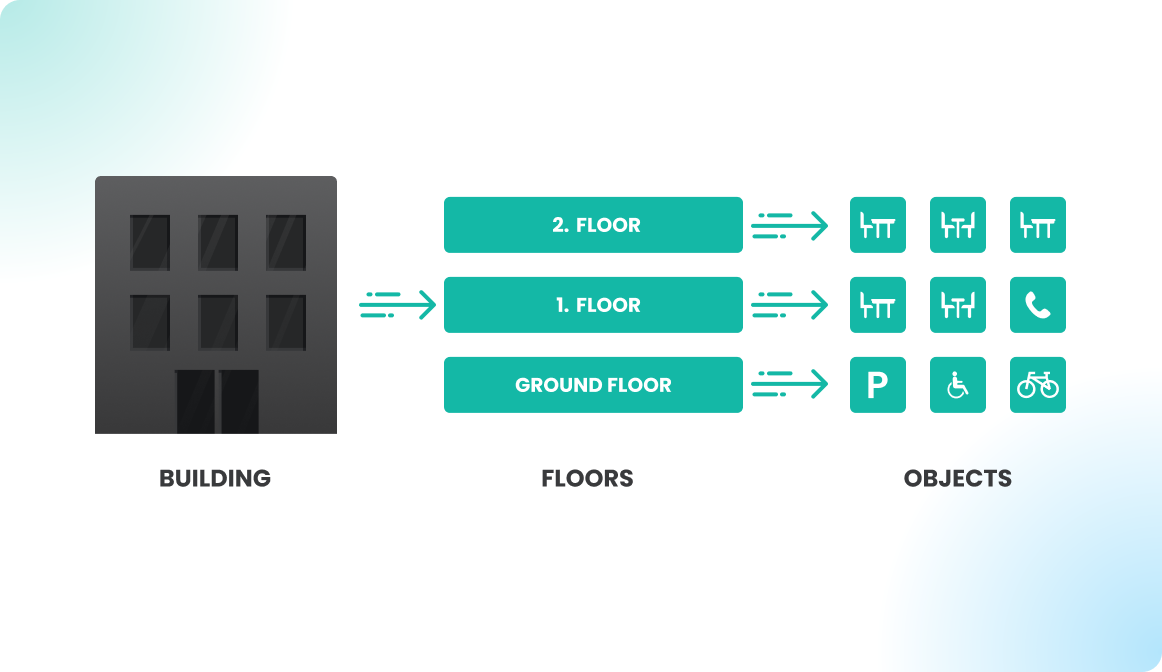
STEP 2 - Buildings and floors
Check out the following articles to learn how to set up your buildings and floors correctly, or watch our help video (https://youtu.be/41IBNtecJYY) for a step-by-step guide on setting them up in Flexopus for your organization:


In the next step, you need to get some floor plans for your offices. Read the following article to learn how to get the floor plans:
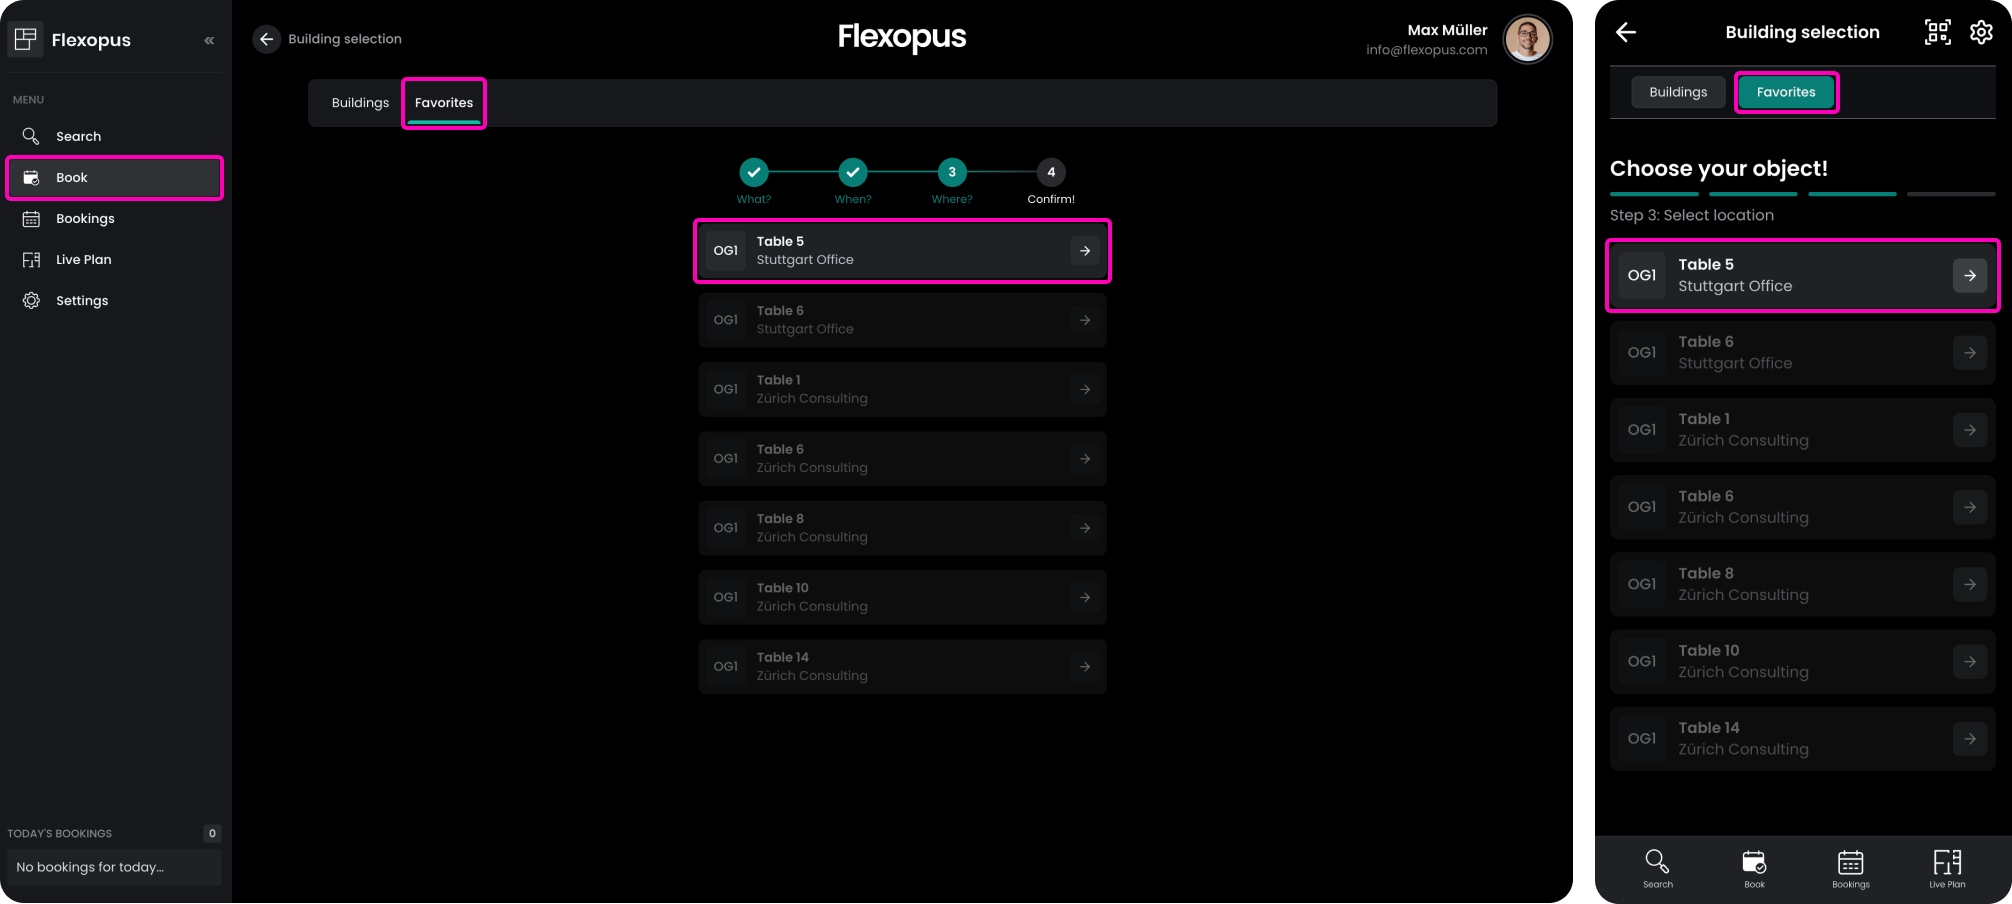
STEP 3 - Resources
Read the following articles to learn how to setup your resources correctly:
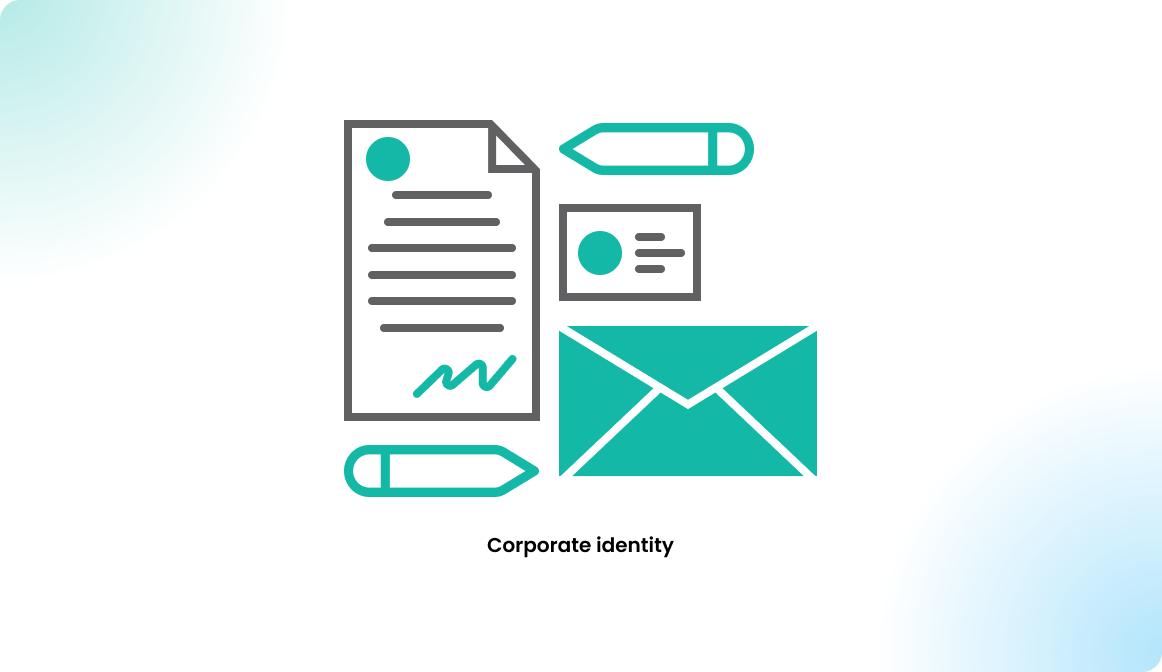
STEP 4 - Corporate identity
Configure the company data and the logo.
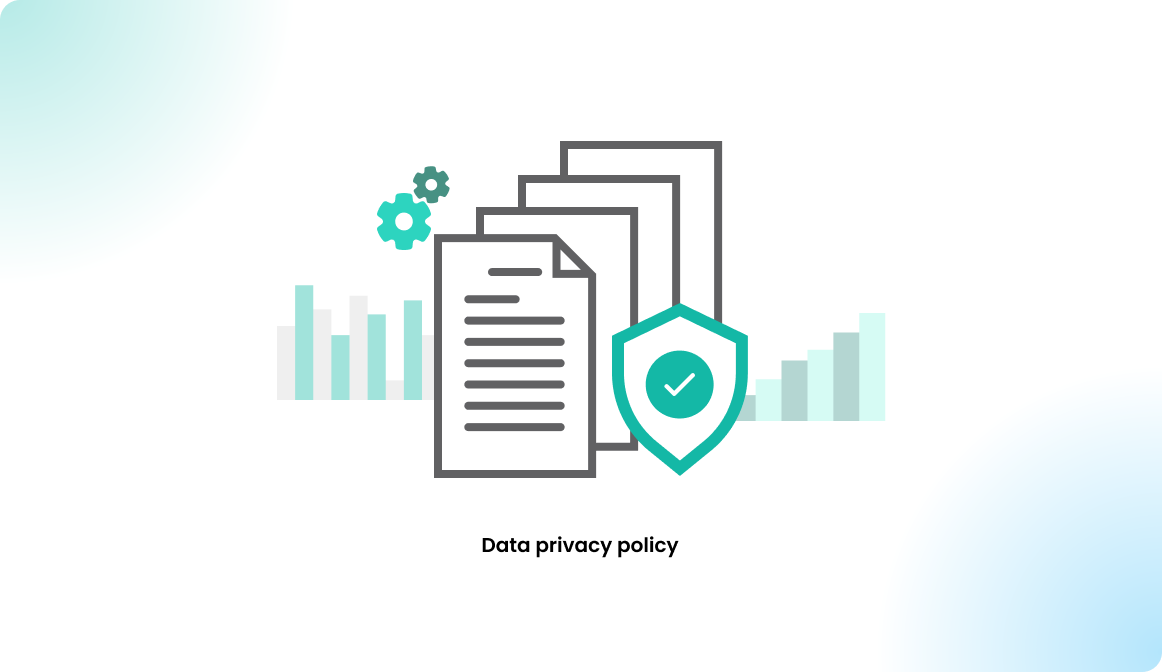
STEP 5 - Data privacy policy
Configure a custom data privacy policy or the one provided by Flexopus.
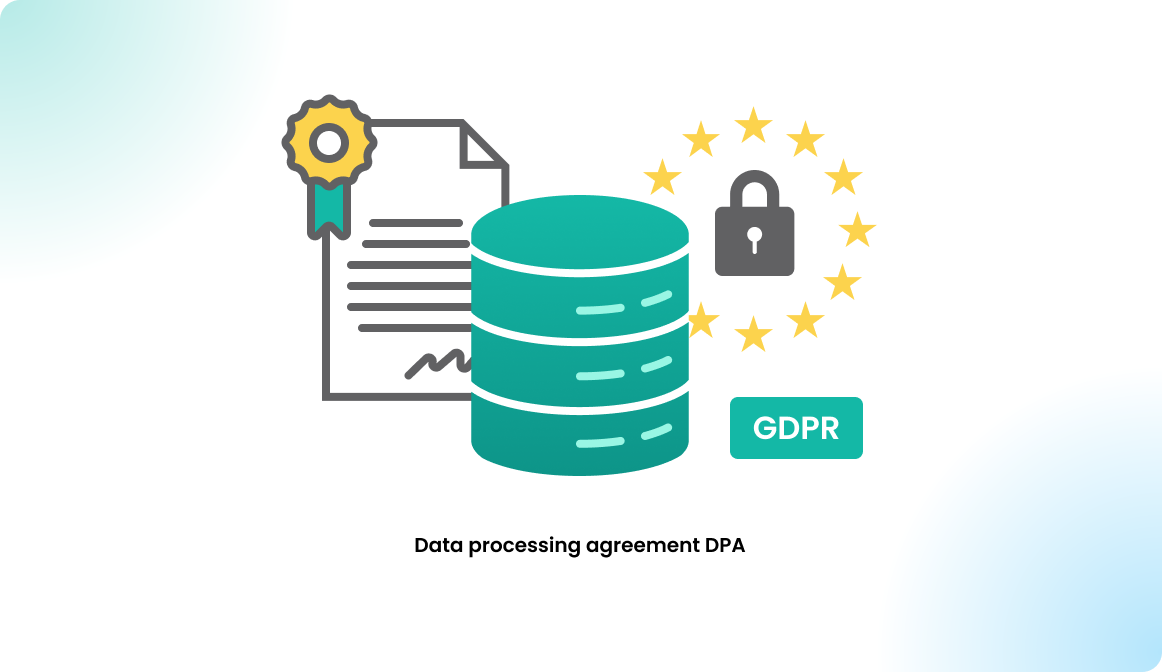
STEP 6 - Data processing agreement
Fill out and sign the data processing agreement to comply with the GDPR.
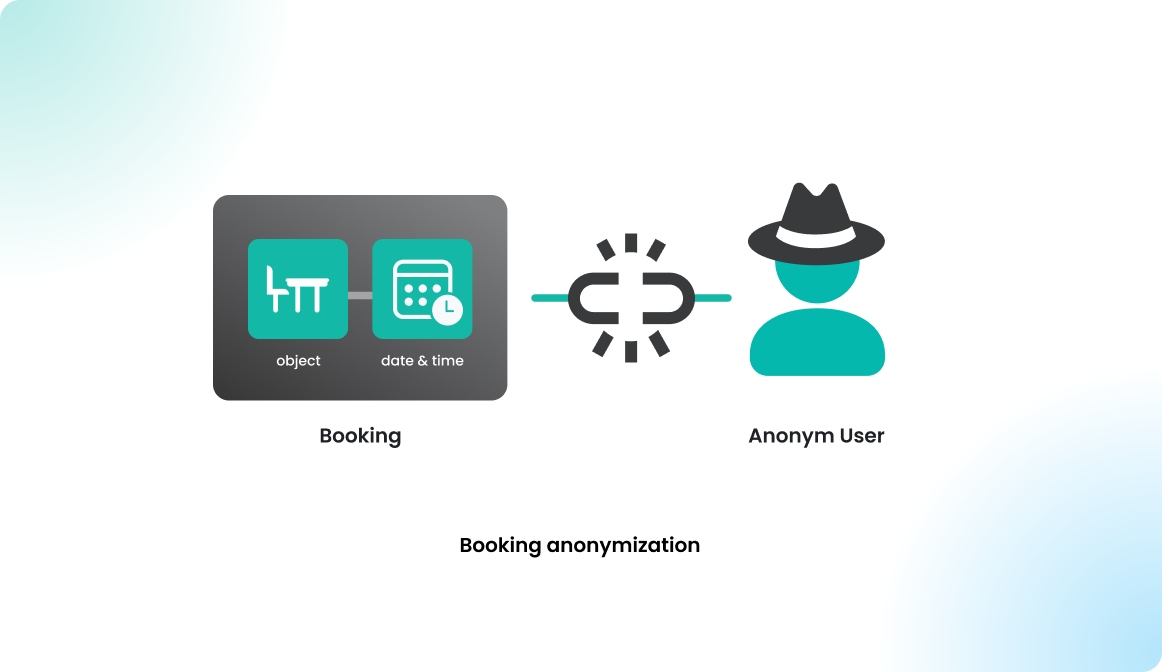
STEP 7 - Data protection settings
Set limitations within Flexopus for the visibility of the users:
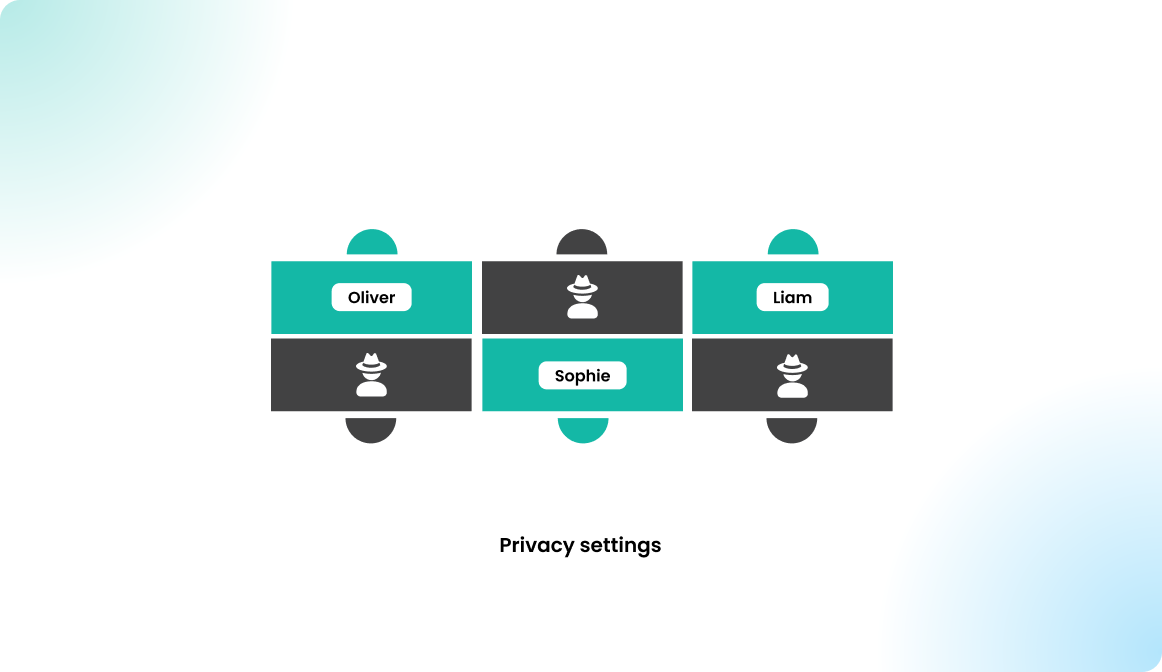
Anonymize the reservations after a certain time:
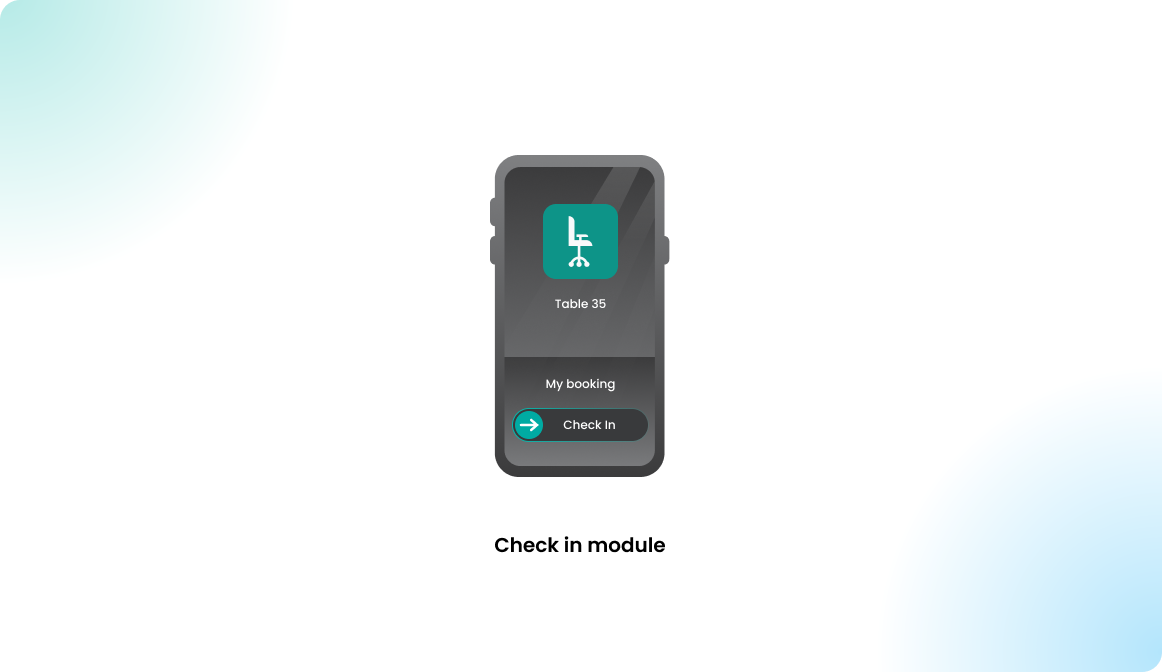
STEP 8 - Check In Module
Learn about the check-in module and consider its relevance for your organization.
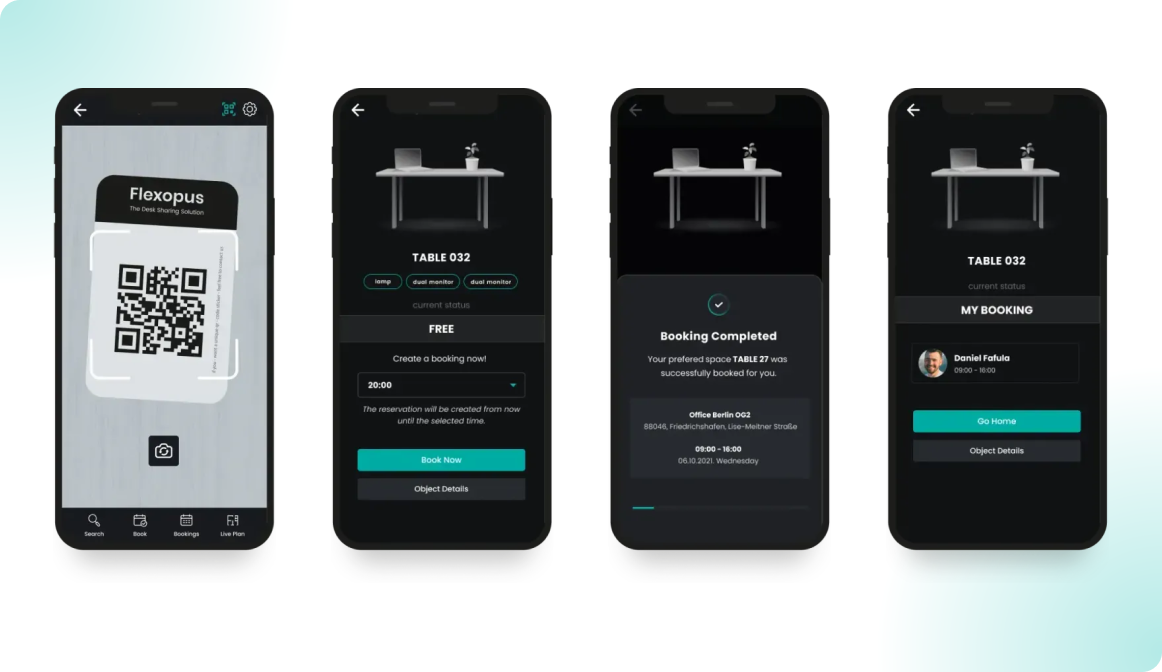
STEP 9 - QR Codes
Learn about the QR code module and consider its relevance for your organization.
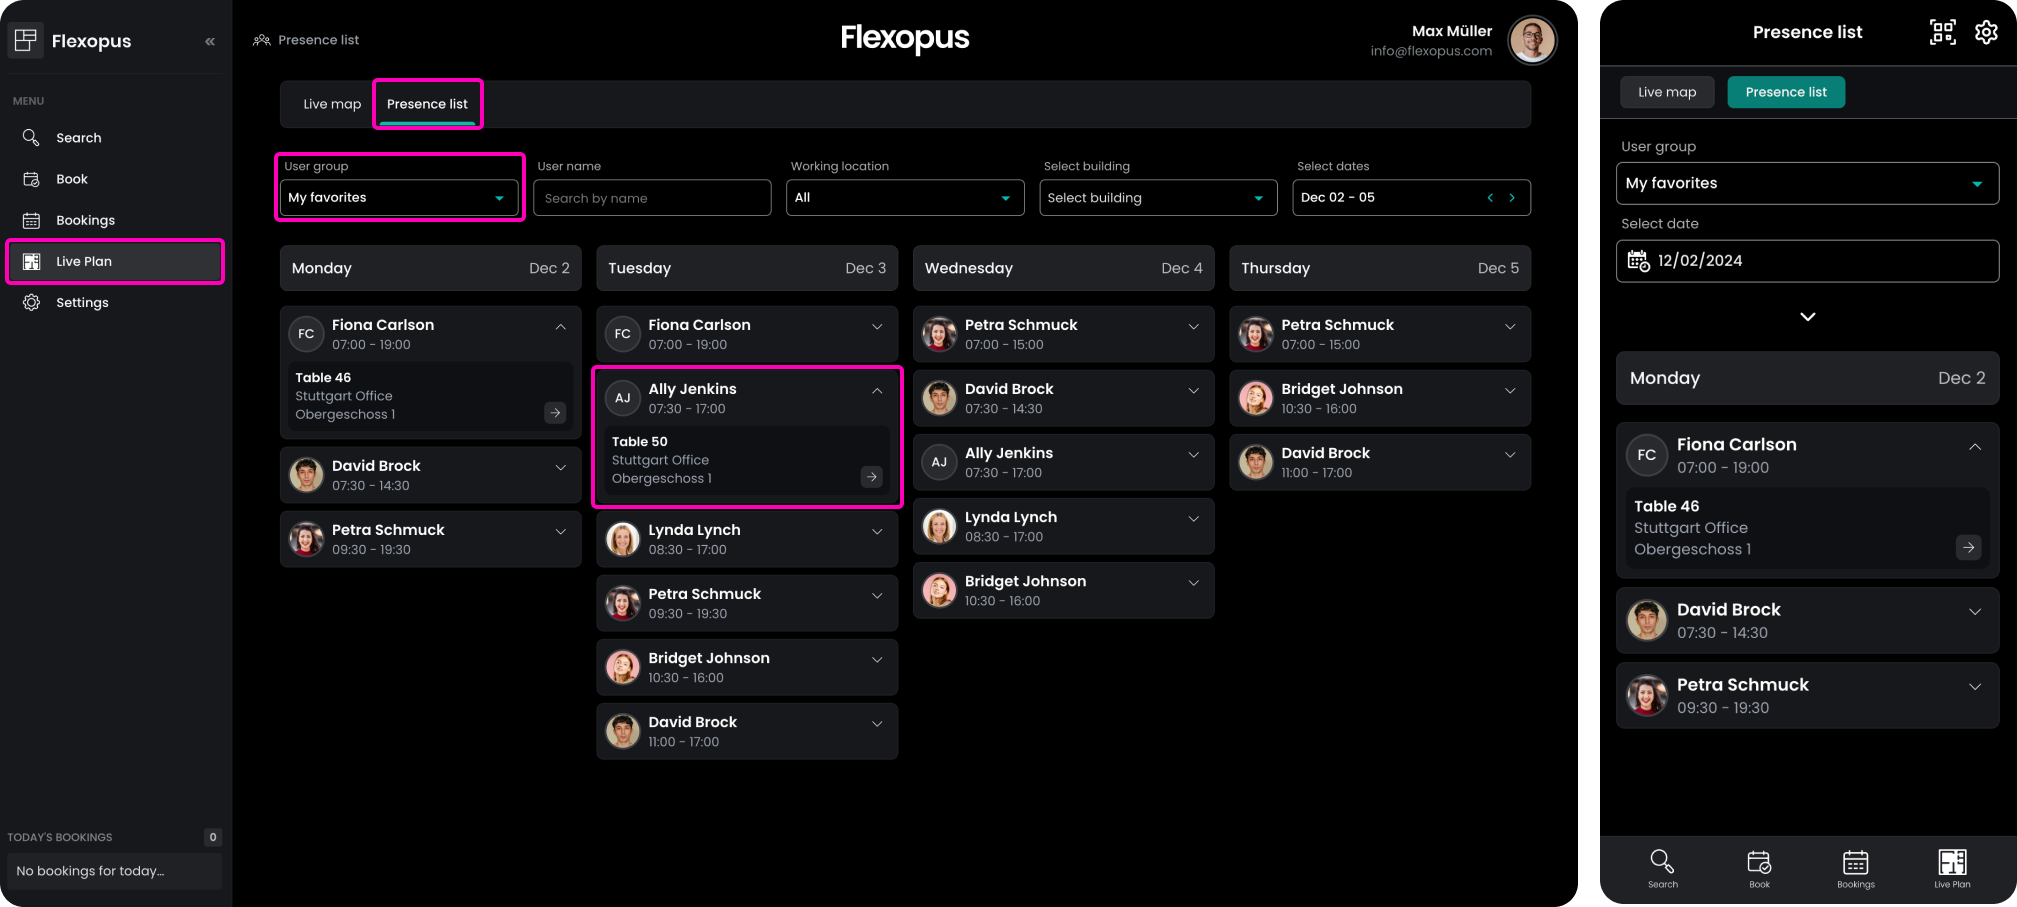
STEP 10 - Favorites handling
Learn about the favorites handling and consider its relevance for your organization:

STEP 11 - Booking settings
Navigate to the booking settings and decide how many days in advance you want to enable the bookings for different resource types.
STEP 12 - Invite users / Single Sign On
To set up the appropriate integrations and processes for user import, start by configuring a SAML2 SSO integration with access management at your Identity Provider. This setup generally suffices, as users will be created in Flexopus automatically after their first login attempt. Alternatively, you can provision users in advance using a compatible integration. For more detailed steps, please refer to the linked article.
Quick links for SSO configuration:
- Entra ID SAML2 SSO
- AD FS SAML2 SSO
- Microsoft O365 OAuth SSO
- Google SAML2 SSO
- Google OAuth SSO
- Okta SAML2 SSO
- Ping SAML2 SSO
- KeyCloak SAML2 SSO
- Akamai SAML2 SSO
- Custom SAML2 SSO
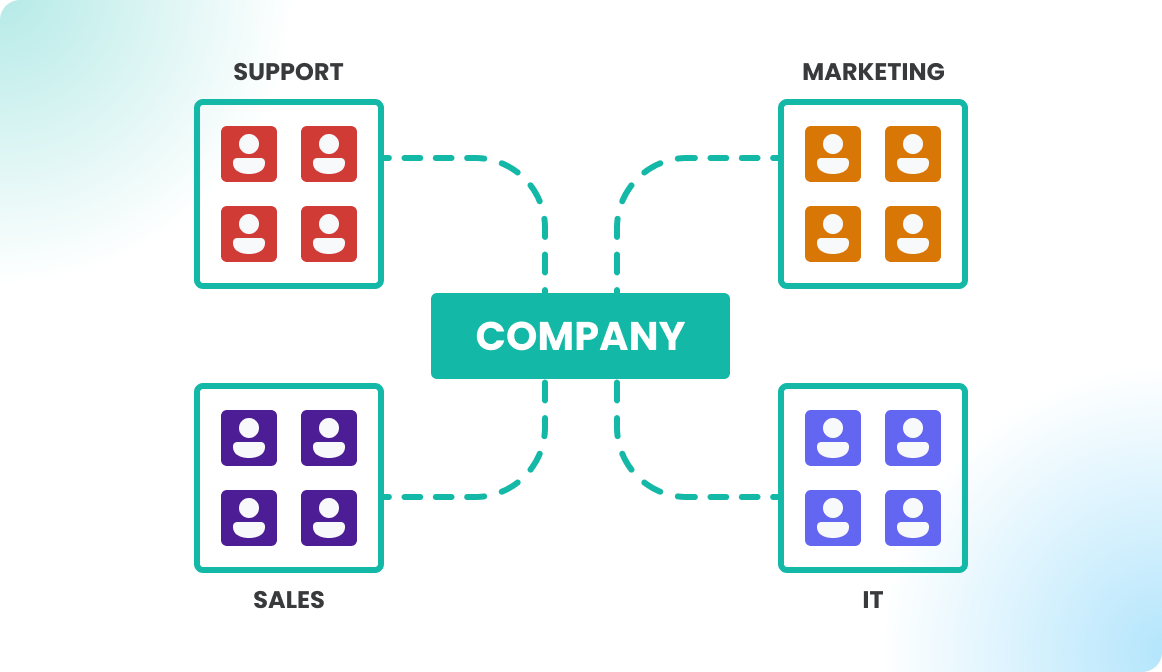
STEP 13 - Group management / synchronization
Learn more about user groups here:
Quick links for group synchronization:
STEP 14 - Onboarding
In the last step, roll out the application with a proper communication internally.
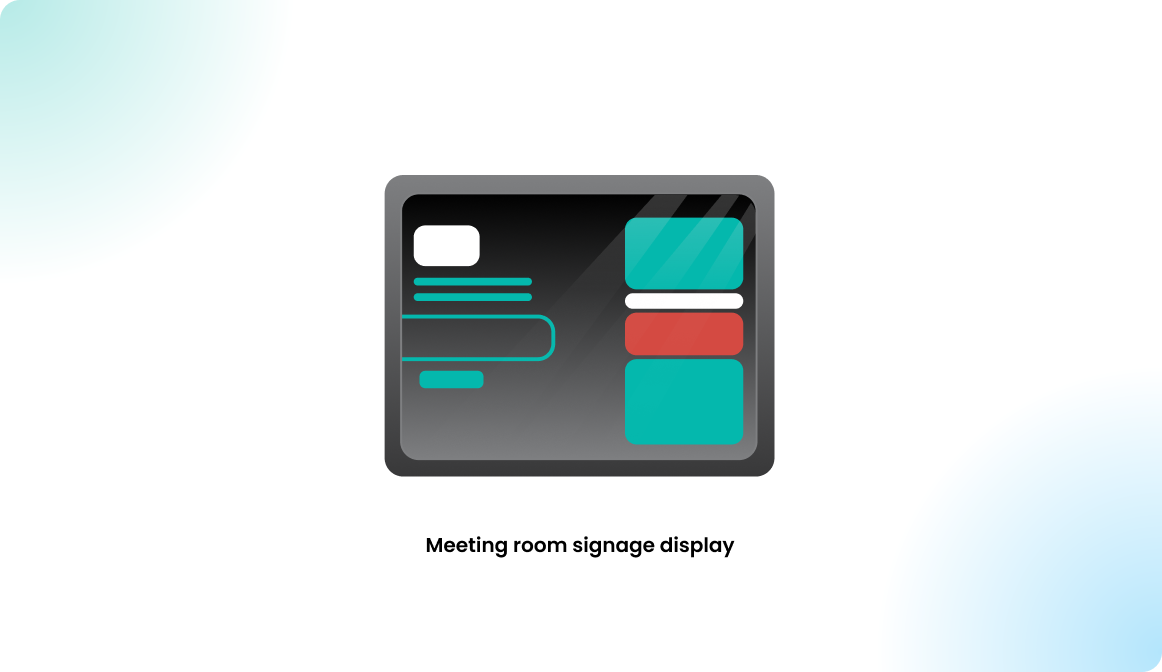
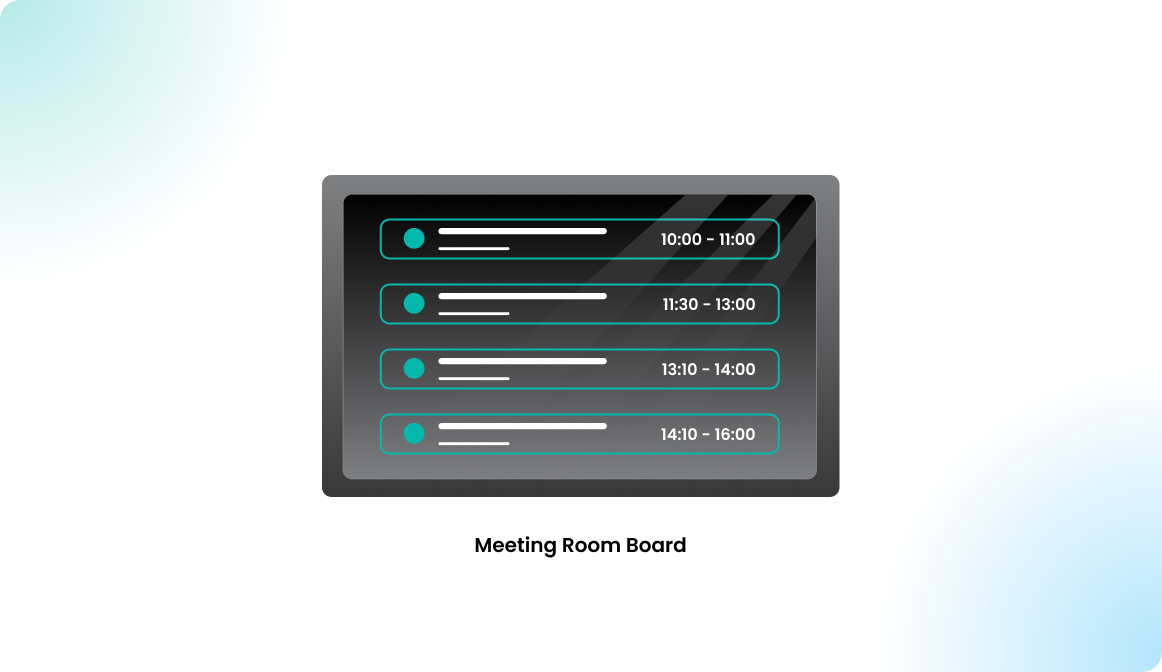
Additional modules for configuration
Digital Signage Display

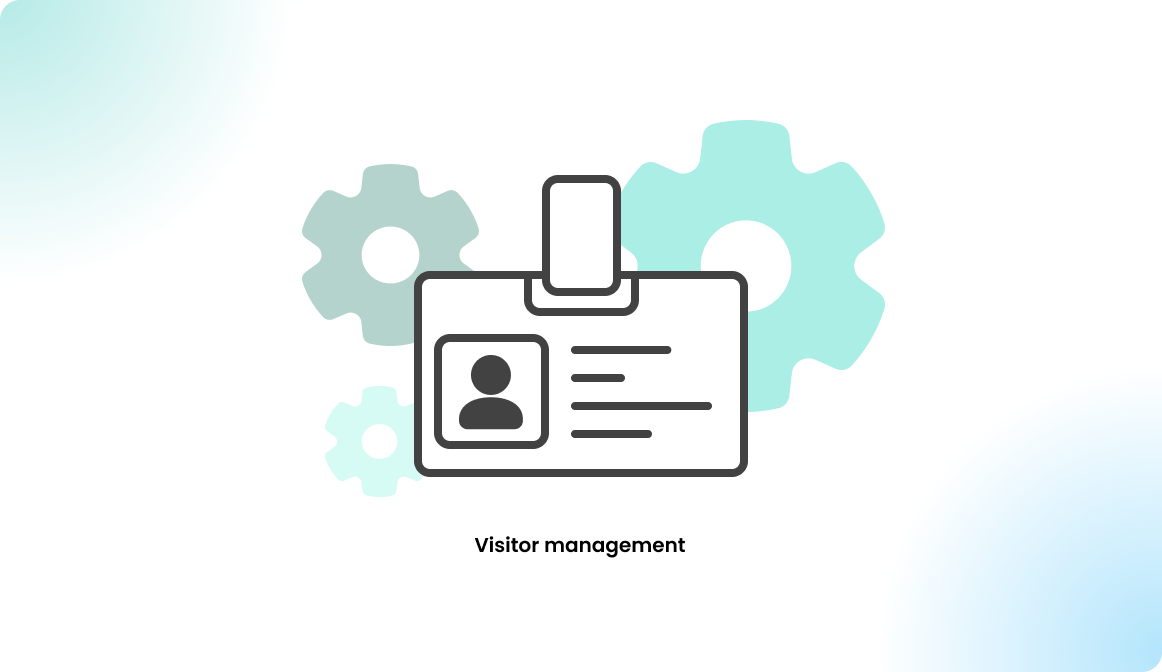
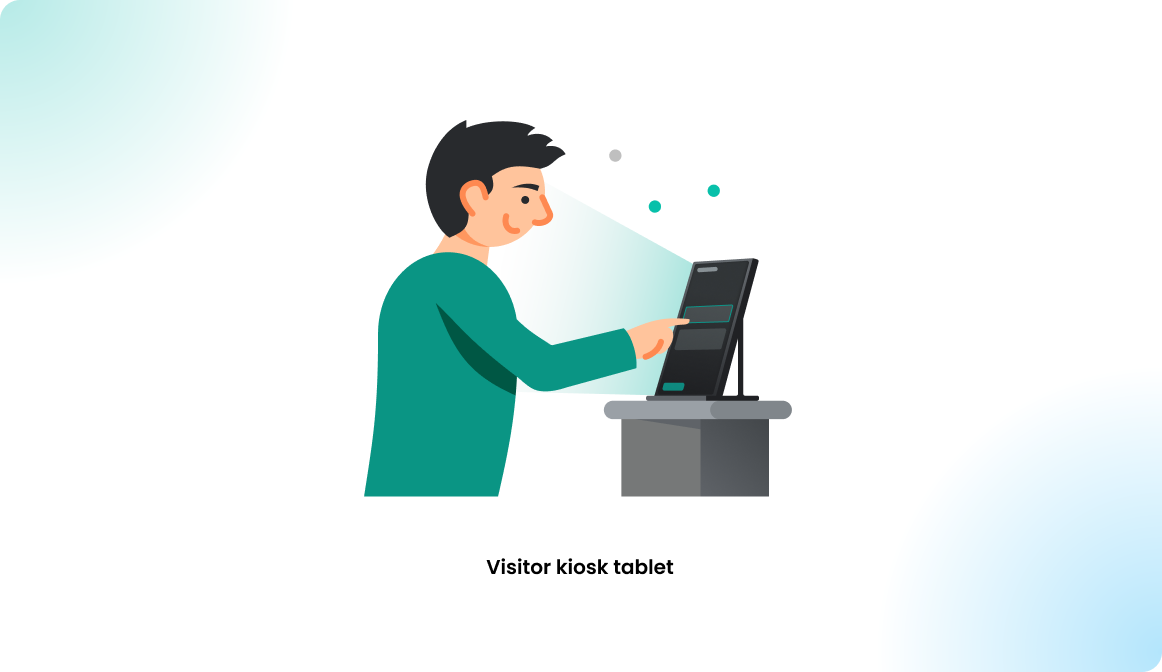
Visitor management
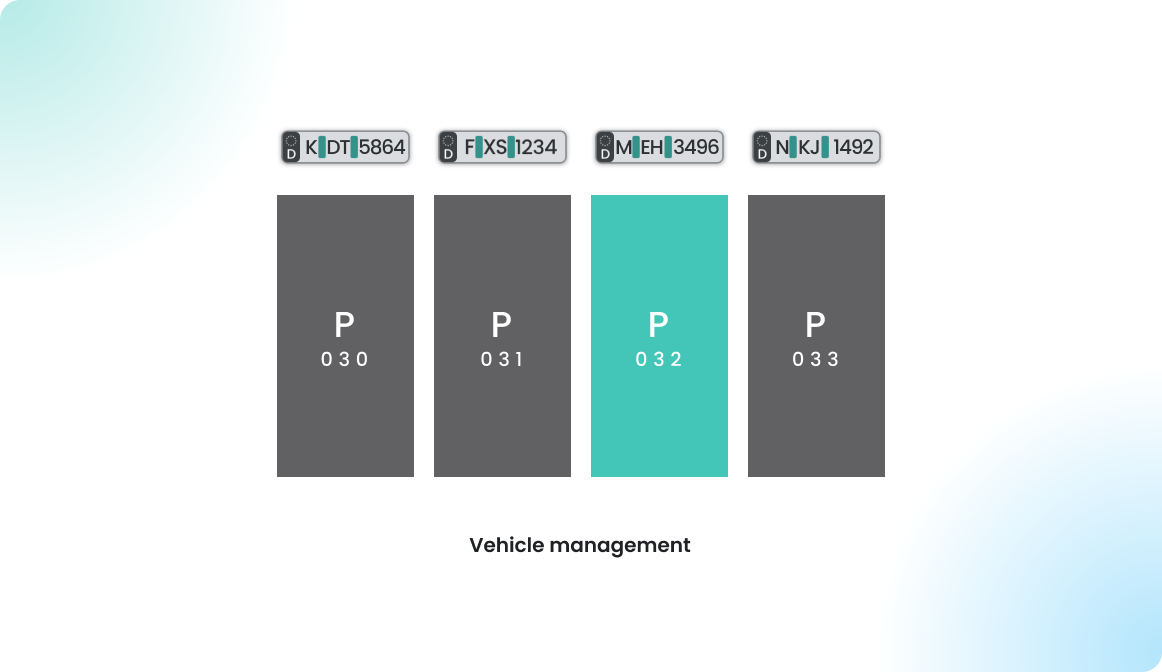
Parking spot booking