Check-in for users
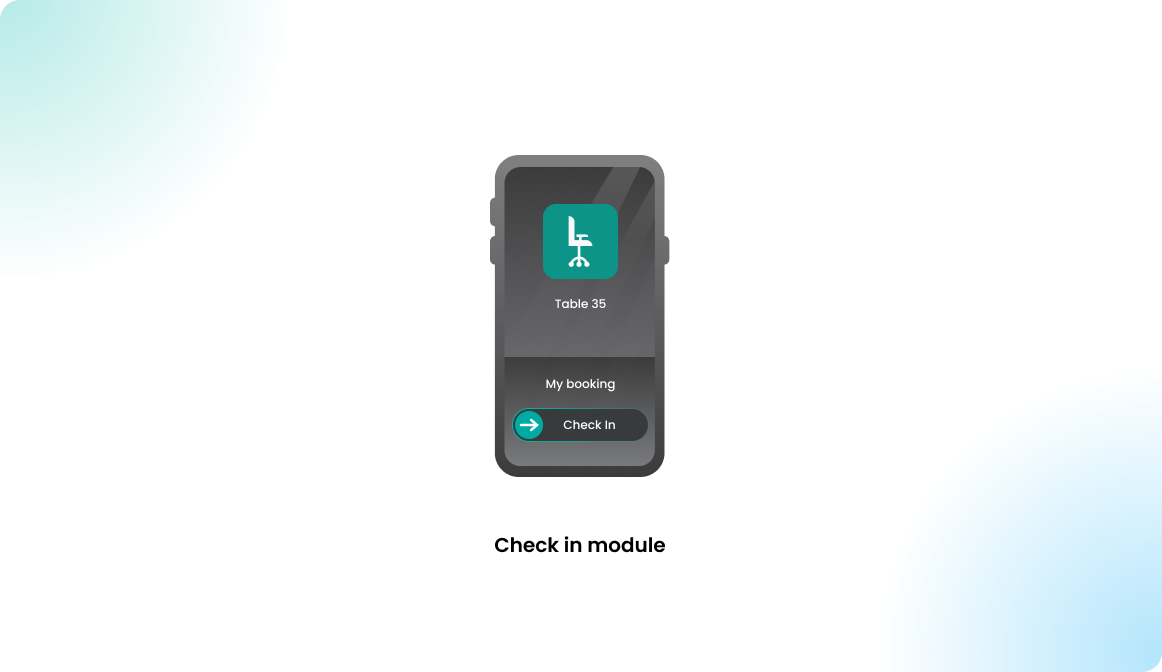
Overview
In case your organization activated the check-in feature, you will be required to confirm your reservation in a set time frame, otherwise your booking will be automatically deleted. This check-in needs to be done within the grace period.
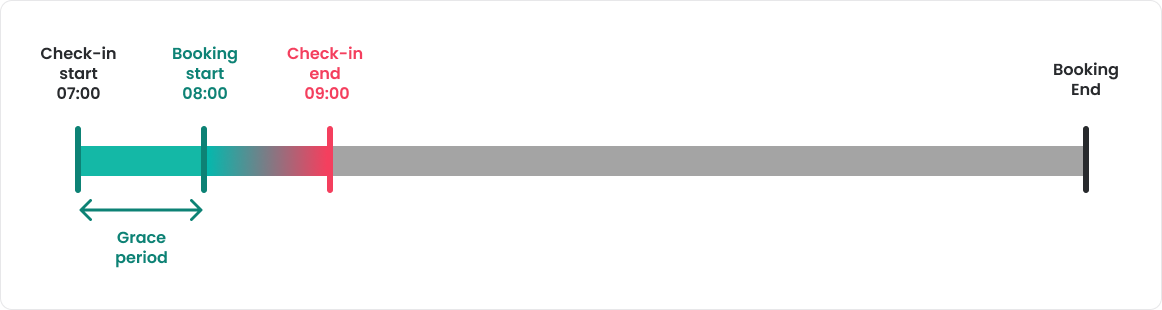
The check-in grace period defines how much time is given for the user to check into a booking before and after the booking is supposed to start.
By using the check-in module, your administrators can achieve multiple goals:
- Free up unused desks by automatically canceling bookings when users don’t check in on time. This ensures that other users can access available spaces.
- Remind you as a user to use the application in your daily routine. You book and keep in mind that you have a reservation. If you forget about the reservation, you most probably don't need it.
How to check in?
The check-in button activates within in the check-in grace period. The following options are provided to confirm a check-in:
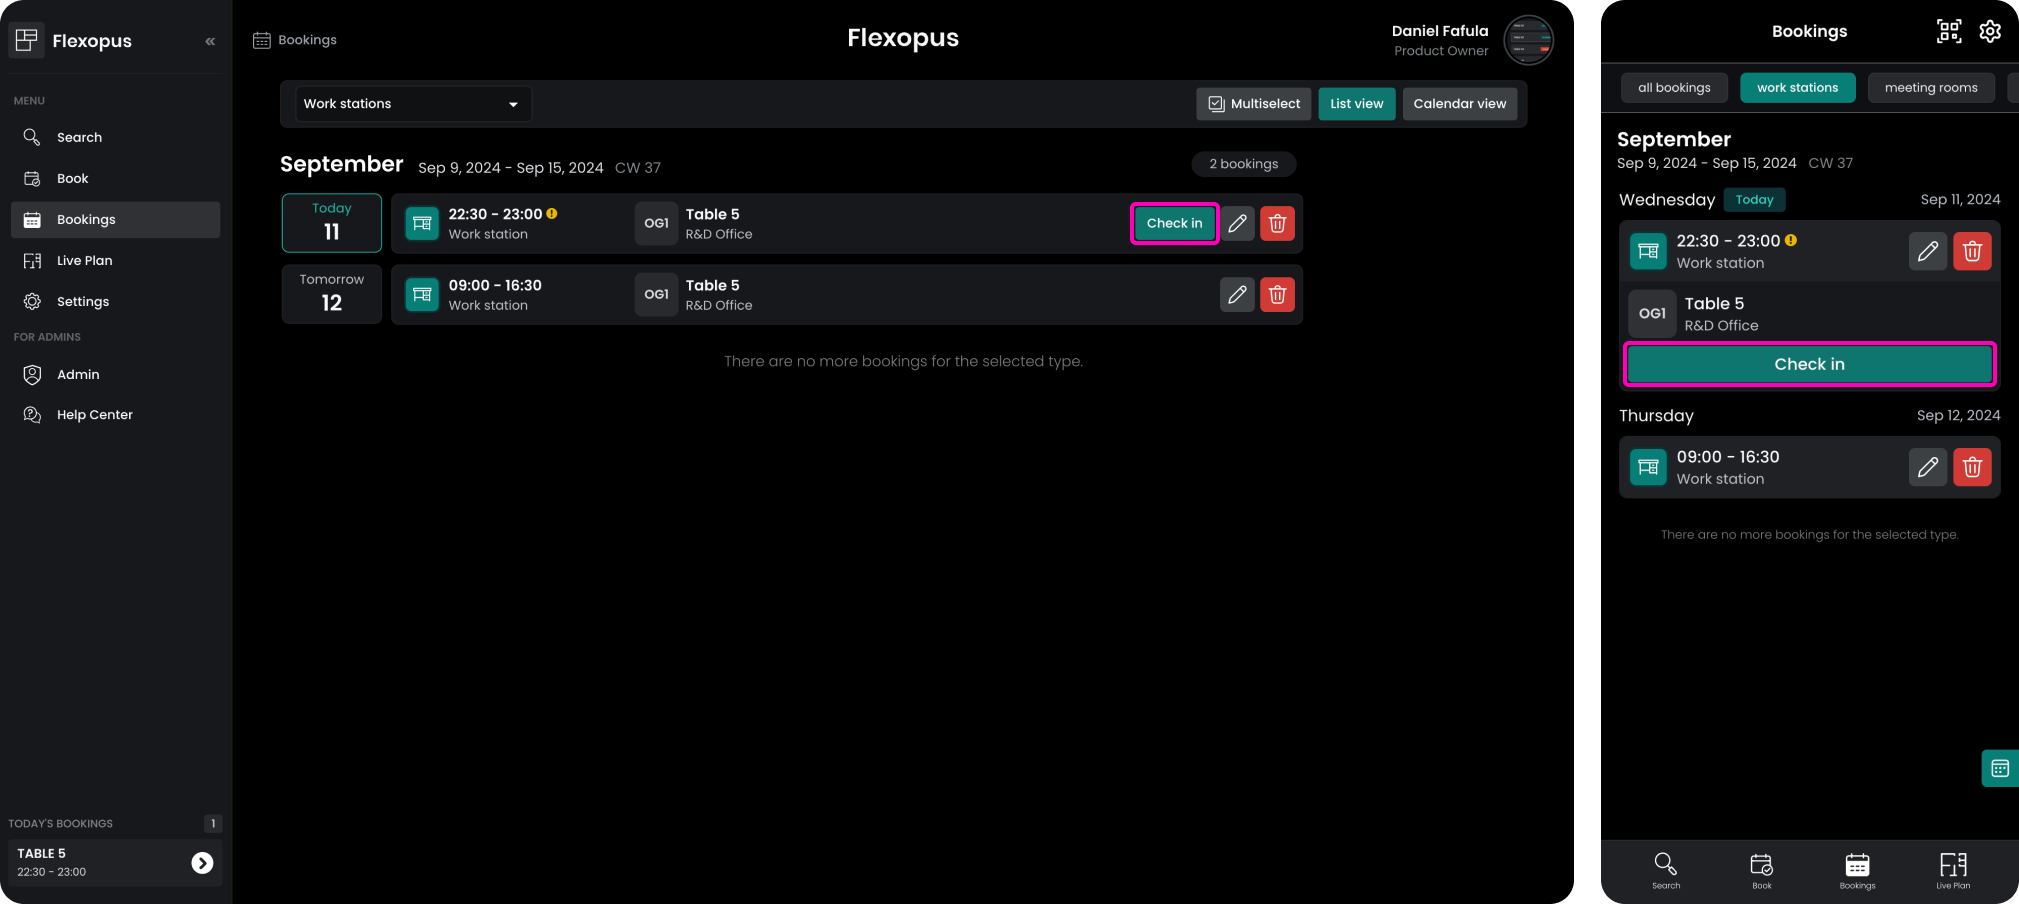
list view check-in
Navigate to the bookings list in your user profile and click on the check in symbol:
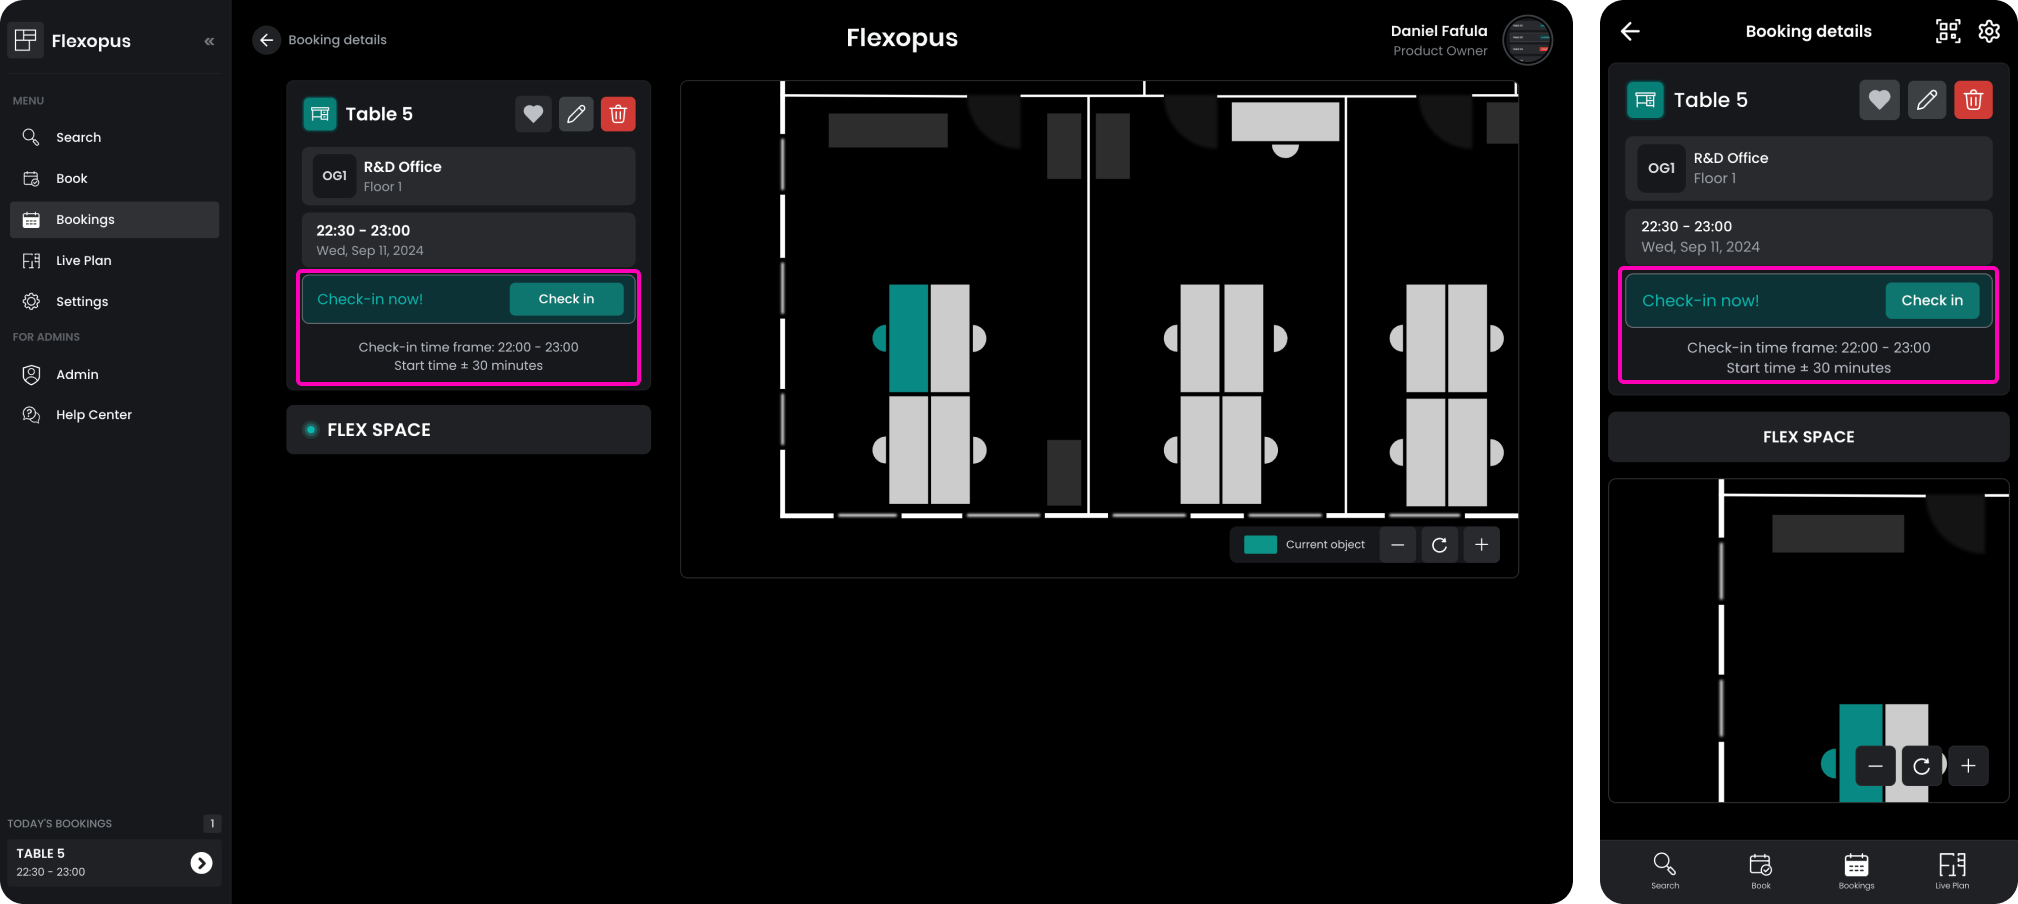
detail view check-in
Open the booking detail view and check in there:
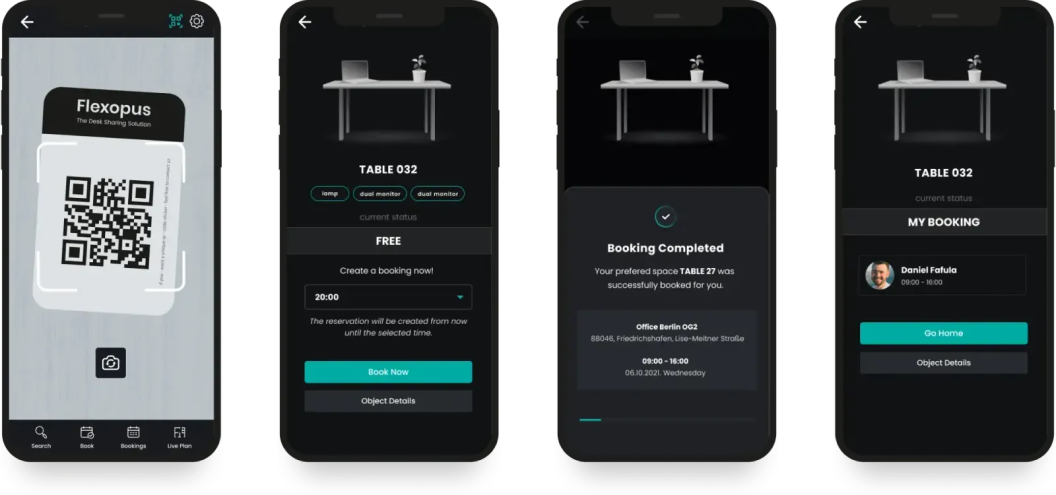
QR code check-in
The third option is to scan the QR code that may be associated with the resource. The QR code module will recognize the active booking and offer the option to check-in. Learn more about the QR code module here:
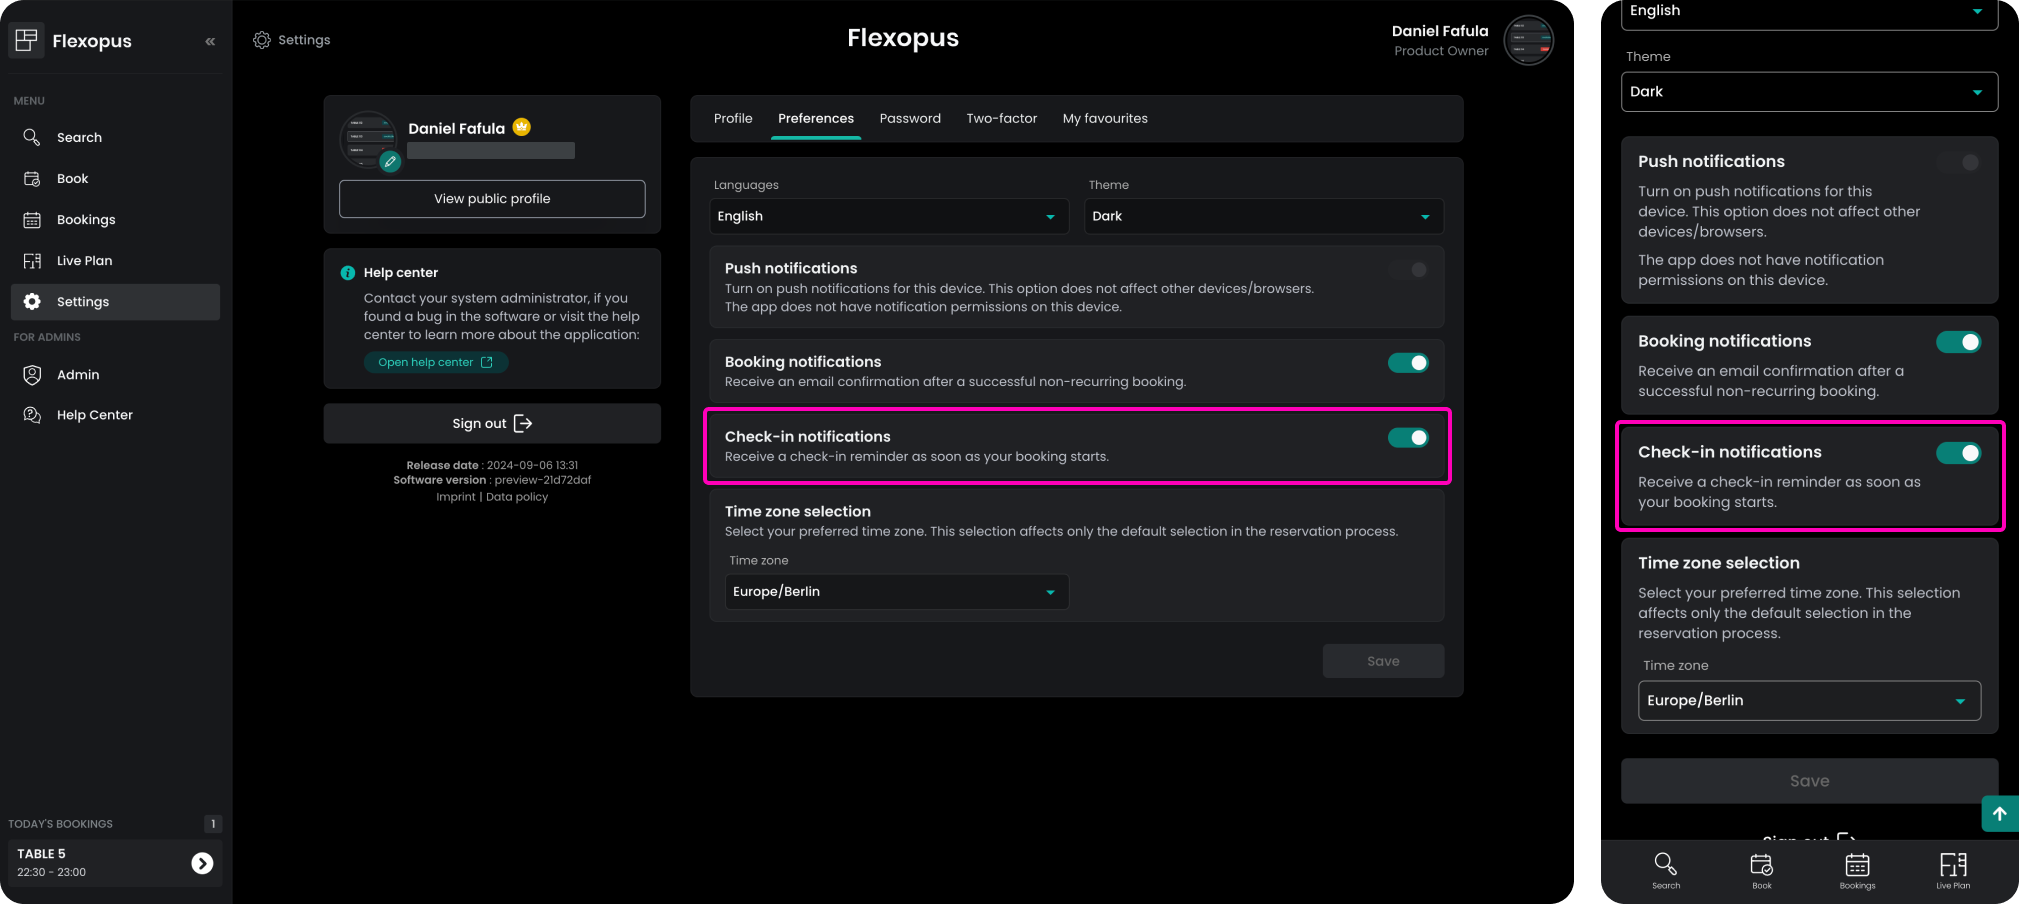
Check-In Reminders
In the profile settings, you can specify whether you want to receive check-in reminders. Once you enable this option, you will receive a check-in reminder as soon as your booking starts.
Learn more about the notifications here: