User Groups
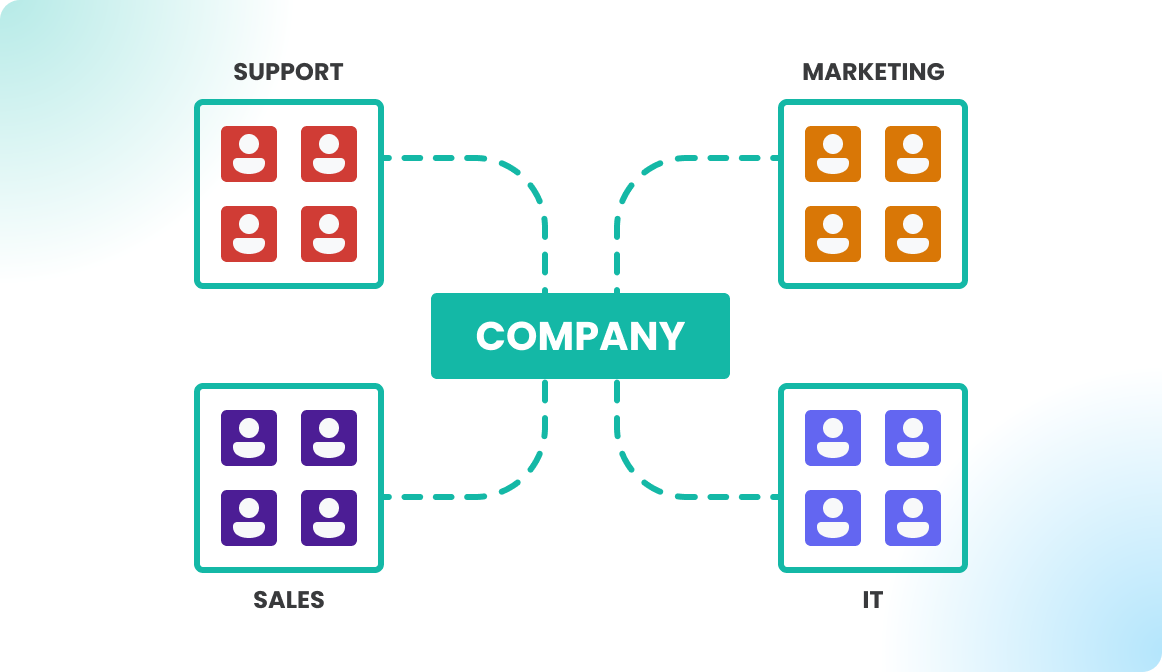
Introduction
Here you can see a list of actions you can do with user groups to use and manage them as an administrator:
How to manage the user groups?
- Manage groups manually
- Manage groups via the SCIM API
- Manage groups via SAML2 (memberOf)
- Import users and groups (CSV and XLSX)
How to use the user groups?
- Building level - access control
- Floor plan level - access control
- Object level - reservation rights
- Home office - reservation rights
How to manage the user groups
Manage groups manually
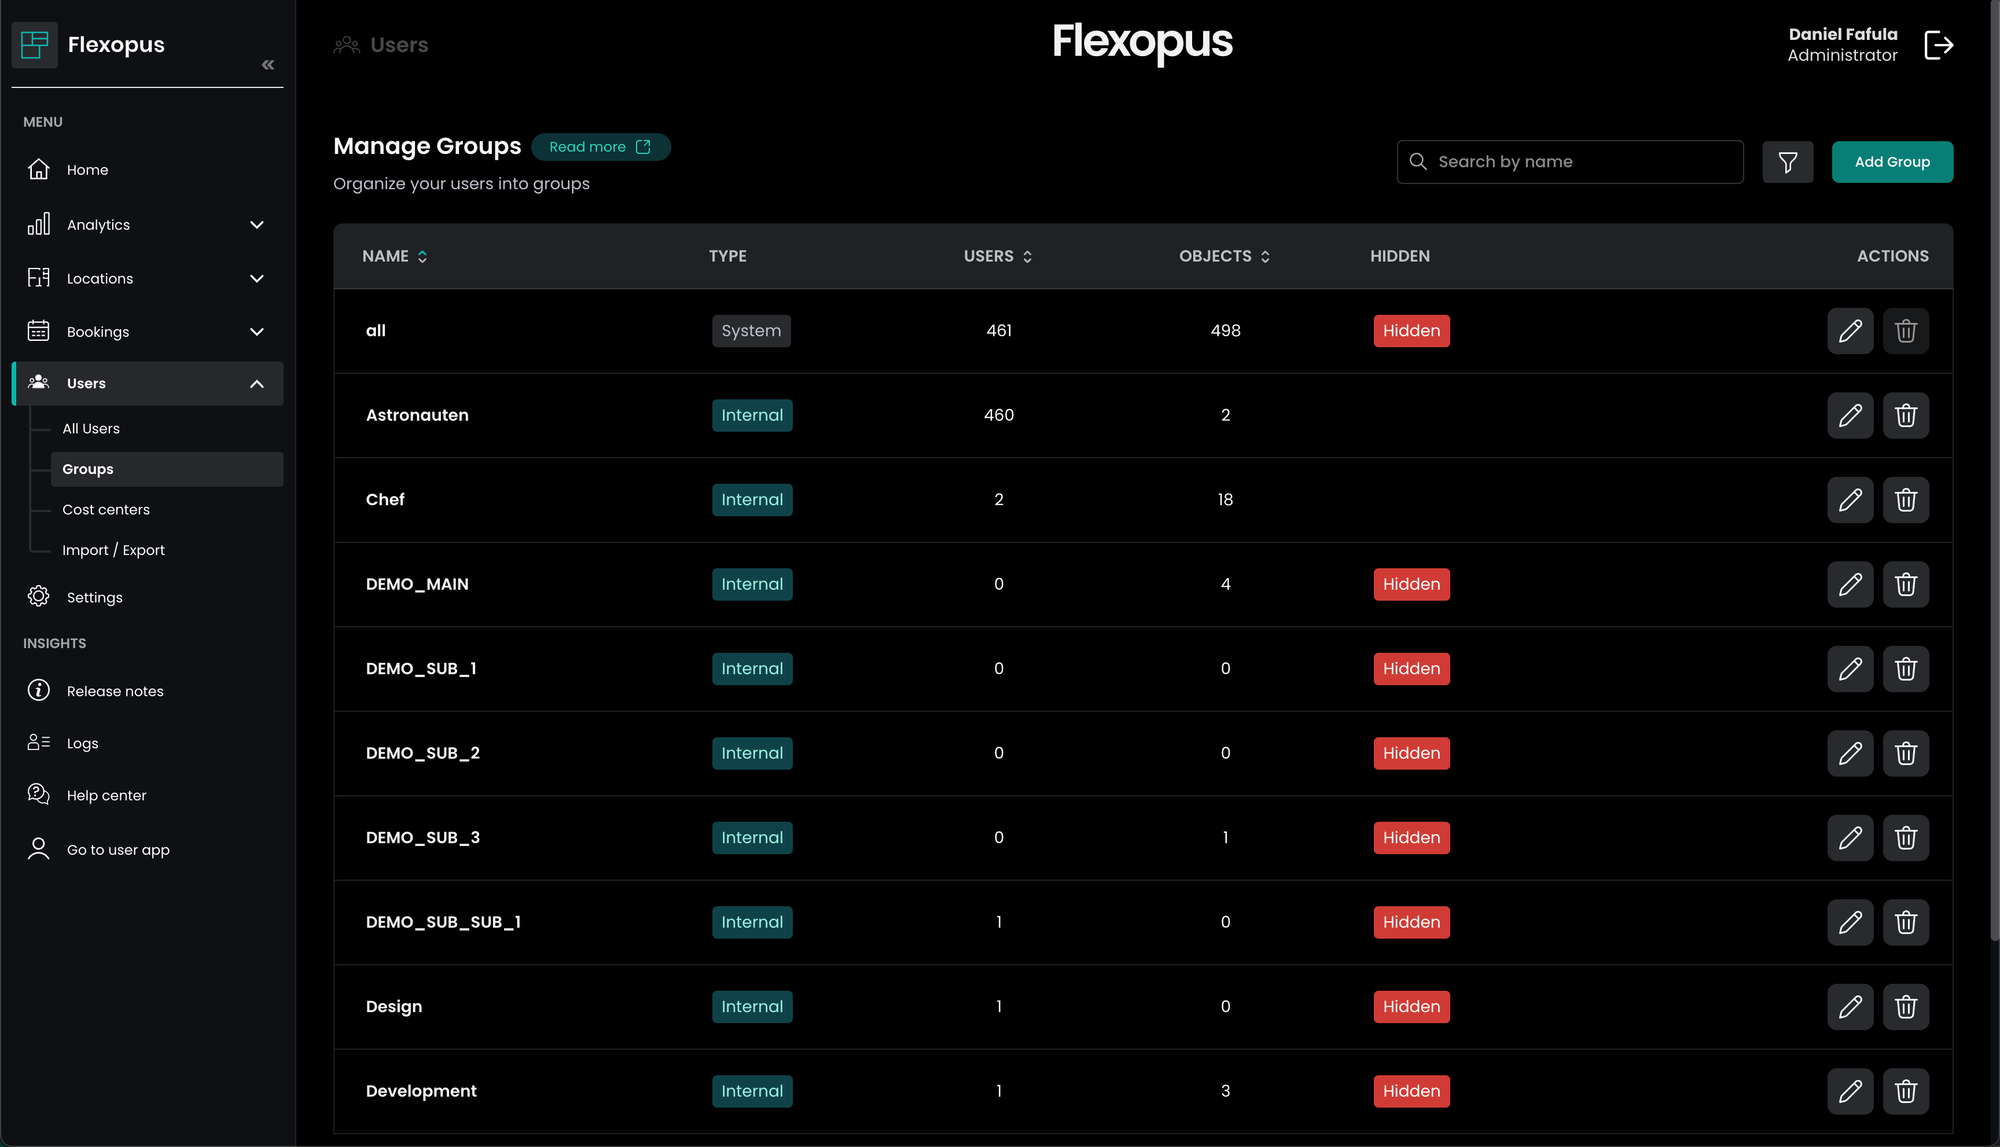
To create a user group, navigate to Dashboard > Users > Groups as an administrator in the admin panel. There you can create, delete and edit the user groups.
User groups can have three different types:
system: The system groups are maintained by the Flexopus application. You cannot edit or delete this group. Example: 'ALL' group, which contains all users in the user database.internal: The internal groups are created by an administrator manually, or it's an external group which was moved to become an internal group. Internal groups can be edited and deleted within Flexopus.external: The external groups are usually managed by a third-party application, typically by your Identity Provider. You cannot edit or change these groups, unless you detach them from the external provider.
Hidden Groups
Additionally, the user groups can have a flag called hidden. Hidden groups are not shown to users in the end application. They cannot search for them or use them to find or group other colleagues. Example: In case you want to create a priority group for users in a wheelchair or based on “back” related health issues, you may want to hide it from other users.
Edit Groups
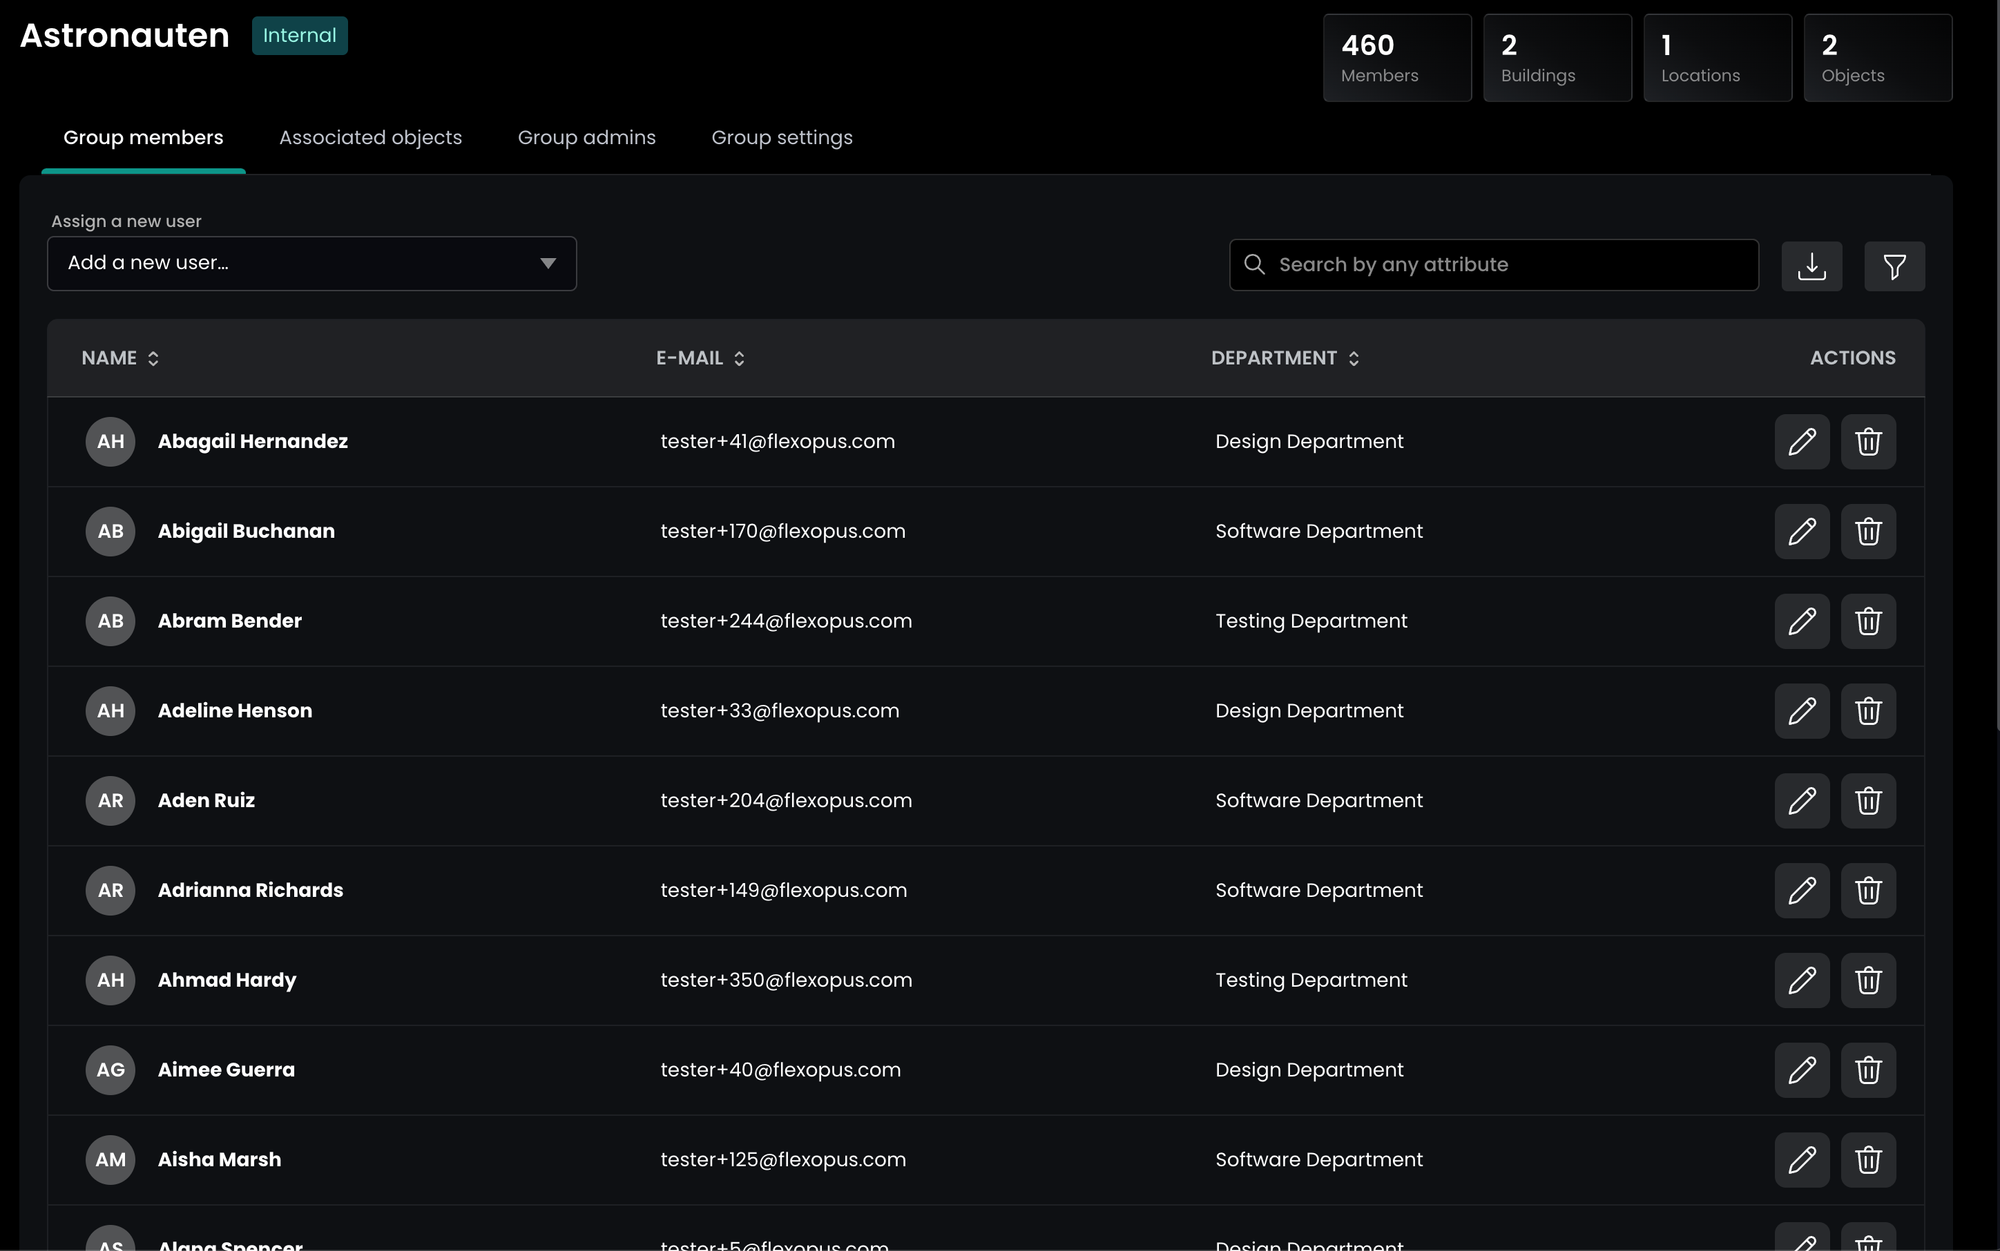
If you open a group, you can see four tabs by default:
group members: Add or delete group members. You can sort and filter them. You can also export group members as a CSV, XLSX or in the Azure AD CSV format.associated objects: List of buildings, floors, and objects associated with the group.group admins: List of users with access to edit the group.group settings: Change the name, add a description, set the group to hidden and see the properties of the group, like the internal and external ID.
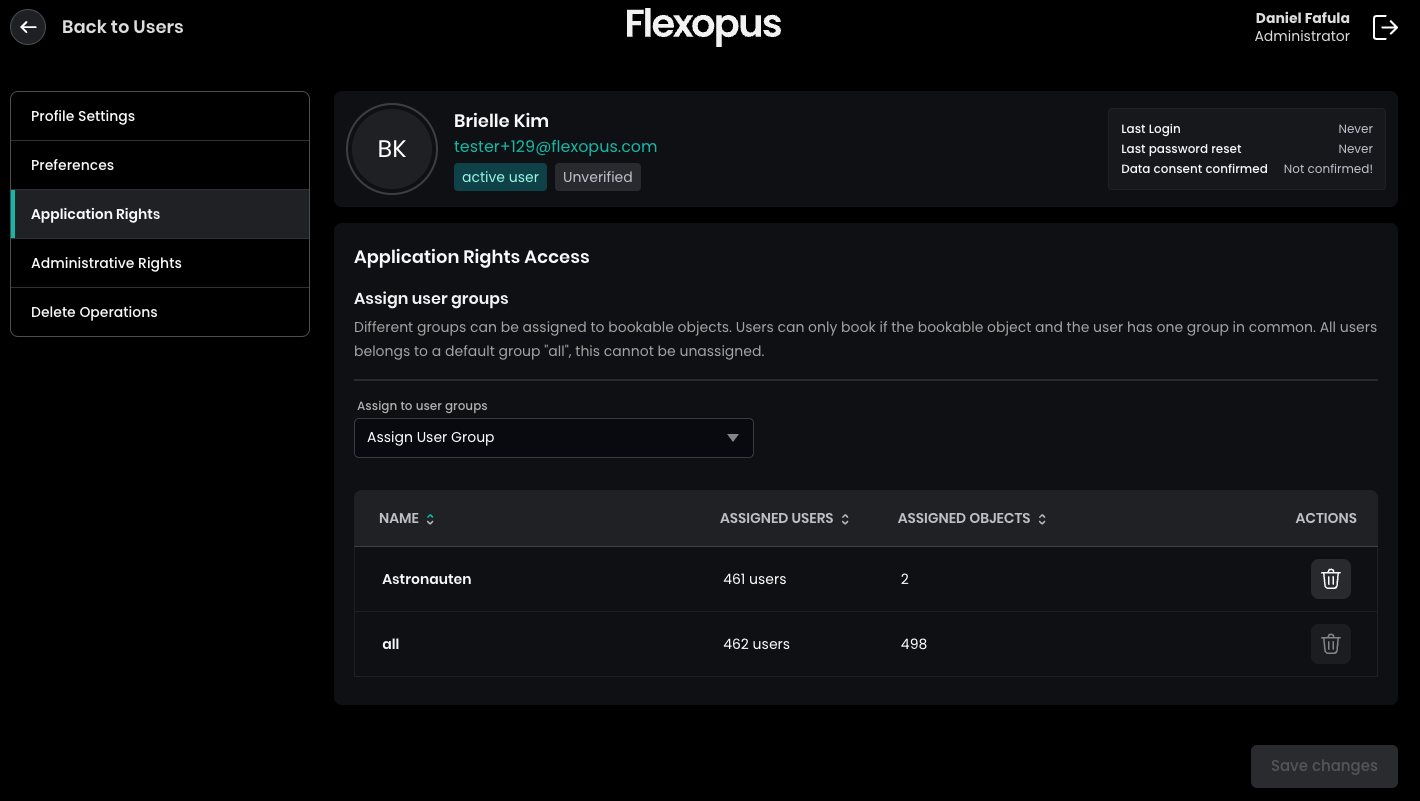
You can also see the user groups for each user individually in their user profiles. Select a user and navigate to the Application Rights menu item. Here you can view and manage the linked groups of users.
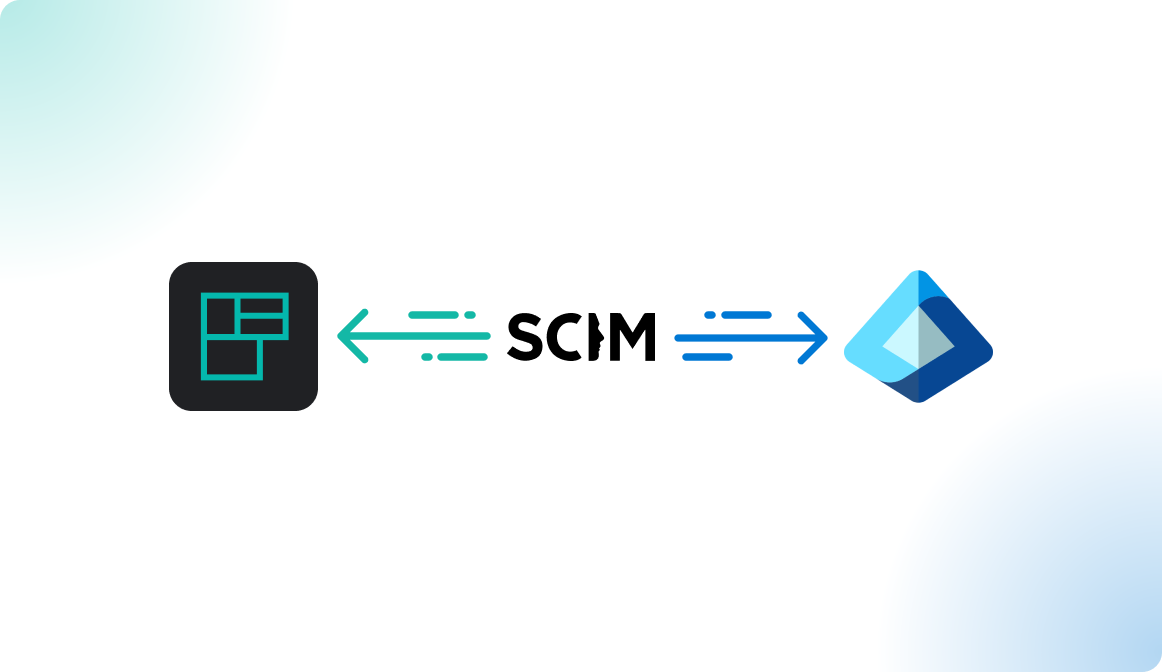
Manage groups via the SCIM API
Often, user groups already exist in the Identity Provider (IdP) such as Azure Active Directory. You can synchronize user groups from Active Directory to Flexopus through our SCIM interface.
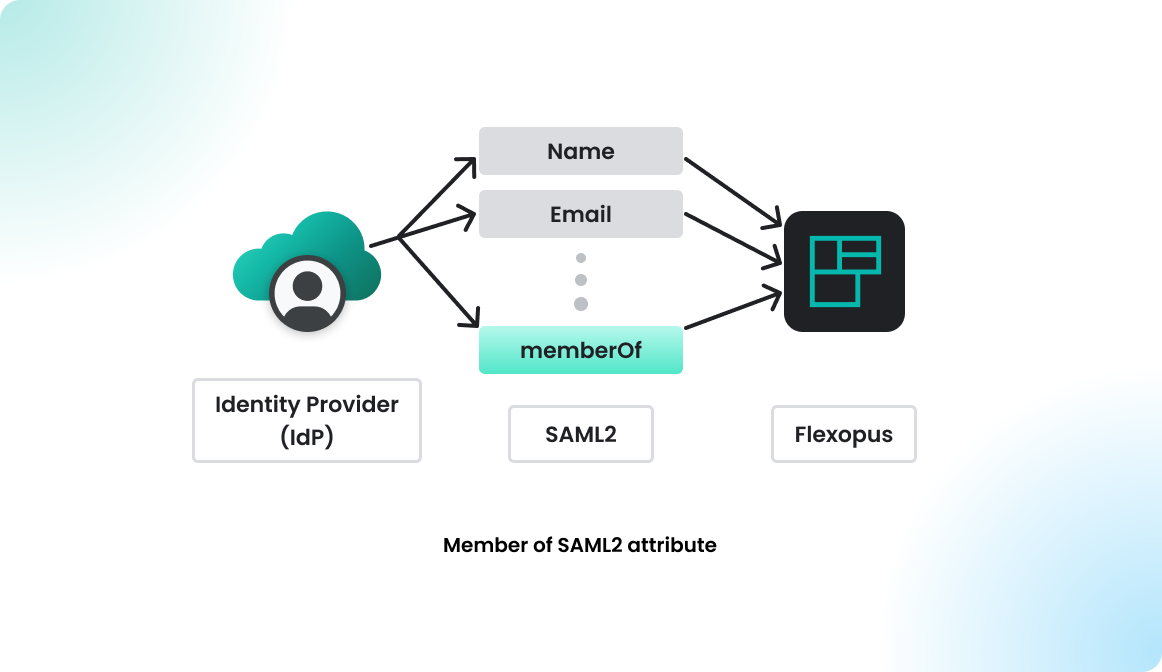
Manage groups via SAML2 (memberOf)
Typically, user groups already exist in the Identity Provider (IdP). Unfortunately, not every Identity Provider (IdP) offers a SCIM interface. The user groups can also be transmitted to Flexopus by further assigning attributes from SAML2. IdP Examples: ADFS, KeyCloak.
Import users and groups (CSV and XLSX)
Users can easily be added or updated via Excel/CSV lists. Use the import feature to invite new users or edit existing users by uploading a spreadsheet. The process creates or updates the users with the attributes you specify. For example, you can edit the groups or names of the users. Unchanged data fields are not updated. Navigate to Dashboard > Users > Import / Export and follow these steps for a proper import:
- Use one of the template files or one of the exports above to create a valid import file.
- Open the file with your spreadsheet program. The first row of the document contains the names of the columns:
name,email,department,function,About,notify,groups,roles,timezone,id - The user's email address is used as a unique key to match against the rows in the Flexopus database.
- The minimum requirement for each row is to have an email address and a name to identify the users: All other columns are optional. Leave only the columns you want to use.
- To ignore an attribute, you must delete the entire column, including the column name in the first row. If you leave an empty column and its first row still contains the column name, the system will use the empty fields to overwrite the corresponding attribute of the listed users.
You can find a detailed description about the field directly in Flexopus.
When you have finished editing the document, press the Upload User List button to select the document. Once selected, press the green Process File button to upload the file. If there are problems, the upload process will be aborted. If there are no errors, a summary will appear, and you can click Finish import to save your changes.
Learn more about the usage of user groups
Building level - access control
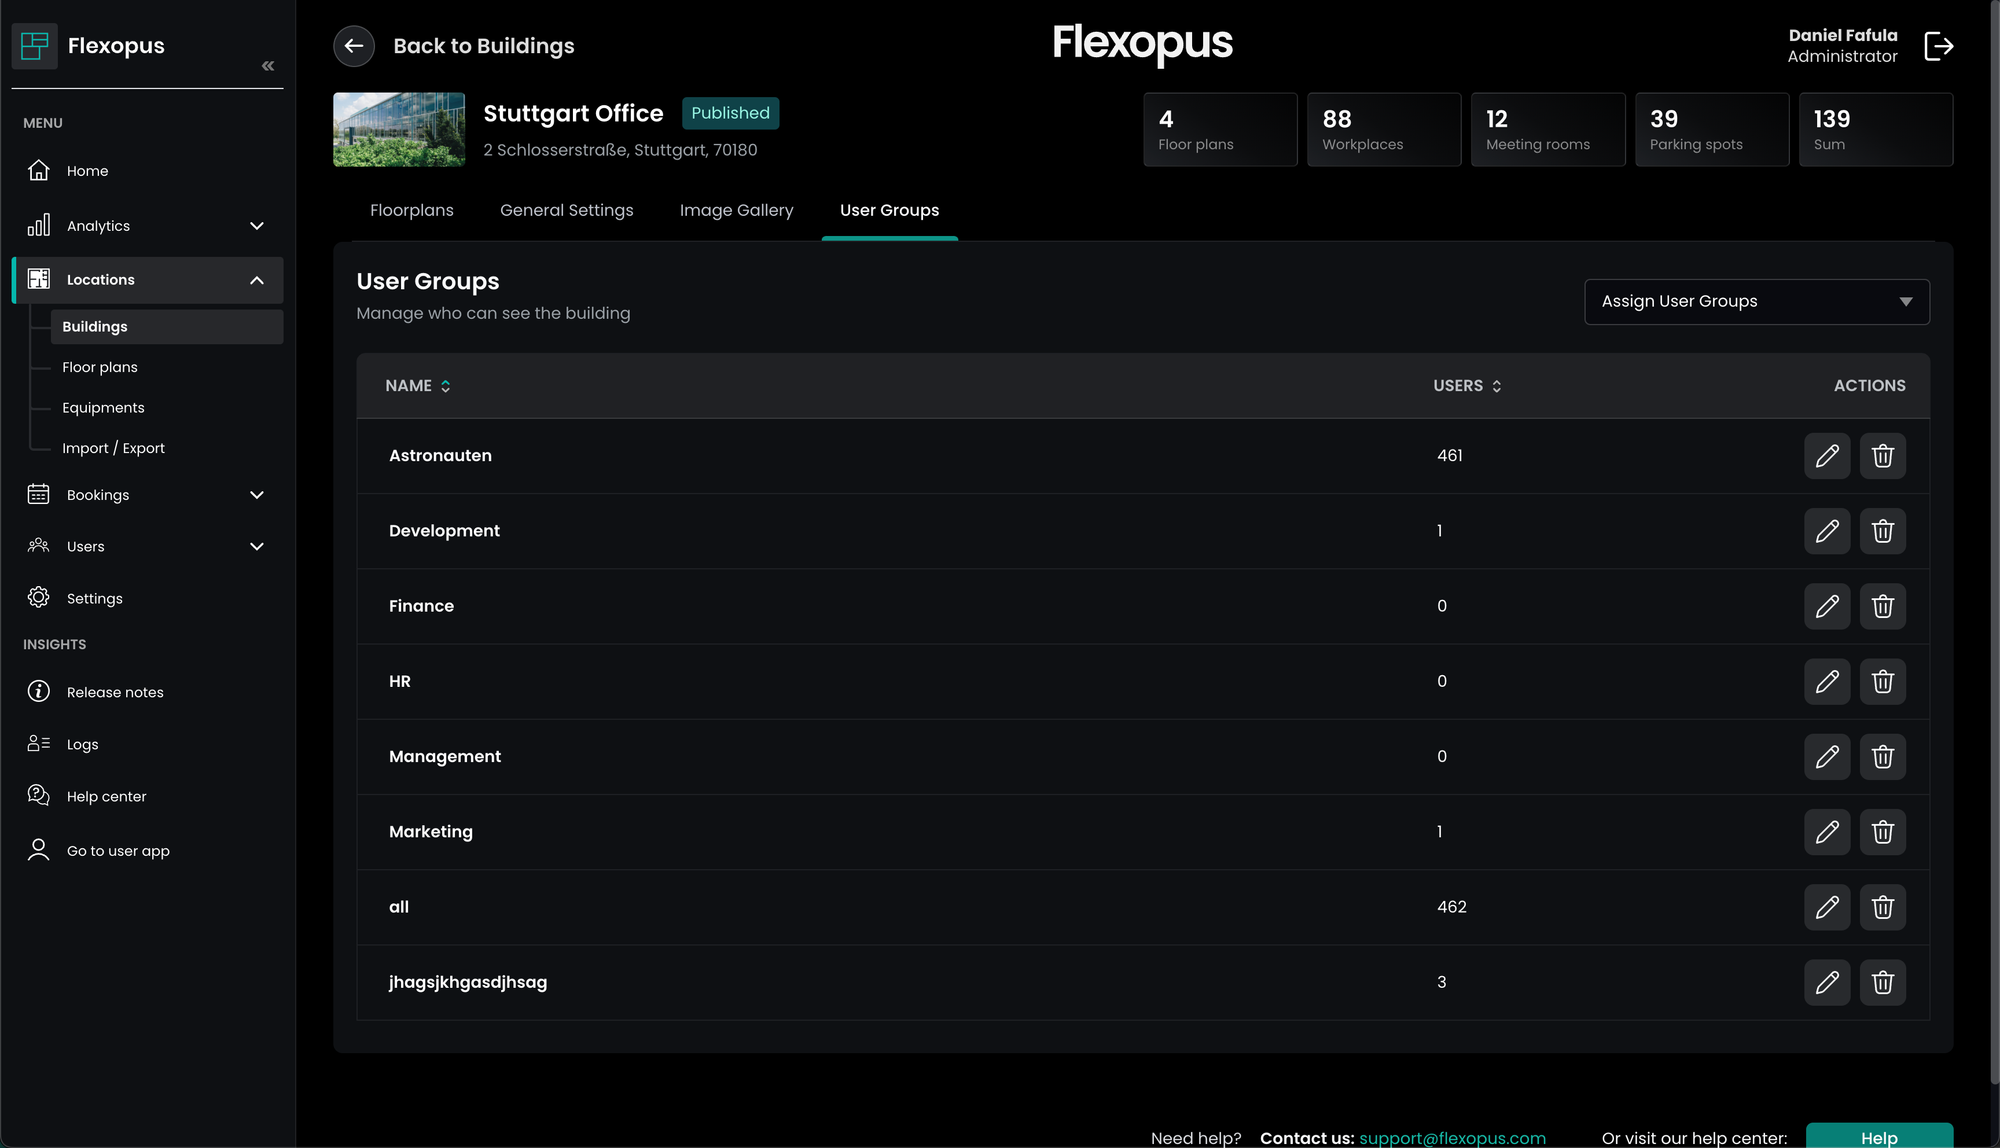
As an administrator, you can view and manage all buildings in the admin dashboard. By default, the group “all” is assigned to all buildings, so that initially everyone can have access to them. To change the default group association, from your Dashboard navigate to Locations > Buildings.There you select the building you want to manage the user groups for. From there you can navigate to User groups.
On this page, you can add and remove groups associated with the building. To add a group you can select or type in the desired user group in the Assign User Groups field. To remove a group, simply click on the Trash Can Icon. Only the users associated with the building can see the building in the user application.
Floor plan level - access control
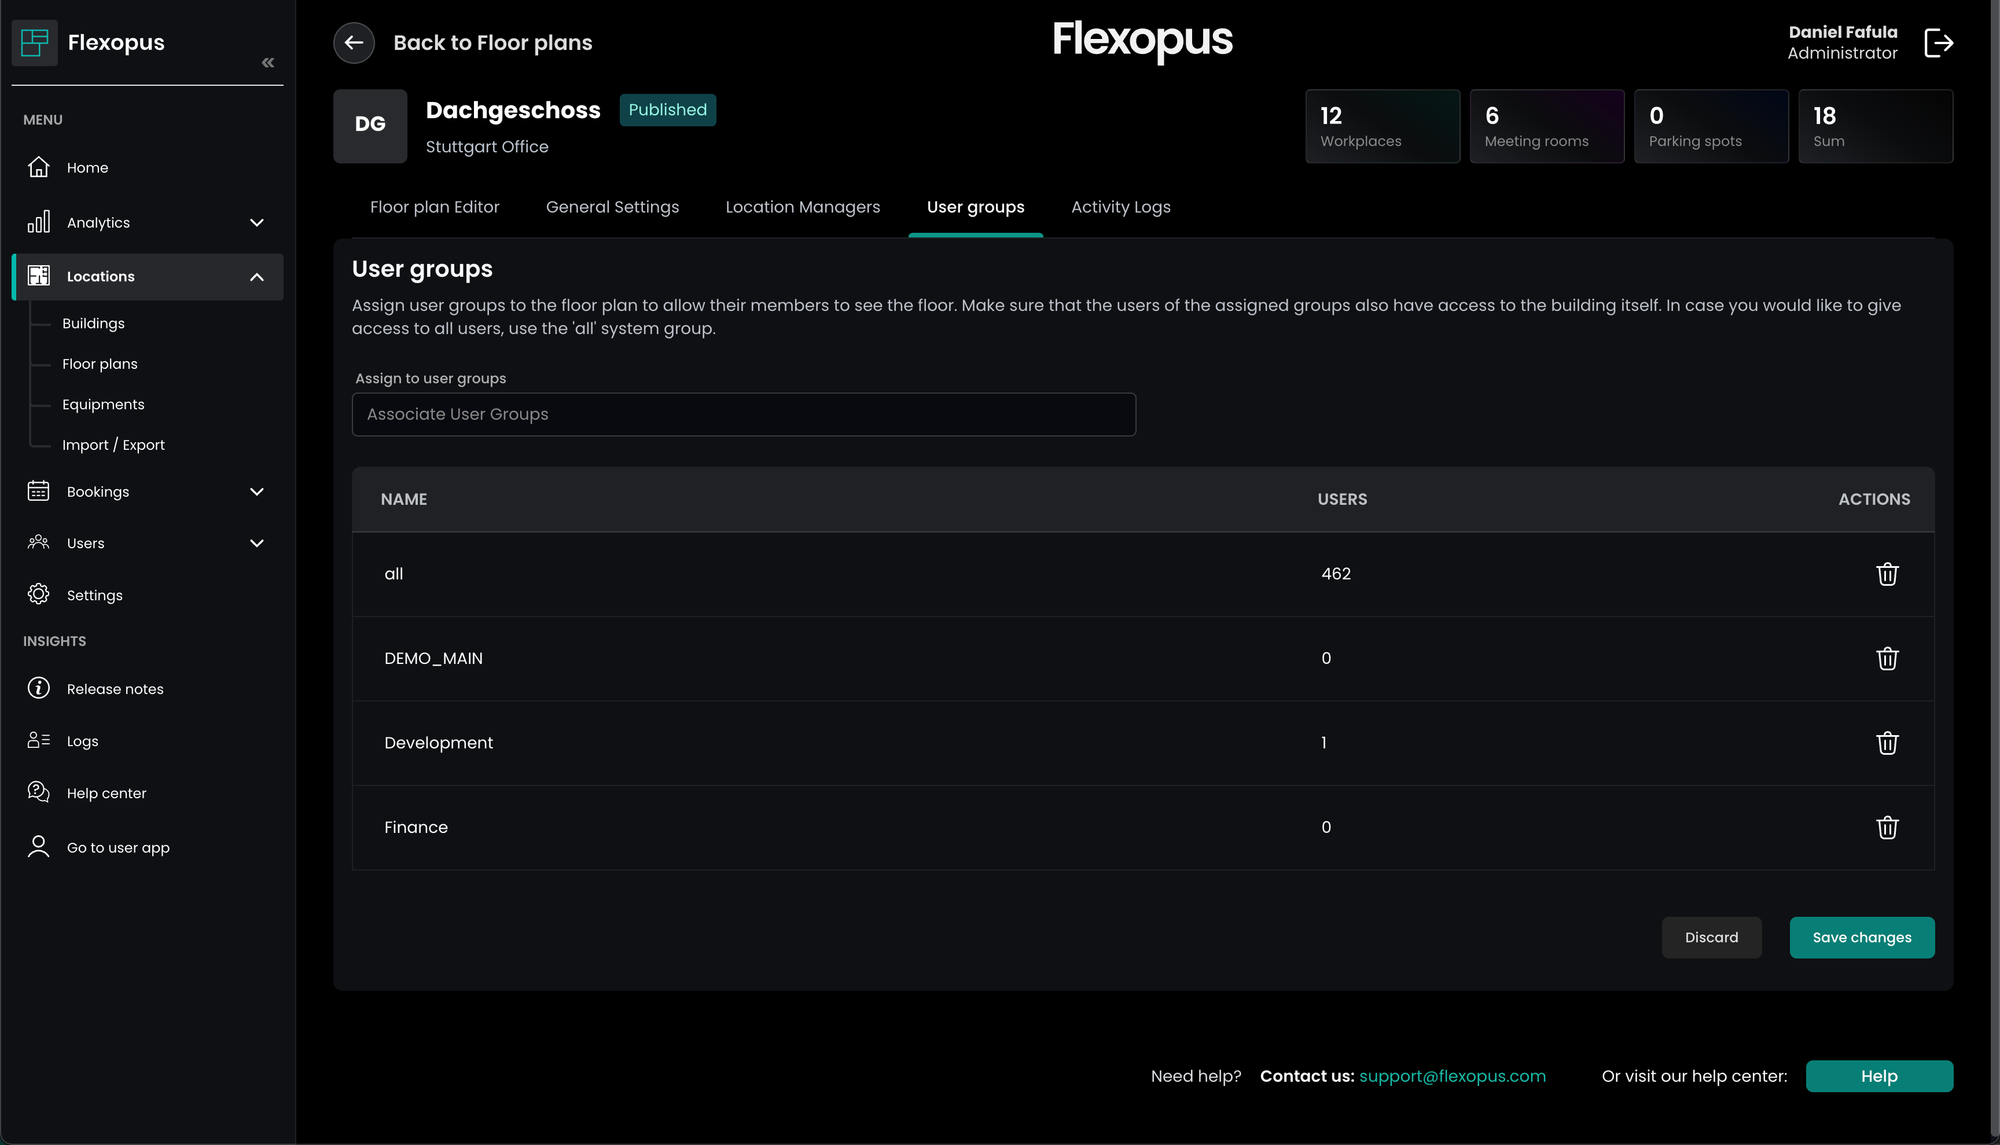
As an administrator, you can view and manage all floor plans in the admin dashboard. By default, the group “all” is assigned to all floor plans, giving everyone access initially. To change this default group assignment, go to Dashboard > Locations > Floor plans. There you select the floorplan you want to manage the user groups for by clicking on the pencil icon. From there you can navigate to User groups.
On this page, you can add and remove groups associated with the floor plan. To add a group you can select or type in the desired user group in the Assign to user groups field. To remove a group, simply click on the Trash Can Icon. Only users linked to the floor plan will be able to see it in the user application.
Object level - reservation rights
As an administrator, you can view and manage floor plans. To edit a resource, simply click on it to view its settings and attributes. Once selected, go to the User groups tab. The user groups linked to the resource are the ones who can make reservations for it. By default, the group “all” is assigned, meaning everyone has access. You can adjust the groups as follows:
- Add a group by filling out the
Assign to user groupsfield to allow members of that group to reserve the object. All users in the added group can book the object as long as it is marked as “Available”. Use the “all” group if you want to give unrestricted access. - Remove a group by clicking the
trash can iconto block access to the object for specific user groups. The list works like a whitelist, so only the groups you assign will have access to the object.
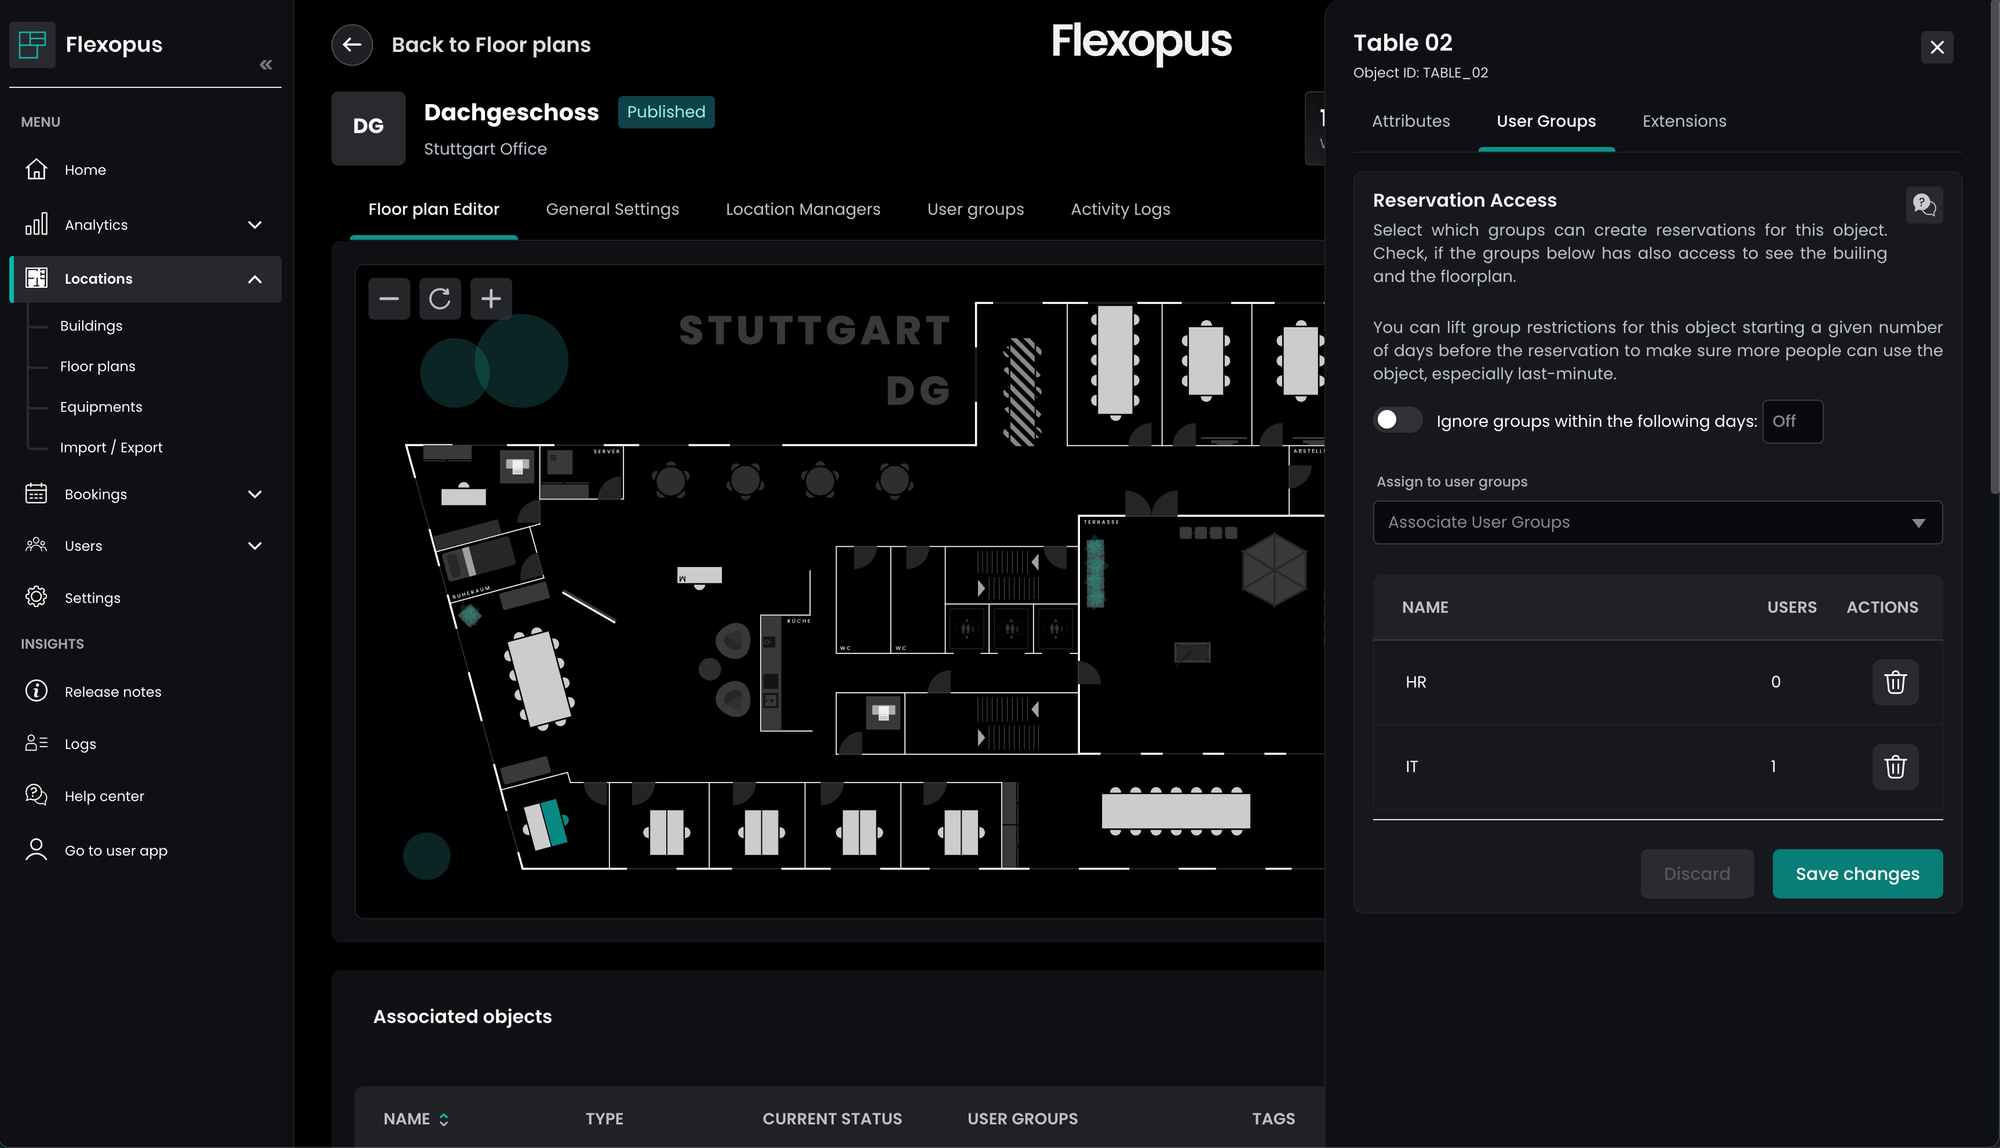
For priority bookings, use the special setting Ignore groups within the following days, to set a time limit in days. This allows you to create a priority booking for specific groups. After the set day limit has passed, all users who have access to the floor plan will be able to book the object.
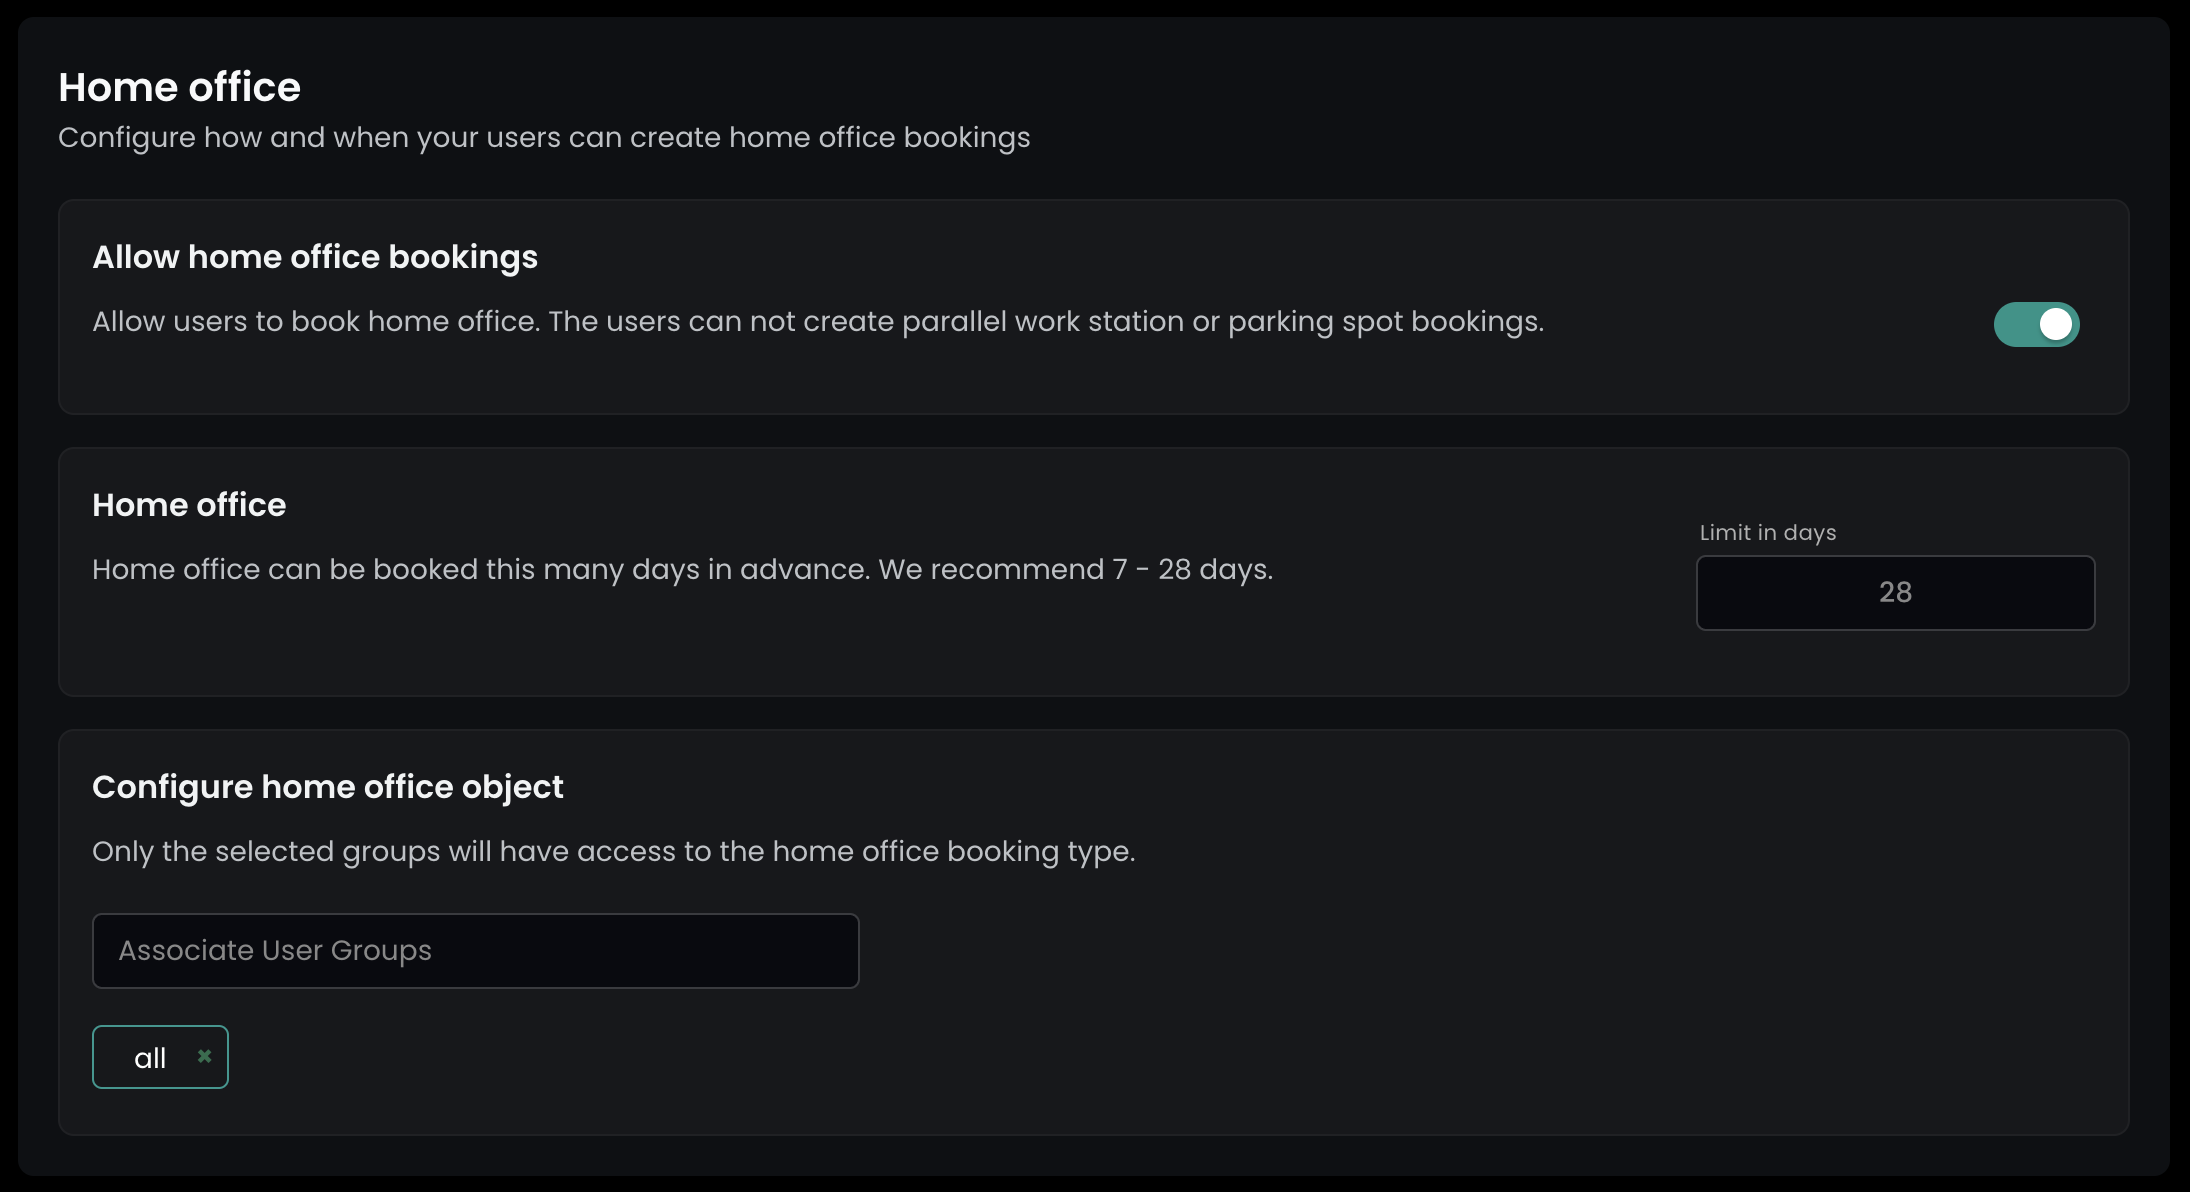
Home office - reservation rights
You can enable the booking of the “Home Office” object type as an optional module. To find this setting, go to Dashboard > Settings > Booking Settings > Home Office. Use the User Groups feature under Configure home office object to control which groups are authorized to book home office spaces.
Examples for user groups in desks
Mr. Müller is in the all group and the IT groupMr. Schmidt is in the group Legal and
TABLE_1TABLE_2 are on the First Floor.First Floor is in the Example Building.Example Building has the group all
Example 1
First floor has the group all. TABLE_1 has the group IT. TABLE_2 has the group Legal.Mr. Müller can book TABLE_1. He cannot book TABLE_2, but can only view the booking status.Mr. Schmidt cannot view the floor and therefore cannot book the seats.
Example 2
First floor has the group Legal. TABLE_1 has the group IT. TABLE_2 has the group Legal.Mr. Müller cannot view the floor and therefore cannot book the seats.Mr. Schmidt can book TABLE_2. He cannot book TABLE_1, but can only view the booking status.
Troubleshooting / FAQ
The user cannot see the building.
Make sure the building is published; it needs to be published for access. Also, check the groups associated with the building and verify that the user is a member of one of these groups.
The user cannot see the floor plan.
Ensure that both the building and the floor plan are published, as they must be published for access. Additionally, check the groups associated with both the building and the floor plan, and confirm that the user belongs to one of these groups.
The user cannot see book an object, it's displayed as blocked.
Ensure that the object's status is set to "Flexible," as this is required. Also, check the groups assigned to the object and verify that the user belongs to one of these groups, if you've assigned any.