Profile settings

Profile settings

Overview

Users are able to adjust their profile settings and preferences in the application. The following profile settings can be made:


Profile tab

In the profile tab the profile attributes and the vehicle settings can be edited.
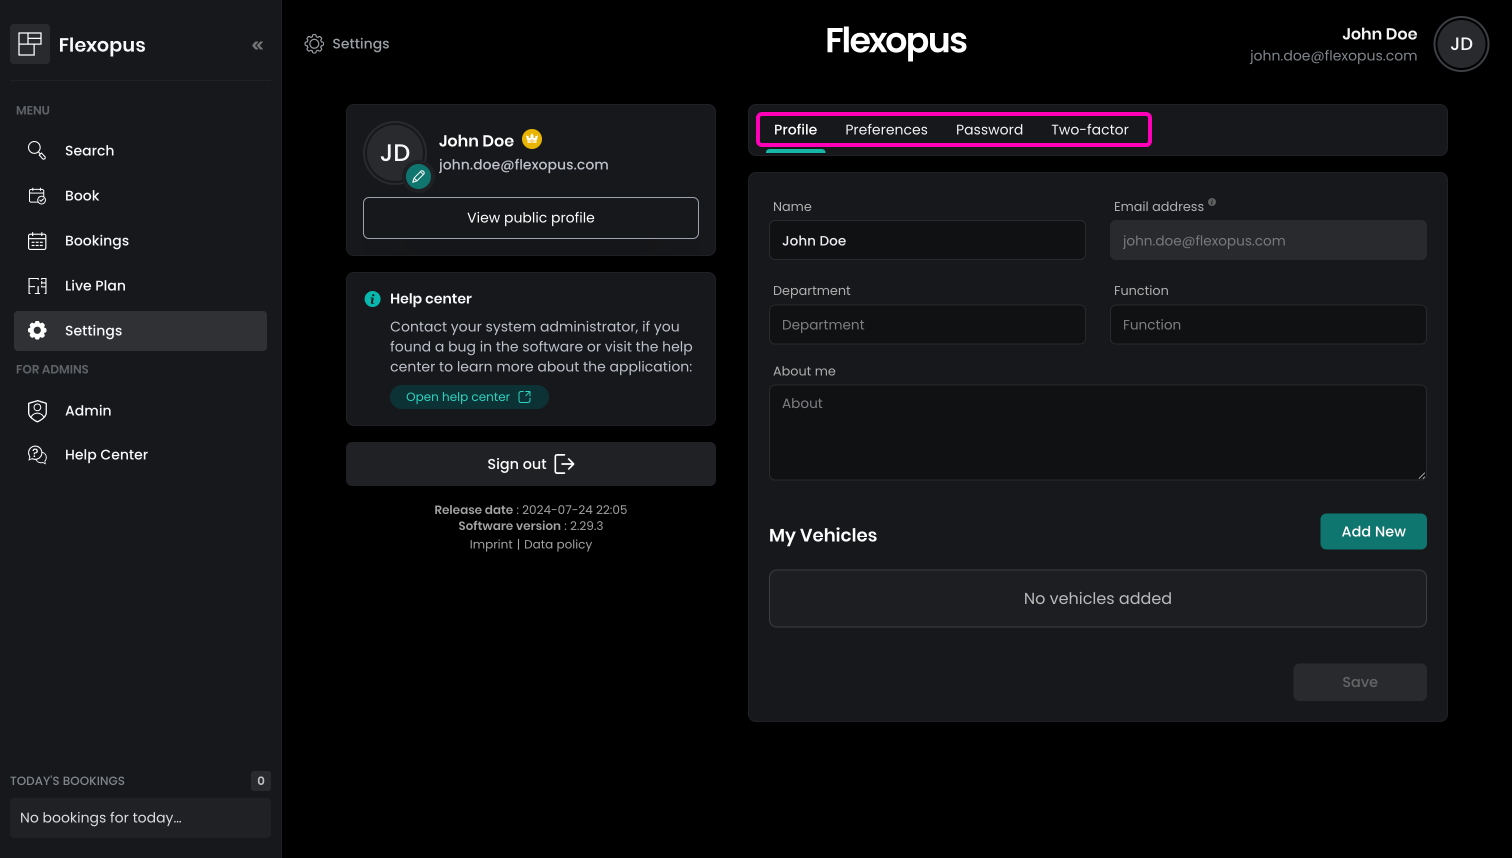
Profile settings tab

Profile attributes

In the profile tab the following profile attributes can be edited:

Name (required)
Name of the user, which includes the first name and the last name. Flexopus is not storing them separately in the database. This is a required field, cannot be empty.

E-Mail address (required)
Business email address of the user. This is a required field, cannot be empty.

Department (optional)
The organization unit of the user. This is an optional field.

Function (optional)
The function of the user, such as: software developer, key account manager, customer support etc.. This is an optional field.

About me (optional)`
You can include a short 'about me' description in your user profile. This is an optional field.

💡
Note! If you are a first-aider, we recommend that you note this in the “About me” field so that your colleagues can find you.

Avatar image (optional)
A profile avatar image can be uploaded. This is an optional field.

💡
Note! In case the user is using Single Sign On to log into their user profile, the attributes are may be managed externally by the identity provider such as Google or Microsoft or other external services. Affected attributes are: name, email, department, jobtitle

Vehicle Management

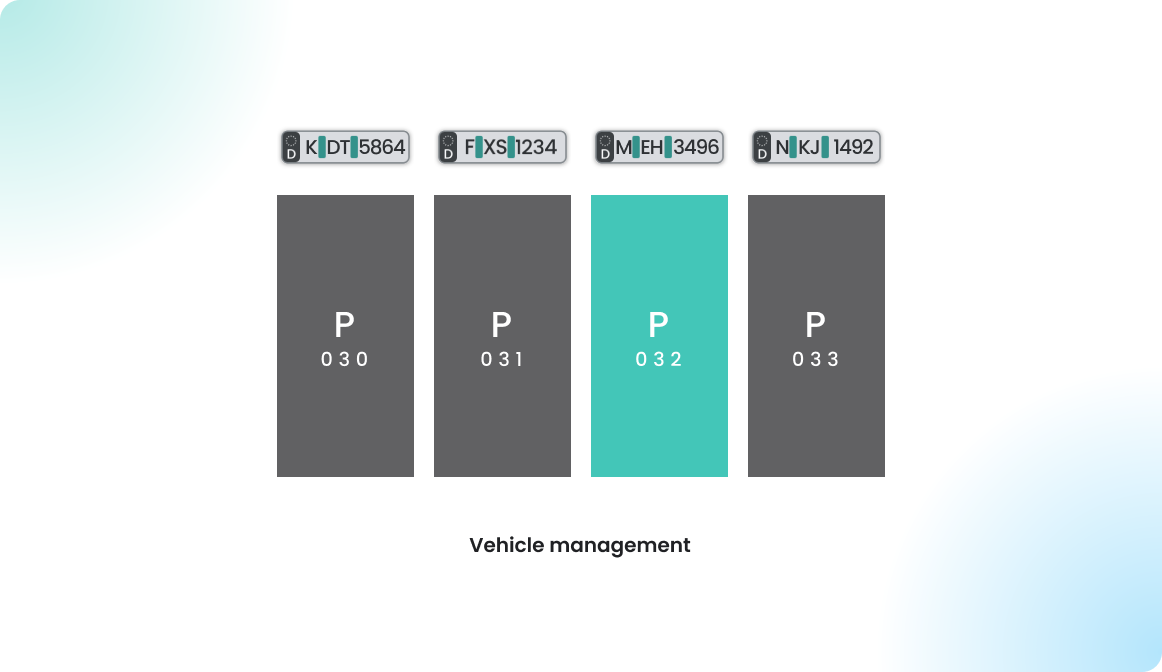
This function is only available if your organization is using Flexopus to book parking spots and enabled the vehicle association feature. In this case, users can manage their vehicles for the parking spot booking. A vehicle can be created by entering the name and the vehicle plate number. The vehicle number cannot be changed later, however a new vehicle can be created at any time again, such as private cars, motorcycles or company cars.

Add vehicle

If you add a vehicle, please make user you enter the vehicle plate number in the right format. The administrators can read it better, and other possible third party integrations may depend on the format you enter.


Preferences tab

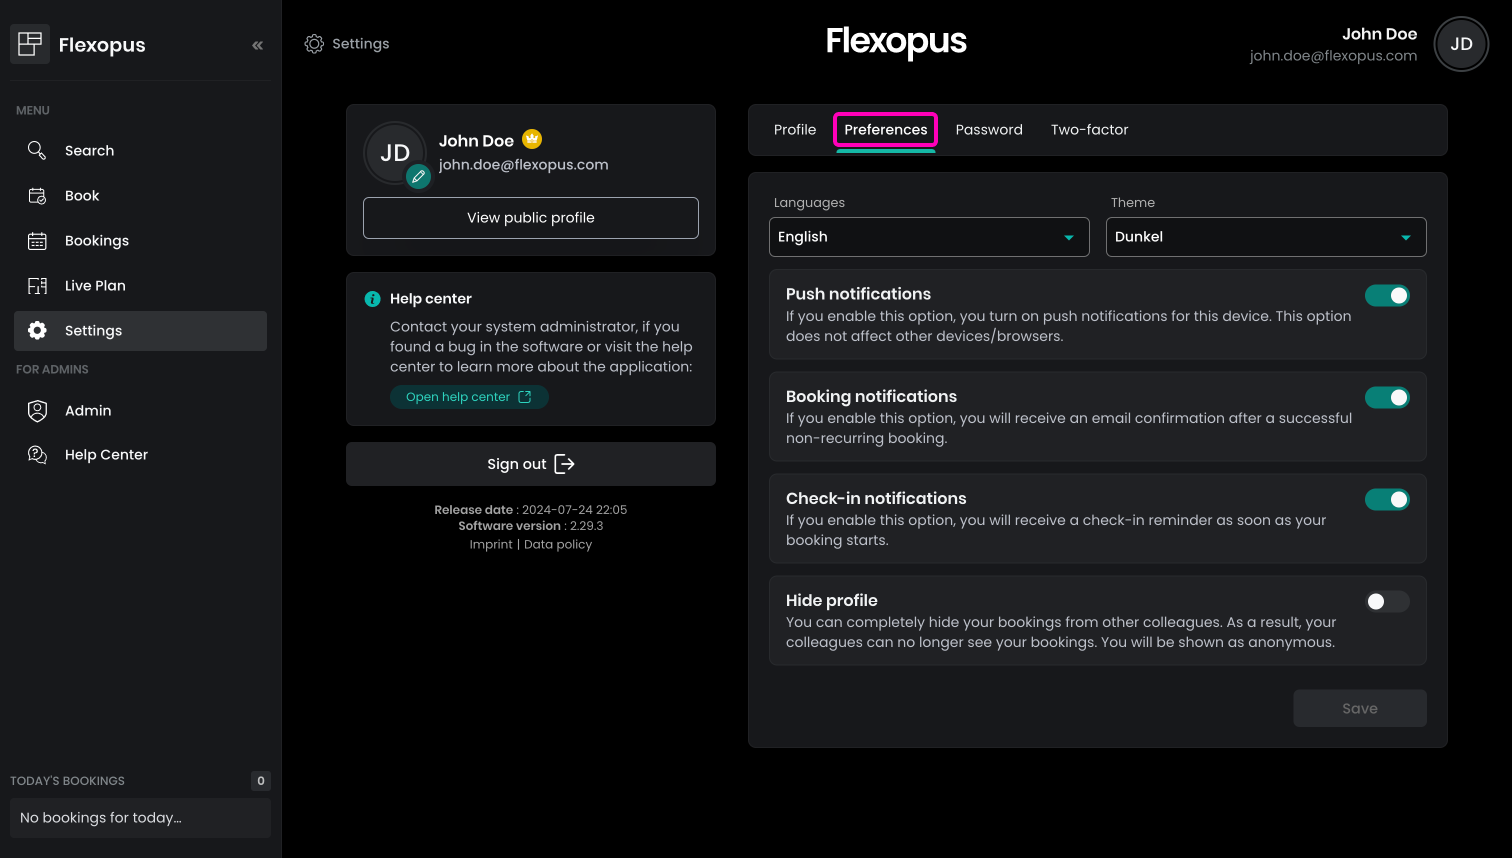
On the preferences tab

Preferences tab

Languages

The language is set at the beginning after the first login based on the application default settings, which can be configured by the Flexopus administrators, however as a user you can change it at any time for your user profile. Currently, the following languages are supported by the application:

  1. English 🇬🇧
  2. German 🇩🇪
  3. French 🇫🇷
  4. Italian 🇮🇹
  5. Hungarian 🇭🇺
  6. Japanese 🇯🇵
  7. Rumanian 🇷🇴
  8. Russian 🇷🇺
  9. Turkish 🇹🇷
  10. Spanish 🇪🇸
  11. Chinese 🇨🇳
💡
Note! The source language of the application is English, the other languages are translated automatically from English and the corrected manually by a translator. Still, for the best user experience, we recommend using the English or German language if possible.

Application themes

The application is supporting a light (white) and a dark (black) theme. The default setting is set however to system, which is adapting the design based on your browser default settings. You can select which theme you prefer more.

💡
Note! The application default development theme is the dark (black) theme, therefor it may be better to use, however you can use the white theme as well. We are improving the white theme step-by-step release-by-release.

Time zone

The time zone feature is developed for customers having offices across multiple time zones. For example, an office in Berlin (GMT+1) and an office in New York (GMT-07:00). Covering the reservation flow for users on the US and in Germany is only possible if the time zone is selected in a right way. Users in the US want to book by seeing the times and the offices available in their time zone, and the German users want to see everything in the German time zone.

If your organization is offering flexible offices in multiple time zones, then you can select the time zone based on your preferences. This time zone will also be used in the reservation process. By default, the organizations default time zone will be selected.


Notifications

You can set the notification preferences in your profile settings. Currently, the following notification settings are available:

Name Type Time
Booking Confirmation E-Mail (with ICS) E-Mail (without ICS) Based on the notification settings of your organization, Flexopus can send booking confirmations E-Mails to the users, which includes the details of the reservation. It's always a success message. Conflicts and errors are displayed in the app. Each user can disable the booking confirmations by themselves in the profile settings.
Check-In Reminder E-Mail Push Notification The Check-In reminder will always be sent at the start of the reservation if the check in module is activated and the reservation is not yet checked in.
Booking summary E-Mail Based on the notification settings of your organization. Which is ideally between 17:00 - 19:00.

Booking notifications
Receive an email notification about the created or deleted bookings. This only applies for the nonrecurring reservations. This notification setting is only visible if your administrator globally enabled the booking notifications.

Example: booking confirmation email

Check-in reminder
Receive an email notification when the reservation is about to start, but the reservation is not checked in. This notification setting is only visible if your administrator enabled the check in module.

Example: check In reminder email

Daily booking summary notifications
Receive a summary about your upcoming reservation on the next day. This notification setting is only available if your administrator enables it.

Example: daily booking summary

Push notifications
The push notification for check ins can be set per device / client app individually, so you can receive push notifications on your phone but disable it for your browser app. In order to receive the check in push notification, you need to enable the check in notification and the push notification settings as well.

Application Supported Who is sending?
Web Application yes sent by: browser specific native push notification manager
App Store App (iOS) yes sent by: iOS native push notification manager (through Firebase)
Play Store App (Android) yes sent by: Android native push notification manager (through Firebase)
PWA (not Safari) yes sent by: browser specific native push notification manager
PWA (Safari) on iOS NO iOS does not allow sending push notification for progressive web applications. iOS also blocks the installation of PWAs with other browsers than Safari.

Privacy setting

On the preferences, you can find an additional setting called hide profile. This setting is only available if your Flexopus administrators allow you to hide your profile and bookings from other users. It's an optional privacy setting, specific for every organization. If your organization allows deciding individually about their privacy settings, then you can hide your profile from others. Once you activate the function, the other users:

  • cannot search for your profile in the 'search' menu point.
  • cannot see your reservation on the live plan.

You can still see others if they allow it.


Password Tab

In case your organization allows you to login by using the E-Mail & Password based login method, then you can change your password in your profile settings under in the password tab.

💡
For SSO users! This tab is hidden if your organization is using only Single Sign On for the authentication. In this case, your password is managed by the external Identity Providers such as Microsoft or Google, and it cannot be changed in Flexopus directly. As a matter of fact, Flexopus does not know your password.
Password settings tab

The following password requirements need to be fulfilled to change your password:

  • At least 8 characters.
  • At least 1 lowercase letter.
  • At least 1 uppercase letter.
  • At least 1 number.
  • The two passwords should match. (https://haveibeenpwned.com/)

Two-Factor Authentication

If you are using an email and password based authentication method and your organization enabled the 2FA option for you, then you can manage your 2FA on this tab.

💡
For SSO users! If you are using Single Sign On to authenticate at Flexopus, then the 2FA process is handled by the Identity Provider of your organizations, such as Google, Microsoft etc. The 2FA within Flexopus applies only for the E-Mail & password users.

What is 2FA?

Two-factor authentication (2FA), often also called multifactor authentication (MFA) is a second authentication step requiring the user to confirm their identity via a second method, which is a TOTP token at Flexopus.

Configure 2FA

Based on your organization's preferences, you may be forced to set up the 2FA before the first login. Still, you need to do the same steps as described here.

STEP 1 - Third party authentication application
You need to install an an authentication application (such as Google authenticatorMicrosoft AuthenticatorTOTP Authenticator, andOTP, FreeOTP, FreeOTP+) on your phone. Most of you probably already have one on your phone, since the same application can be used to authenticate in other applications.

STEP 2 - Scan the QR Code
If you enable the 2FA and enter your password, a QR code will be displayed. Now open any authenticator app on your smartphone and scan the QR code.

STEP 3 - Use the authenticator app
A 6-digit code will be generated and displayed by the authenticator app, which is valid for a limited time frame. Each time you log in to your Flexopus account, you will need the 6-digit code. Simply open the Authenticator app and enter the newly generated code.

💡
Note! Recovery codes are also generated in the last configuration step. You can save these codes as a file. The recovery codes are regenerated after each configuration. You can use these codes if you can no longer log in and need to reconfigure the 2FA. In any cases, a Flexopus administrator can reset your 2FA at any time if you request them to do so.